How to Draw Princess Zelda: Easy Step-by-Step Guide
Bring the legendary Princess of Hyrule to life with this easy-to-follow drawing tutorial. Designed for young fans and budding artists, this lesson uses basic shapes to build Zelda’s iconic look. Grab your pencil and eraser, and let’s start creating your own masterpiece.
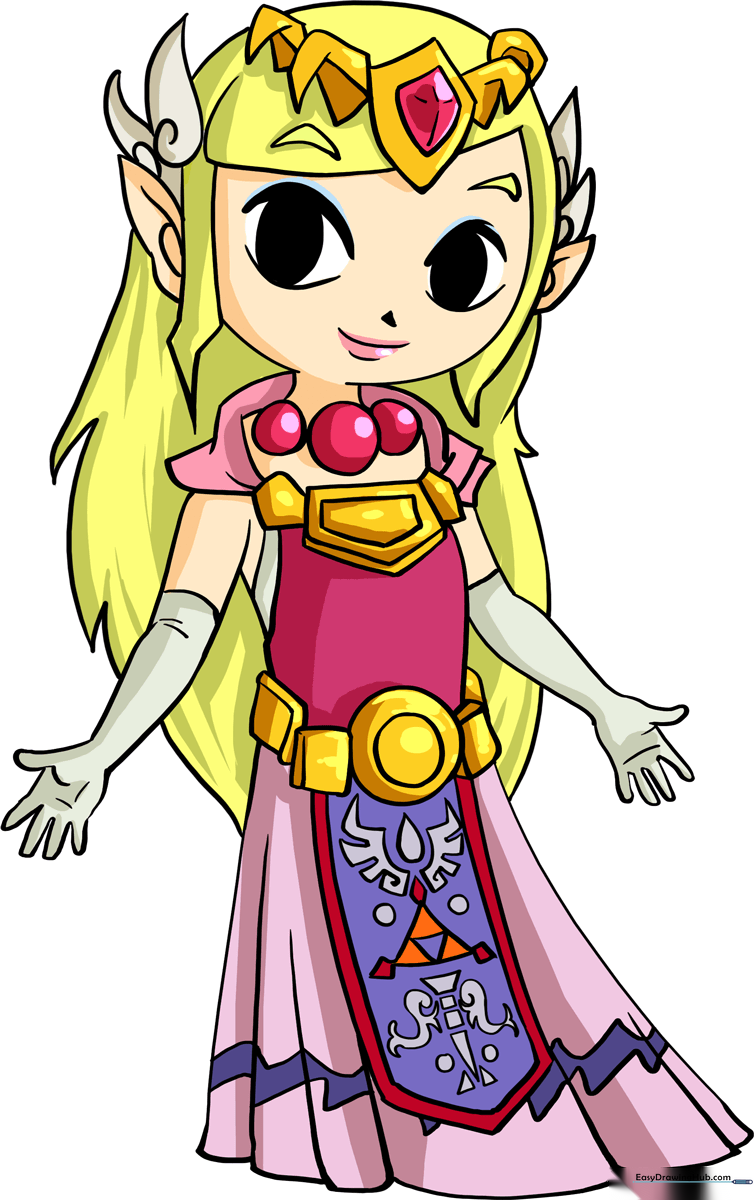
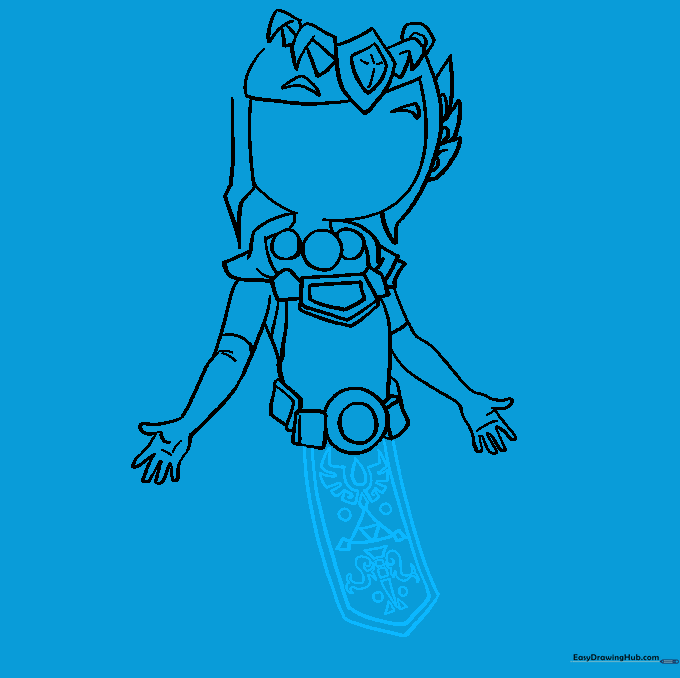
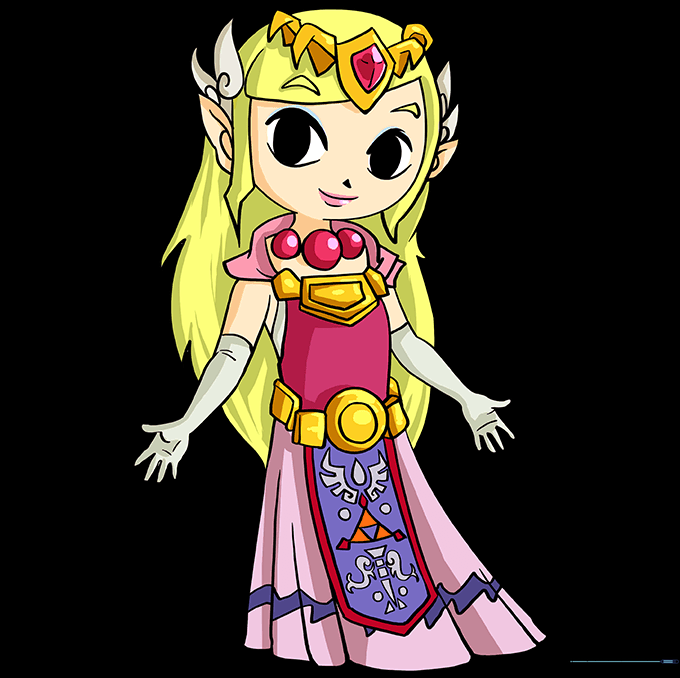
🎯 Final Result
Step-by-Step Instructions
Step 1: Sketching the Face and Neck
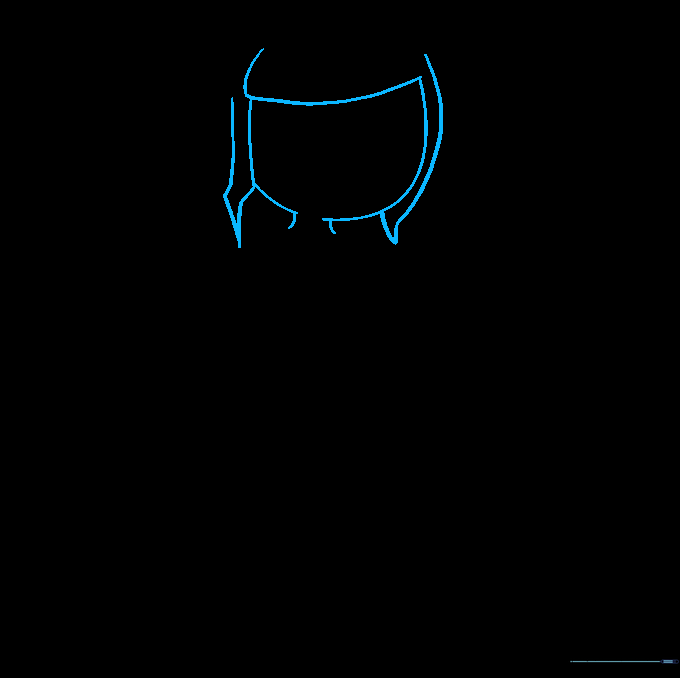
Start by lightly sketching the face shape using two curved lines for the cheeks. Add the neck below. Tip: Keep your pencil pressure light so you can easily adjust the hair bands later if needed.
Step 2: Establishing the Torso
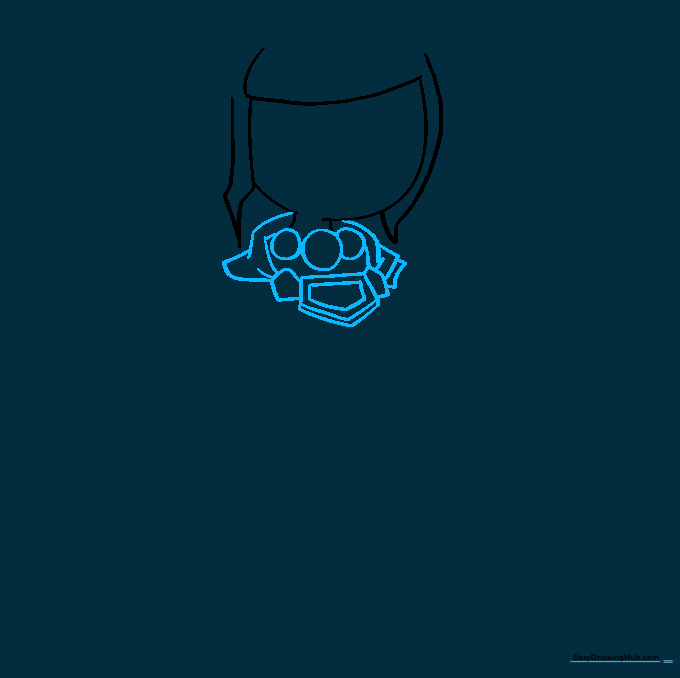
Draw three small circles at the base of the neck, then sketch the shoulders using curved lines. Add pentagon shapes to represent the bodice of her dress. Tip: Use a ruler if you struggle with straight lines, but freehand is great for practice!
Step 3: Adding the Royal Crown
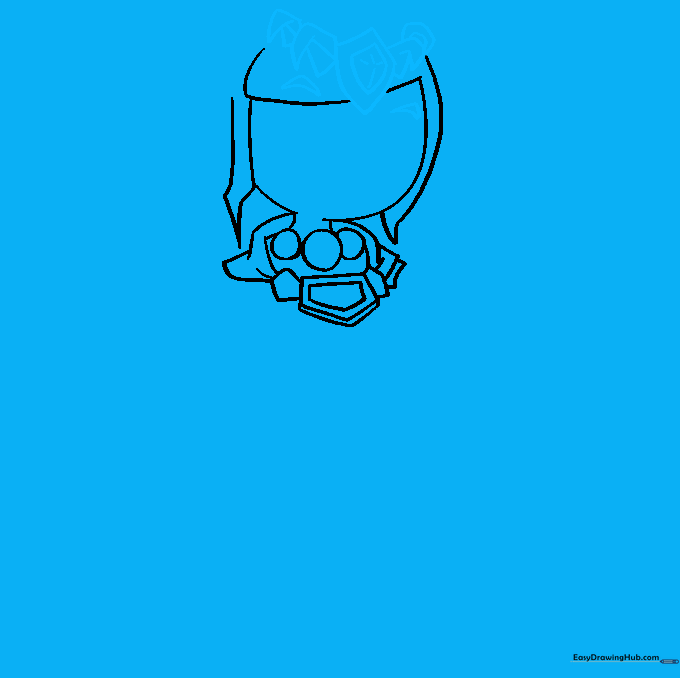
Draw a diamond shape in the center of the forehead for the crown, with a smaller diamond inside. Add decorative triangles on the sides. Tip: Use tiny, short strokes to add texture to the center diamond.
Step 4: Drawing the Ear and Arm
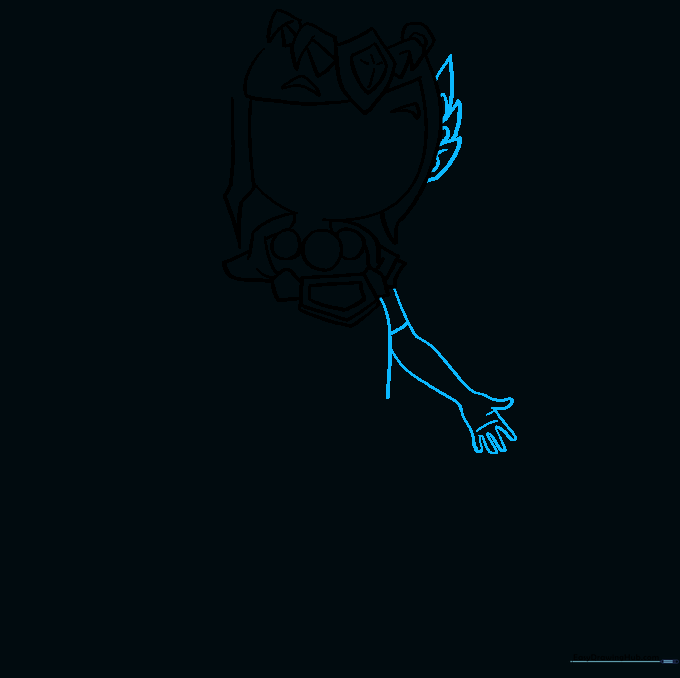
Sketch the pointed ear and ornaments on one side of the head. Then, draw the torso curve and the extended arm. Tip: Zelda's ears are pointed, so make sure to bring the lines to a sharp, clean point.
Step 5: Completing the Arms

Sketch the remaining arm and hand. Focus on the curved lines at the elbow and sleeve to show movement. Tip: Keep the hand simple—a small oval shape works perfectly for this style.
Step 6: Designing the Belt
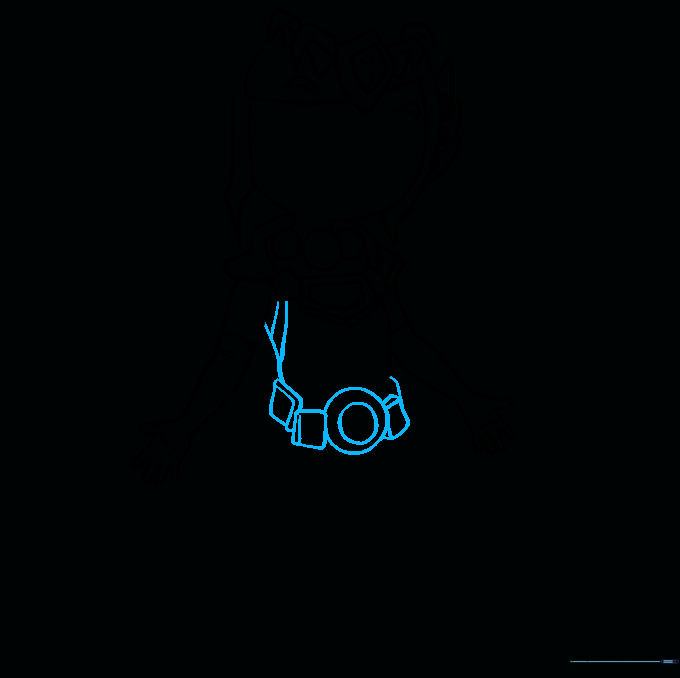
Draw the other side of the torso and add a belt featuring squares and circles. Tip: To make the squares look 3D, draw a small line connecting the corners to create a boxy depth.
Step 7: The Triforce Emblem
Draw the Triforce emblem—three triangles forming one large triangle—on her chest. Tip: Take your time here; the Triforce is the most recognizable part of her outfit!
Step 8: Adding Dress Folds

Use long, flowing lines to draw the folds of the dress. Add a wavy line across the fabric for detail. Tip: Folds look best when they follow the curve of the body.
Step 9: Final Facial Details
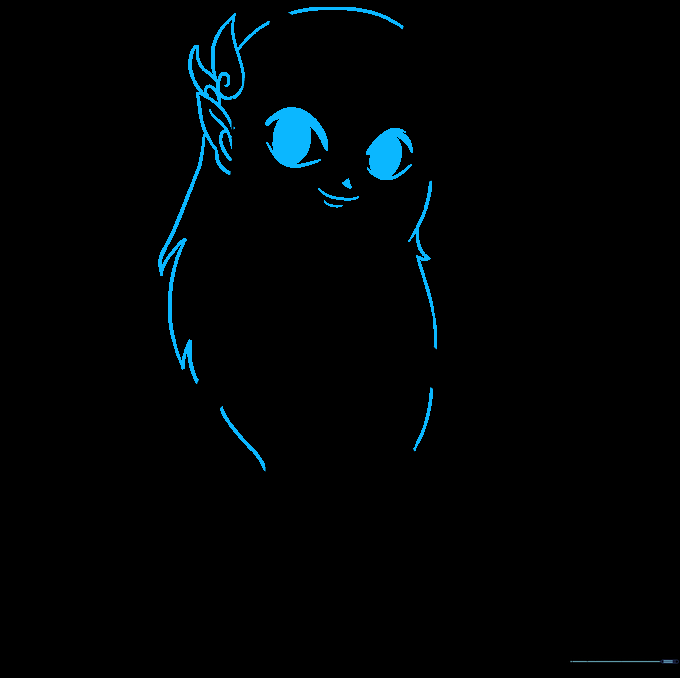
Finish the face by drawing the eyes, nose, and mouth. Add hair strands using long, jagged lines. Tip: Use a darker pencil stroke for the eyes to make them pop.
Step 10: Bring Zelda to Life with Color
Time to color! Use soft yellows for her hair and your favorite shades for her royal dress. Tip: Try using light pressure with colored pencils to create smooth, even layers.
More Tutorials


