How to Draw Princess Leia: Easy 10-Step Guide for Kids
Bring the galaxy's bravest princess to life with this simple, step-by-step drawing tutorial. Designed for young artists and beginners, this activity requires only a pencil, paper, and an eraser. Follow along to master Leia’s iconic look and develop your character-sketching confidence.
🎯 Final Result
Step-by-Step Instructions
Step 1: Sketching the Face

Draw a soft, curved line to create the base of Leia's chin and jaw. Teacher's Tip: Keep your pencil pressure light; this is just the foundation for the rest of her features.
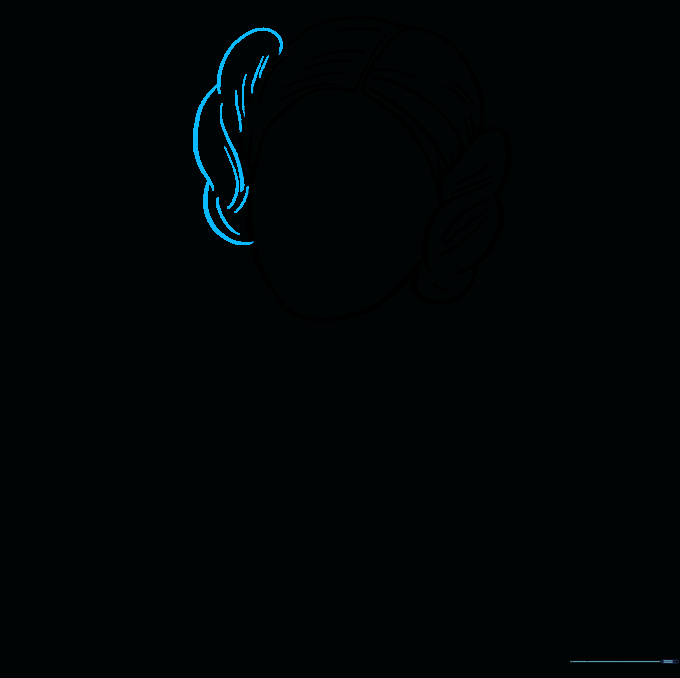
Step 2: Starting the Hair
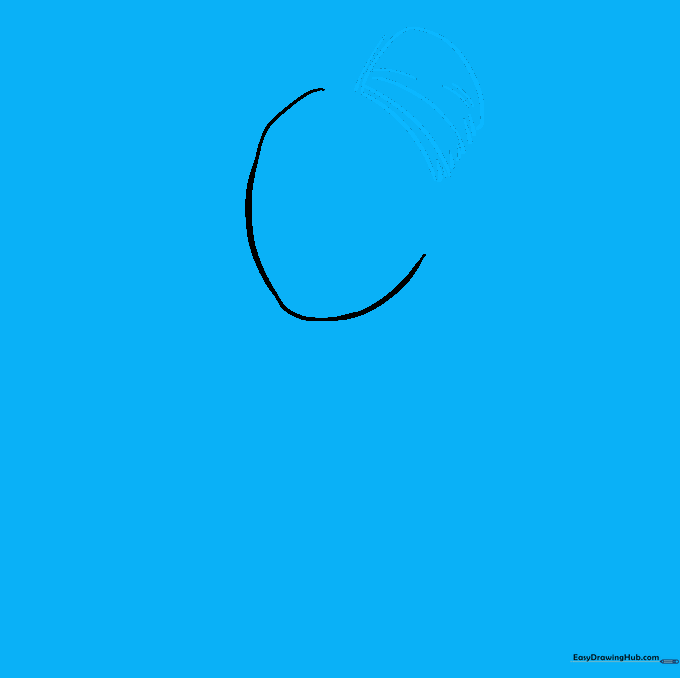
Sketch a rounded rectangular shape above the face for the first section of hair. Use short, overlapping strokes to give the hair a natural, parted texture. Tip: Think of this as a soft 'C' shape sitting on top of the head.
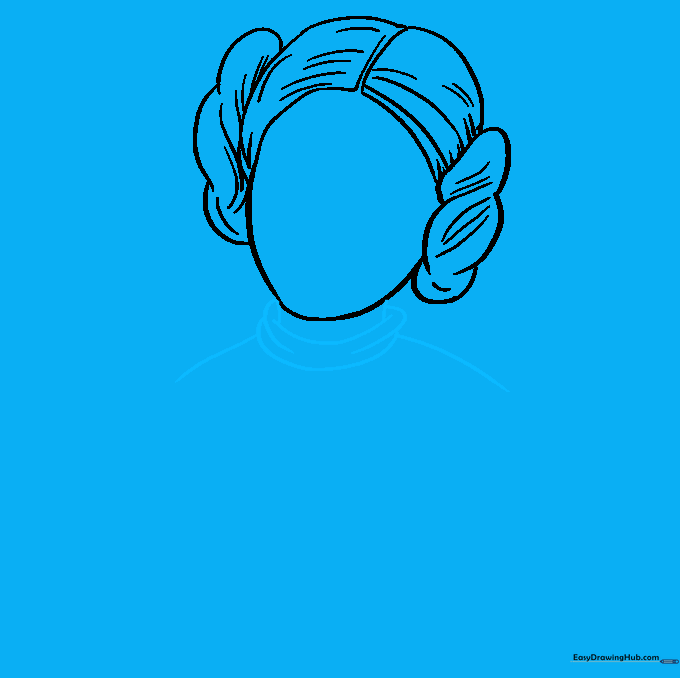
Step 3: Balancing the Hair
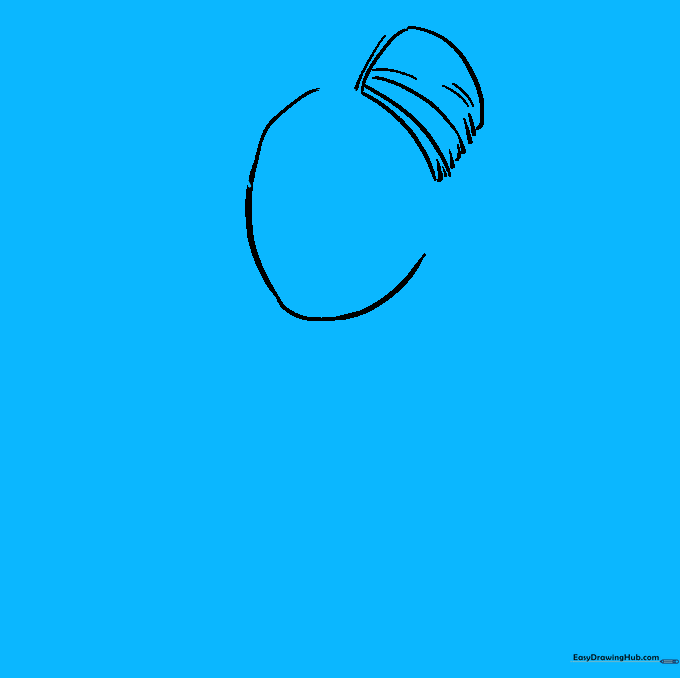
Mirror the shape on the other side of the center part to complete the top of her hair. Use consistent, flowing curved lines to match the texture of the first side.
Step 4: Drawing the First Bun
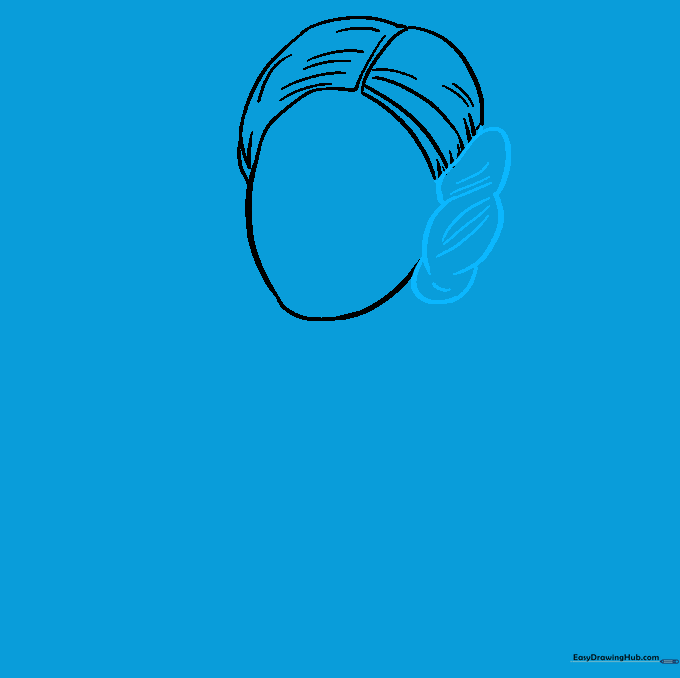
Draw the iconic side bun using three overlapping, twisted circular sections. Tip: Imagine you are drawing a coiled rope; keep the lines tight to show the 'twisted' effect.
Step 5: Completing the Buns
Repeat the process on the opposite side of the head to draw the second bun. Ensure the size and placement are similar to the first to keep your character balanced.
Step 6: Neck and Collar
Draw two short vertical lines for the neck, then add a curved shape at the base for the collar. Add small, overlapping lines at the edges to suggest soft fabric folds. Tip: These small 'V' shapes create the illusion of fabric depth.
Step 7: Shoulders and Torso
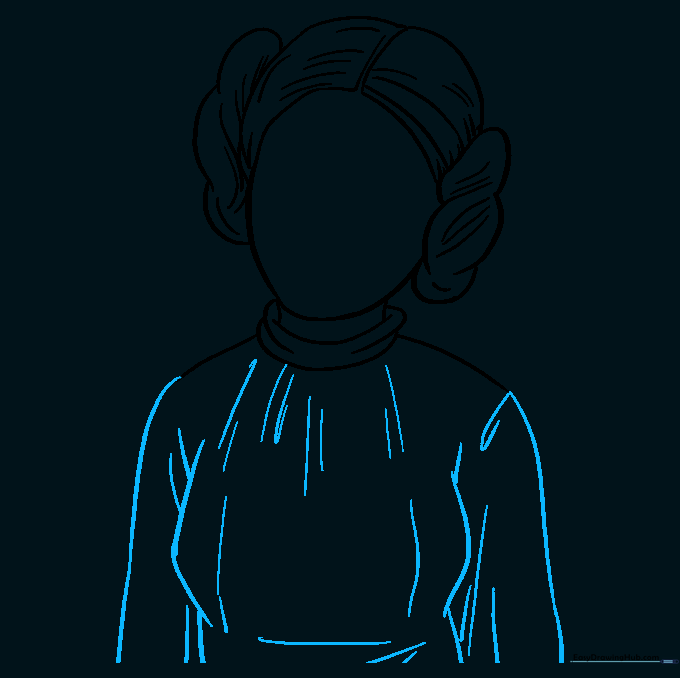
Extend lines downward from the collar to form the shoulders and torso. Add a few extra lines near the shoulders to represent the seams of her gown.
Step 8: Facial Features
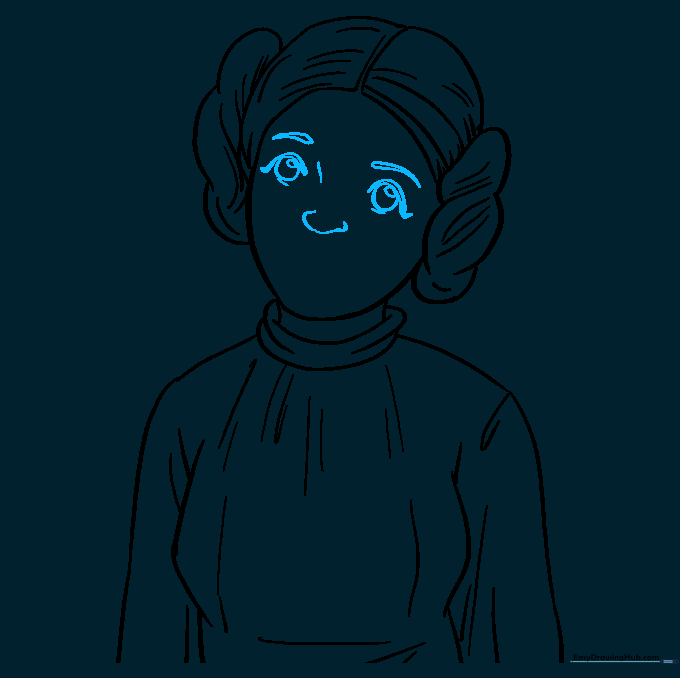
Draw two large, round eyes with smaller circles inside for pupils. Add curved lines above for brows and a simple line for the nose. Tip: Use short, light strokes for eyelashes to keep them looking delicate.
Step 9: Adding the Smile

Draw a gentle, curved line for the mouth, adding a small line below for the chin. You can add a tiny line for teeth if you want her to have a bright, happy expression.
Step 10: Bringing Leia to Life with Color

Time to color! Use a soft brown for her hair and keep her gown a clean, crisp white (or use a very light grey for shading). Tip: Use a darker brown for the shadows in the hair buns to make them look 3D.
More Tutorials


