How to Draw Potato Chips: Easy 10-Step Cartoon Guide
Ready to draw a snack-time favorite? This tutorial is perfect for young artists ages 5 and up. All you need is a pencil, an eraser, and some markers to bring this crunchy treat to life while practicing basic shape construction.
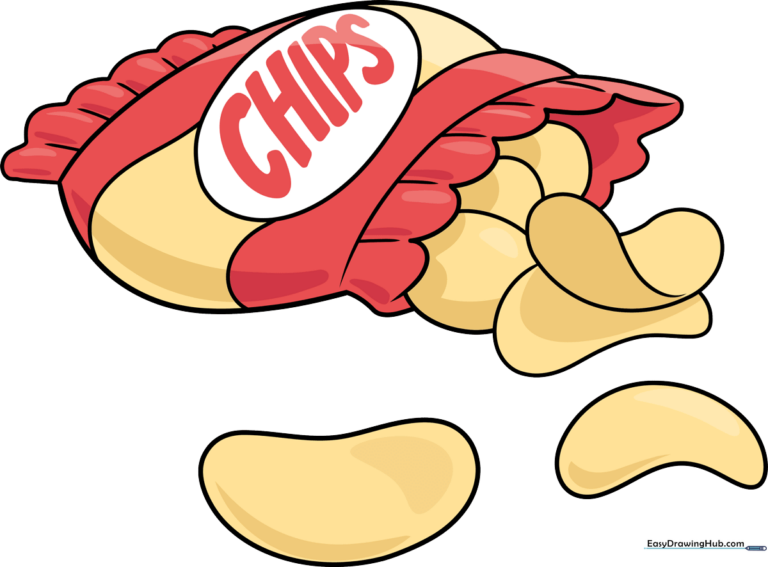
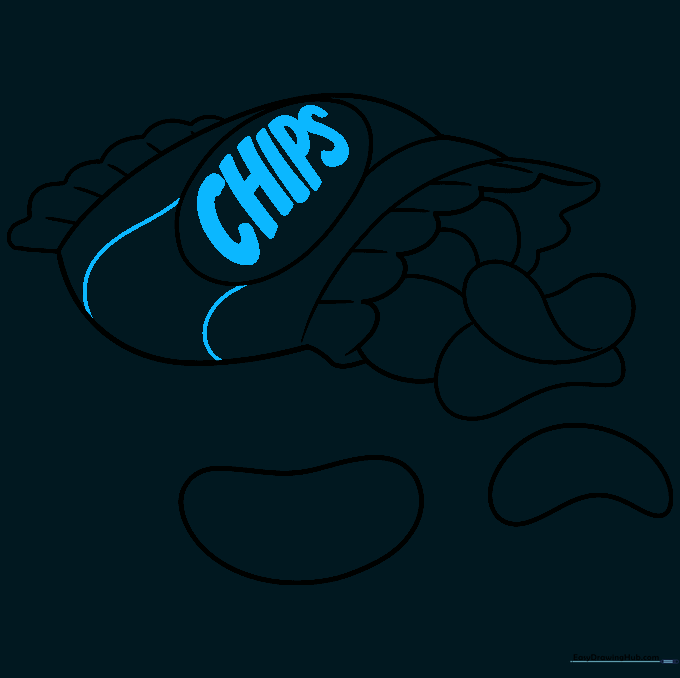
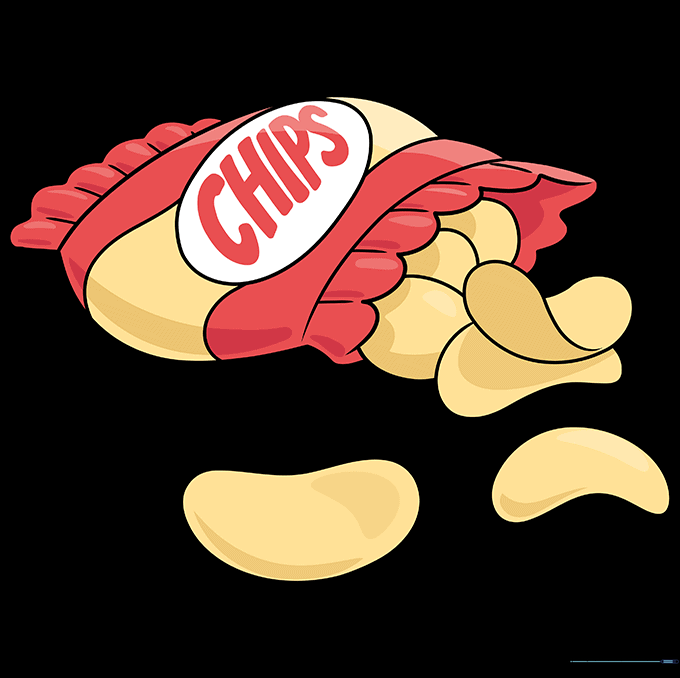
🎯 Final Result
Step-by-Step Instructions
Step 1: Sketching the Bag Outline

Draw a long, curved line to create the side of the bag. Teacher's Tip: Keep your pencil pressure light so you can easily adjust the shape if it feels too stiff.
Step 2: Defining the Bag Opening
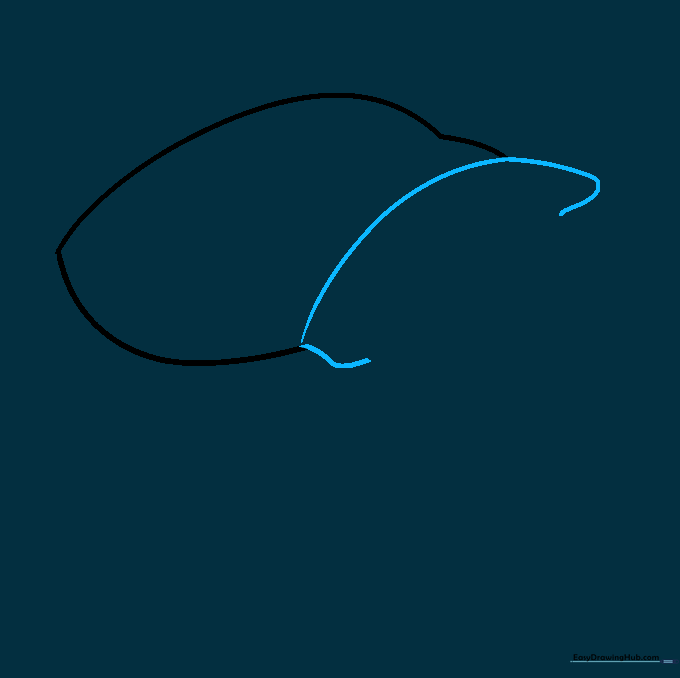
Use a wide 'C' shaped line to connect the top of your first line, forming the opening of the bag. Tip: Imagine you are drawing a slightly squashed oval to get the perspective right.
Step 3: Creating the Scalloped Edge
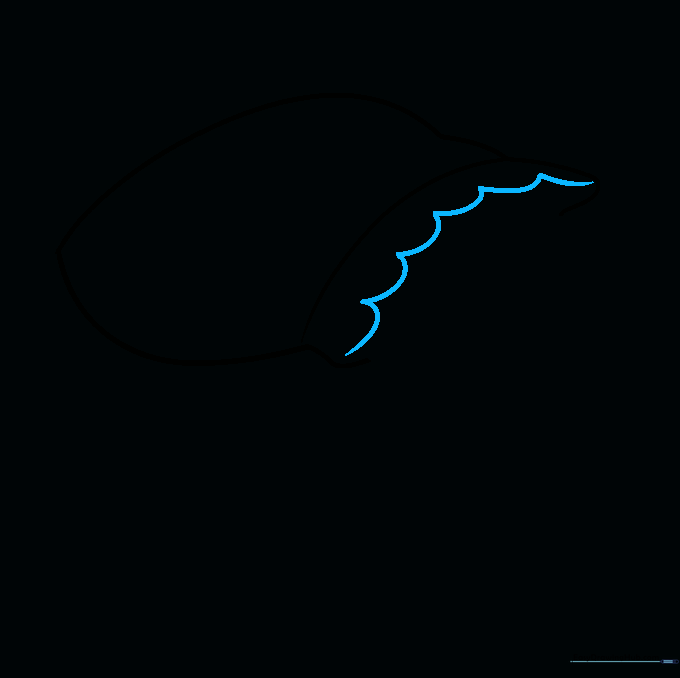
Draw a series of connected 'U' shapes along the top opening. Tip: Keep these 'U's small and rhythmic to make the bag look like it's been crinkled open.
Step 4: Sealing the Bottom
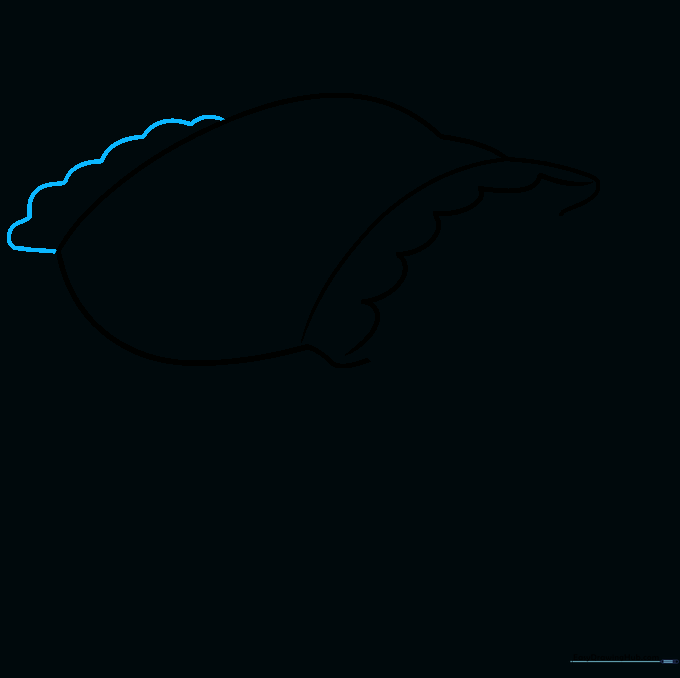
Add a similar scalloped line at the bottom of the bag to show where it is factory-sealed. Tip: Make sure the bottom edge is slightly flatter than the top to give the bag weight.
Step 5: Drawing the First Chip
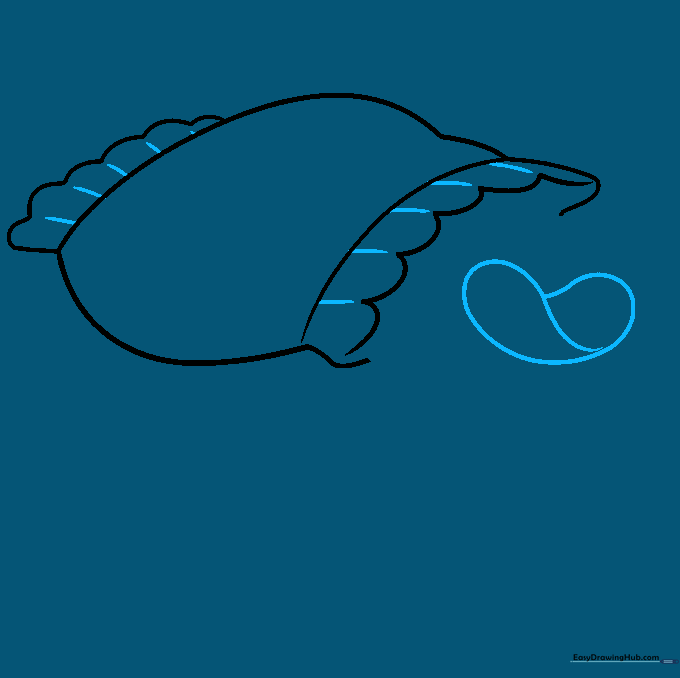
Draw a rounded heart shape inside the bag opening. Tip: Let the lines overlap slightly to create the illusion of a curved, crispy chip.
Step 6: Adding More Chips
Draw a second, bean-shaped chip partially hidden behind the first. Tip: Don't worry about making them identical; real chips come in all sorts of irregular shapes!
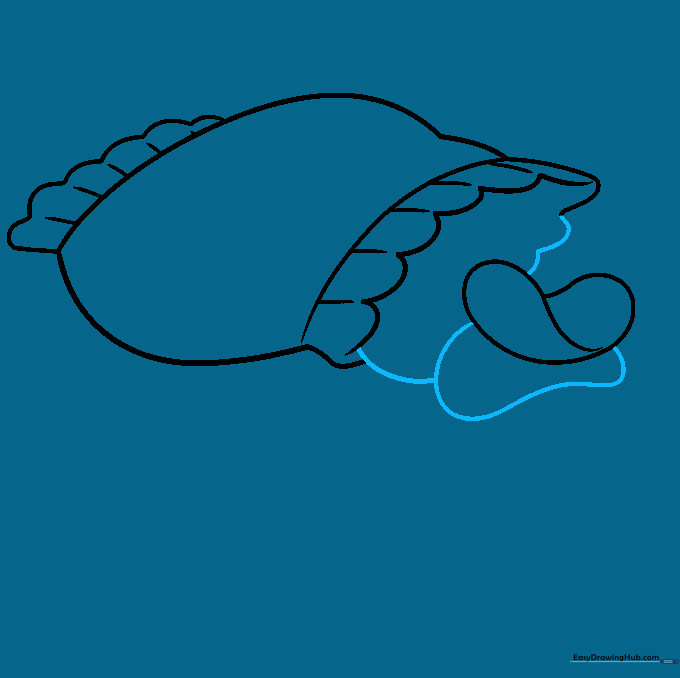
Step 7: Filling the Bag
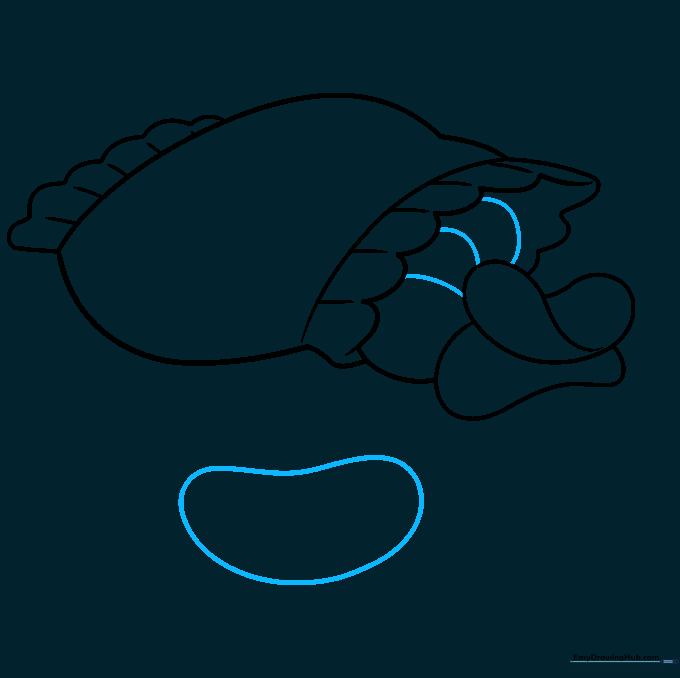
Add several more curved shapes inside the bag to represent a full snack. Tip: Vary the sizes of the chips to create a sense of depth.
Step 8: Designing the Label
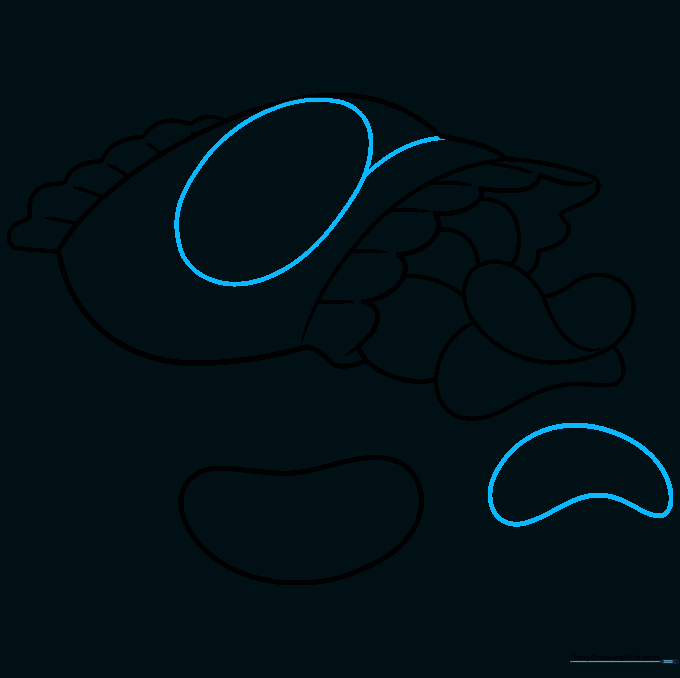
Draw a large oval in the center of the bag for the logo. Tip: Use a light touch so you can erase any overlapping lines later.
Step 9: Adding Text
Write 'CHIPS' in bold, blocky letters inside the oval. Tip: Practice writing the letters on a scrap piece of paper first to ensure they fit nicely.
Step 10: Adding Color
Time to color! Use bright colors for the bag and warm yellows or oranges for the chips. Tip: Use a darker shade of yellow on the edges of the chips to give them a 'toasted' look.
More Tutorials


