How to Draw Popcorn: Easy 10-Step Guide for Beginners
Ready to draw a delicious movie-night snack? This tutorial is perfect for ages 5 and up, using only a pencil, eraser, and paper. You will learn how to create a classic striped bucket and fluffy, textured popcorn kernels using simple shapes.
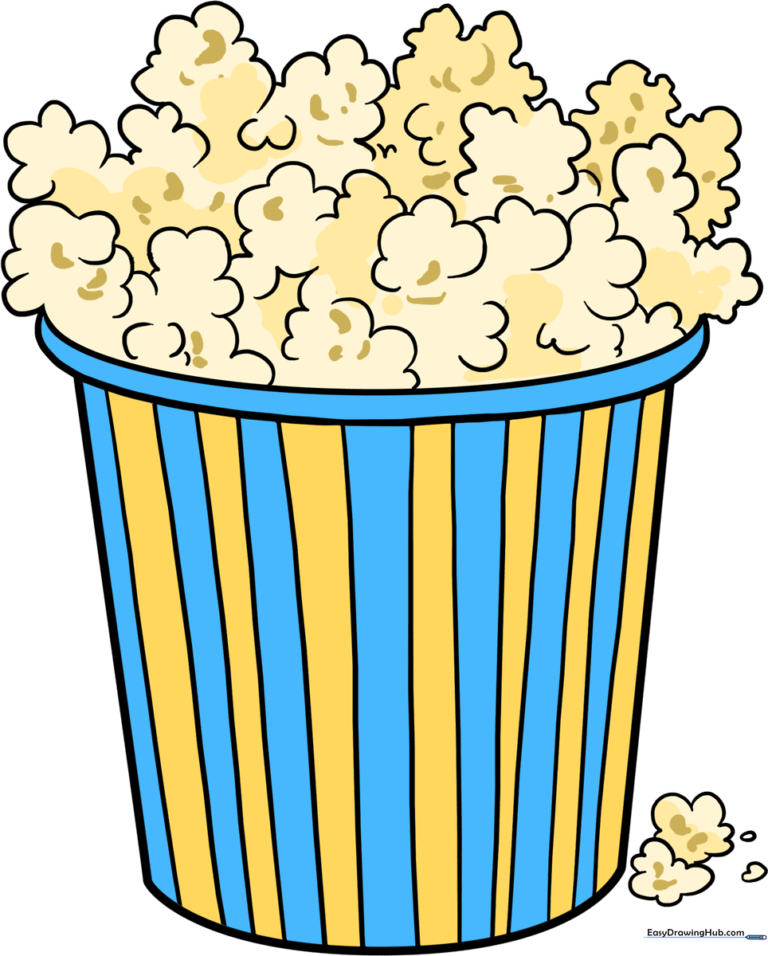
🎯 Final Result
Step-by-Step Instructions
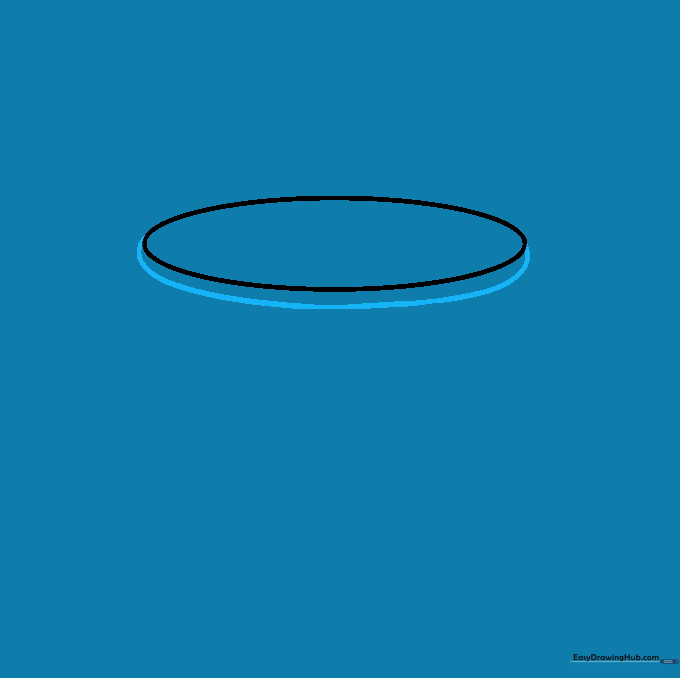
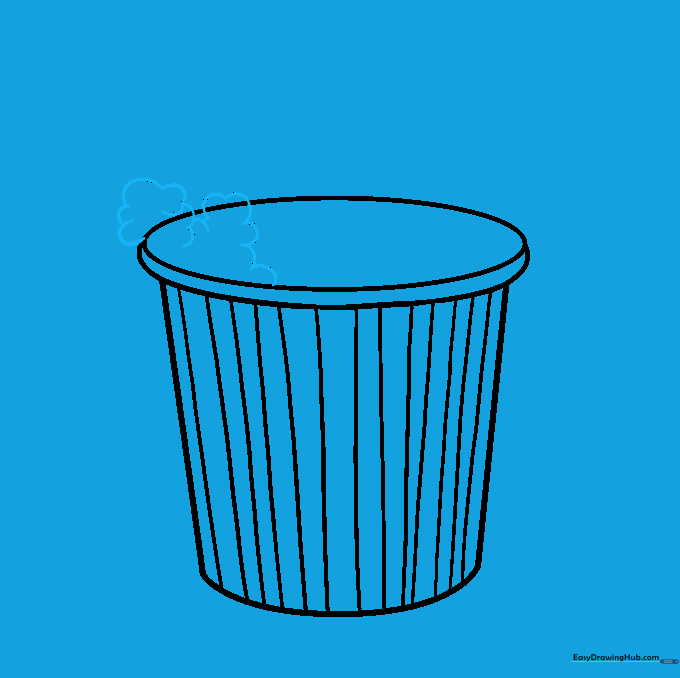
Step 1: Sketching the Bucket Rim

Draw a narrow, flattened oval to represent the top opening of your popcorn bucket. Teacher's Tip: Keep your pencil pressure light so you can easily erase this guideline later once the popcorn is drawn on top.
Step 2: Defining the Bucket Lip
Draw a curved line beneath the oval to create the thickness of the bucket's rim. Connect the ends to the oval. Tip: Think of this like drawing a smile that connects to the sides of your oval.
Step 3: Forming the Bucket Base
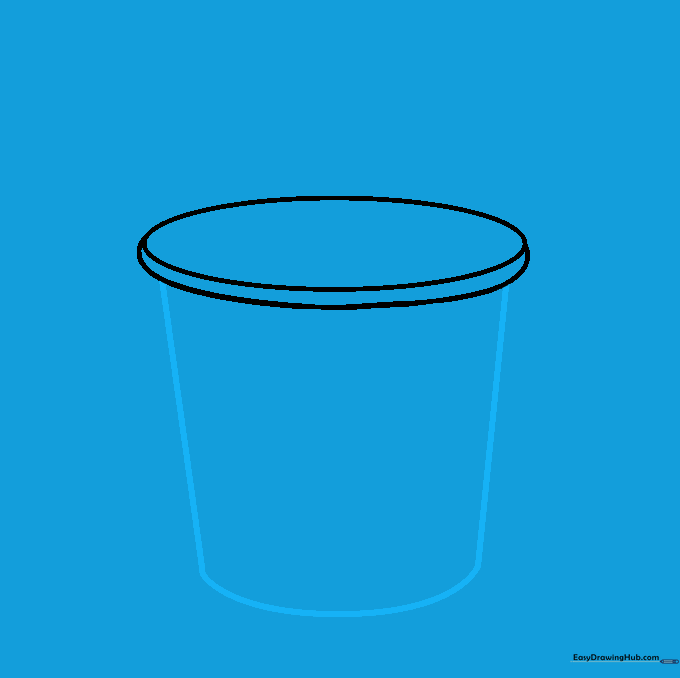
Extend two straight lines downward from the rim and connect them with a flat line at the bottom. Tip: Make the base slightly narrower than the top to give your bucket a realistic 3D look.
Step 4: Adding Stripes
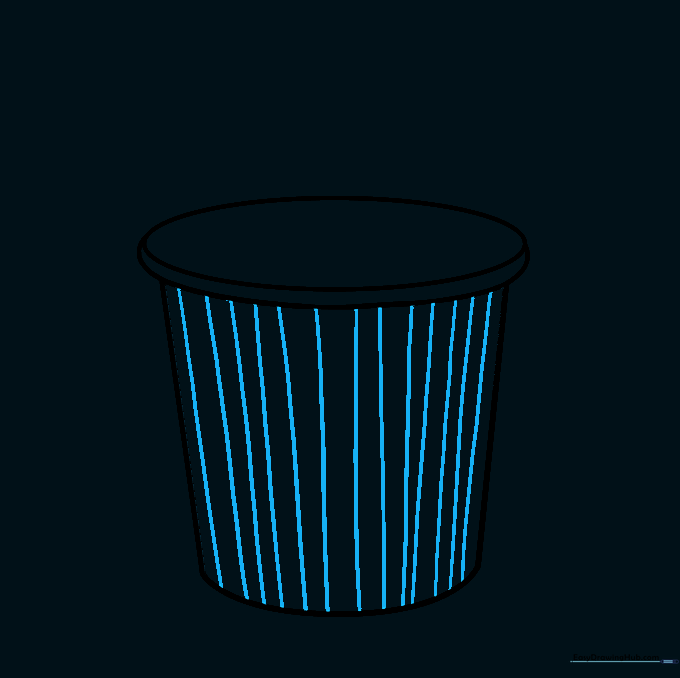
Draw vertical lines down the front of the bucket to create a classic striped pattern. Tip: Space your lines evenly to make the bucket look professional and tidy.
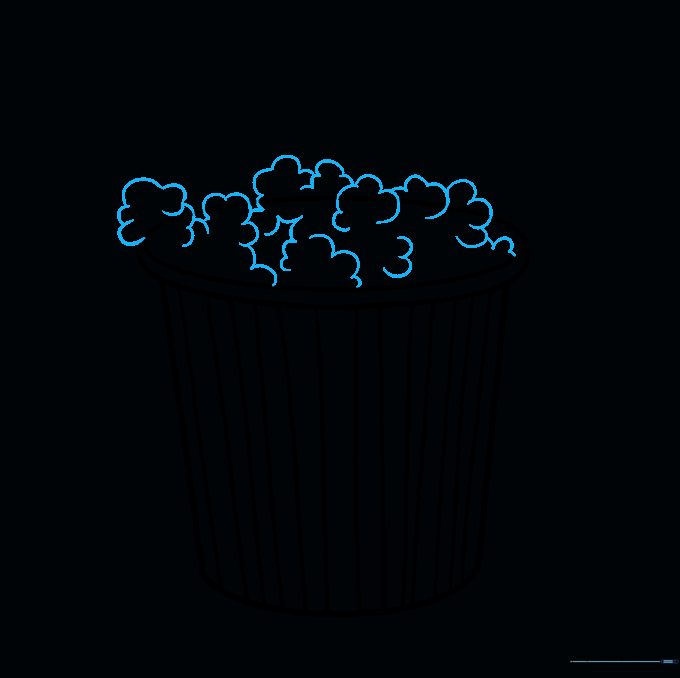
Step 5: Sketching the First Popcorn
Use a series of connected 'U' shapes to create a cloud-like form emerging from the top. Tip: Don't worry about making it perfect; popcorn is naturally bumpy and irregular!
Step 6: Adding More Texture
Draw more overlapping 'U' shapes to build up the pile of popcorn. Tip: Vary the size of your 'U' shapes to make the popcorn look more realistic and textured.
Step 7: Creating the Overflow
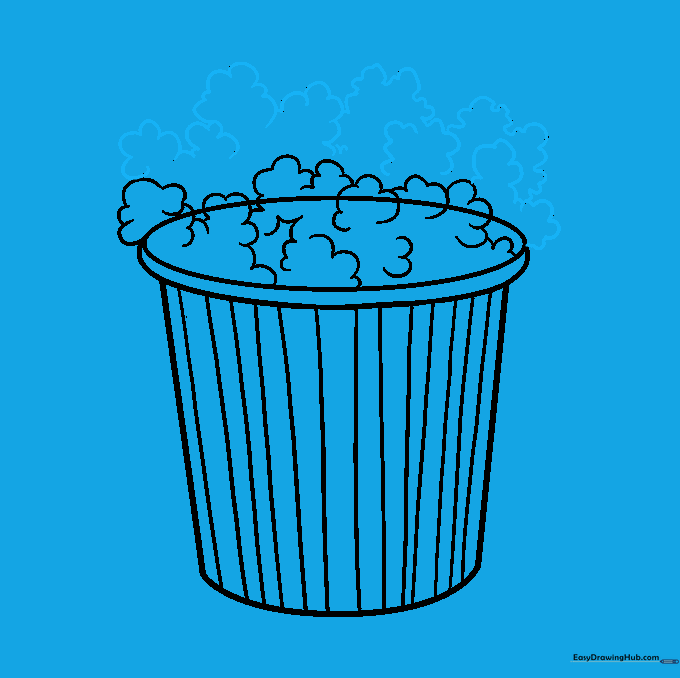
Continue adding chains of 'U' shapes until the popcorn looks like it is spilling over the edge of the bucket. Tip: Let some kernels hang slightly over the rim to create a sense of depth.
Step 8: Cleaning Up

Carefully erase the original oval guide lines inside the popcorn. Tip: Use a clean eraser and hold the paper flat to avoid wrinkling your drawing.
Step 9: Adding Final Details
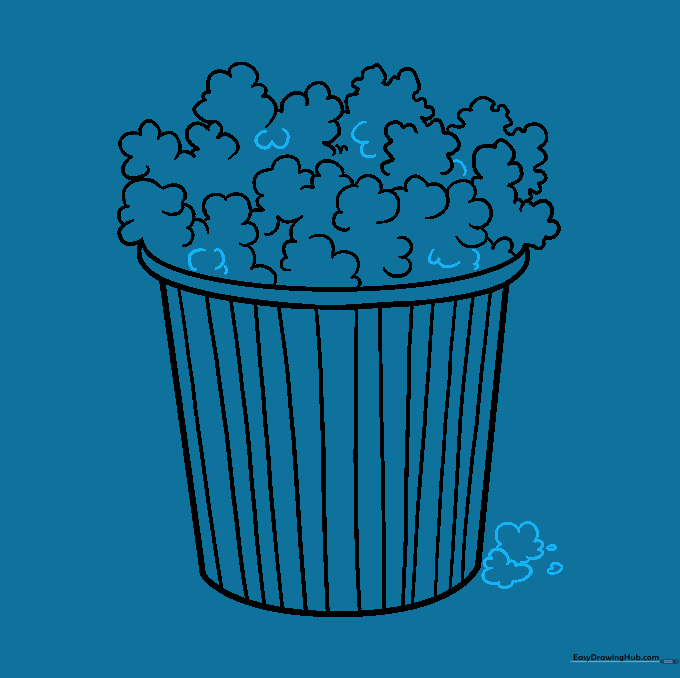
Fill in any gaps with small 'U' shapes and add a few fallen kernels at the base of the bucket. Tip: Adding these small details makes your drawing look complete and dynamic.
Step 10: Adding Color
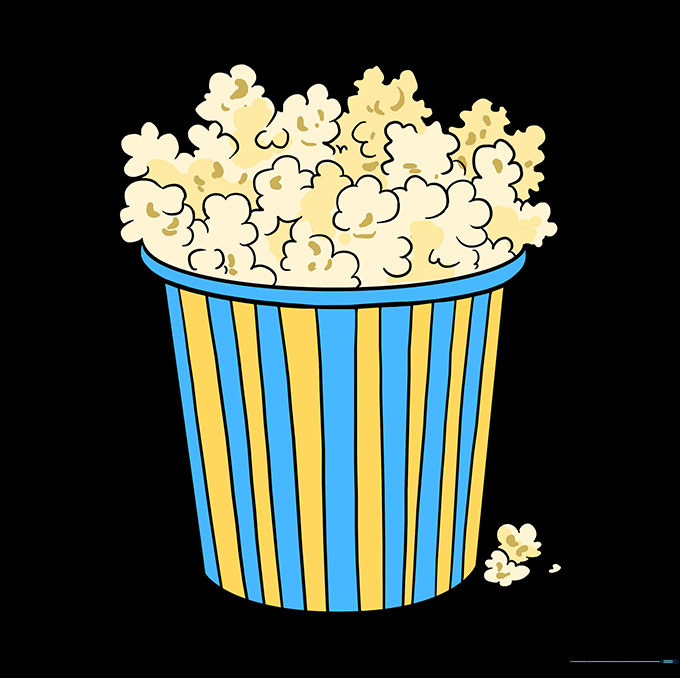
Color your bucket with red and white stripes and use yellow for buttery popcorn. Tip: Use light yellow for the center of the kernels and white for the edges to show highlights!
More Tutorials


