How to Draw Pop Art: Easy Comic Book Style Guide
Bring the bold, energetic style of 1960s comic books to your sketchbook! This project is perfect for artists ages 7+ who want to experiment with high-contrast colors and dynamic shapes. All you need is a pencil, an eraser, a black fine-liner, and your favorite markers to create a masterpiece that pops off the page.
Step-by-Step Instructions
Step 1: Sketching the 'BAM' Lettering
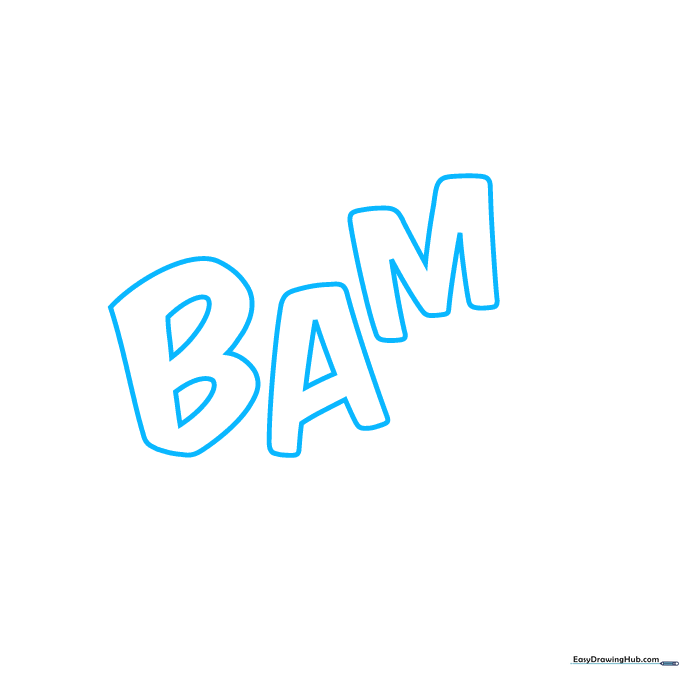
Lightly sketch the word 'BAM' in the center of your paper using large, blocky letters. Tip: Keep your pencil pressure light so you can easily adjust the spacing if the letters look a bit crowded.
Step 2: Adding Depth with Shadows
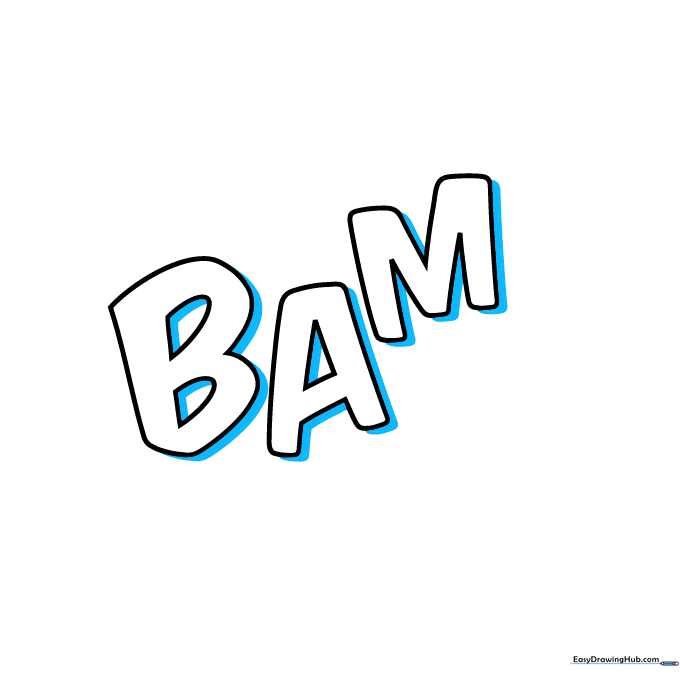
Add a thick shadow to the right side of each letter. Tip: Imagine a light source coming from the top left; this helps you visualize exactly where the shadows should fall to make the letters look 3D.
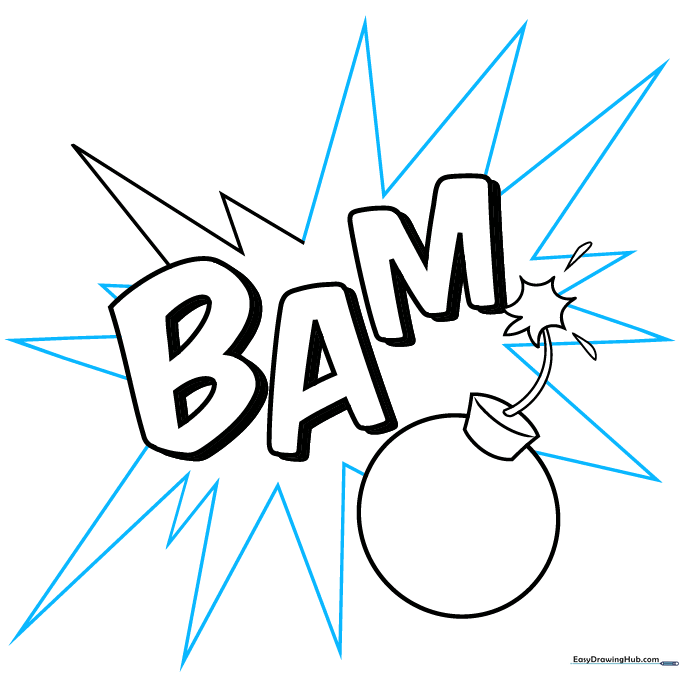
Step 3: Drawing the Bomb Base
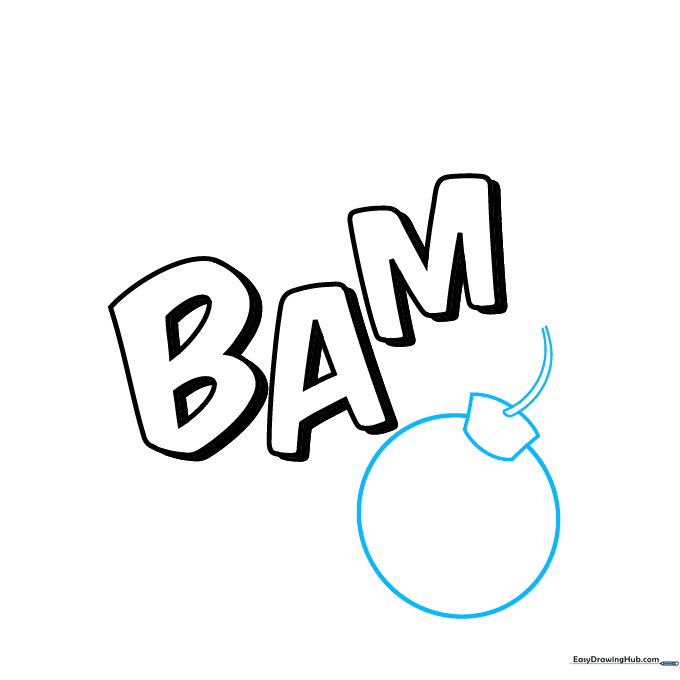
Draw a circle below your letters, then add a small, narrow tube on top. Tip: Don't worry about making the circle perfect; a slightly organic shape adds to the hand-drawn comic aesthetic.
Step 4: Creating the Explosion
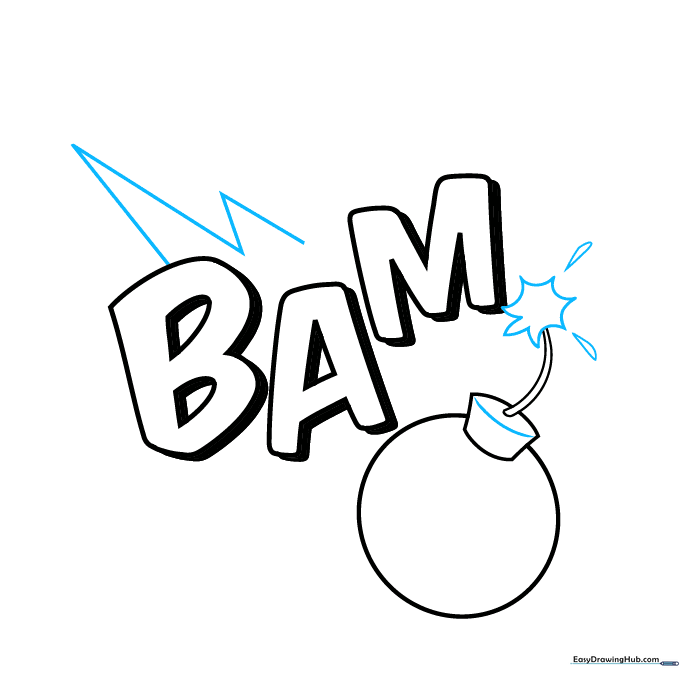
Draw a jagged explosion shape using loose, pointy triangles around the fuse. Tip: Use quick, confident strokes to make the explosion look energetic and sharp.
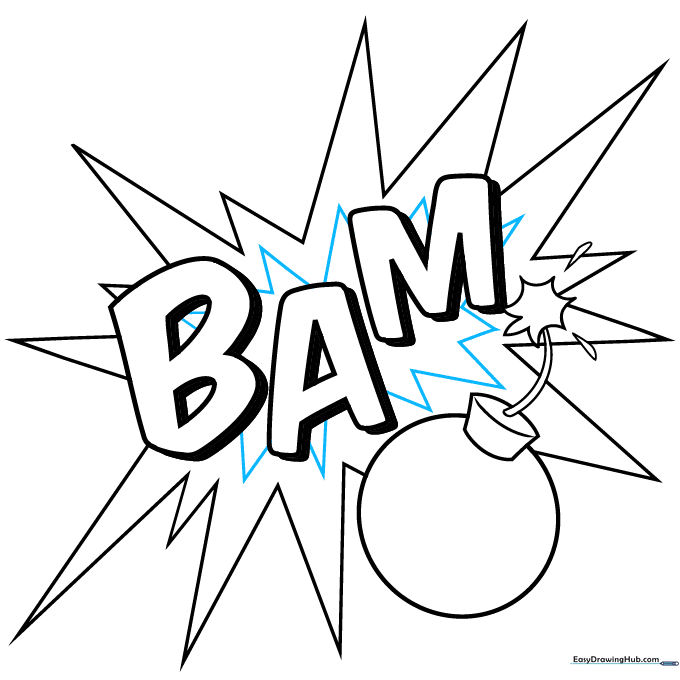
Step 5: Expanding the Starburst
Add more triangles of varying sizes behind the bomb and letters. Tip: Varying the size of these triangles creates a sense of movement and 'impact' in your drawing.
Step 6: Refining the Starburst
Sketch a smaller, secondary starburst inside the one you just created. Tip: This layering technique adds depth and makes your Pop Art look more professional.
Step 7: Adding Cloud Details
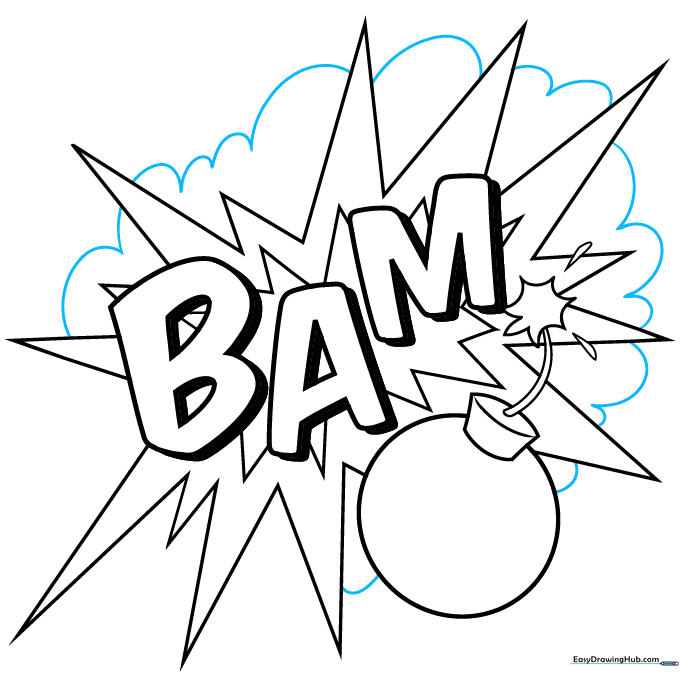
Draw soft, rounded hills around the starburst to represent smoke. Tip: Think of these as fluffy, cartoon-style clouds—keep the curves smooth and connected.
Step 8: Finalizing the Smoke
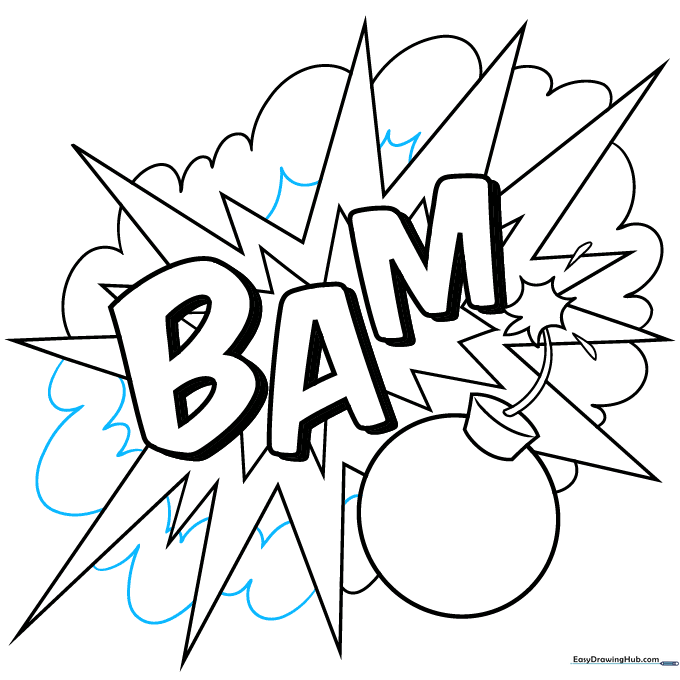
Complete the smoke clouds on the left and add a few more curvy triangles behind the starburst. Tip: Overlapping your shapes helps unify the composition.
Step 9: Adding Background Lines
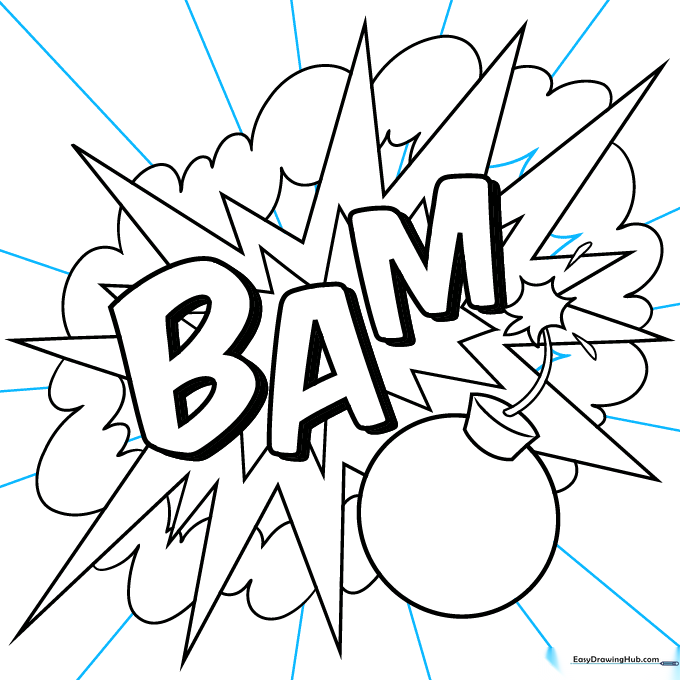
Draw straight vertical lines in the background, ensuring they stop at the edges of your explosion. Tip: Use a ruler if you want perfectly straight lines, or go freehand for a more 'raw' comic book look.
Step 10: Inking and Coloring
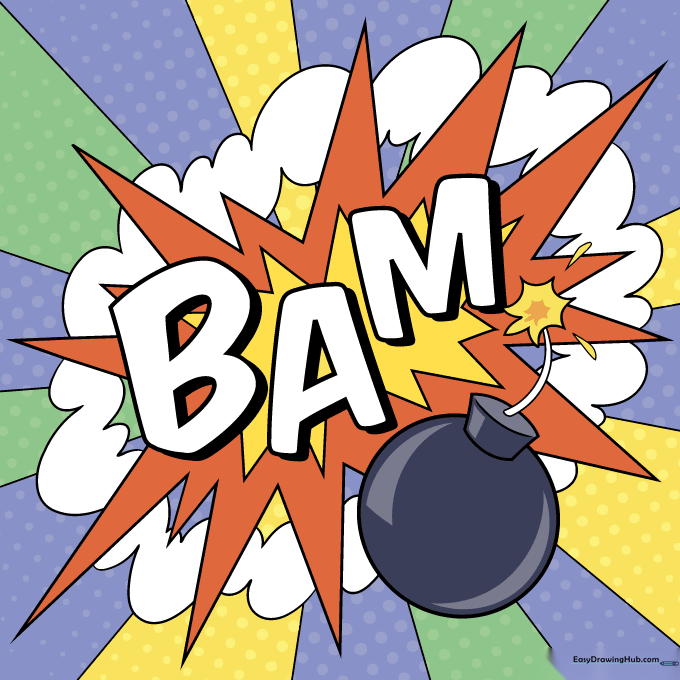
Outline everything with a black marker, fill in the shadows, and erase your pencil lines. Color the background with bright, alternating stripes and use orange and yellow for the explosion. Tip: Let the ink dry completely before erasing to avoid smudging your hard work!
More Tutorials


