How to Draw a Pocket Watch: Easy 10-Step Guide
Capture the charm of vintage timepieces with this beginner-friendly drawing guide, perfect for artists ages 6 and up. You will only need a pencil, an eraser, and a piece of paper to get started. By following these steps, you will learn how to construct a balanced, circular design while practicing your precision and steady hand control.
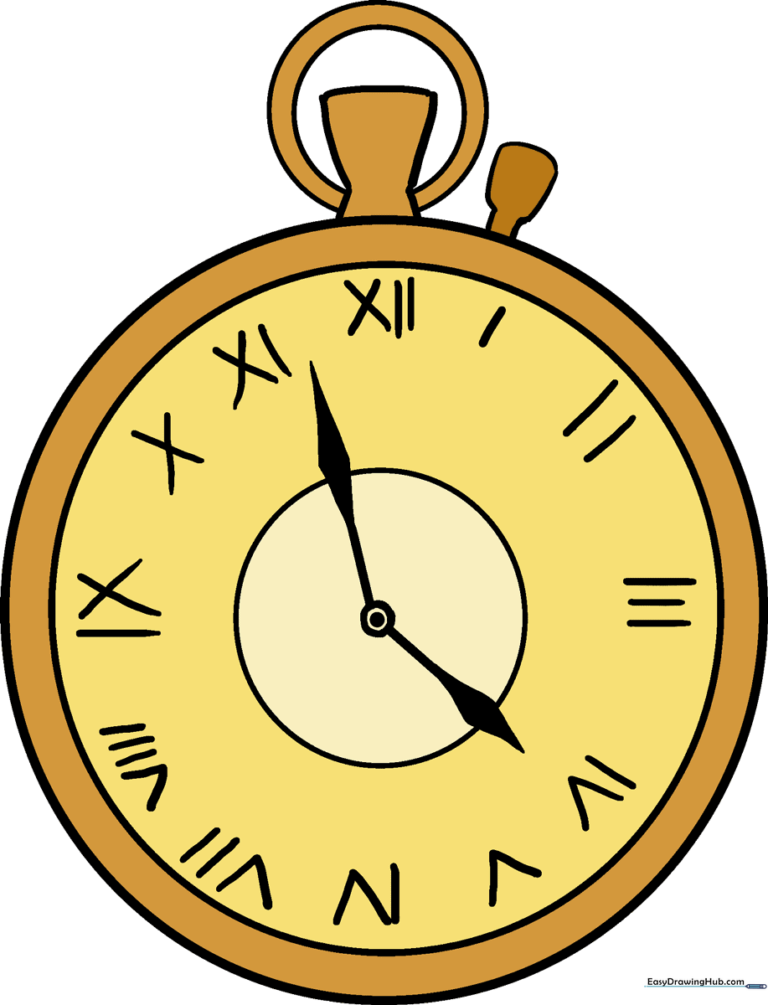
🎯 Final Result
Step-by-Step Instructions
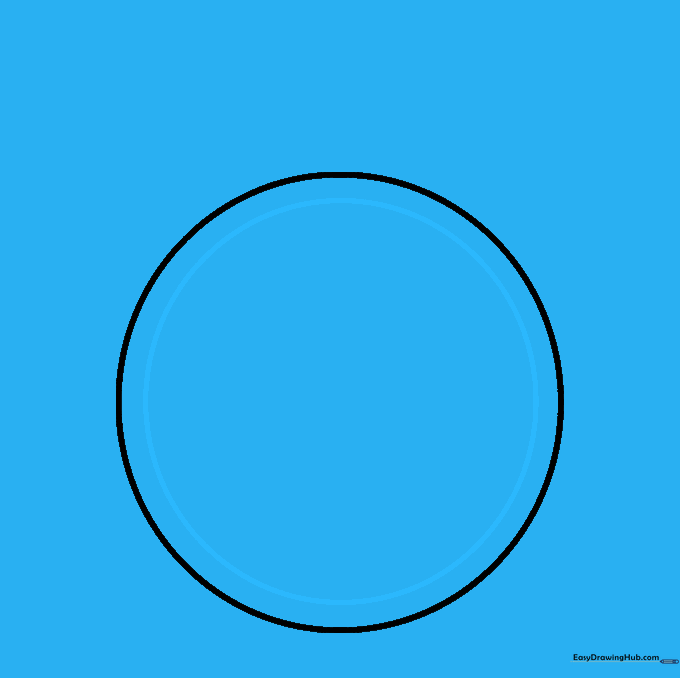
Step 1: Sketching the Main Case

Draw a large, clean circle to serve as the watch body. Teacher's Tip: Keep your pencil pressure light so you can easily erase any overlapping lines later.
Step 2: Defining the Watch Face
Draw a slightly smaller circle inside the first one to create the watch face border. Teacher's Tip: Try to keep the gap between the two circles even all the way around for a professional look.
Step 3: Adding the Crown
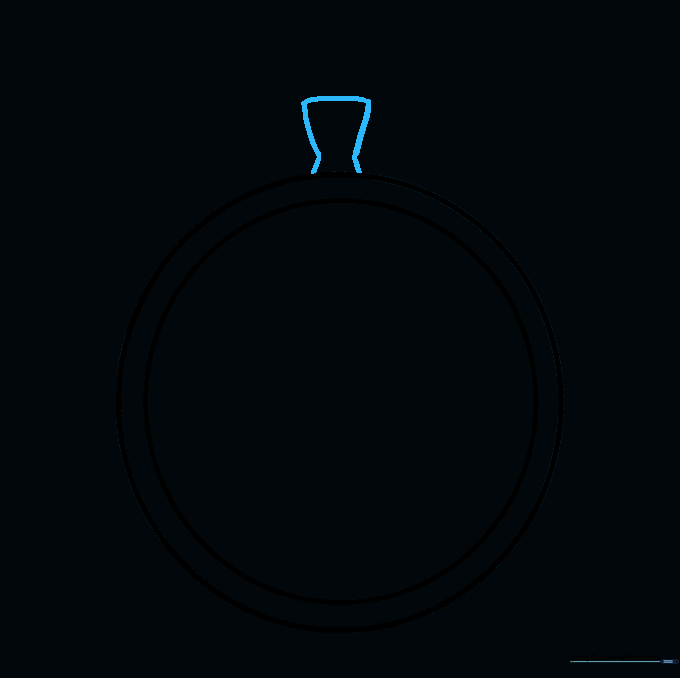
Sketch a small hourglass shape at the very top of your circle. This is the 'crown' used to wind the watch. Teacher's Tip: Use short, straight strokes to keep the edges sharp.
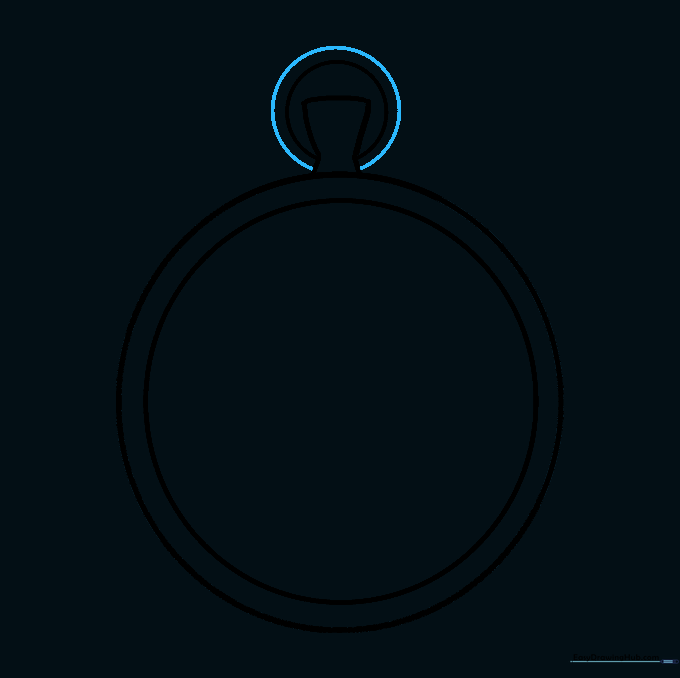
Step 4: Creating the Attachment Loop
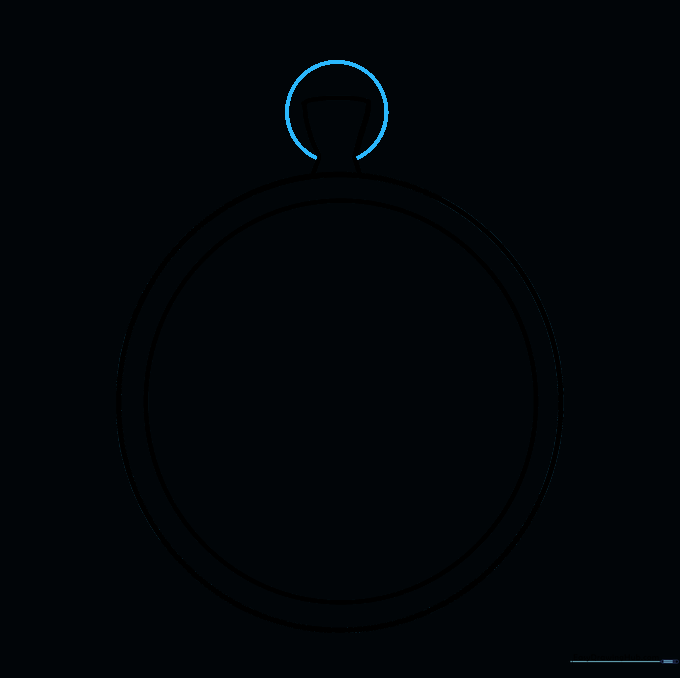
Draw a small circle resting on top of the crown. This is the loop where the chain would attach. Teacher's Tip: Make sure it is perfectly centered so your watch looks balanced.
Step 5: Thickening the Loop
Draw a slightly larger circle around the previous one to give the loop thickness. Teacher's Tip: Think of this like drawing a donut shape to make it look like a sturdy metal ring.
Step 6: Drawing the Setting Knob
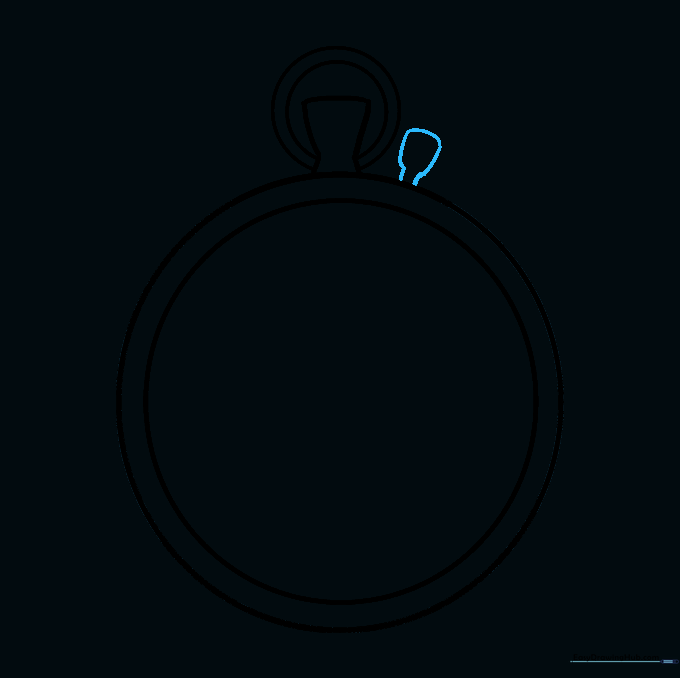
Add a small, irregular shape to the side of the crown. This represents the knob used to set the time. Teacher's Tip: Keep it small so it doesn't distract from the main watch face.
Step 7: Sketching the Clock Hands
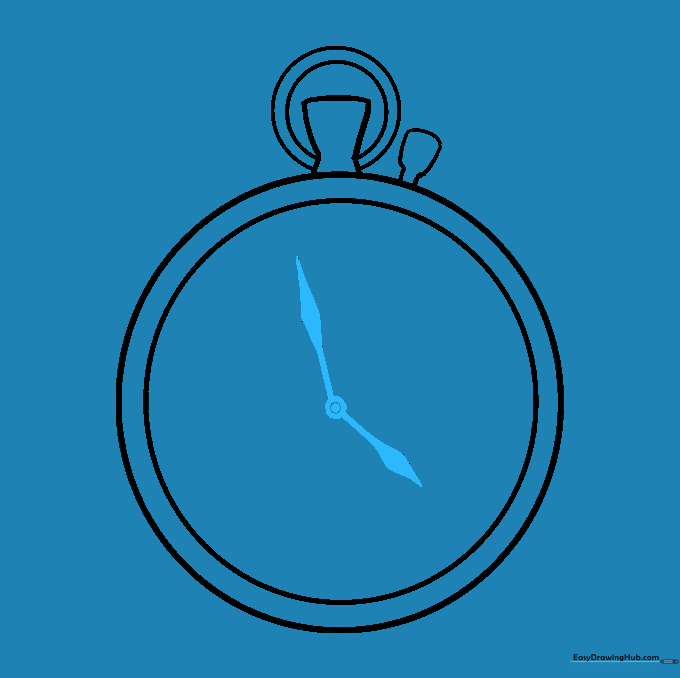
Place a dot in the center and draw two diamond-shaped hands extending outward. Teacher's Tip: Make one hand shorter than the other to clearly show the hour and minute hands.
Step 8: Adding Face Detail
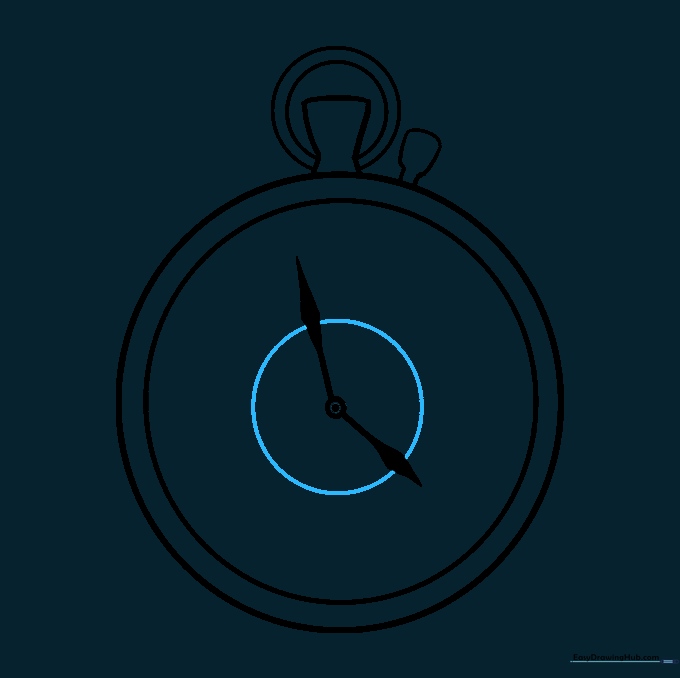
Draw a small circle around the center point where the hands meet. Teacher's Tip: This adds a realistic 'pin' detail that holds the hands in place.
Step 9: Adding Roman Numerals
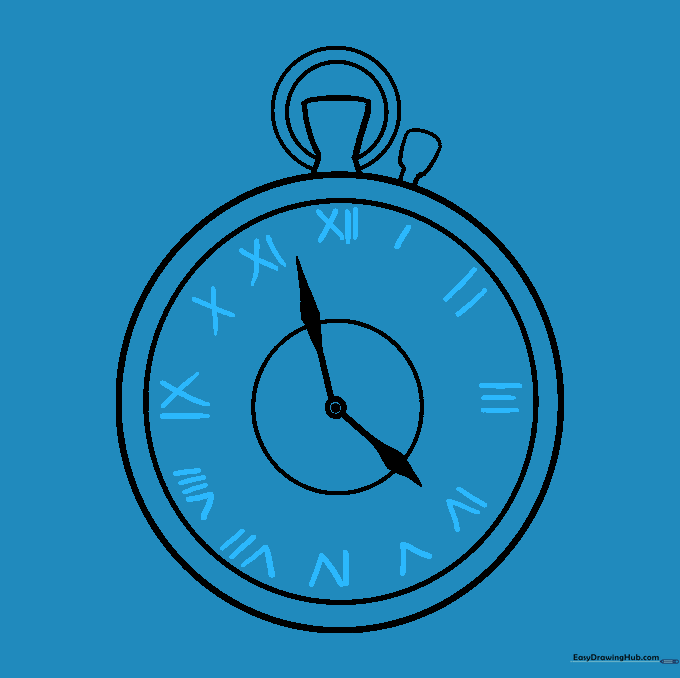
Carefully write the Roman numerals I through XII around the edge of the face. Teacher's Tip: Lightly mark the positions with dots first to ensure they are spaced evenly.
Step 10: Adding Color
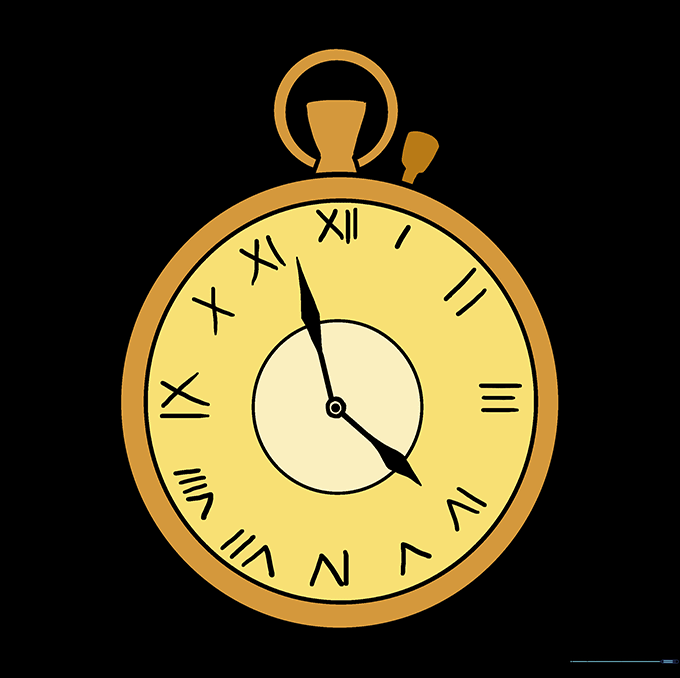
Bring your watch to life with color! Use metallic shades like gold or silver for the casing. Teacher's Tip: Use a darker shade on one side of the circle to create a 3D shading effect.
More Tutorials


