How to Draw Playing Cards: Easy 10-Step Guide
Ready to draw a winning hand? This tutorial is perfect for young artists ages 6+ looking to master perspective and overlapping shapes. Grab your pencil, eraser, and paper, and follow along to create a professional-looking fan of cards in just ten simple steps.
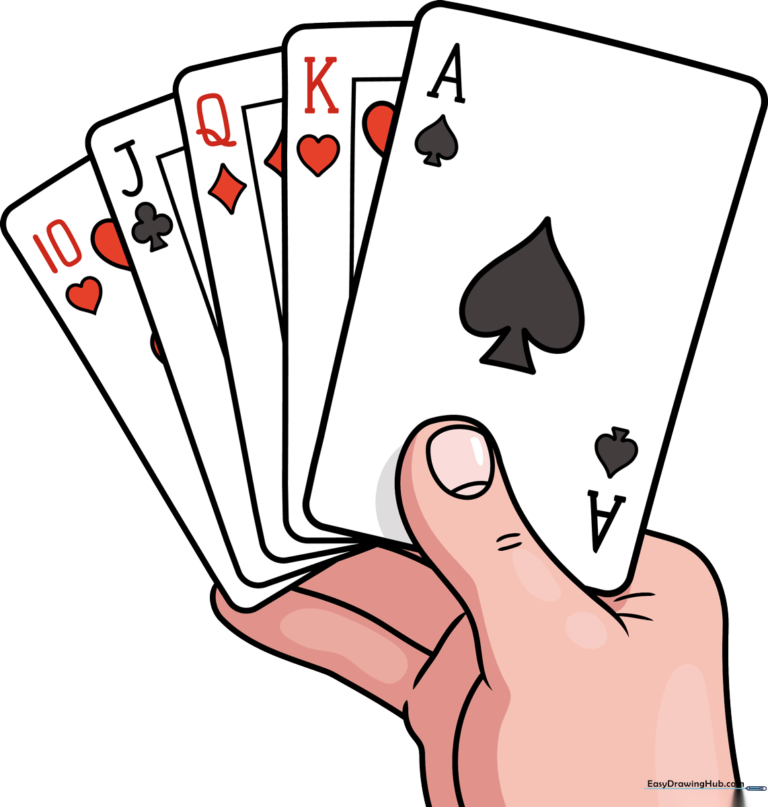
🎯 Final Result
Step-by-Step Instructions
Step 1: Sketching the First Card
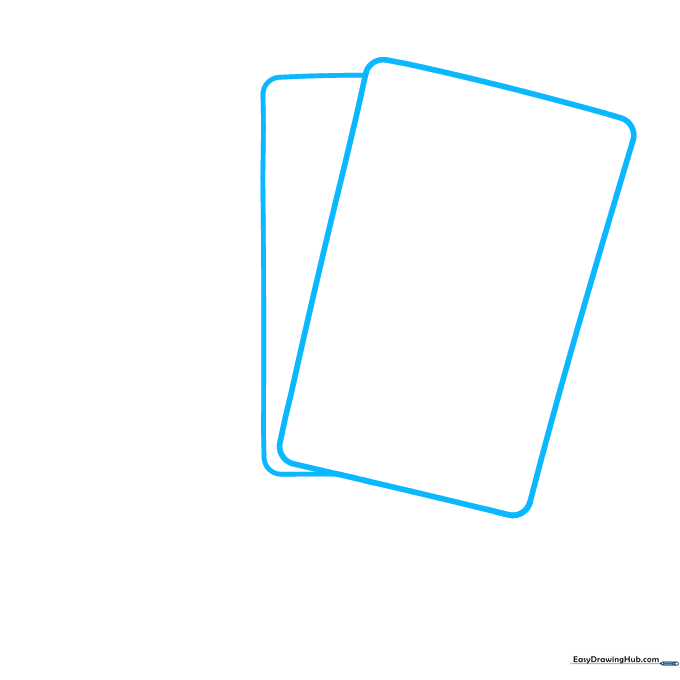
Start by drawing a rectangle with soft, rounded corners tilted at a diagonal angle. Tip: Keep your pencil lines light so you can easily adjust the shape later if it looks too stiff.
Step 2: Fanning the Deck
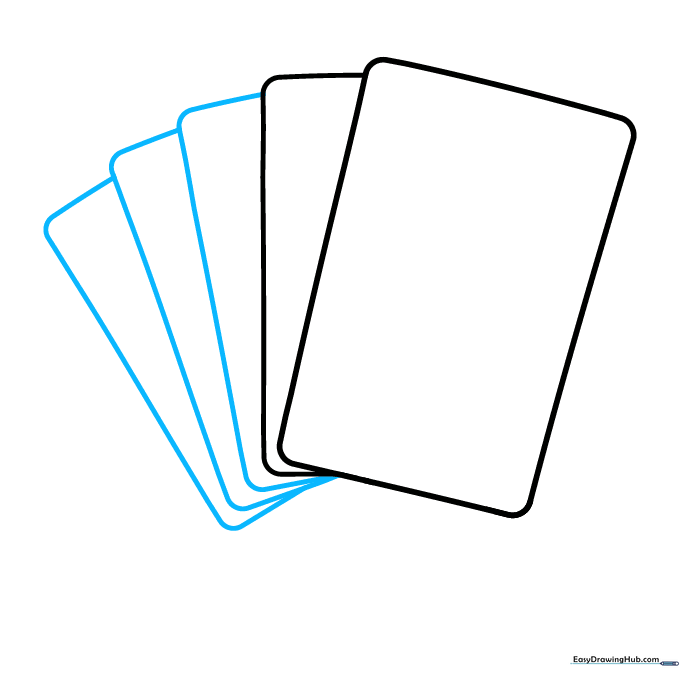
Add three more rectangular shapes behind the first one to create a fan. Tip: Make sure the corners of each card peek out from behind the one in front to create the illusion of depth.
Step 3: Drawing the Thumb
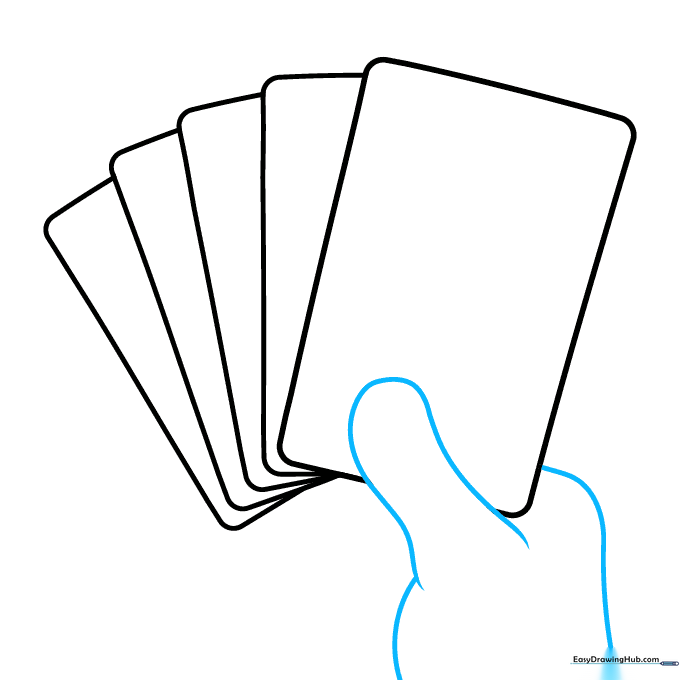
Sketch the thumb holding the cards using a long, curved line that doubles back on itself. Tip: Use your own thumb as a reference to see how the knuckle curves naturally.
Step 4: Adding Fingers
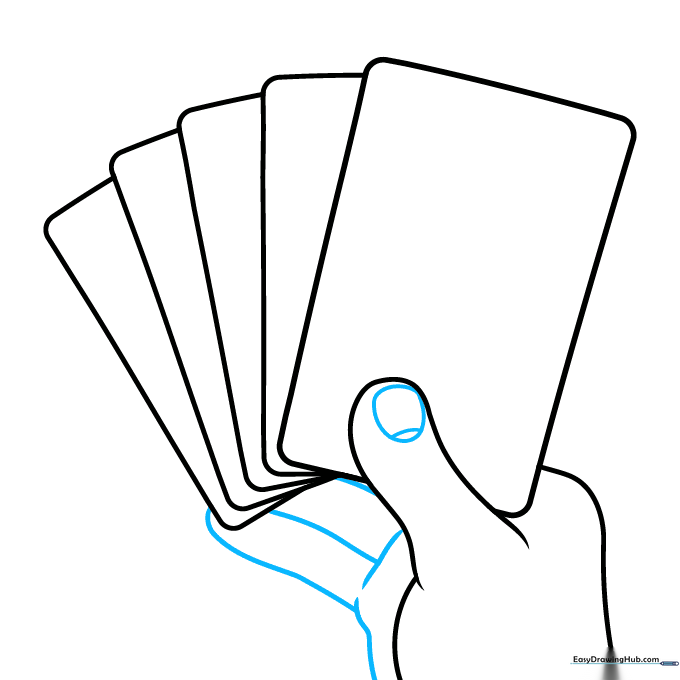
Draw the remaining fingers using overlapping curved lines. Add a small oval for the thumbnail with a tiny curve at the base. Tip: Don't worry about perfect anatomy; focus on the flow of the lines.
Step 5: The Ace of Spades
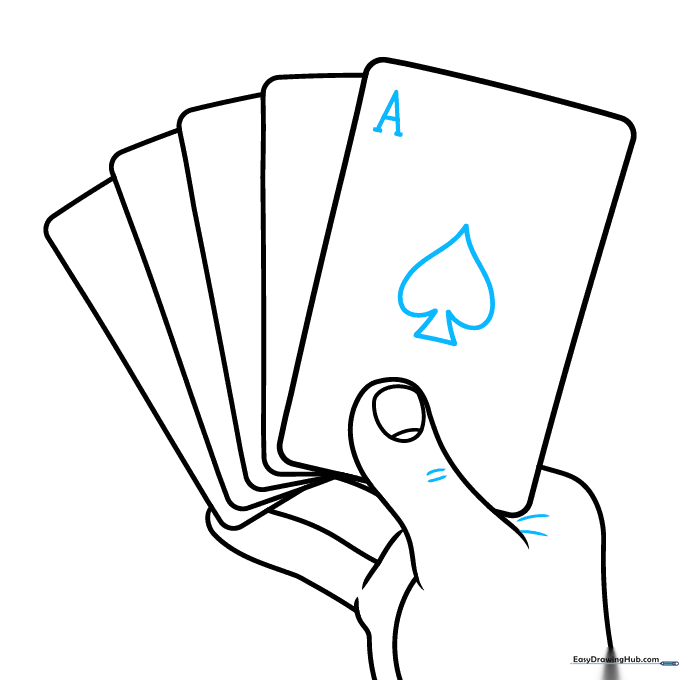
Detail the front card by writing a capital 'A' in the corner and drawing a spade in the center. Tip: For the spade, draw a heart shape first, then add a small triangle at the bottom.
Step 6: Finishing the Ace
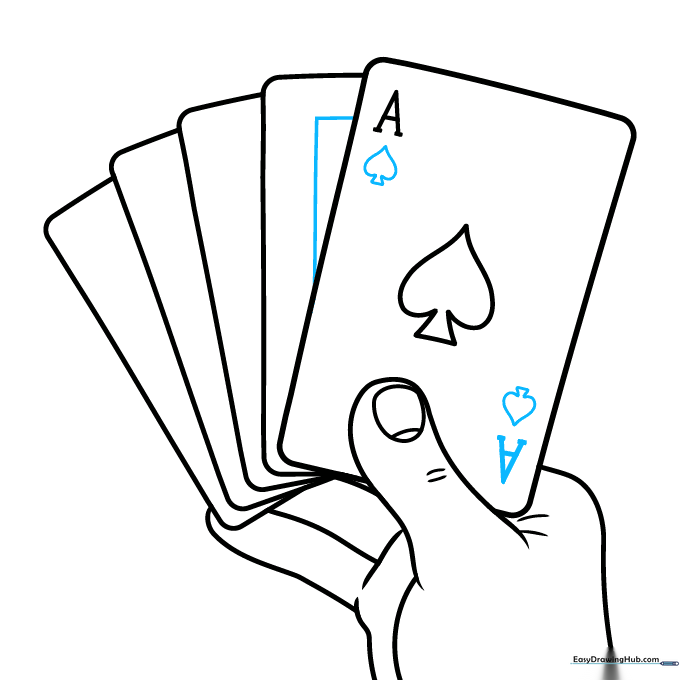
Add an upside-down 'A' and a smaller spade in the bottom right corner of the first card. Tip: Keeping the symbols small makes the card look more realistic.
Step 7: The King of Hearts
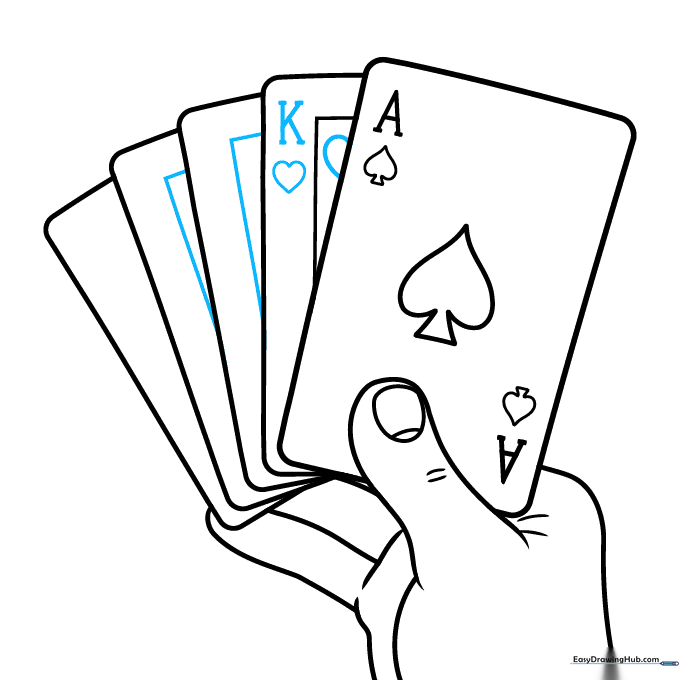
On the second card, draw a 'K' and a heart symbol. Tip: Since the card is partially hidden, draw only half of the heart symbol to show it's tucked away.
Step 8: Queen and Jack
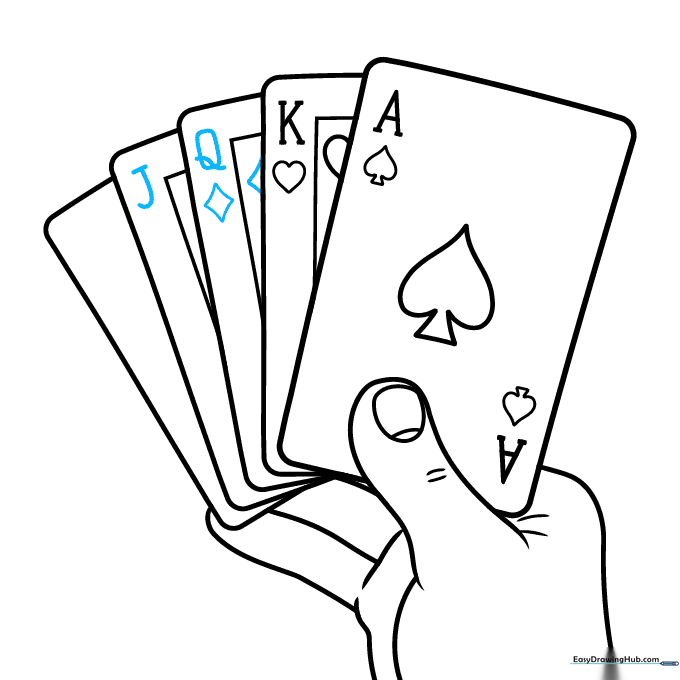
Add a 'Q' with a diamond symbol on the third card, and a 'J' on the fourth. Tip: Use a diamond shape for the Queen—it's just a square tilted on its side!
Step 9: Final Touches
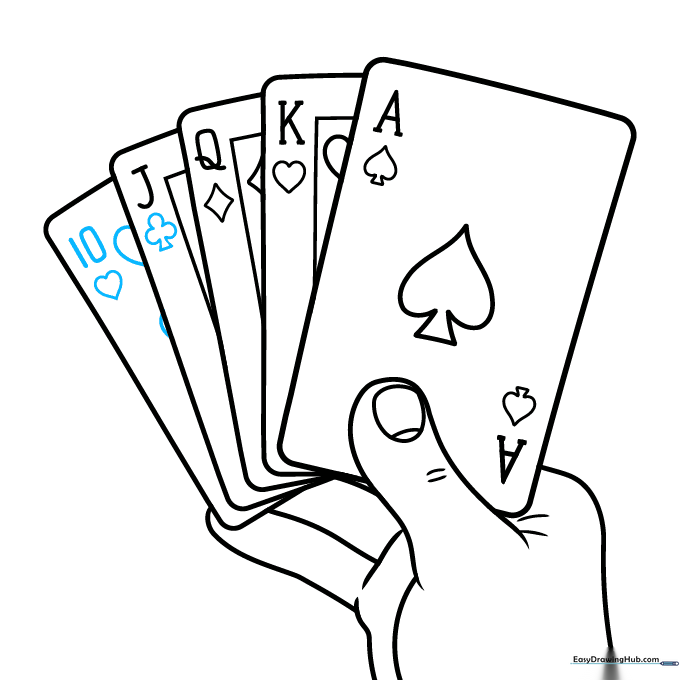
Draw a club symbol (a three-leaf clover) under the 'J' and add a '10' with hearts on the final card. Tip: Use a steady hand for the clover—think of it as three small circles joined together.
Step 10: Bringing it to Life with Color
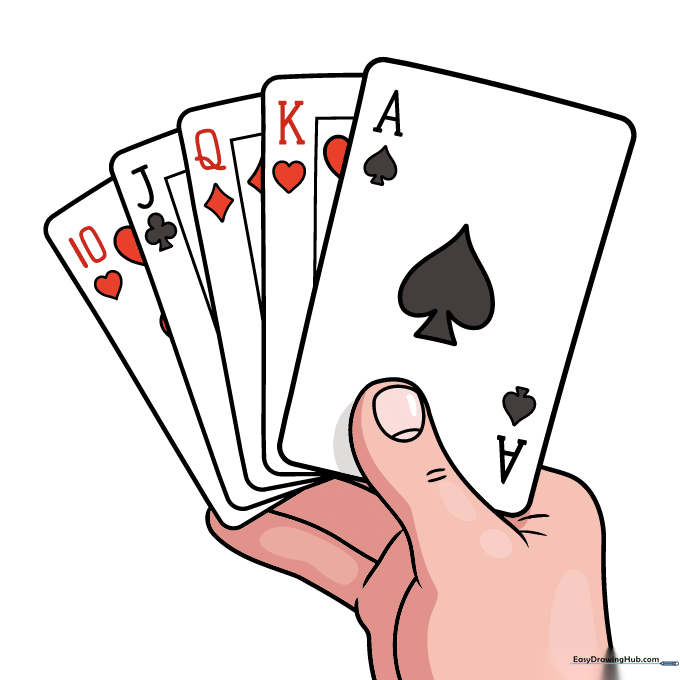
Time to color! Use red for hearts and diamonds, and black for spades and clubs. Tip: Use light pressure with your colored pencils to keep the symbols looking clean and crisp.
More Tutorials


