How to Draw Pizza Steve: Easy 10-Step Cartoon Guide
Bring your favorite cartoon slice to life! This tutorial is perfect for young artists ages 6+ who want to master character proportions. Grab a pencil, an eraser, and a piece of paper to start building your own Pizza Steve.
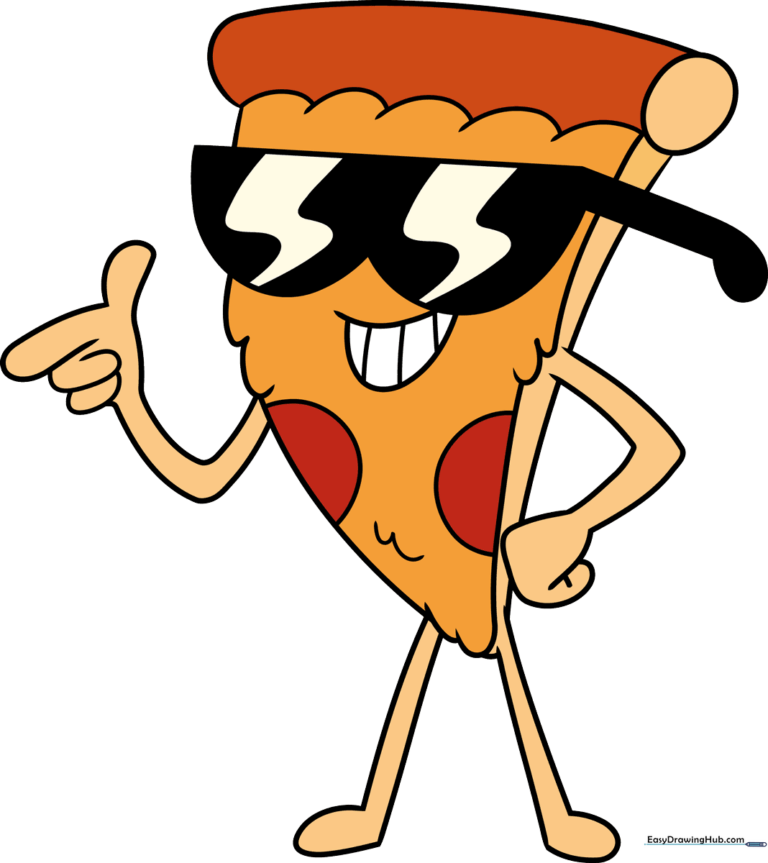
🎯 Final Result
Step-by-Step Instructions
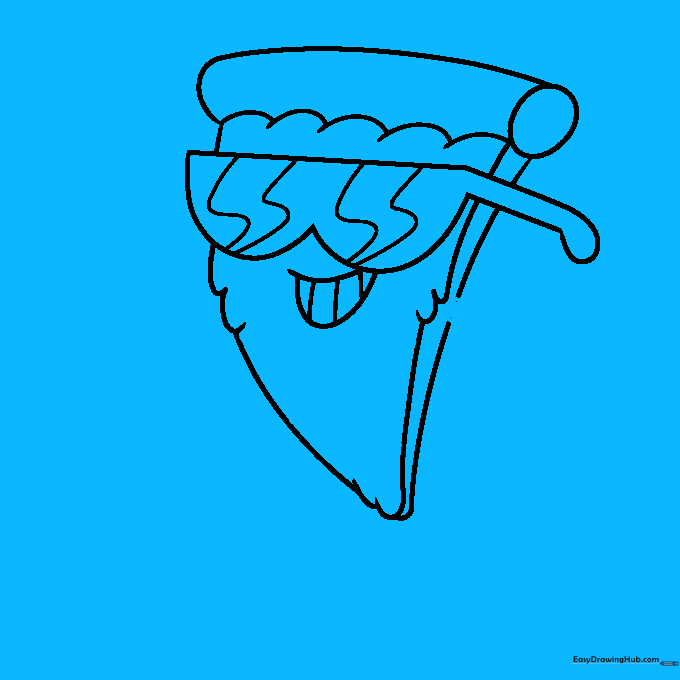
Step 1: Sketching the Cheesy Crust
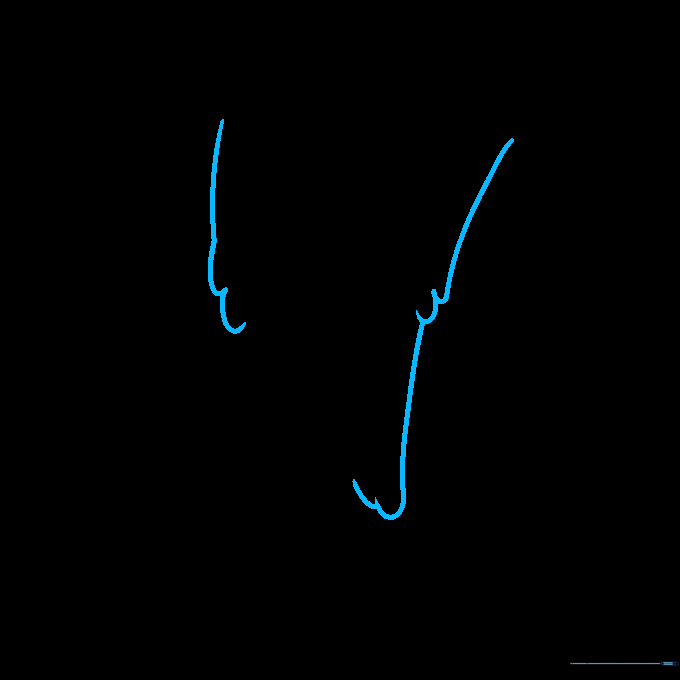
Start by drawing the signature triangular shape of the pizza slice. Use long, wavy lines for the sides to mimic dripping cheese. Teacher's Tip: Keep your pencil pressure light so you can easily adjust the shape if the 'drips' don't look quite right the first time.
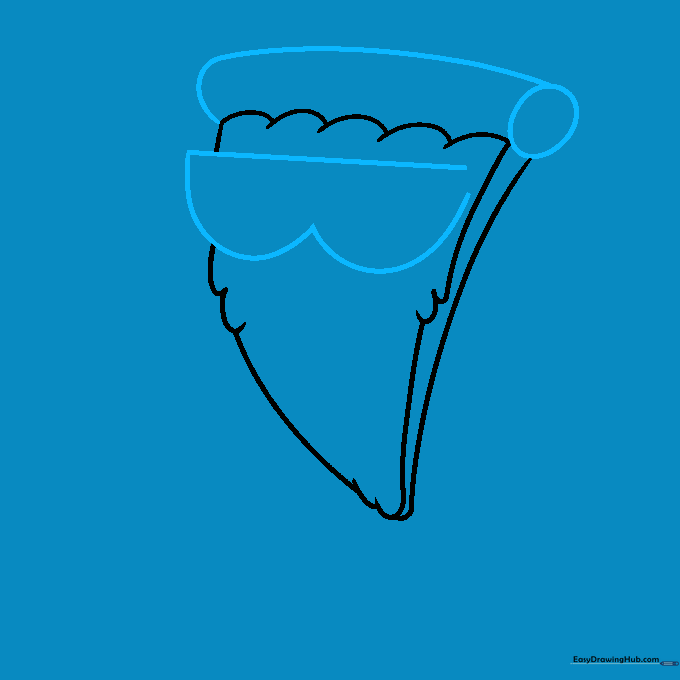
Step 2: Defining the Crust Depth

Close the top of the triangle with a curved line and add a secondary line along the side to create the crust's thickness. Tip: Think of this as adding a 3D border; keeping the lines parallel makes the pizza look much more realistic.
Step 3: Adding the Sunglasses
Draw the iconic sunglasses using a straight line for the top and a rounded 'W' shape for the frames. Tip: If the glasses look crooked, use a light horizontal guideline across the middle of the slice first.
Step 4: Sunglasses Detail
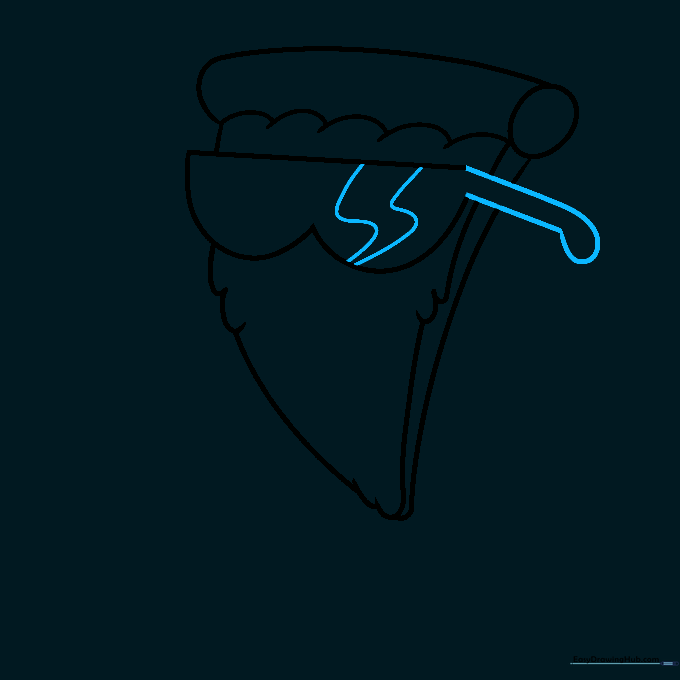
Add the earpiece using a curved line that loops back. Draw two 'S' shaped lines on the lens to represent light reflection. Tip: These reflections are what make the glasses look shiny and 'cool'!
Step 5: Drawing the Smile
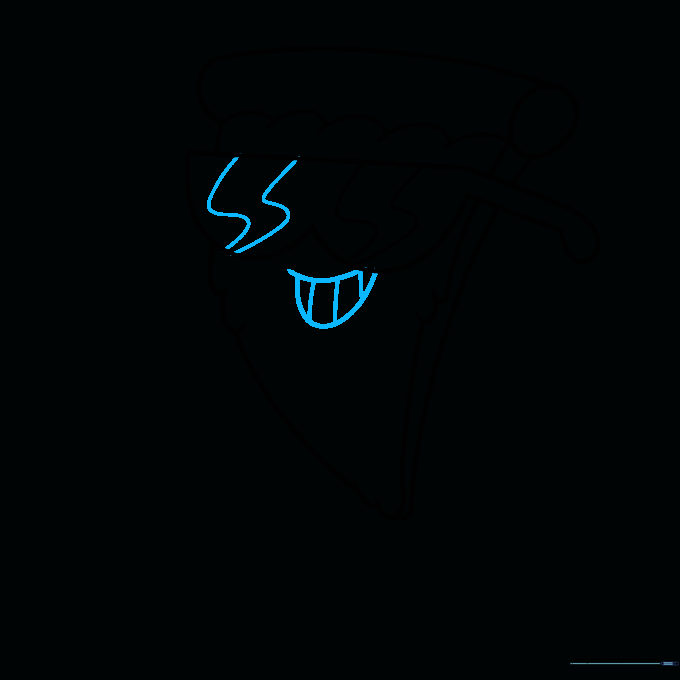
Add glare to the second lens and sketch a wide, happy mouth using two curved lines. Add small vertical lines for teeth. Tip: Make the mouth wide to give Pizza Steve his signature confident personality.
Step 6: Pepperoni and Arms
Add half-circles for pepperoni and extra cheese drips. Then, extend two curved lines from the side to start the arm. Tip: Vary the size of your pepperoni circles to make the pizza look more authentic.
Step 7: Shaping the Hand
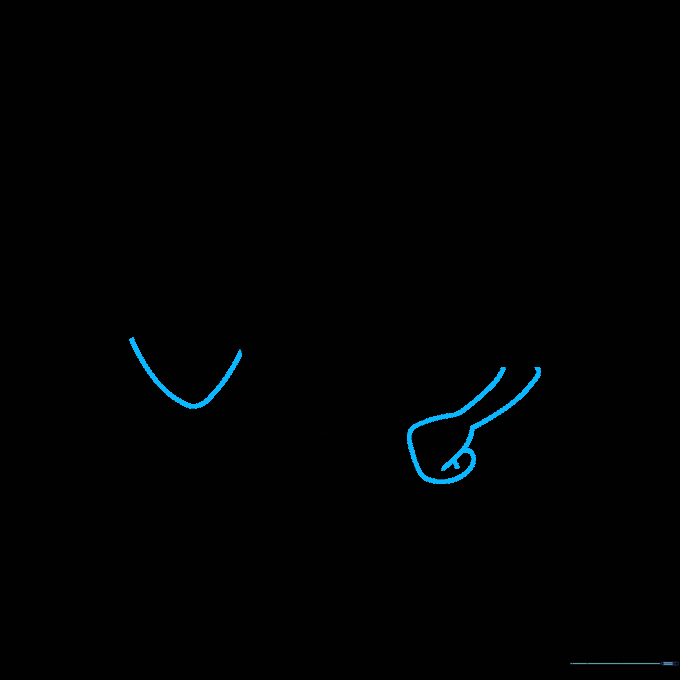
Use overlapping curved lines to draw the lower arm and a folded hand. Start the second arm on the opposite side. Tip: Keep the lines rounded to maintain that 'cartoon' style.
Step 8: Adding Fingers
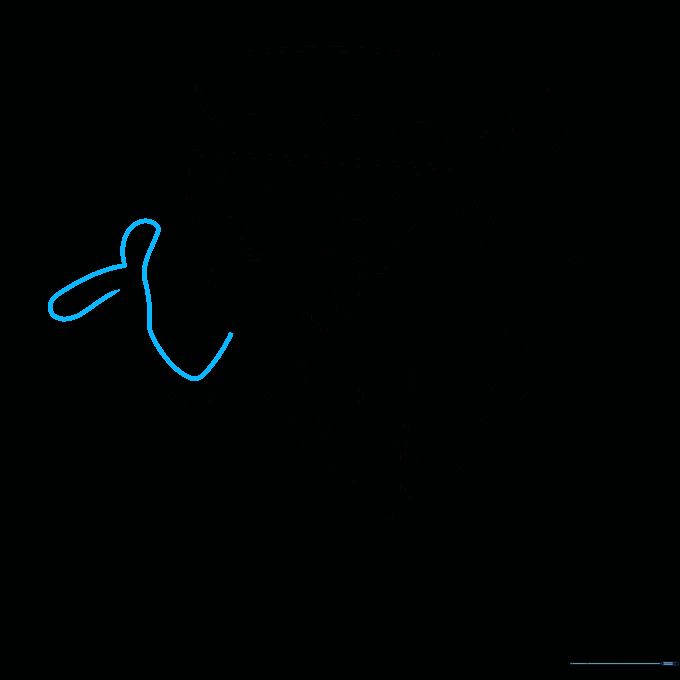
Finish the arm using 'U' shaped lines for the fingers. Tip: Ensure the fingers are roughly the same size so the hand looks balanced.
Step 9: Finalizing the Limbs
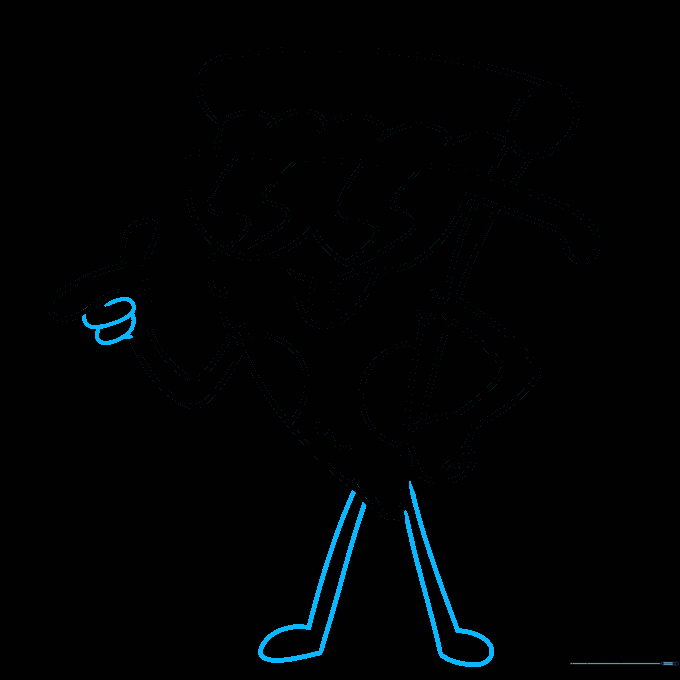
Complete the arms and add the legs by extending curved lines from the base. Tip: Double back on the lines to create a 'tube' effect for the legs.
Step 10: Bring Him to Life with Color
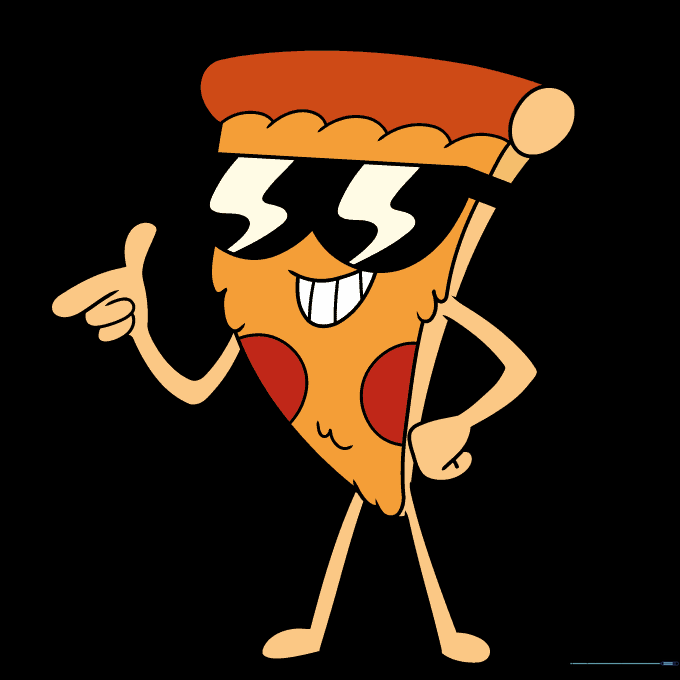
Time to color! Use vibrant red for the pepperoni, warm orange for the cheese, and black for the shades. Tip: Use a black marker to outline your final drawing before coloring to make the character pop off the page.
More Tutorials


