How to Draw Pinocchio: Easy 9-Step Guide for Kids
Bring the world's most famous wooden boy to life with this simple drawing tutorial, perfect for artists ages 5 and up. All you need is a pencil, an eraser, and a piece of paper to get started. Follow along to master basic shapes and character proportions while building your confidence as an illustrator.
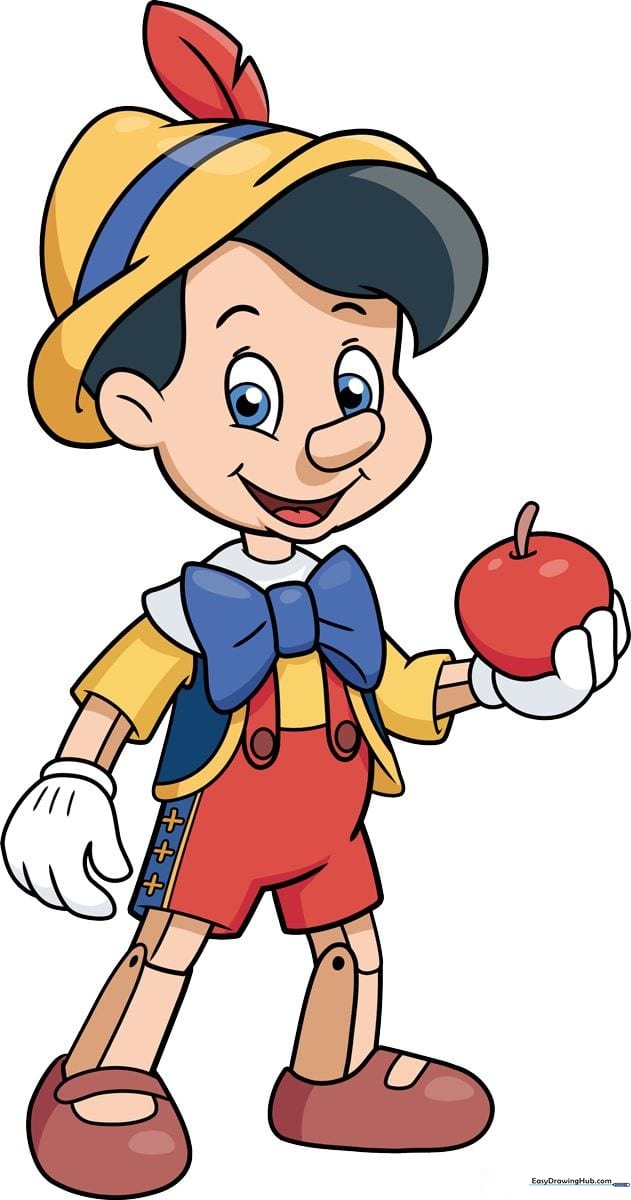
🎯 Final Result
Step-by-Step Instructions
Step 1: Sketching the Face
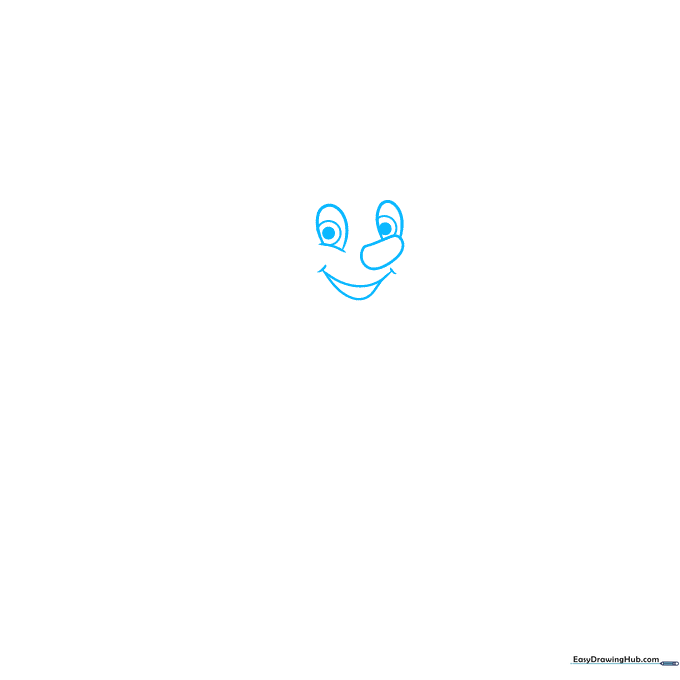
Start by lightly sketching the face shape, including the cheeks, eyes, nose, and a cheerful smile. Teacher's Tip: Draw the eyes as two circles and shade the smaller inner ones to give Pinocchio his signature curious look. Keep your pencil pressure light so you can easily adjust lines later.
Step 2: Defining Facial Features

Add the eyebrows, eyelids, and a small tongue to bring expression to his face. Use a mix of long and short strokes to outline the ears, hair, and the brim of his cap. Teacher's Tip: Focus on the curve of the ear; it should align with the space between the eye and the nose.
Step 3: Completing the Hat
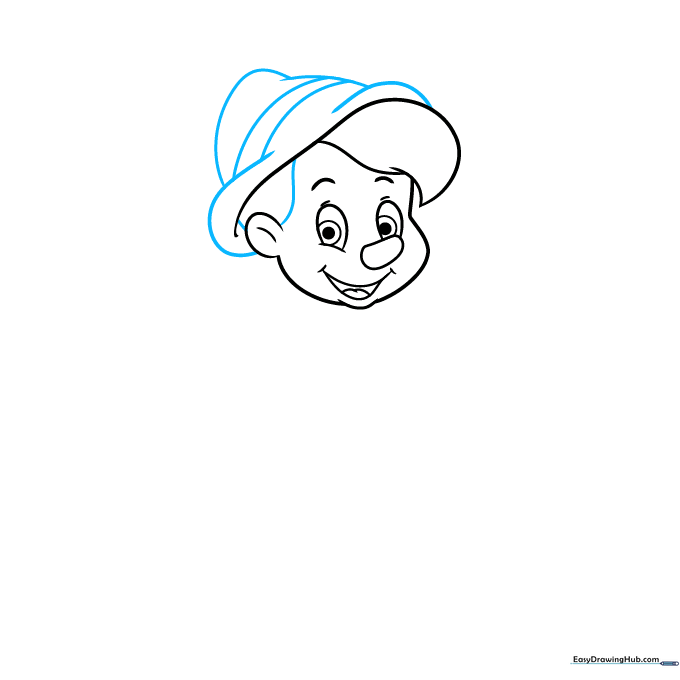
Use a smooth, curved line to finish the hair and build the cap upward. Pay attention to the parallel lines that create the hat band. Teacher's Tip: Overlapping lines help create depth, making the hat look like it is resting naturally on his head.
Step 4: Adding the Feather and Bow
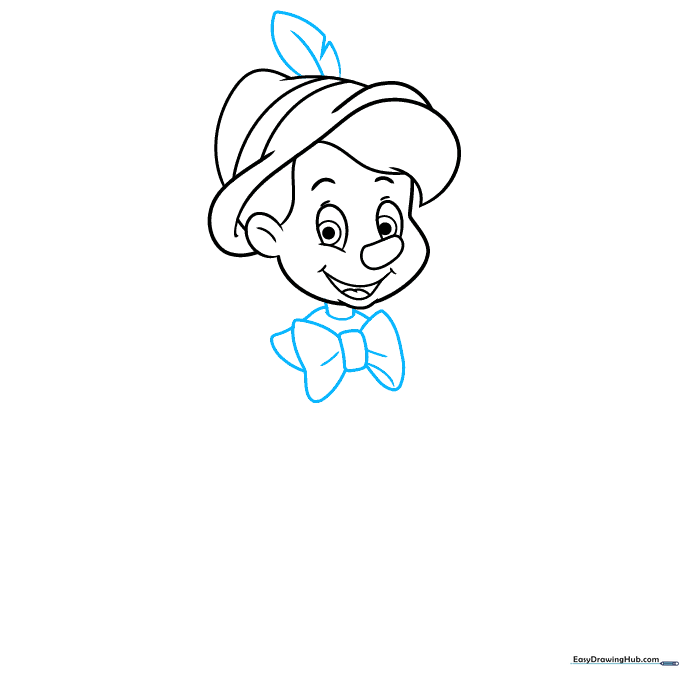
Draw a feather on the cap with a distinct 'V' notch. Then, sketch the neck, shirt collar, and his iconic large bow tie. Teacher's Tip: Use long, sweeping curves for the bow tie to make it look soft and fabric-like.
Step 5: Sketching the Arm
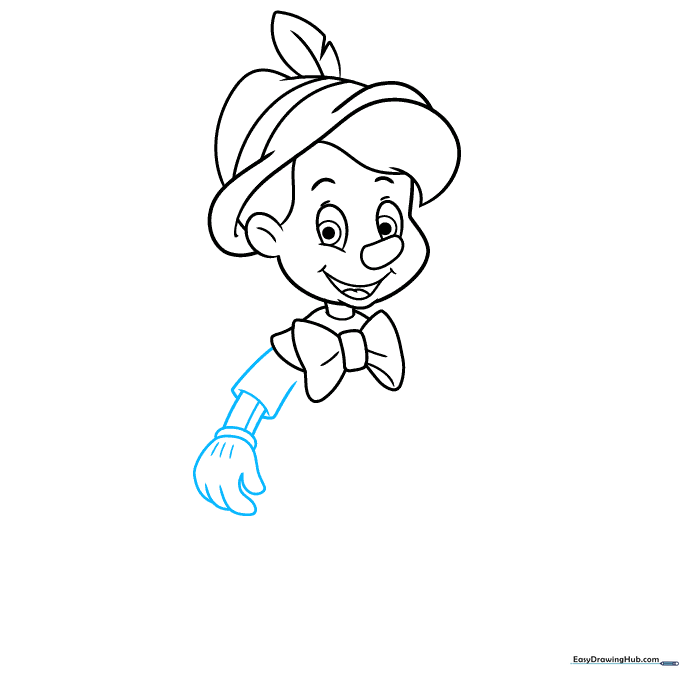
Draw the sleeve and wooden arm using curved lines. Teacher's Tip: To make the arm look like a wooden block, use three lines to create a rectangular prism shape. This is a great way to practice basic 3D perspective!
Step 6: Adding the Apple
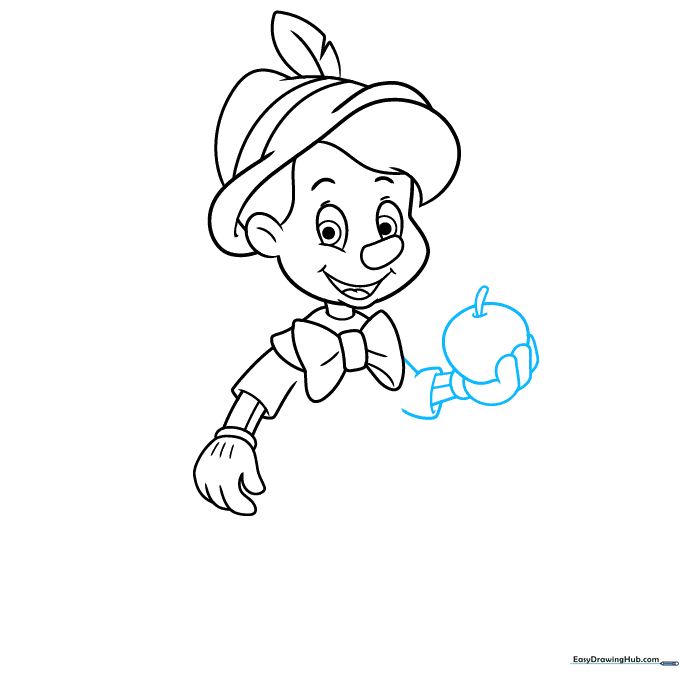
Draw the second arm and hand holding an apple. Use a long curved line for the fruit and a small, doubled-back line for the stem. Teacher's Tip: Keep the apple shape slightly irregular to make it look more organic and realistic.
Step 7: Clothing Details
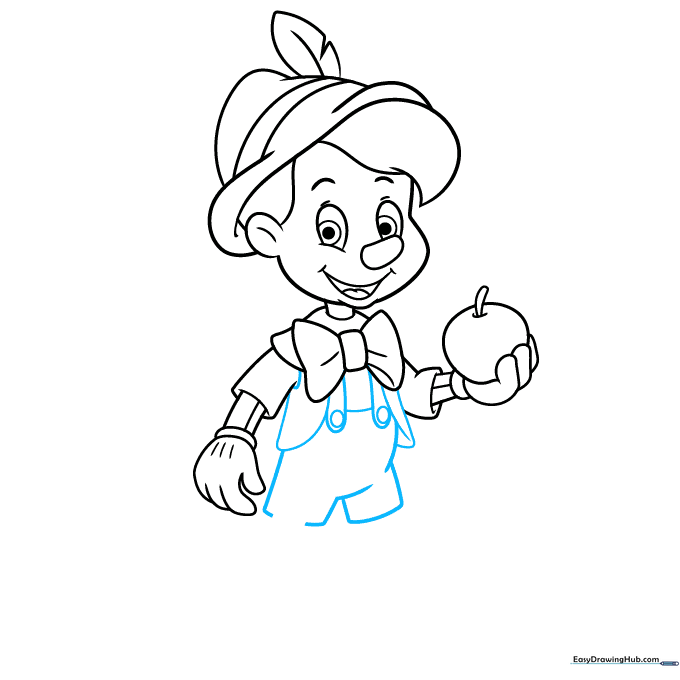
Outline the coat, shorts, and suspenders. Add a small circle for each button on the suspenders. Teacher's Tip: Ensure the suspenders are symmetrical to keep the character looking balanced.
Step 8: Legs and Shoes
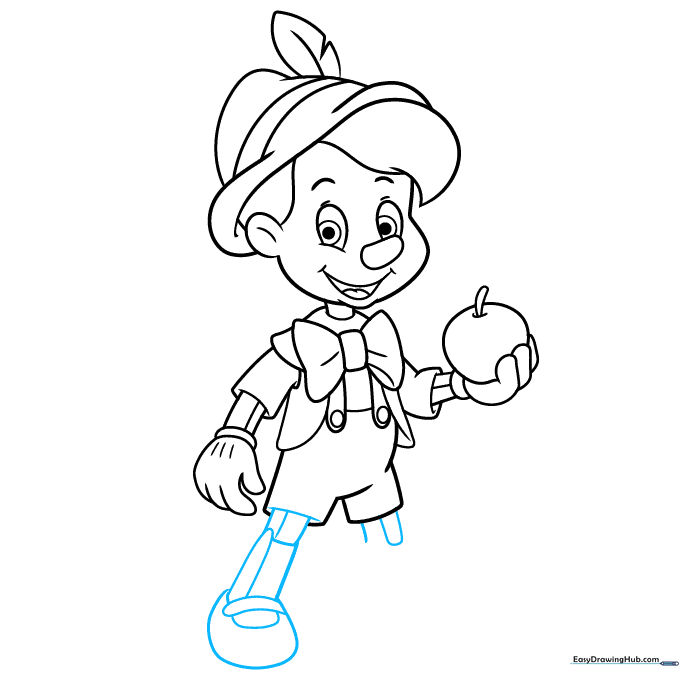
Draw the wooden legs and shoes. Like the arms, the legs are rectangular prisms. Add a 'U' shaped line on the shoes for the buckle. Teacher's Tip: Make the shoes slightly wider than the legs to give him a sturdy, cartoonish base.
Step 9: Final Touches
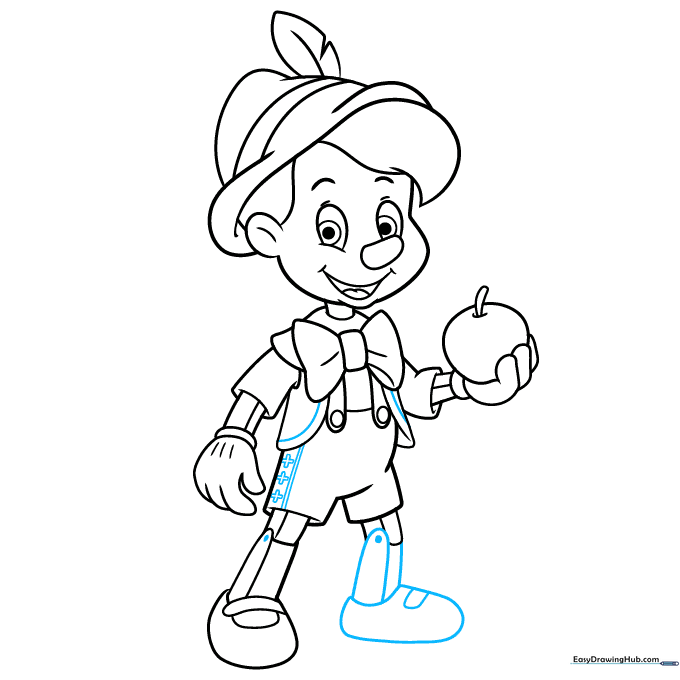
Complete the final leg and add decorative lines to the coat and pants, including the small plus (+) signs on the trousers. Teacher's Tip: Use a fine-liner pen to go over your pencil lines before erasing the guidelines for a clean, professional look.
Step 10: Bring Him to Life with Color
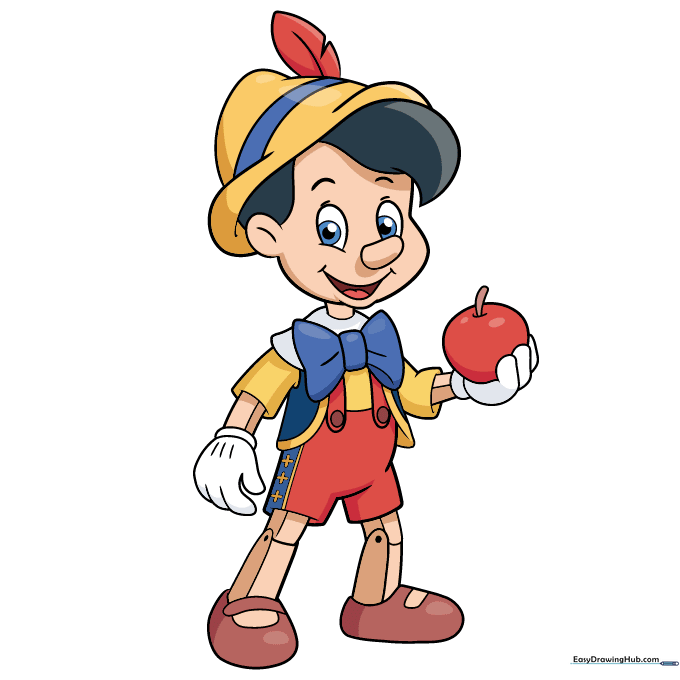
Now for the fun part! Color your Pinocchio with black hair, blue eyes, a blue bow tie, red pants, and a yellow hat with a red feather. Teacher's Tip: Use light, circular motions with your colored pencils to get an even, vibrant finish.
More Tutorials


