How to Draw Pinkie Pie: Easy 9-Step Pony Tutorial
Bring the joy of Equestria to your sketchbook! This tutorial is perfect for young artists ages 6+ who want to capture Pinkie Pie’s bubbly personality. You will need a pencil, an eraser, and your favorite pink markers to complete this fun, character-focused drawing activity.
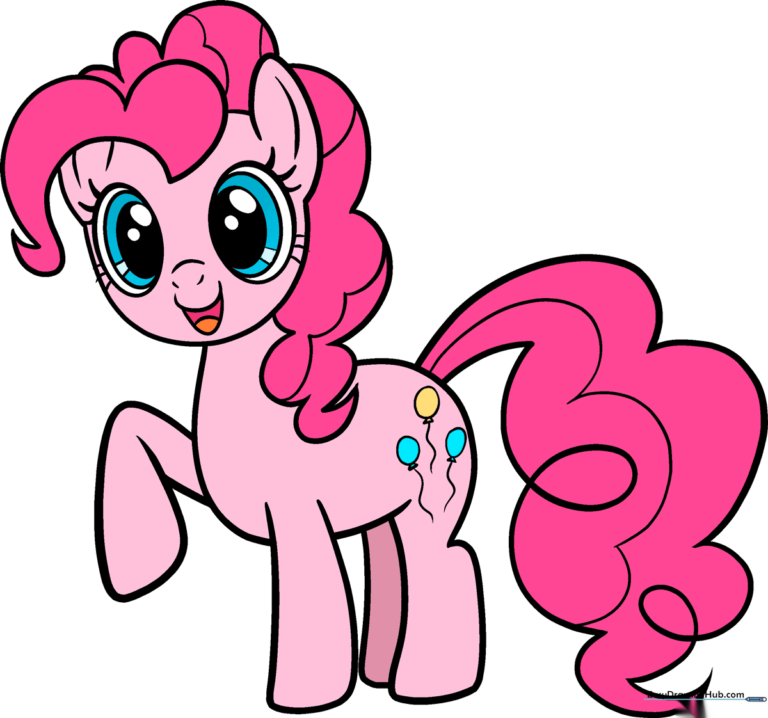
🎯 Final Result
Step-by-Step Instructions
Step 1: Sketching the Expressive Eyes

Start by drawing two large, friendly ovals for the eyes. Add smaller circles inside for the pupils and shade them in. Tip: Keep your pencil lines light so you can easily adjust the shape if the eyes look a bit uneven.
Step 2: Shaping the Head
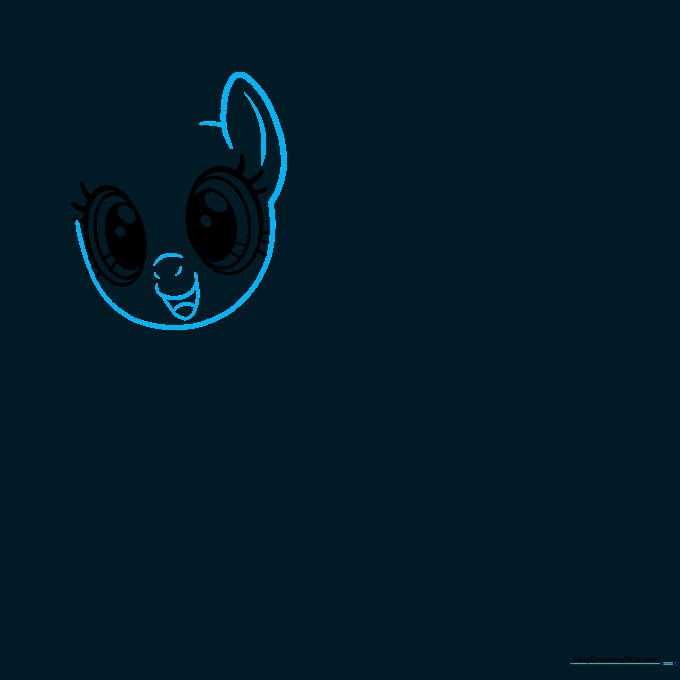
Draw a rounded shape for the head, including her perky ear and a happy, open mouth. Tip: Leave a gap at the top of the head—that is where her signature curly mane will sit later!
Step 3: Drawing the Curly Mane
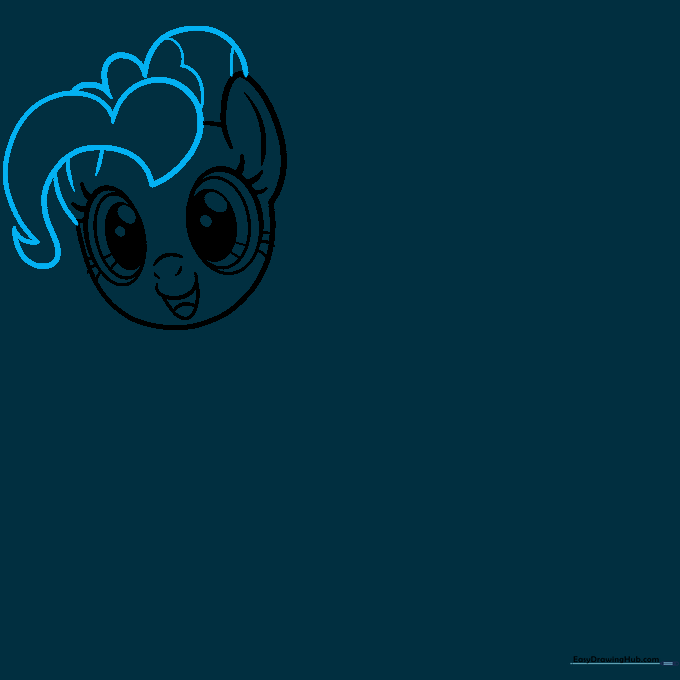
Pinkie Pie is known for her wild hair! Use curved, irregular lines to create her voluminous mane. Tip: Don't worry about making it perfect; the more 'bouncy' and uneven the curves, the more energetic she looks.
Step 4: Extending the Mane
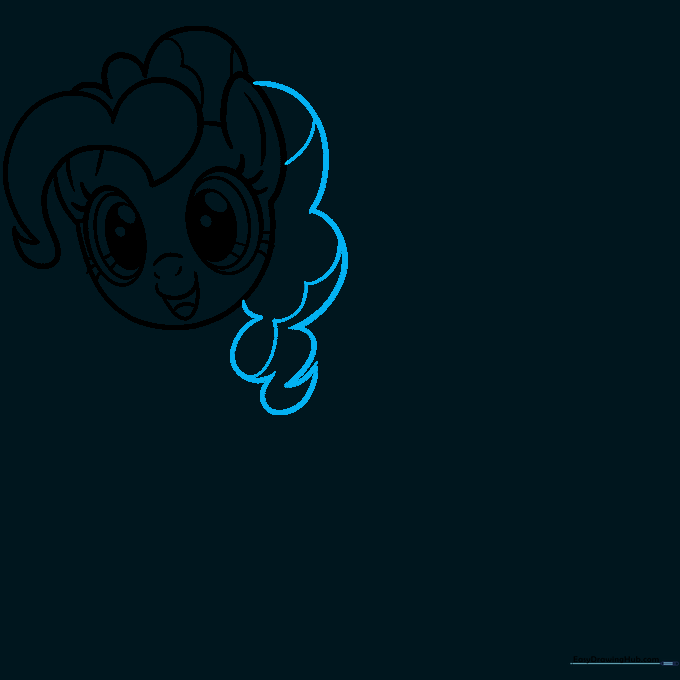
Continue the mane down the side of her neck using flowing, curved lines. Tip: Connect these lines to a sharp point to give the hair a sense of movement.
Step 5: Sketching the Chest and Legs
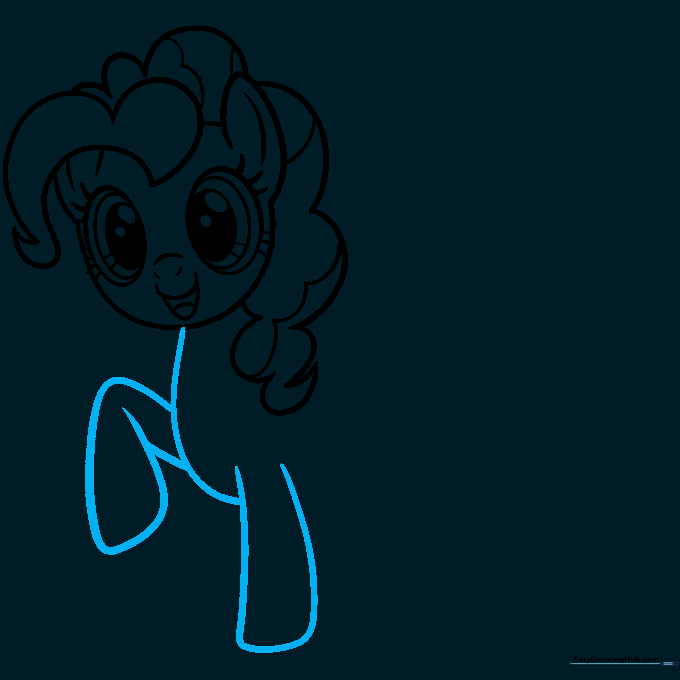
Draw the chest and front legs using overlapping curved lines. Tip: Think of the legs as soft, rounded tubes; keep the lines smooth to maintain the 'cartoon' style.
Step 6: Adding the Body and Back Legs
Connect the back, belly, and rear legs with one continuous, smooth motion. Tip: Ensure the belly curve is slightly rounded to give her a cute, friendly silhouette.
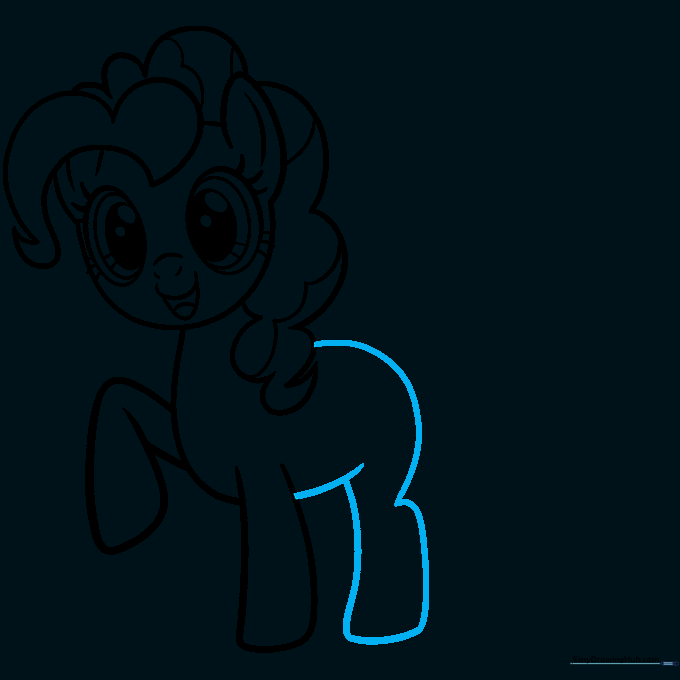
Step 7: The Cutie Mark
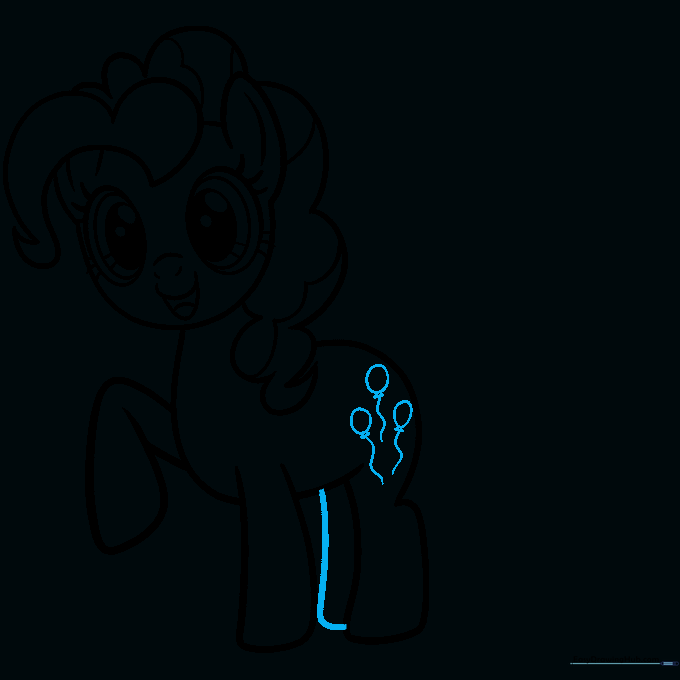
Draw the final rear leg and add her cutie mark: three balloons. Tip: Draw the balloons as small ovals with tiny triangles for the knots and wavy lines for the strings.
Step 8: Starting the Tail
Draw a long, sweeping curved line with a spiral at the end for the top of her tail. Tip: Use a fluid wrist motion to get that perfect, bouncy spiral shape.
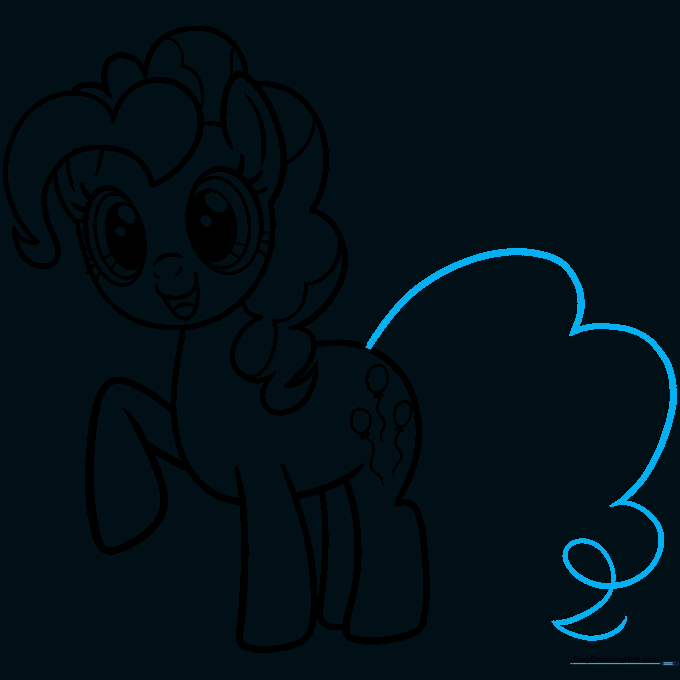
Step 9: Finishing the Tail
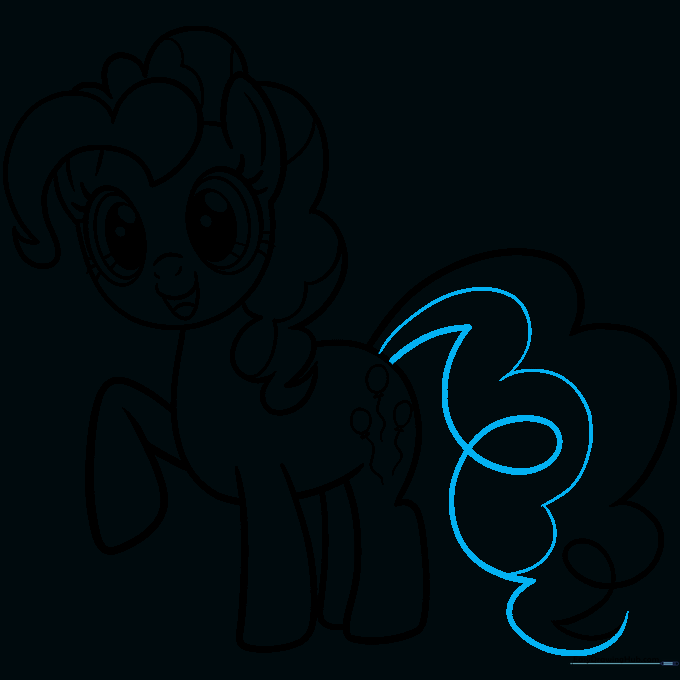
Complete the tail by adding more curved lines that meet at sharp points. Tip: Add a few extra lines inside the tail to give it texture and make it look fluffy.
Step 10: Adding Color
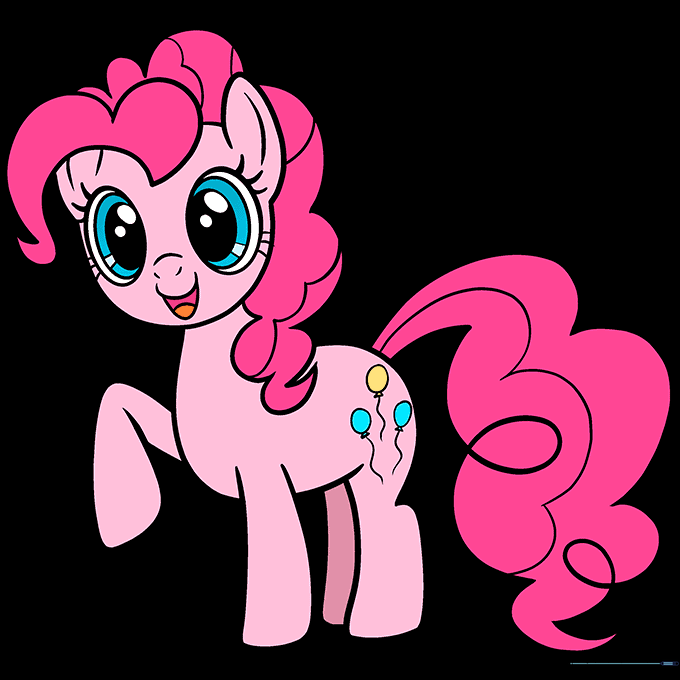
Bring your pony to life! Use light pink for her coat and a bright, vibrant pink for her mane and tail. Use blue for her eyes and the balloons. Tip: Use light, circular strokes when coloring to keep the texture smooth and even.
More Tutorials


