How to Draw a Pie: Easy 10-Step Guide for Kids
Ready to draw a tasty treat? This tutorial is perfect for young artists ages 5 and up. All you need is a pencil, an eraser, and your favorite markers or crayons to bring this slice of pie to life.
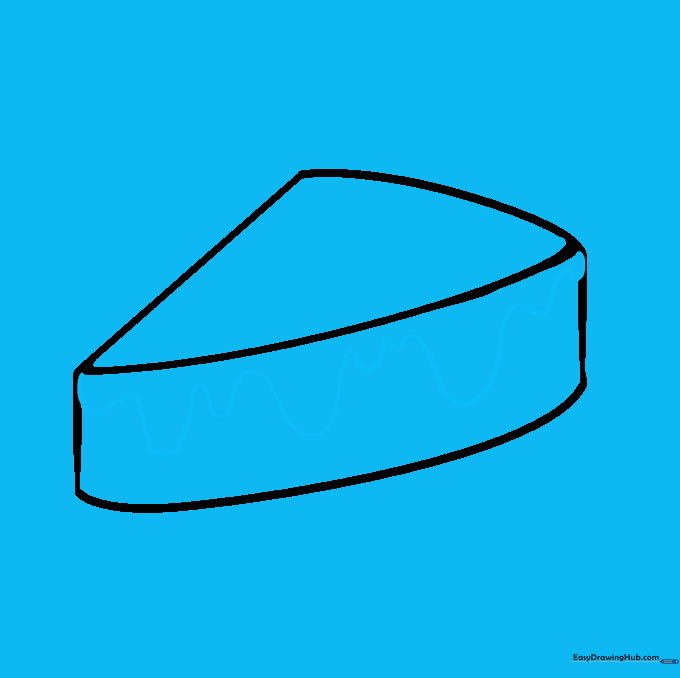
🎯 Final Result

Step-by-Step Instructions
Step 1: Sketching the Top Triangle

Start by drawing an obtuse scalene triangle with the longest side at the bottom. Teacher's Tip: Keep your pencil pressure light so these guide lines are easy to erase later!
Step 2: Defining the Sides

Draw a short, straight line downward from each corner of the triangle's base. These vertical lines give your pie slice its 3D depth.
Step 3: Rounding the Edges

Connect the bottom of your vertical lines with a soft, curved line. This turns the sharp triangle into a realistic, rounded slice of pie.
Step 4: Cleaning the Outline

Gently erase the internal triangle guide lines. You should now see a clean, solid shape of a pie slice.
Step 5: Adding Icing
Draw a wavy line across the top edge. Tip: Make the waves uneven—some tall, some short—to make the icing look like it's naturally dripping down the side.
Step 6: Drawing the Crust

Add a wavy line above the back of the pie to create the crust. Connect it to the sides and draw a line parallel to the side to show the crust's thickness.
Step 7: Topping with Whipped Cream

Draw a small teardrop shape on top for the whipped cream. Add a curved line across the bottom of the teardrop to give it a fluffy, layered look.
Step 8: Final Cleanup

Go over your drawing and erase any remaining stray guide lines or overlapping marks to ensure your pie looks neat and professional.
Step 9: Adding Sprinkles

Decorate your pie by drawing small, scattered circles across the top. Tip: Vary the placement so they look like they were sprinkled on by hand!
Step 10: Bring It to Life with Color

Time to color! Use warm browns for the crust, and choose your favorite filling color—like bright red for cherry or deep orange for pumpkin. Enjoy your masterpiece!
More Tutorials


