How to Draw Pete the Cat: Easy 9-Step Guide for Kids
Bring everyone's favorite cool cat to life with this simple drawing tutorial, perfect for children ages 5 and up. All you need is a pencil, an eraser, and some paper to get started. Follow these steps to build your character drawing skills while creating your own version of Pete.
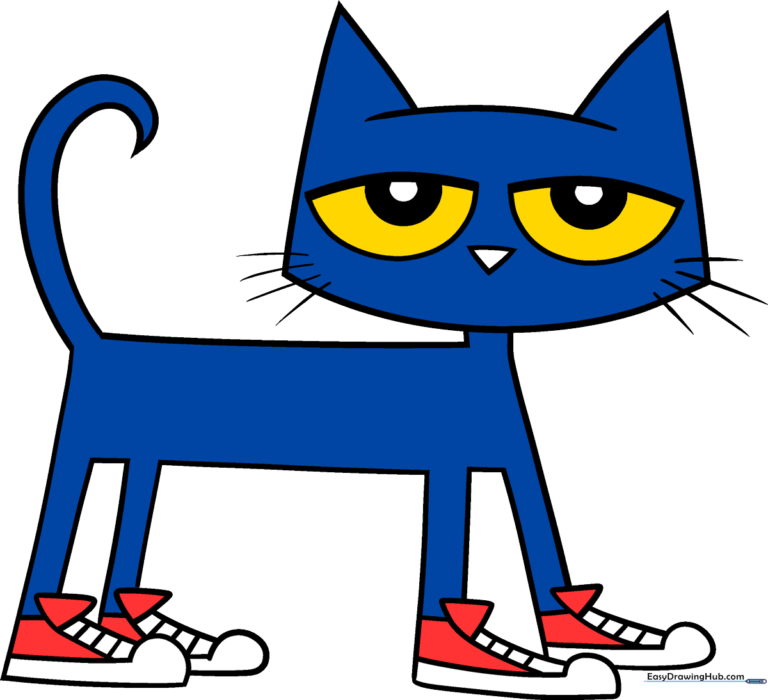
🎯 Final Result
Step-by-Step Instructions
Step 1: Sketching the Eyes

Start by drawing two large, side-by-side half-circles for Pete's eyes. Teacher's Tip: Keep your pencil pressure light here so you can easily adjust the spacing if they look a bit lopsided.
Step 2: Adding Pupils and Nose

Draw smaller partial circles inside the eyes and shade them in. Add a small, upside-down triangle between the eyes for his nose. Teacher's Tip: Make sure the nose is centered perfectly between the eyes to give Pete his signature friendly look.
Step 3: Shaping the Head

Use overlapping curved lines to outline the top of his head, his pointed ears, and the sides of his face. Teacher's Tip: Try to keep your lines smooth and continuous to make Pete look like he stepped right out of a storybook.
Step 4: Whiskers and Body
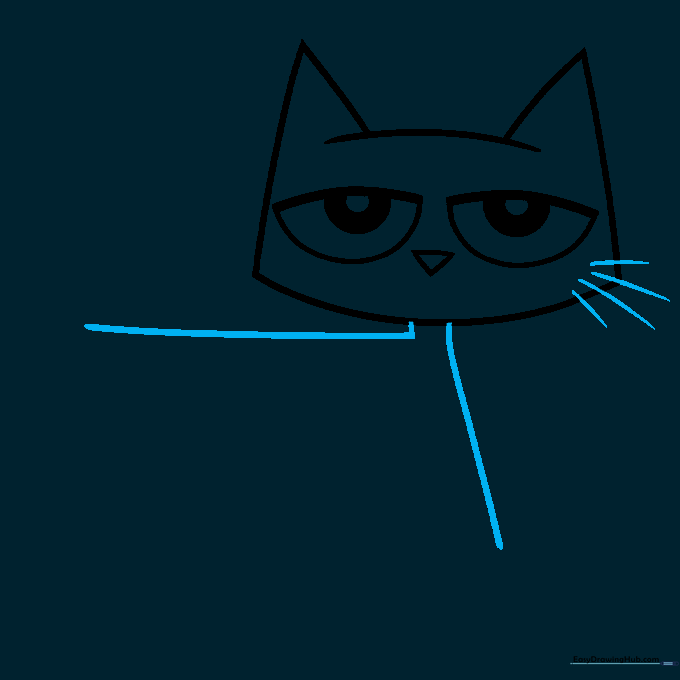
Add curved lines for whiskers and start the body with an 'L' shaped line for the back. Teacher's Tip: Don't worry if the whiskers aren't perfectly symmetrical; cats have messy whiskers too!
Step 5: Sketching the Legs
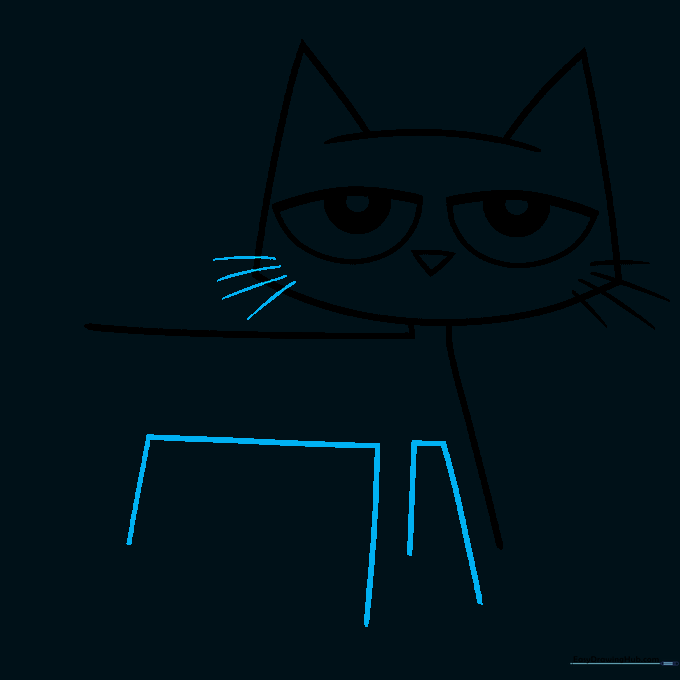
Use simple rectangles to sketch out the legs and belly. Teacher's Tip: Think of these as building blocks—keep the shapes simple to help maintain the character's proportions.
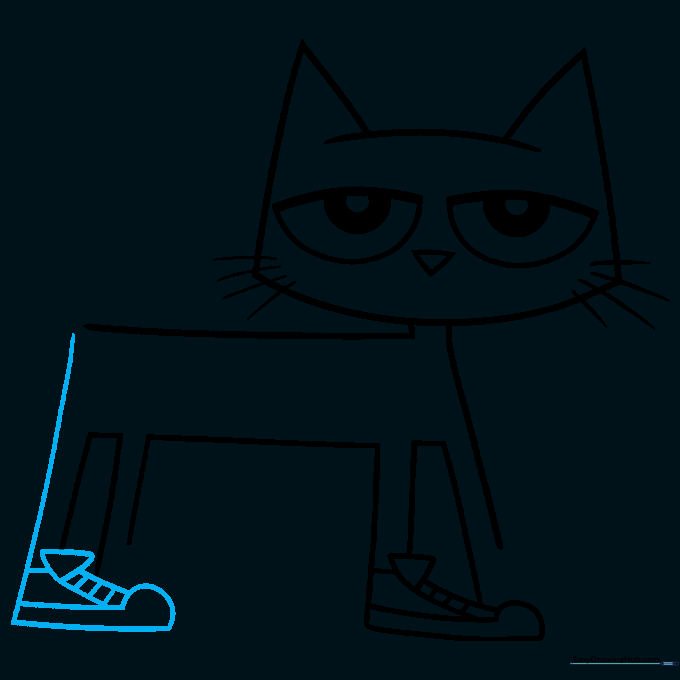
Step 6: Adding the First Sneaker
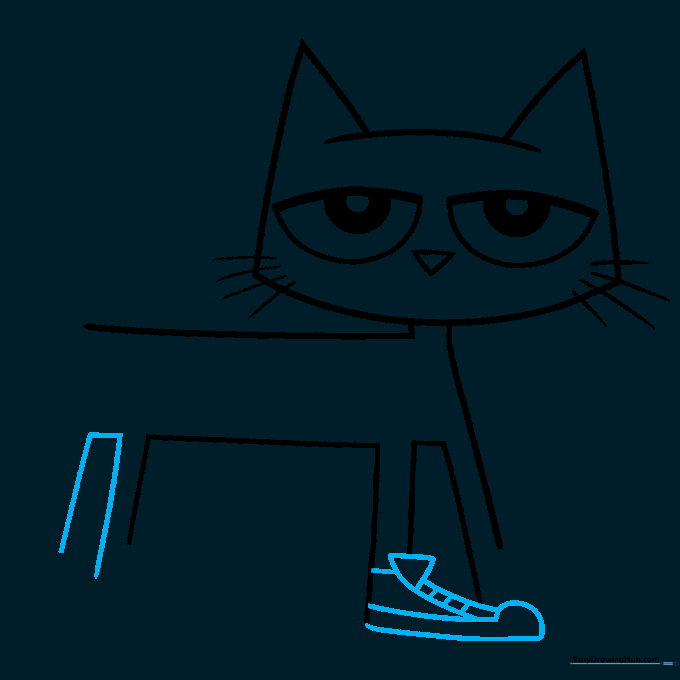
Draw a tennis shoe on the front paw using an inverted triangle for the tongue and short lines for laces. Teacher's Tip: Pete loves his shoes, so take your time making these look sturdy!
Step 7: Adding the Second Sneaker
Repeat the shoe-drawing process for the adjoining foot. Teacher's Tip: Consistency is key—try to make the second shoe match the size of the first one.
Step 8: Tail and Final Sneaker
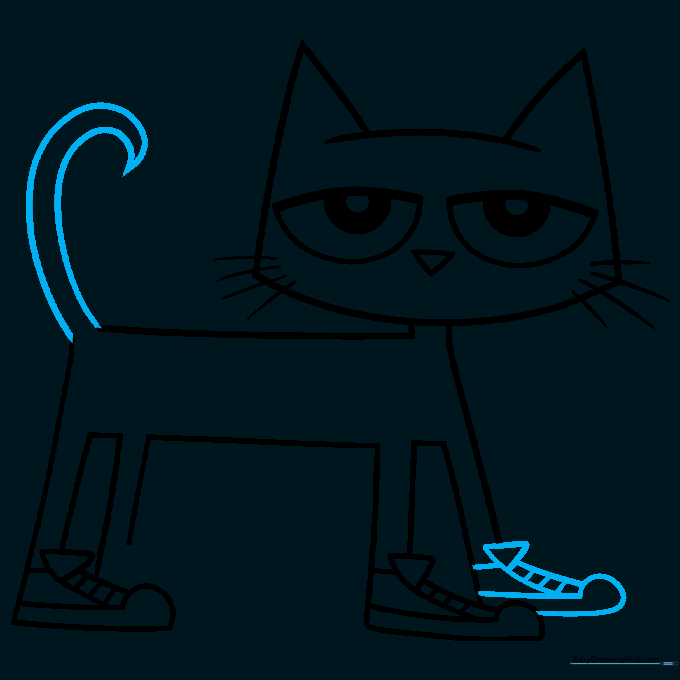
Draw a long, spiraling tail and add the final sneaker to the remaining front foot. Teacher's Tip: A curved tail adds a sense of movement to your drawing.
Step 9: Final Touches
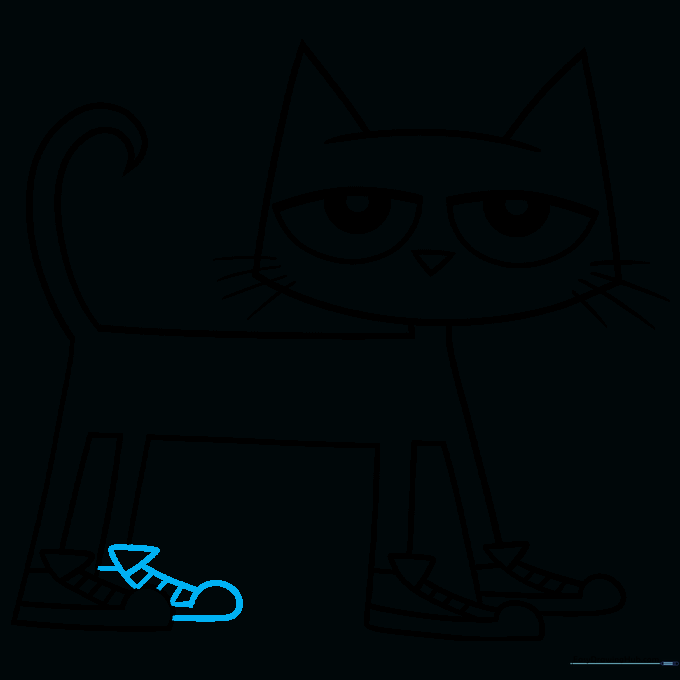
Complete the outline of the final shoe. Teacher's Tip: Once you're happy with the lines, go over them with a darker pencil or marker to make your drawing pop!
Step 10: Bring Pete to Life with Color
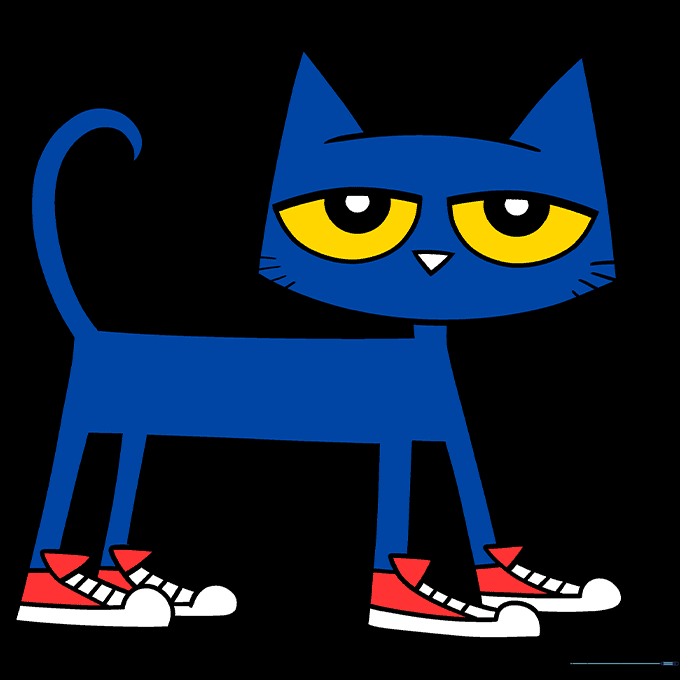
Color Pete dark blue with bright yellow eyes and his iconic sneakers. Teacher's Tip: You can color his shoes any color you like—what color are your favorite shoes today?
More Tutorials


