How to Draw an Anime Kiss: Easy Step-by-Step Guide
Ready to bring more emotion to your manga characters? This tutorial breaks down the complex mechanics of a side-profile kiss into simple, manageable shapes. Perfect for artists looking to improve their character interaction skills using just a pencil, eraser, and paper.
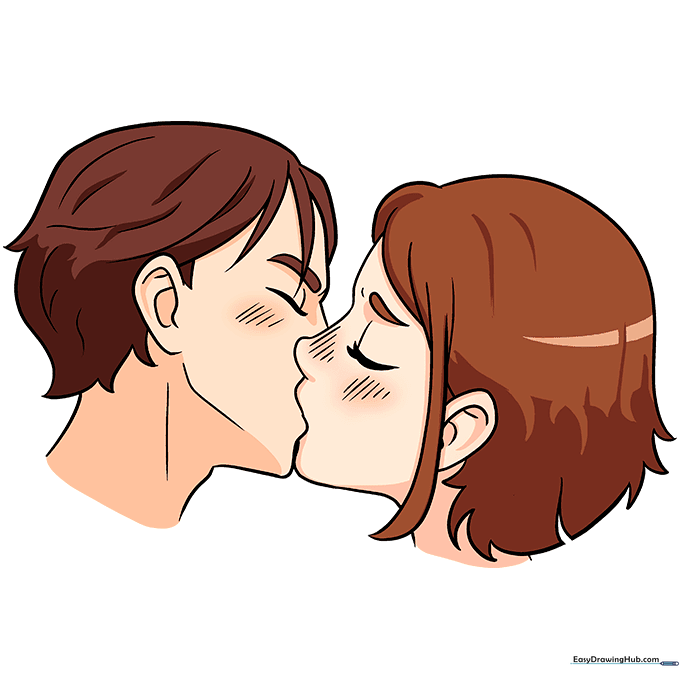
🎯 Final Result

Step-by-Step Instructions
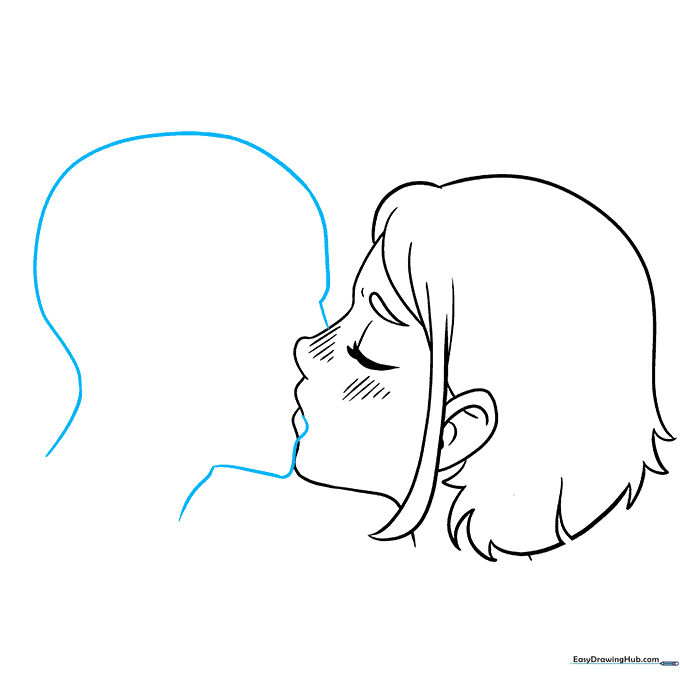
Step 1: Outline the Profile
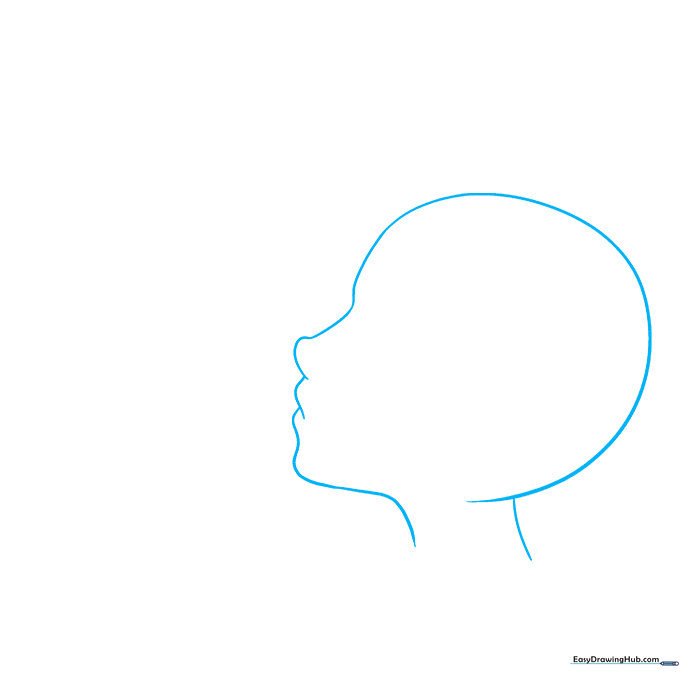
Lightly sketch the girl's facial profile using smooth, curved lines. Focus on the curve of the forehead, the bridge of the nose, and the chin. Teacher's Tip: Keep your pencil pressure very light here so you can easily adjust the shape later.
Step 2: Adding Facial Features
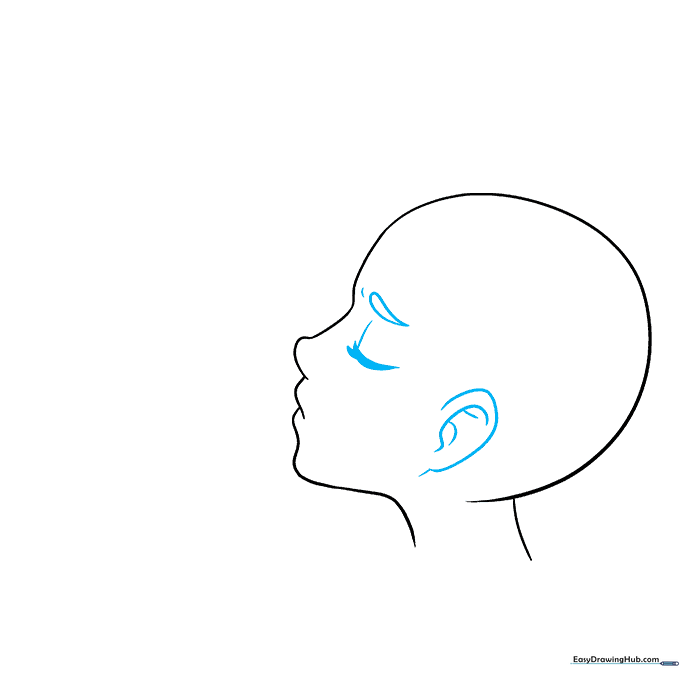
Sketch the ear, a closed eye, and a gentle eyebrow. Since the character is in a peaceful moment, keep the eye line simple and slightly curved. Teacher's Tip: Use the nose bridge as your anchor point to ensure the eye is placed correctly.
Step 3: Sketching the Hair
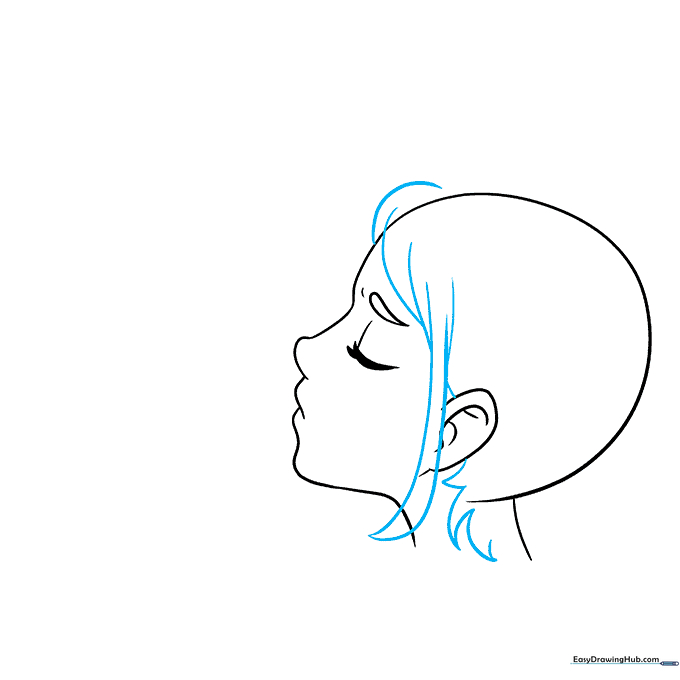
Draw the hair flowing across the face and down the neck. Use jagged, V-shaped lines to create that classic anime hair texture. Teacher's Tip: Vary the length of your hair strands to make the hairstyle look natural and less stiff.
Step 4: Refining and Blushing
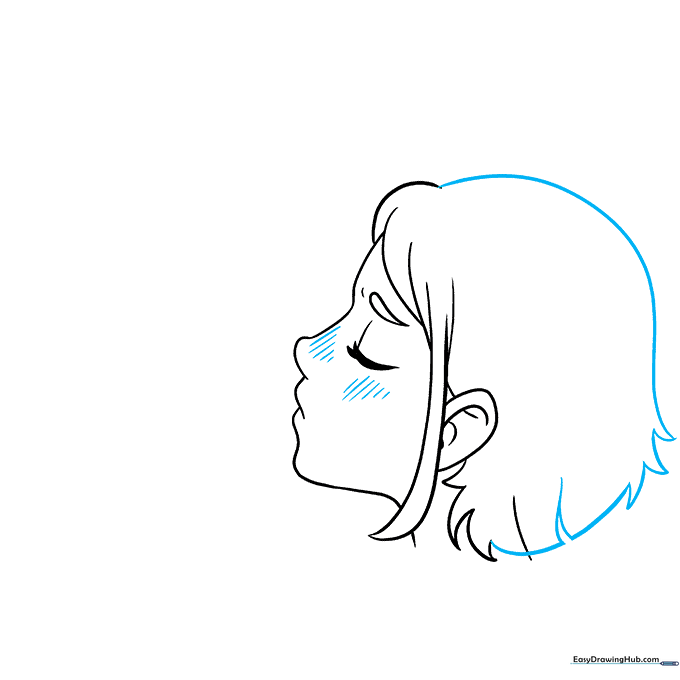
Clean up your lines by erasing the guide marks on the back of the head. Add a few diagonal lines on the cheek to create a cute blush effect. Teacher's Tip: Use short, parallel strokes for the blush to keep it looking soft.
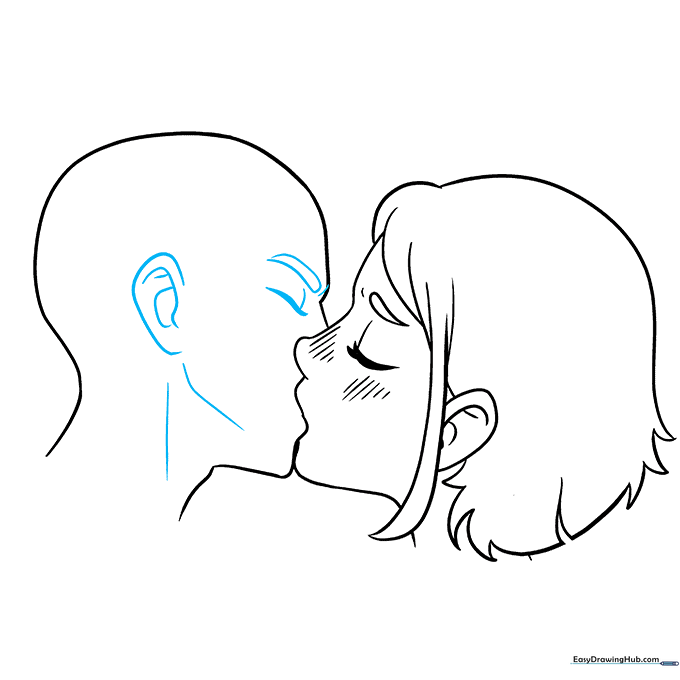
Step 5: Adding the Second Character
Draw the boy's facial profile overlapping the girl's. The key here is the lips—ensure his lower lip overlaps the girl's upper lip to show the connection. Teacher's Tip: Don't draw his nose; it should be hidden behind the girl's face.
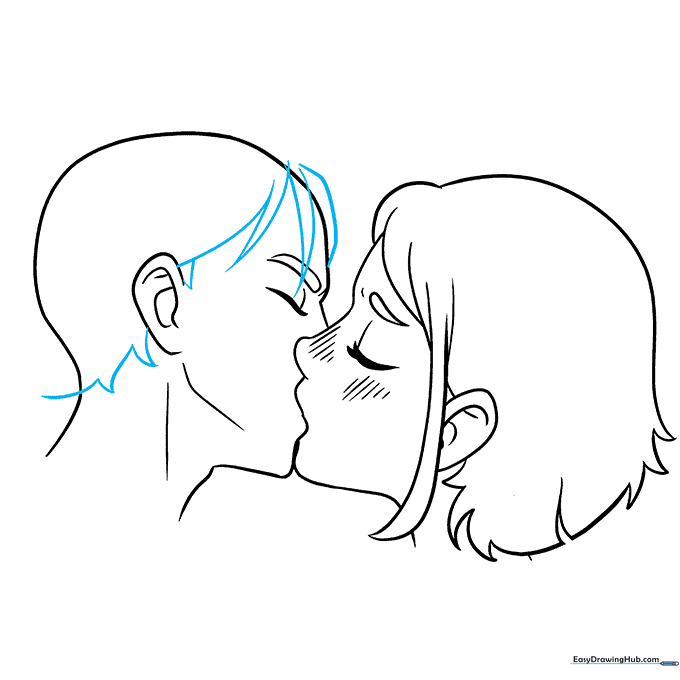
Step 6: Detailing the Boy's Face
Add the ear, eye, and brow for the male character. Give the brow a slight furrow to show focus. Teacher's Tip: Keep the eye closed to match the peaceful expression of the girl.
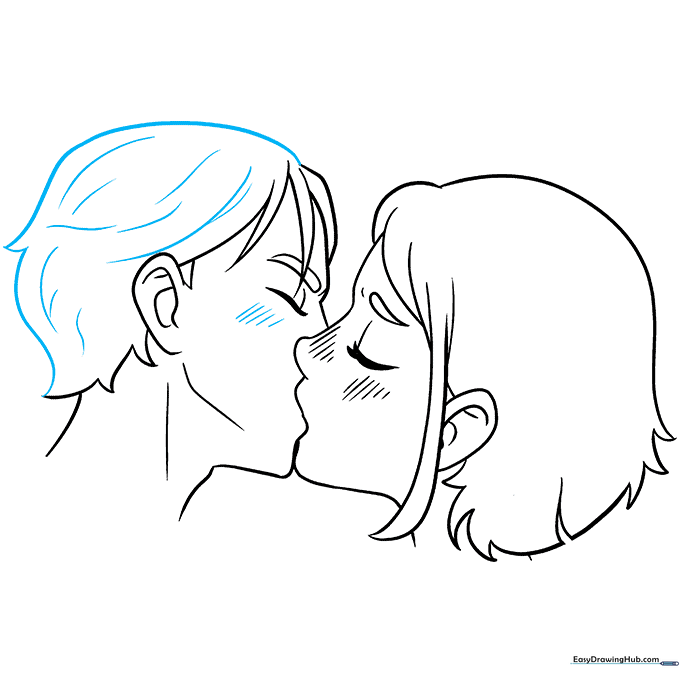
Step 7: Drawing Spiky Hair
Draw the boy's hair using sharp, spiky lines typical of manga styles. Teacher's Tip: Start from the crown of the head and work your way out to the tips for a more dynamic look.
Step 8: Final Touches
Erase any overlapping construction lines and add blush marks to the boy's cheek as well. Teacher's Tip: Use a darker pencil or pen to outline your final shapes once you are happy with the sketch.
Step 9: Bring it to Life with Color
Add color to your drawing! Use soft skin tones and your choice of hair color. Teacher's Tip: Use a slightly darker shade of your skin tone to add a small shadow where the faces meet to create depth.
More Tutorials


