How to Draw Pennywise: Easy 10-Step Horror Art Tutorial
Ready to bring the iconic clown to life? This tutorial is perfect for intermediate artists looking to practice expressive character design. You will need a graphite pencil, an eraser, and a fine-liner pen to capture those spooky details. Follow along to master the proportions of his face and signature ruffled collar.
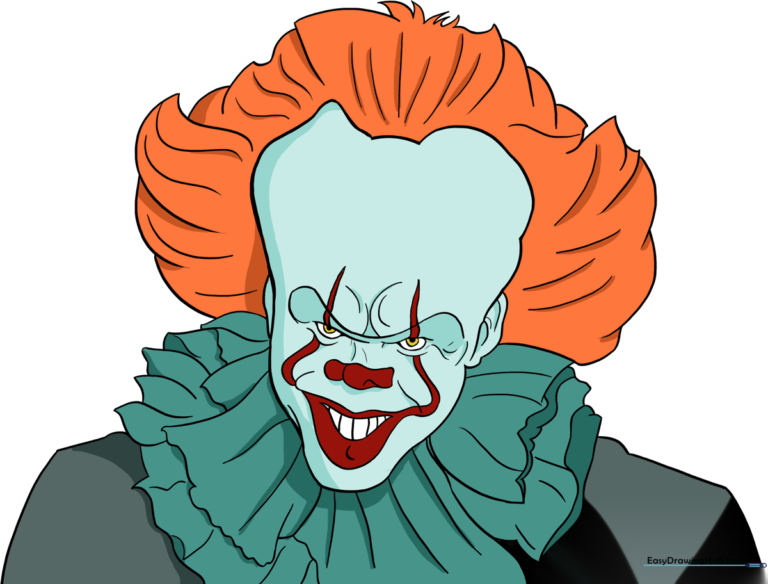
🎯 Final Result
Step-by-Step Instructions
Step 1: Sketching the Base Oval
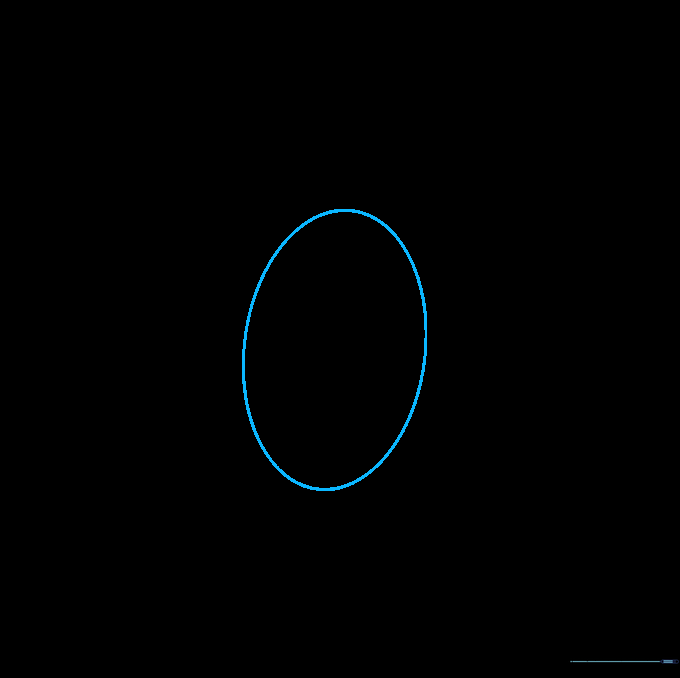
Start by drawing a light, vertical oval. This acts as the foundation for the head. Teacher's Tip: Keep your pencil pressure very light here so you can easily adjust the shape later if needed.
Step 2: Defining the Forehead
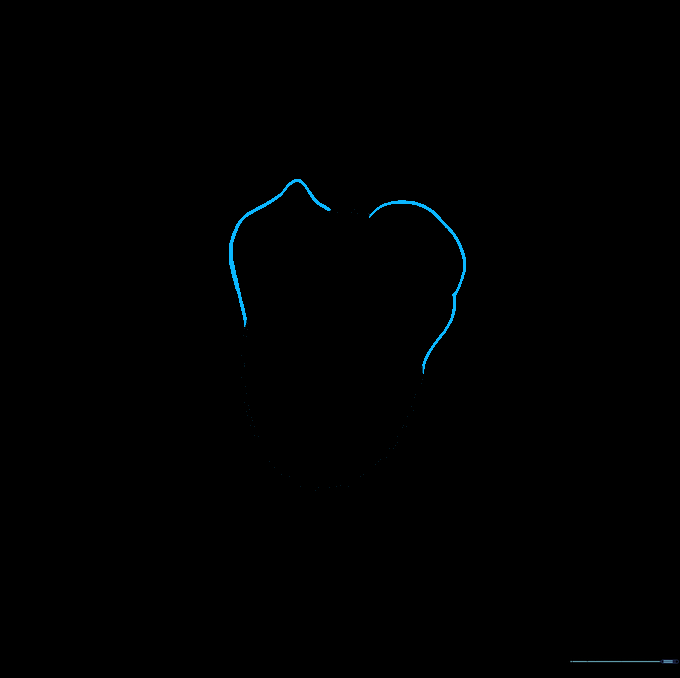
Erase two small sections at the top of your oval and replace them with irregular, jagged curved lines. This creates the high, receding hairline. Tip: Vary the length of your strokes to make the hair look more natural and less uniform.
Step 3: Shaping the Jaw and Ears
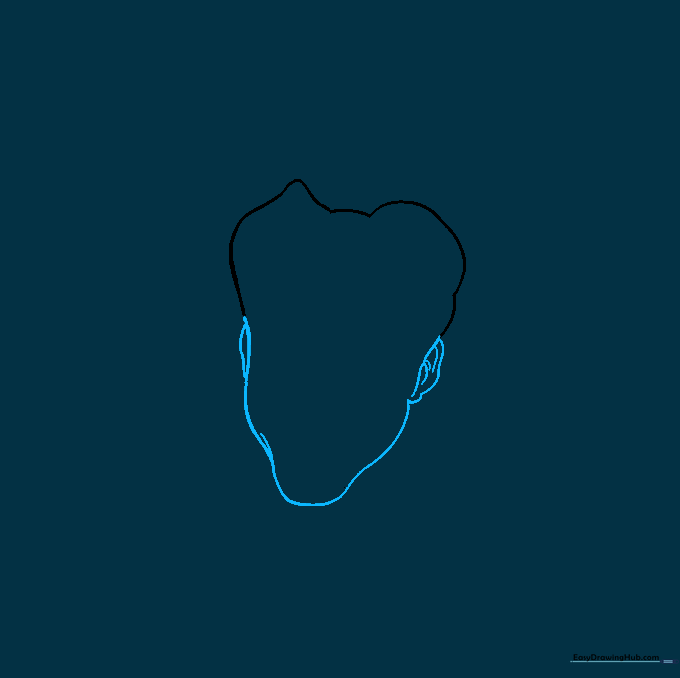
Erase the bottom of your oval and draw a sharper chin contour. Add the ears on either side using small, curved 'C' shapes. Tip: Add a tiny inner curve to the ear to give it depth and realism.
Step 4: Drawing the Eyes
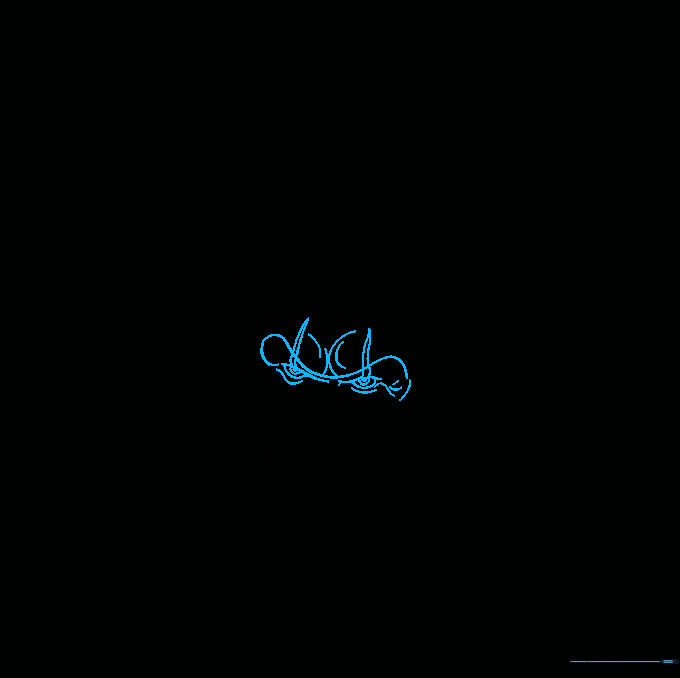
Draw the iconic teardrop makeup shapes above the eyes, then sketch the eyes themselves. Add a small circle for the pupil. Tip: Draw the furrowed brow lines between the eyes to give him that signature intense, menacing look.
Step 5: Adding the Mouth and Nose
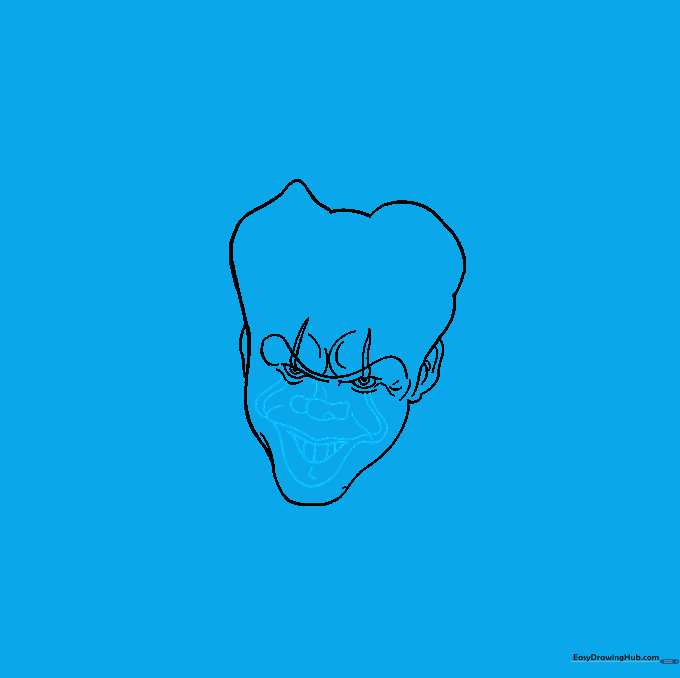
Sketch the three-lobed nose and the wide, sneering mouth. Use vertical lines for the teeth. Tip: Keep the mouth lines slightly curved to emphasize the sinister grin.
Step 6: Starting the Ruffle
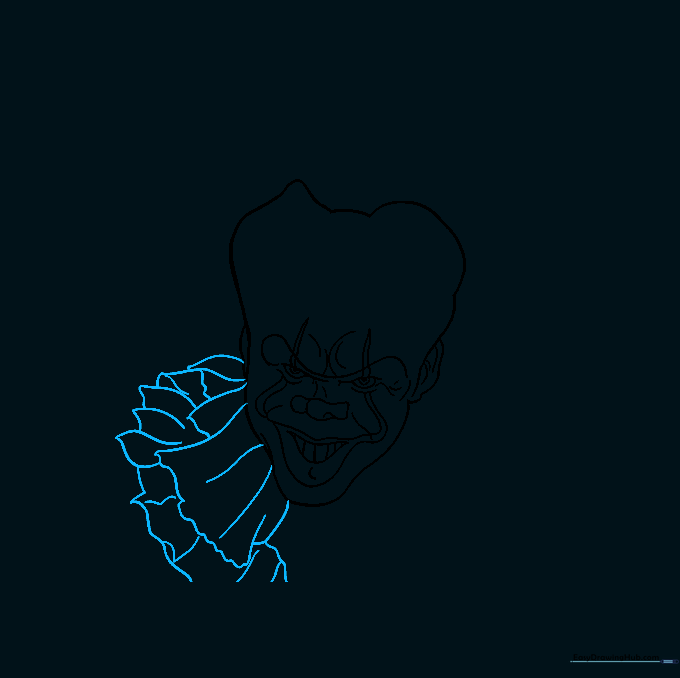
Extend curved lines from the chin to start the neck ruffle. Use overlapping 'U' shapes to create the fabric folds. Tip: Think of these as soft clouds surrounding the neck.
Step 7: Completing the Ruffle
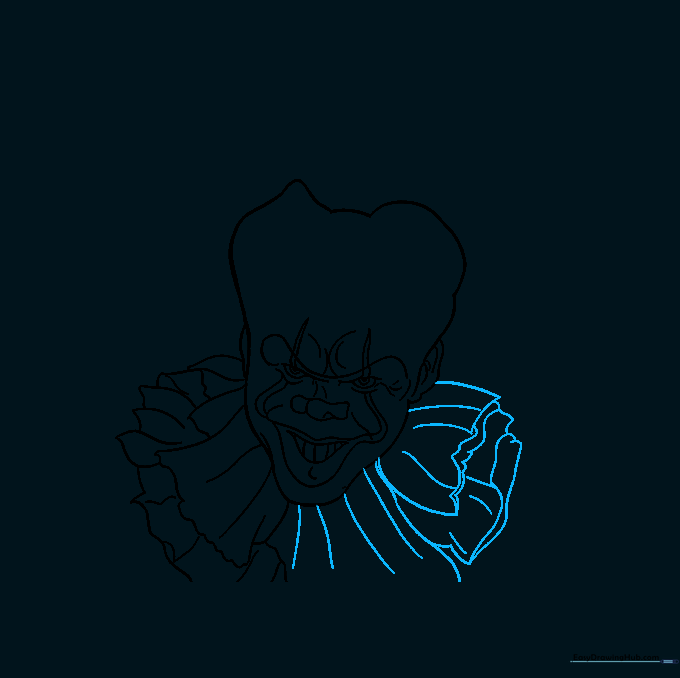
Continue adding layers of ruffles below the face. Connect them with flowing lines to show the volume of the collar. Tip: Make the ruffles slightly larger as they move away from the neck to show perspective.
Step 8: Adding Hair Texture
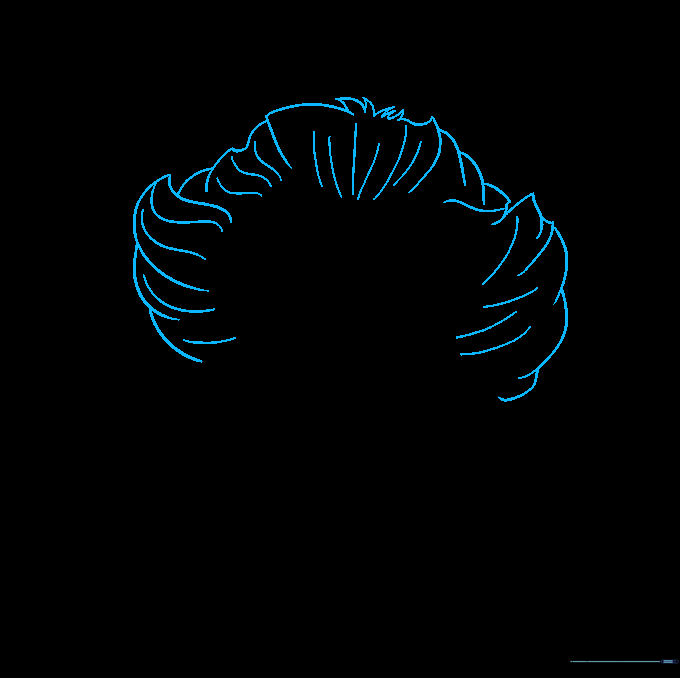
Use quick, overlapping curved strokes to add the clown's wild hair. Tip: Don't worry about making it perfect; the messier the hair, the more chaotic the character looks!
Step 9: Defining Shoulders
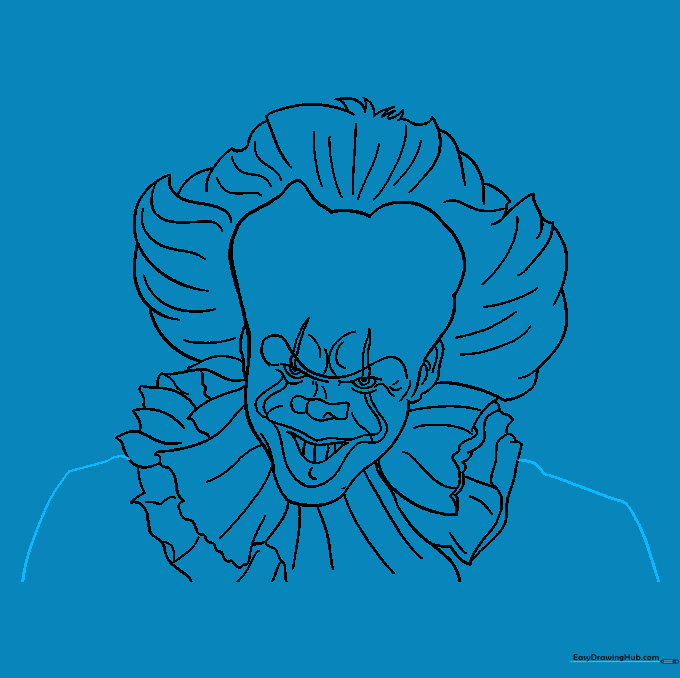
Draw two curved lines extending from the bottom of the ruffles to form the shoulders. This grounds the character in the frame.
Step 10: Final Coloring
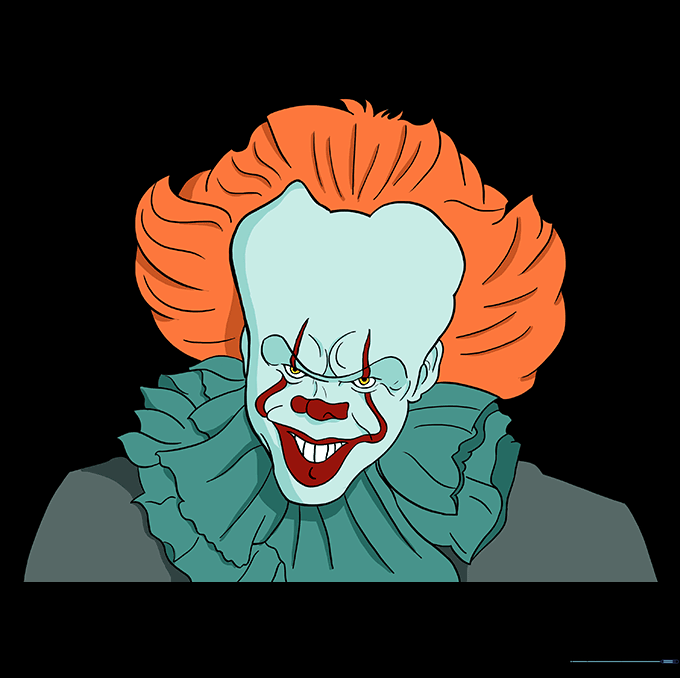
Time to bring him to life! Use white for the face, and bold red for the nose and the makeup lines. Tip: Use a light grey pencil to add subtle shadows under the ruffles for a 3D effect.
More Tutorials


