How to Draw Pelé: Easy 9-Step Portrait Guide
Celebrate the King of Soccer by learning to draw a portrait of Pelé! This tutorial is perfect for young artists ages 8+ who want to practice facial proportions and shading. Grab your pencils, an eraser, and a piece of paper to start capturing his iconic smile.
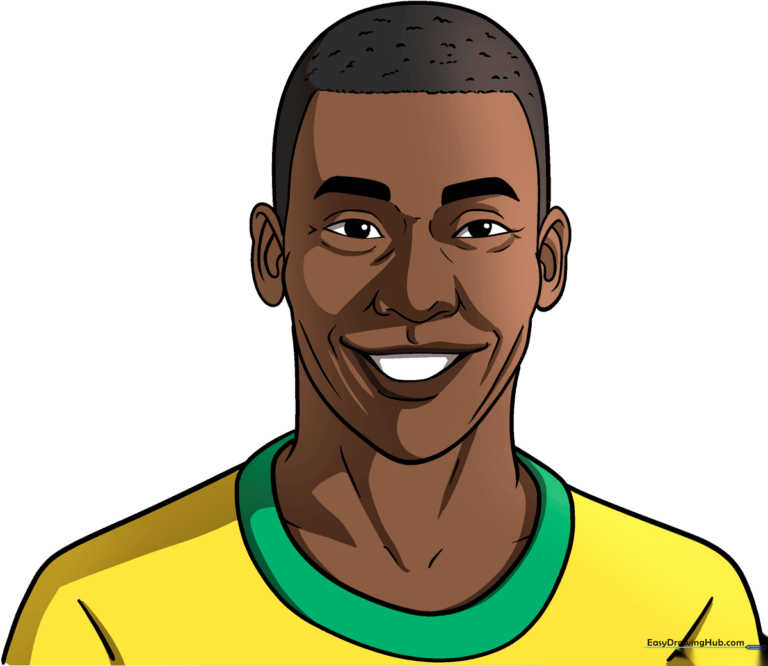
🎯 Final Result
Step-by-Step Instructions
Step 1: Sketching the Eyes
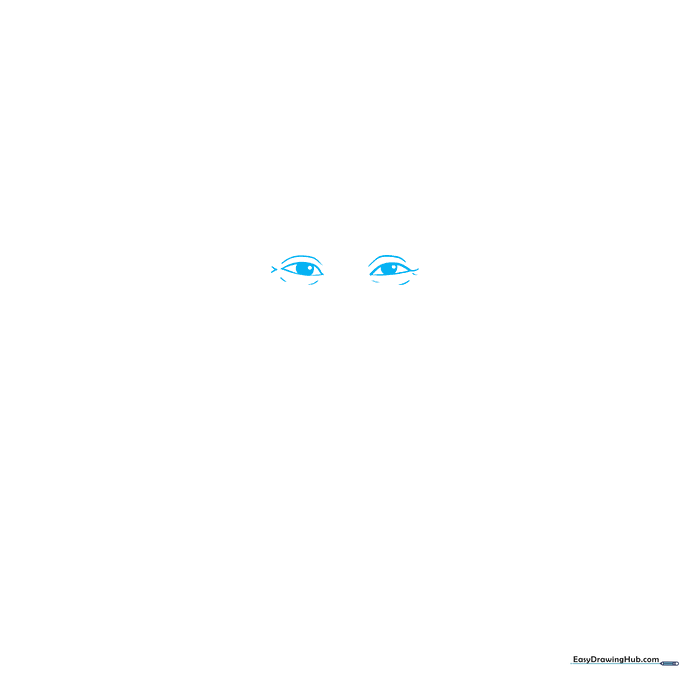
Draw two narrow, horizontal lemon shapes in the center of your paper. Add a small circle inside each for the iris. Teacher's Tip: Keep these shapes symmetrical to ensure the face looks balanced from the start.
Step 2: Defining the Brows
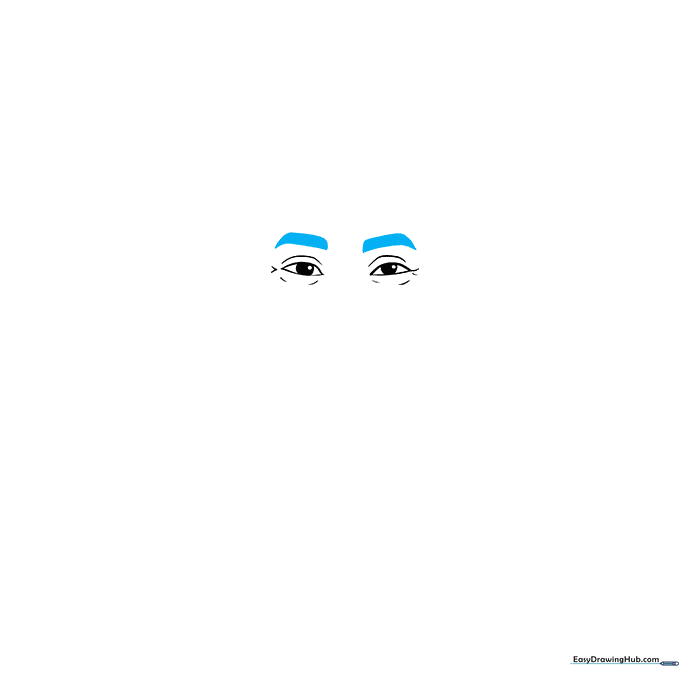
Place thick, bold dashes above each eye to create the eyebrows. Tip: Use a slightly heavier hand here to give Pelé his expressive, determined look.
Step 3: Shaping the Nose
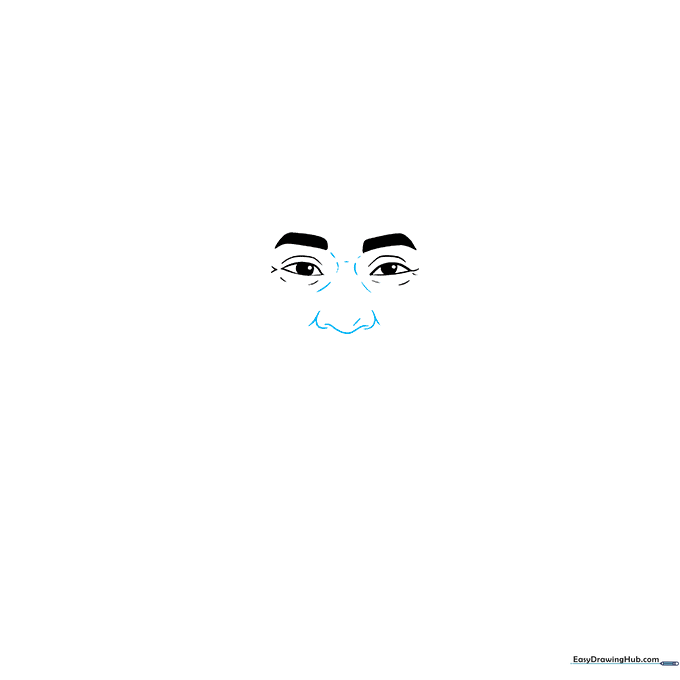
Draw a rounded 'M' shape in the center, framing it with two soft curves. Add small dashes for the nostrils. Tip: Keep the nose centered between the eyes to maintain correct facial proportions.
Step 4: Drawing the Mouth
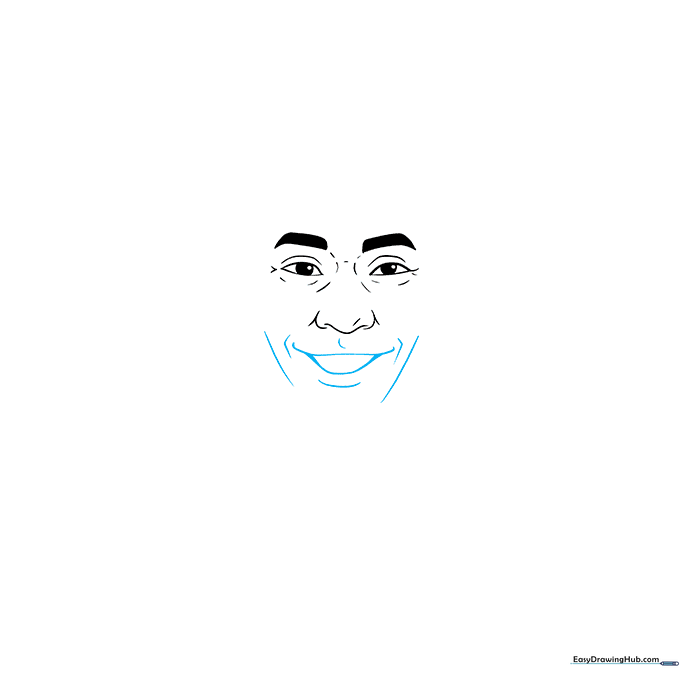
Sketch a horizontal curve beneath the nose, followed by a wide 'U' shape for the lips. Add diagonal lines at the corners to suggest a smile. Tip: A gentle curve makes the expression look natural and friendly.
Step 5: Defining the Jawline
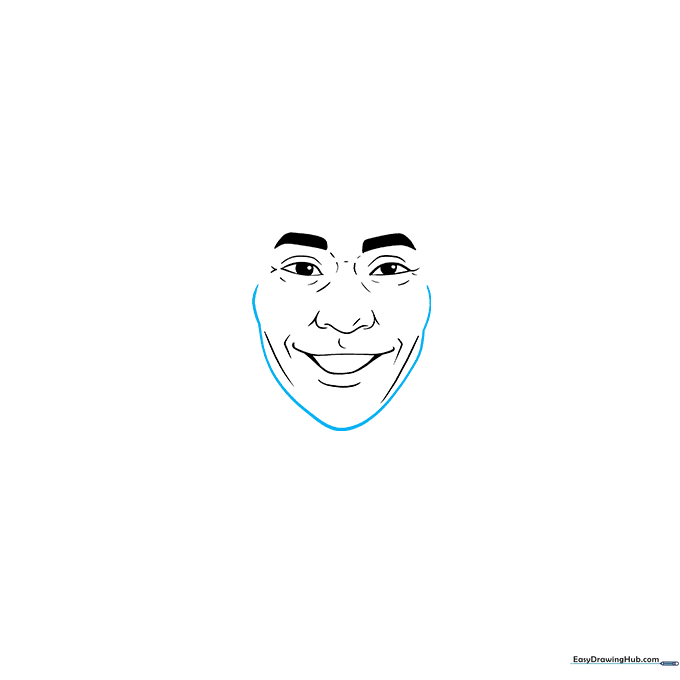
Outline the mouth with a 'V' shape for the chin area and add curves on both sides to define the cheeks. Tip: Use light, sweeping strokes to create a smooth, rounded jawline.
Step 6: Adding Ears
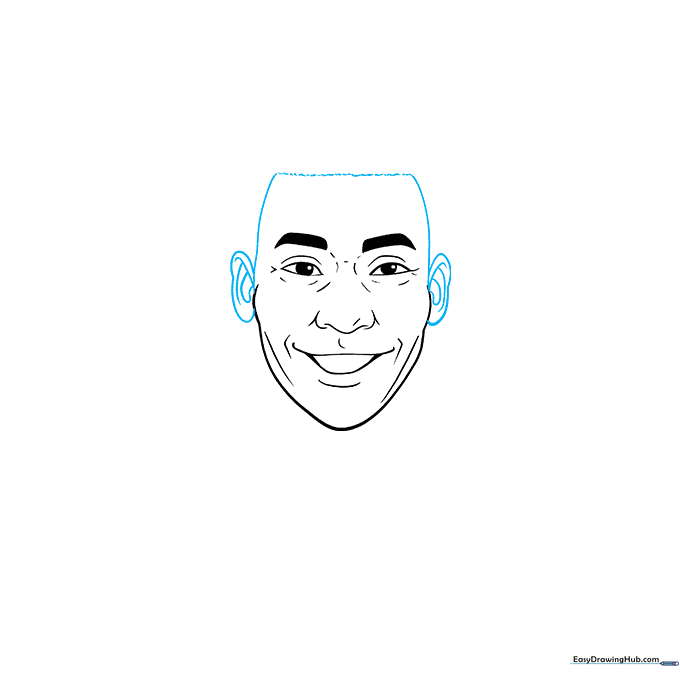
Draw two vertical lines on the sides, then add wide, heart-shaped ears. Add inner curves to show the ear's anatomy. Tip: Ears usually align with the top of the eyes and the bottom of the nose.
Step 7: Sketching the Hair
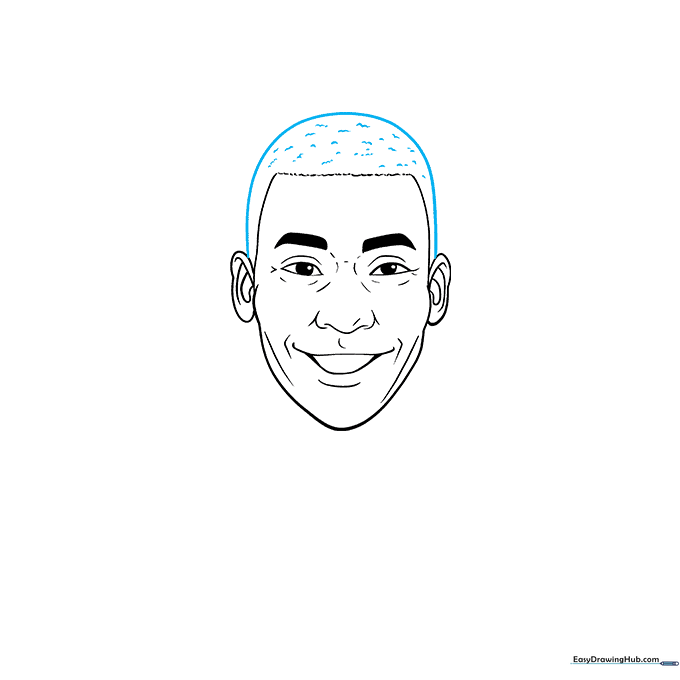
Draw a dome shape over the head and add small, bumpy 'hills' to create texture for the hair. Tip: Vary the size of the bumps to make the hair look more realistic and less like a solid block.
Step 8: Neck and Collar
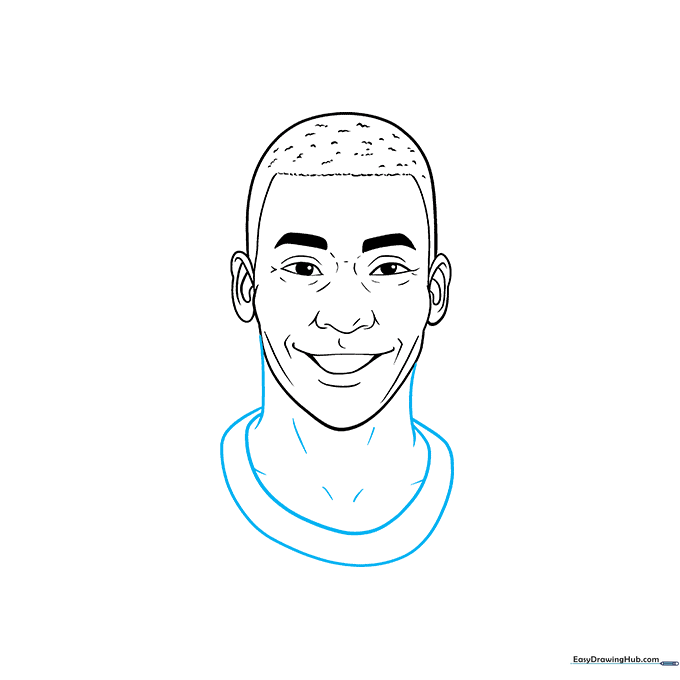
Draw two vertical lines for the neck and add a collar using uneven semi-ovals. Tip: Adding a few vertical lines on the neck creates a sense of muscle and realism.
Step 9: Final Outline
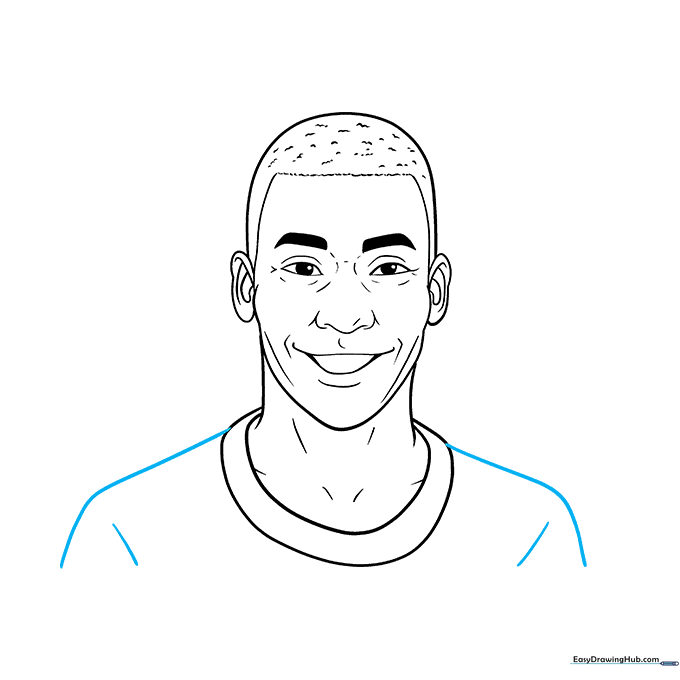
Add shoulders with diagonal lines. Use a black pen to trace your final lines, then erase all pencil marks. Tip: Wait for the ink to dry completely before erasing to avoid smudging!
Step 10: Adding Color
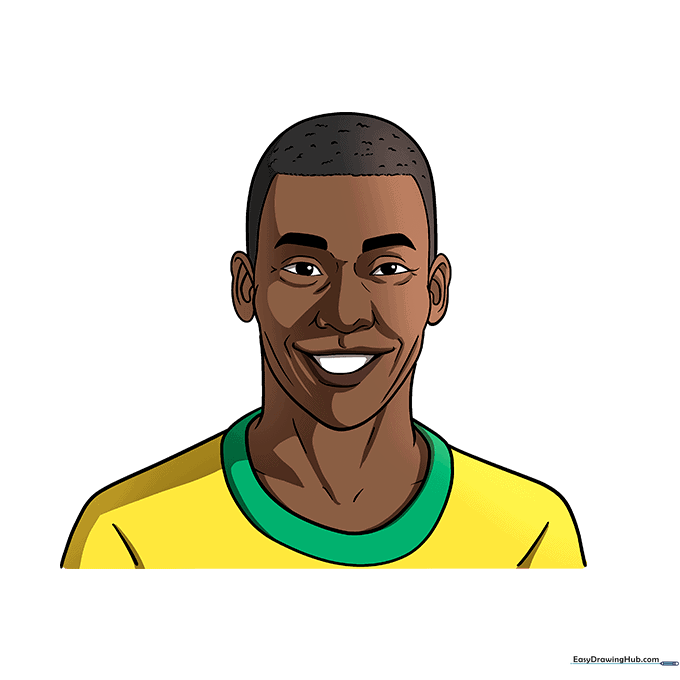
Color the skin dark brown and the hair black. Use green and yellow for the jersey. Tip: Add a slightly darker shade on the left side of the face to create a simple shadow effect.
More Tutorials


