How to Draw Pecan Nuts: Easy 10-Step Guide
Ready to practice your nature drawing? This tutorial is perfect for artists ages 5 and up who want to master drawing textures and organic shapes. Grab a pencil, an eraser, and a piece of paper to follow along as we sketch these crunchy, delicious snacks.
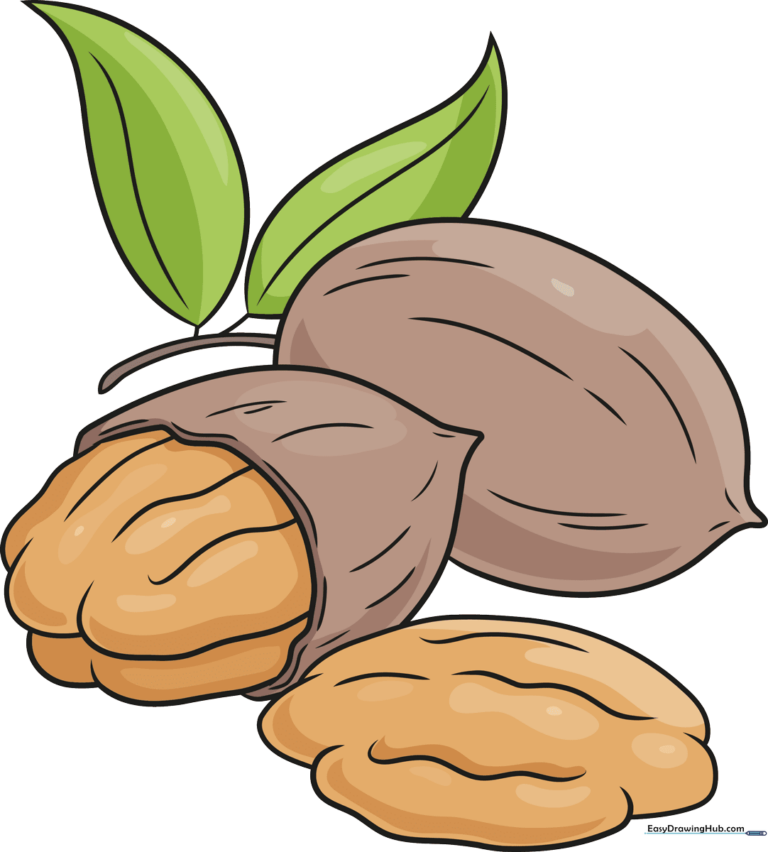
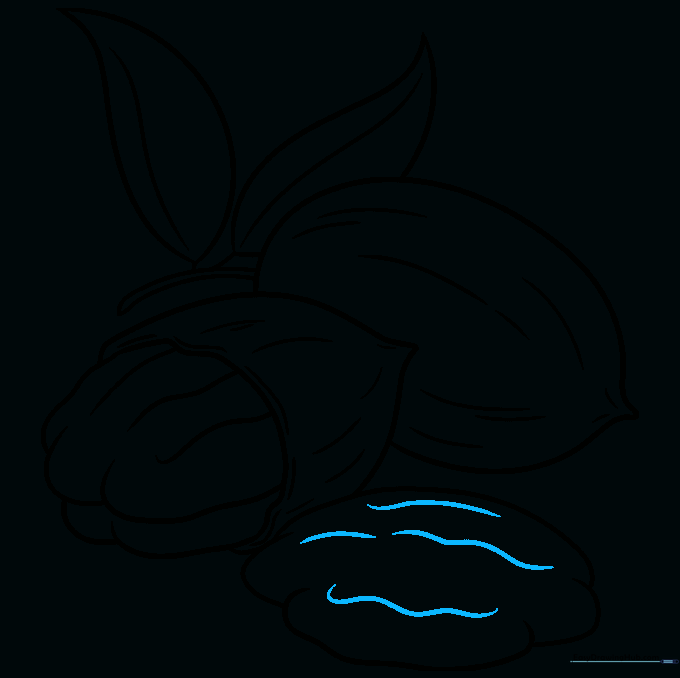
🎯 Final Result
Step-by-Step Instructions
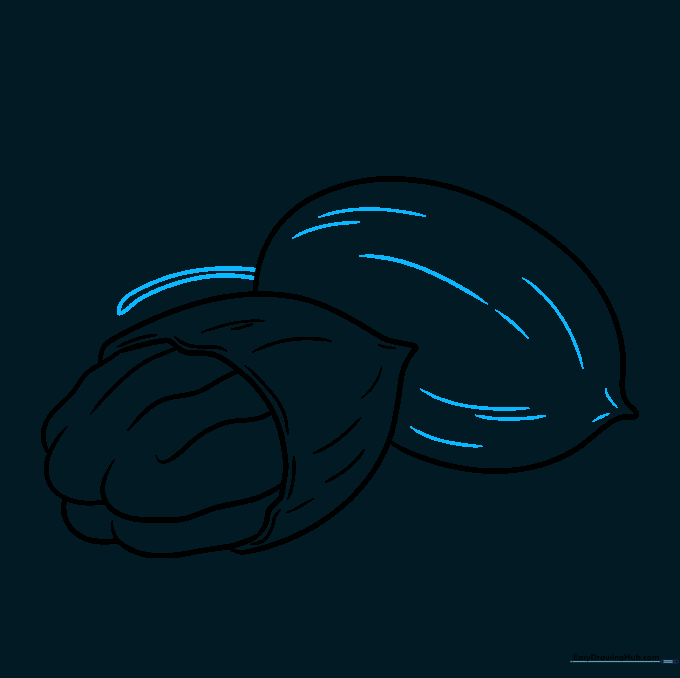
Step 1: Sketching the First Shell

Start by drawing the outer shell using two curved lines that meet at a sharp point. Leave a small gap at the opposite end. Teacher's Tip: Keep your pencil pressure light so you can easily adjust the shape if it looks a bit lopsided.
Step 2: Adding the Nut Lobes
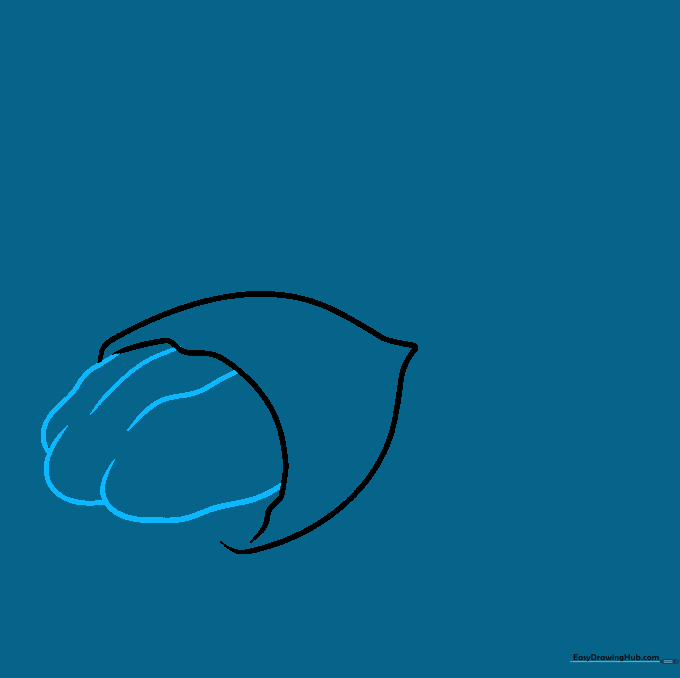
Draw the nut meat peeking out of the shell using three overlapping curved lines to create the lobes. Add two small lines in the center to suggest depth. Tip: Think of these as little 'bumps'—don't worry about making them perfectly symmetrical!
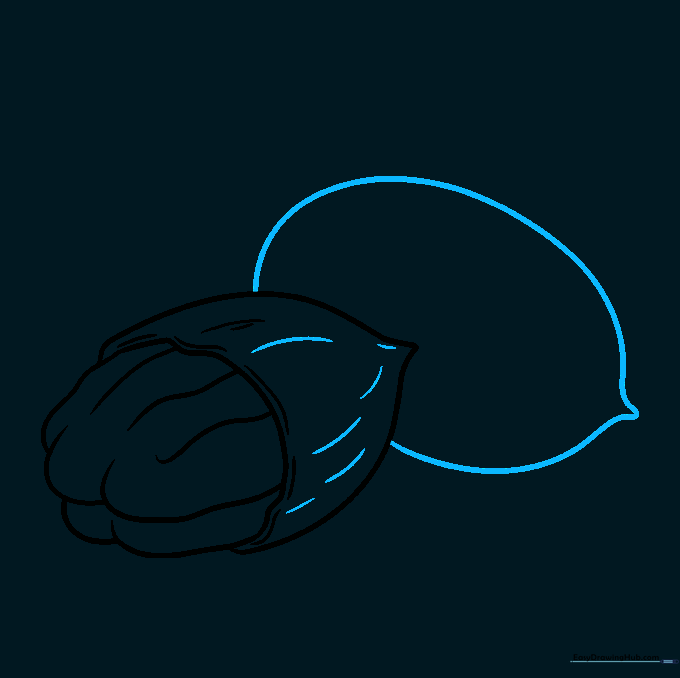
Step 3: Creating the Nut Cluster
Add a side line to the first nut, then sketch a second nut overlapping the first. Use parallel curved lines to show the shell's edge. Tip: Overlapping objects is a great way to make your drawing look 3D rather than flat.
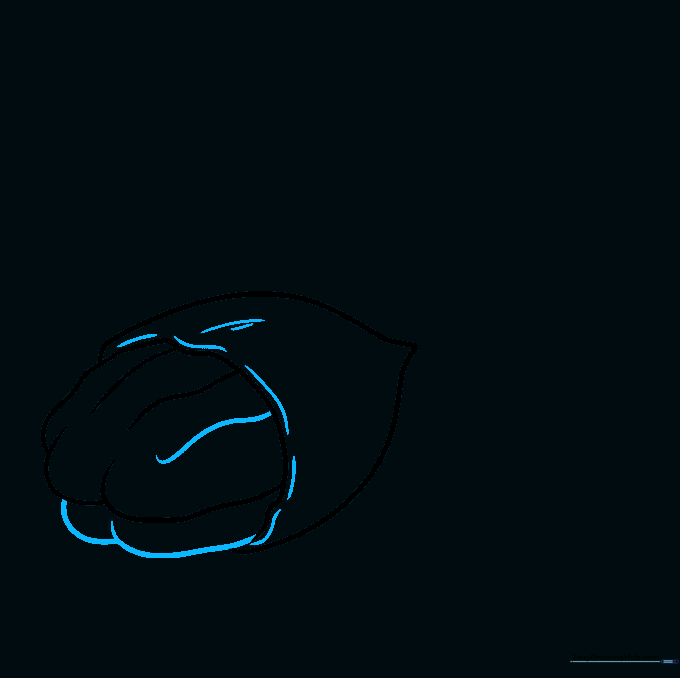
Step 4: Refining the Second Shell
Add texture to the nut surface with short, curved lines. Then, outline the shell of the second nut with two lines meeting at a point. Tip: Vary the length of your texture lines to make the nut look more natural and less like a cartoon.
Step 5: Drawing the Stem
Add more texture to the second shell. Then, draw two parallel curved lines extending from the round end to create the stem. Tip: Ensure the stem looks sturdy, as it needs to hold the weight of the nuts and leaves.
Step 6: Adding the First Leaf
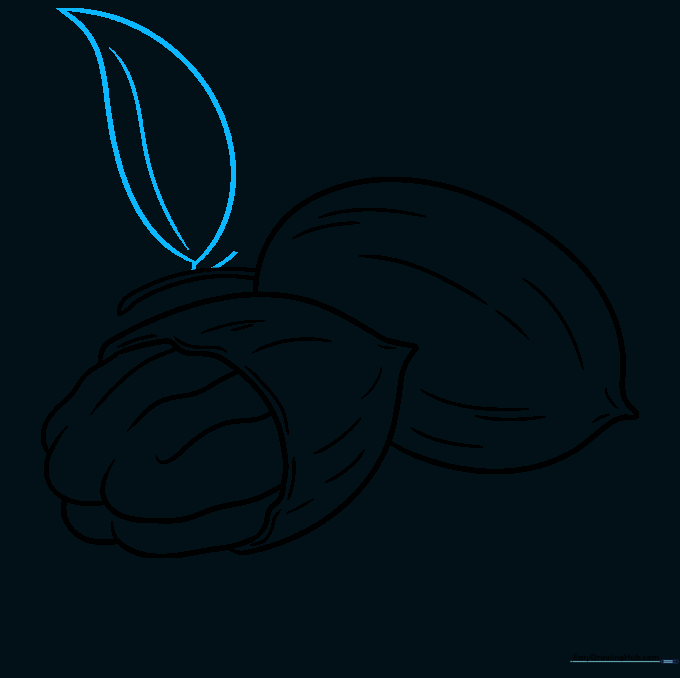
Draw a small leaf stem, then extend two curved lines that meet at a point to form the leaf shape. Add a line down the center for the vein. Tip: Leaves are rarely perfectly straight, so give yours a slight curve to show movement.
Step 7: Adding the Second Leaf and Third Nut
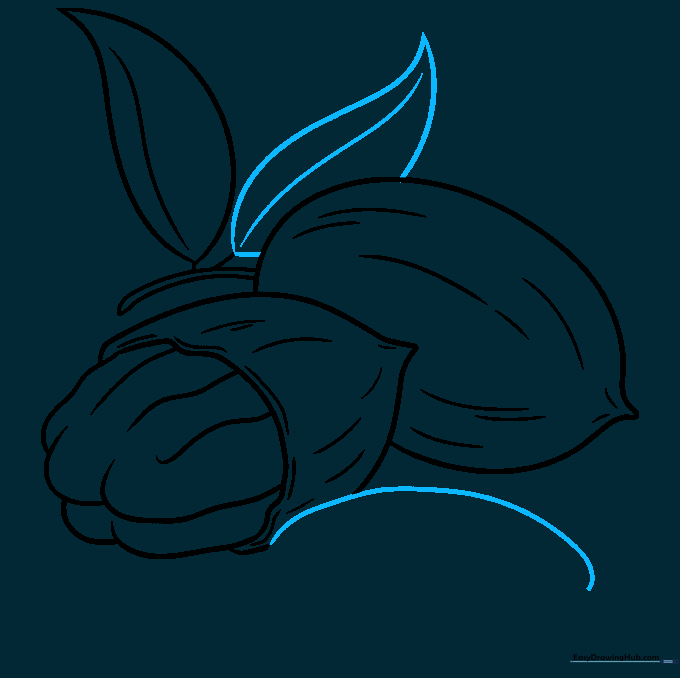
Repeat the leaf process for a second leaf. Then, begin the outline for a third pecan nut nearby. Tip: If your lines overlap too much, use your eraser to clean up the hidden lines—this creates a professional, finished look.
Step 8: Detailing the Edible Fruit
Use overlapping curved lines to define the edible part of the third nut. Tip: Focus on the 'wrinkly' texture of the pecan meat—small, irregular curves work best here.
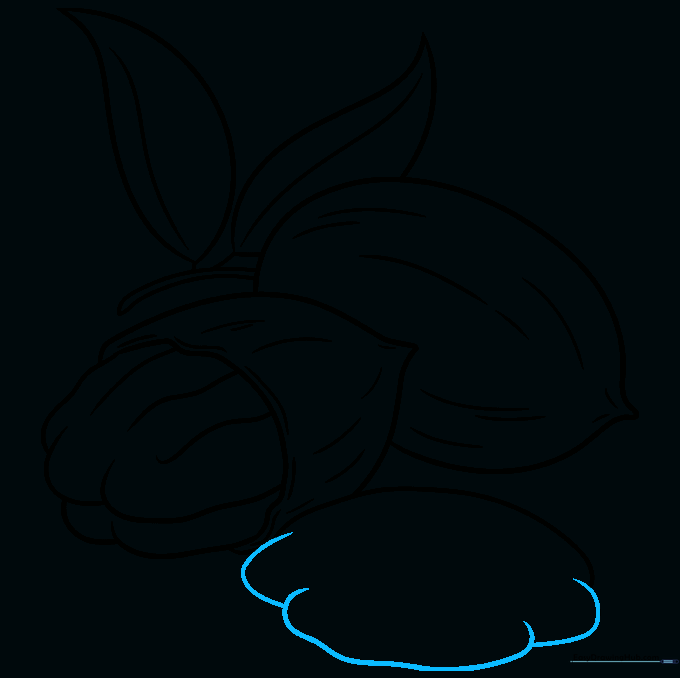
Step 9: Final Texturing
Add a few final wavy lines down the center of the nut to complete the texture. Tip: Check your drawing against a real photo of a pecan to see where the shadows and ridges naturally fall.
Step 10: Adding Color

Bring your drawing to life with color! Use various shades of brown to capture the natural look of pecans. Tip: Use a lighter brown for the highlights and a darker brown for the deep ridges to create a realistic effect.
More Tutorials


