How to Draw Peas: Easy 10-Step Guide for Kids
Bring a garden-fresh snack to life with this simple drawing tutorial, perfect for young artists ages 5 and up. All you need is a pencil, an eraser, and your favorite green markers or crayons. By following these steps, you will master drawing organic shapes and overlapping forms to create a charming pea pod scene.
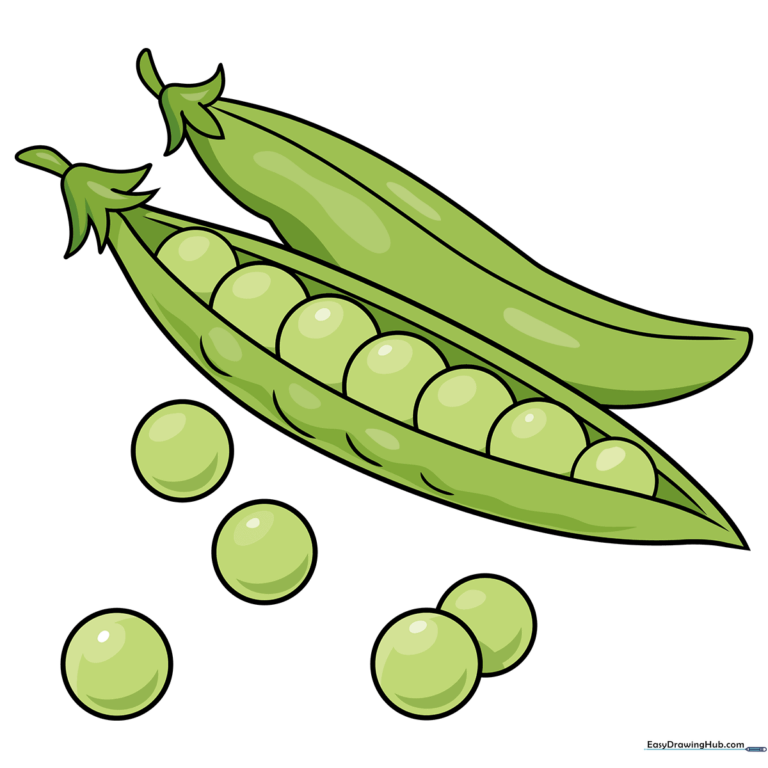
🎯 Final Result
Step-by-Step Instructions
Step 1: Sketching the Pod Shape
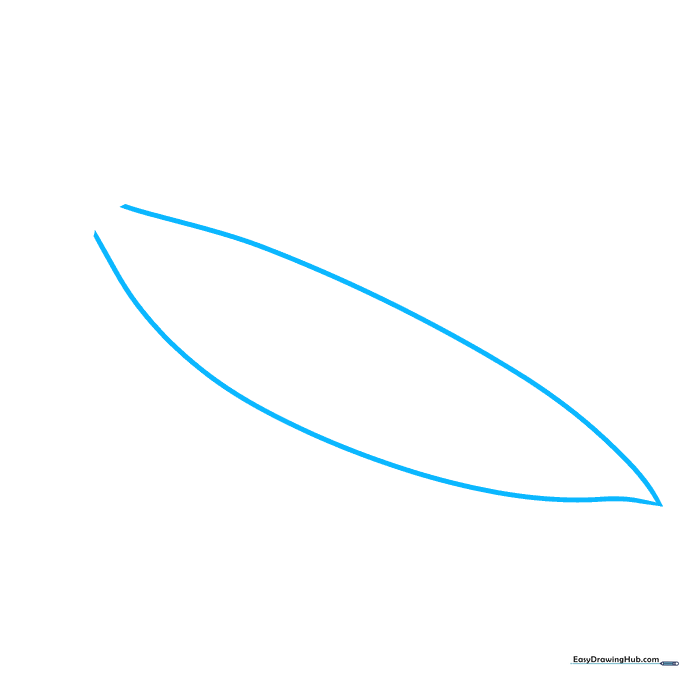
Draw two long, curved lines that meet at a point at the bottom to create the pod shell. Teacher's Tip: Keep your pencil pressure light so you can easily adjust the curve if it looks a bit lopsided.
Step 2: Drawing the Calyx
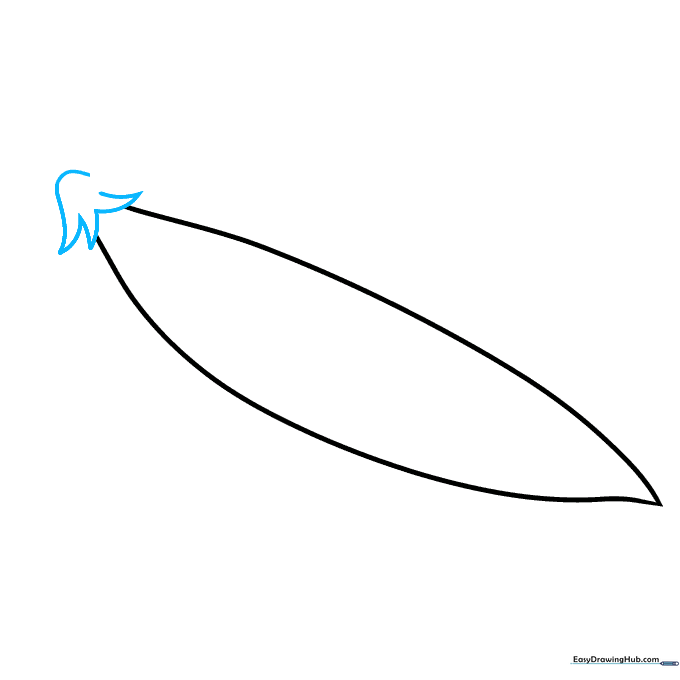
Add the leafy top of the pod using a series of small, connected 'V' shapes. Tip: Make these 'V's slightly uneven to give your drawing a more natural, organic look.
Step 3: Adding the Stem and Seam
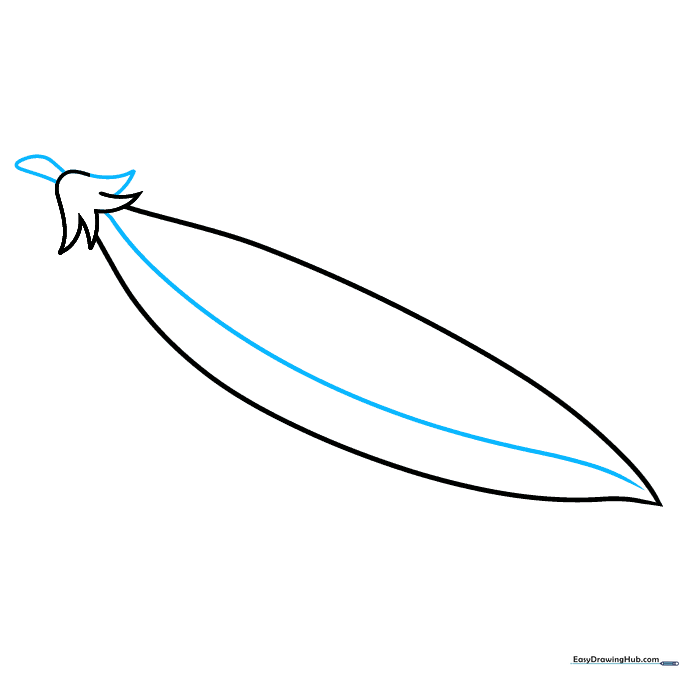
Close the top with a final 'V' shape, then draw a small stem extending upward. Add a long, curved line down the side of the pod to represent the seam. Tip: Think of this line as the 'zipper' of the pea pod.
Step 4: Sketching the Peas
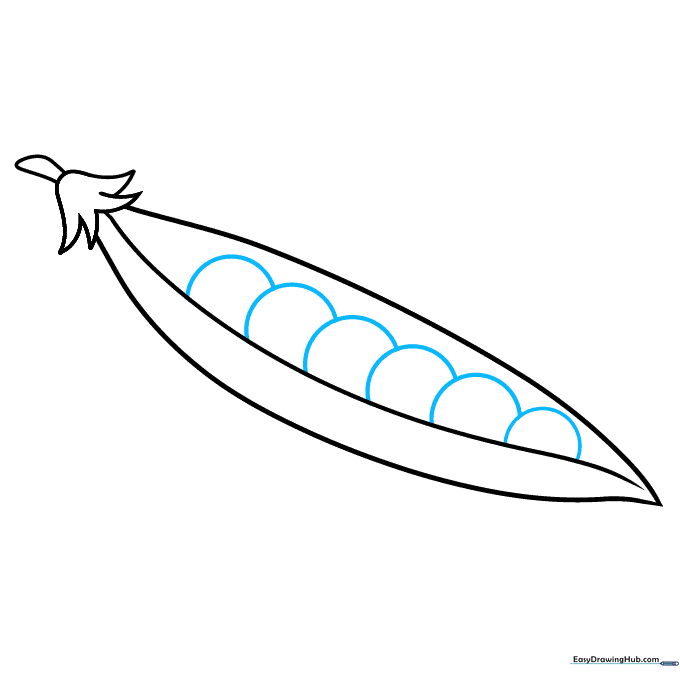
Draw circular shapes inside the pod to represent the peas. Tip: Don't worry about making them perfect circles; peas are naturally a bit bumpy and irregular.
Step 5: Adding Texture and Depth
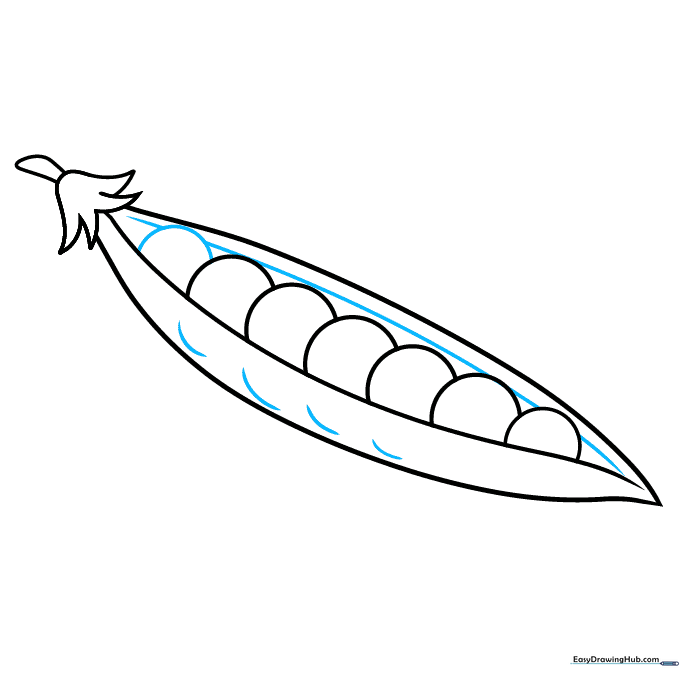
Draw a curved line behind the peas to show the back of the pod, and add small bumps along the front edge. Tip: These little bumps make the pod look like it’s actually holding something inside!
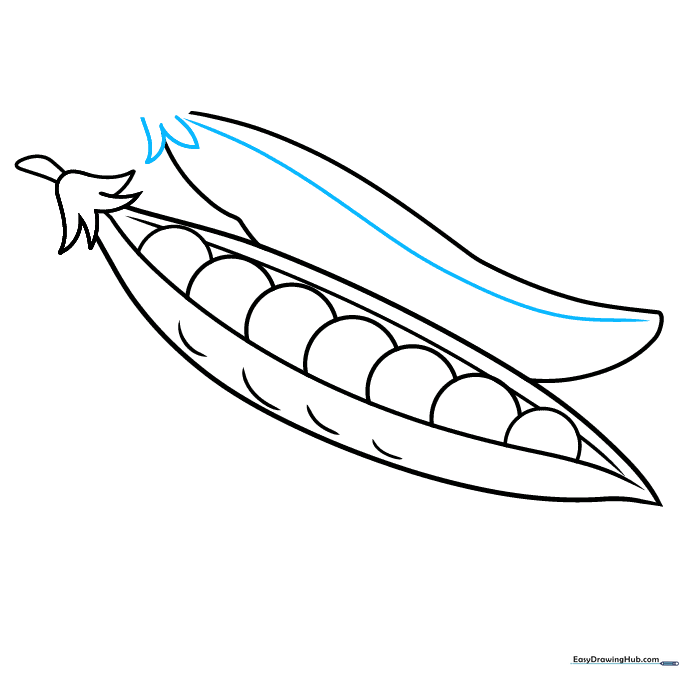
Step 6: Drawing a Second Pod

Sketch a second, slightly overlapping pod behind the first one using long, sweeping curved lines. Tip: Overlapping objects is a great way to add a sense of space to your drawing.
Step 7: Detailing the Second Pod
Repeat the process for the second pod by adding a seam line and the leafy calyx at the top. Tip: Keep the lines for this pod slightly lighter to show it is further away.
Step 8: Adding a Loose Pea
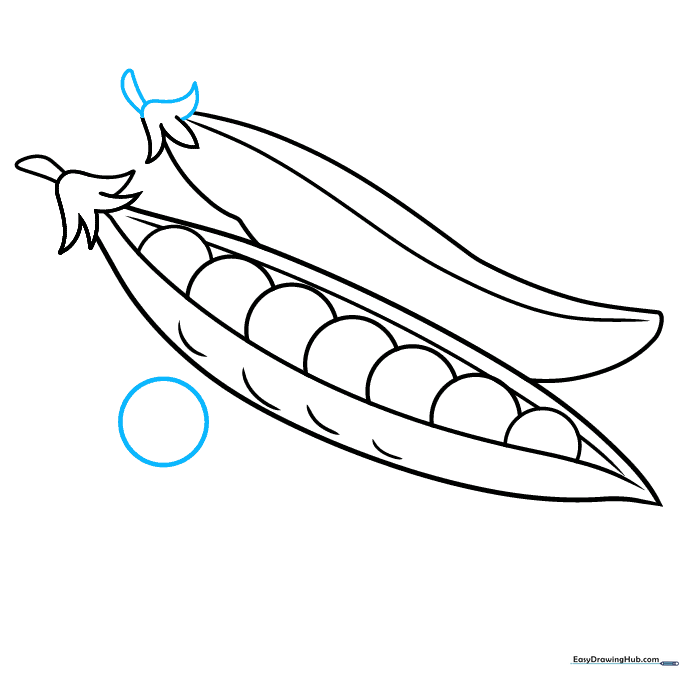
Finish the second pod's stem and draw a single circle nearby to represent a pea that has rolled out. Tip: Placing a loose pea adds a fun, playful story to your artwork.
Step 9: Final Touches
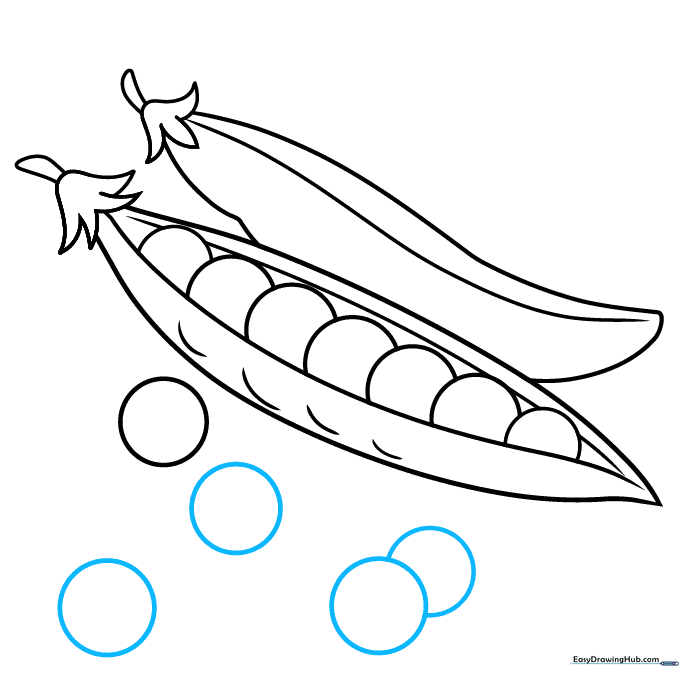
Add a few more small circles around the pods to create a 'scattered' effect. Tip: Vary the sizes slightly to make them look more realistic.
Step 10: Bring Your Peas to Life with Color
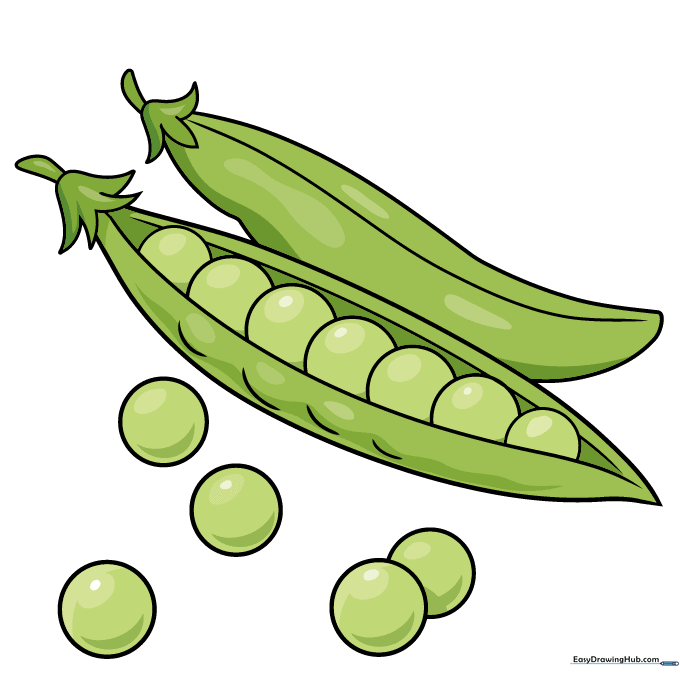
Time to color! Use bright greens for the peas and a slightly darker shade for the pods. Tip: Try adding a tiny white dot on each pea to create a 'highlight'—it makes them look shiny and fresh!
More Tutorials


