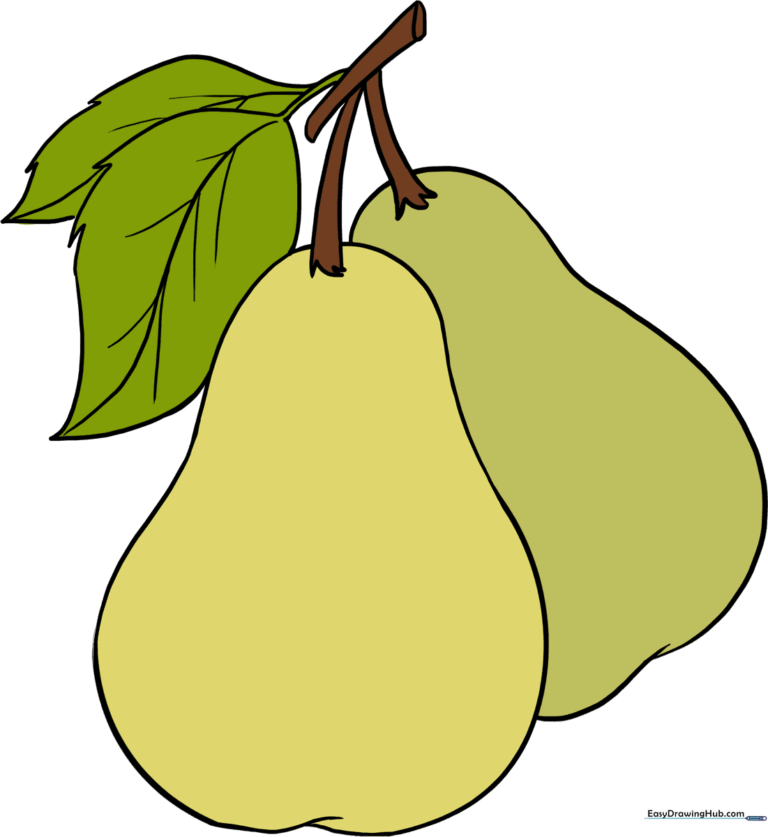
How to Draw Pears: Easy 10-Step Guide for Beginners
Perfect for budding artists ages 5 and up, this pear drawing tutorial helps you master organic shapes and shading. You only need a pencil, an eraser, and a piece of paper to get started. Follow along to create a beautiful, professional-looking fruit study in minutes.
🎯 Final Result
Step-by-Step Instructions
Step 1: Sketching the Base Circle

Start by drawing a light circle to act as the base of your pear. Teacher's Tip: Keep your pencil grip loose and draw very lightly so you can easily erase this guide later!
Step 2: Defining the Pear Shape

Draw a curved line on top of your circle to create the pear's neck. At the bottom, add two small, overlapping curves to represent the blossom end. Tip: Pears aren't perfect circles, so don't worry if your lines aren't symmetrical!
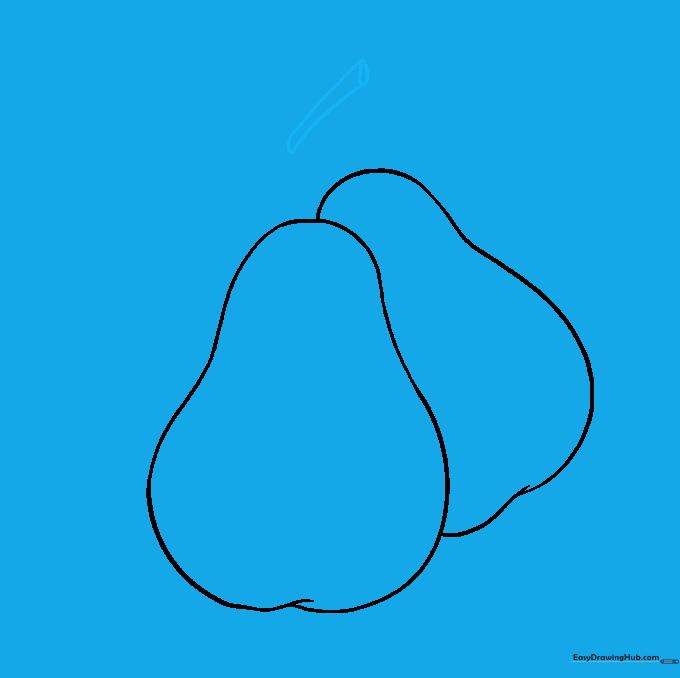
Step 3: Cleaning Your Sketch

Gently erase the original circle guide lines inside your pear shape. You should be left with a clean, 'pyriform' (pear-shaped) outline.
Step 4: Adding a Second Pear
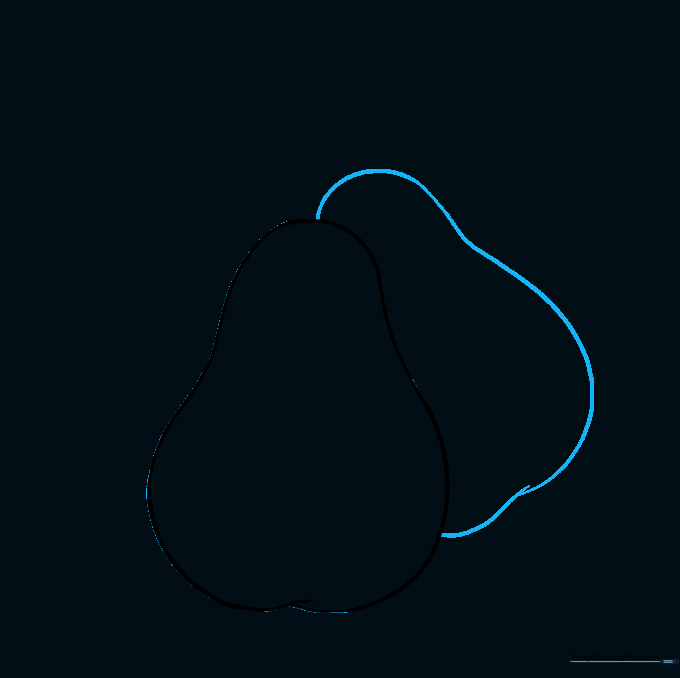
Draw a second pear shape behind the first, angled slightly to create depth. Tip: Overlapping objects is a great way to make your drawing look 3D rather than flat.
Step 5: Sketching the Stem
Draw two parallel lines for the stem, topped with a small oval. This gives the fruit a realistic connection point. Tip: Keep the stem slightly curved to make it look natural.
Step 6: Connecting the Fruit
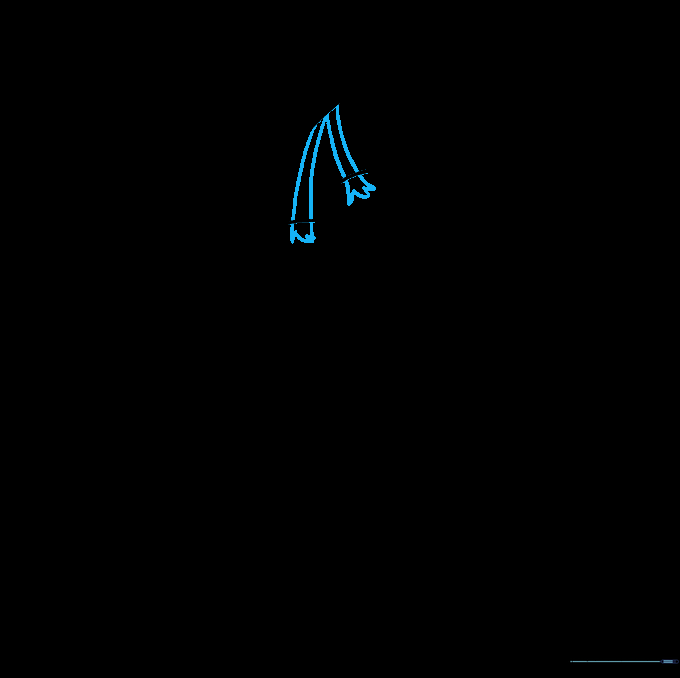
Extend lines from the stem to each pear. Use jagged, uneven lines at the base of the stems to show where they attach to the fruit. This adds texture!
Step 7: Refining the Stems

Clean up your drawing by erasing any overlapping guide lines within the stem area. Precision here makes your final piece look much cleaner.
Step 8: Adding Leaves

Draw two leaves extending from the stem using jagged, organic lines. Tip: Leaves are rarely perfectly smooth, so don't be afraid to make your edges a little wavy.
Step 9: Adding Leaf Veins
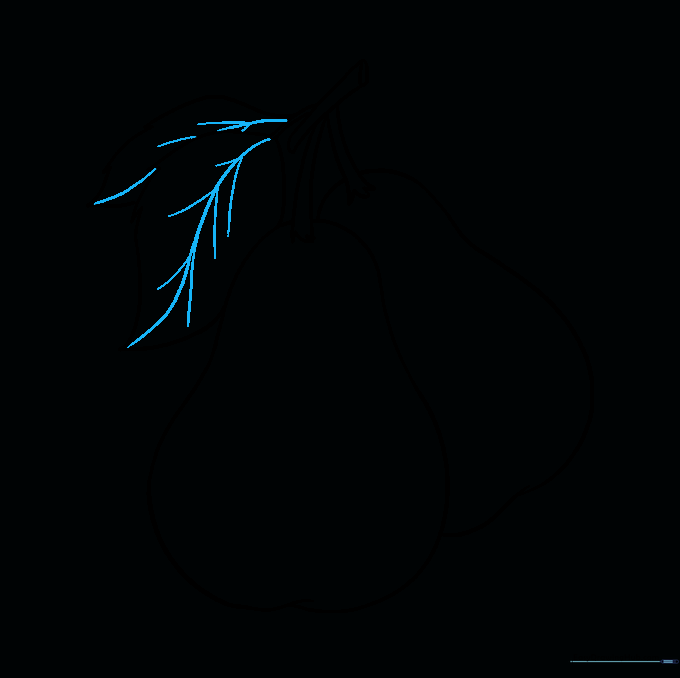
Add a central vein to each leaf and smaller lines branching out. This small detail adds a professional touch to your botanical drawing.
Step 10: Bringing Your Pears to Life with Color
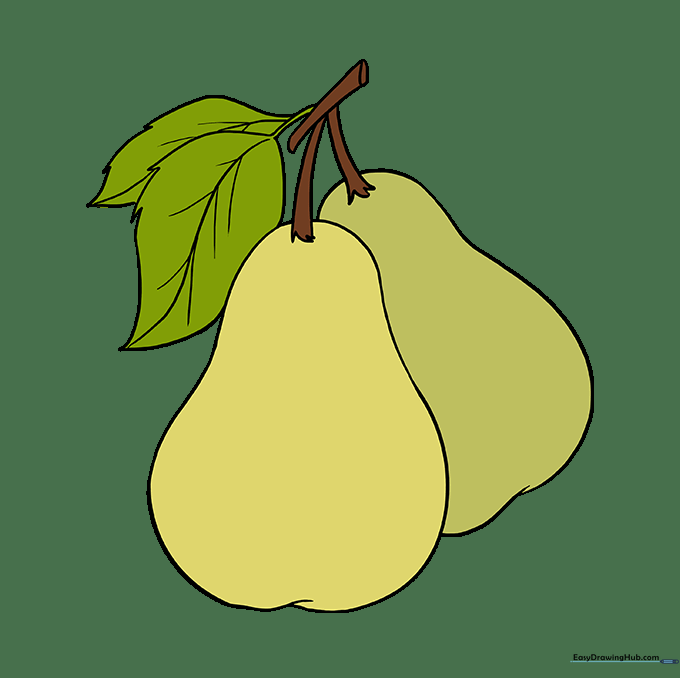
Time to color! Use shades of yellow, green, or even a touch of red. Tip: Use light pressure with your colored pencils to blend colors together for a realistic, ripe look.
More Tutorials


