How to Draw Patriotic Balloons: Easy 10-Step Guide
Celebrate the holidays with this fun, patriotic balloon drawing! Designed for young artists and beginners, this project requires only paper, a pencil, and your favorite markers. Follow these simple steps to build confidence in your shapes and create a festive masterpiece.
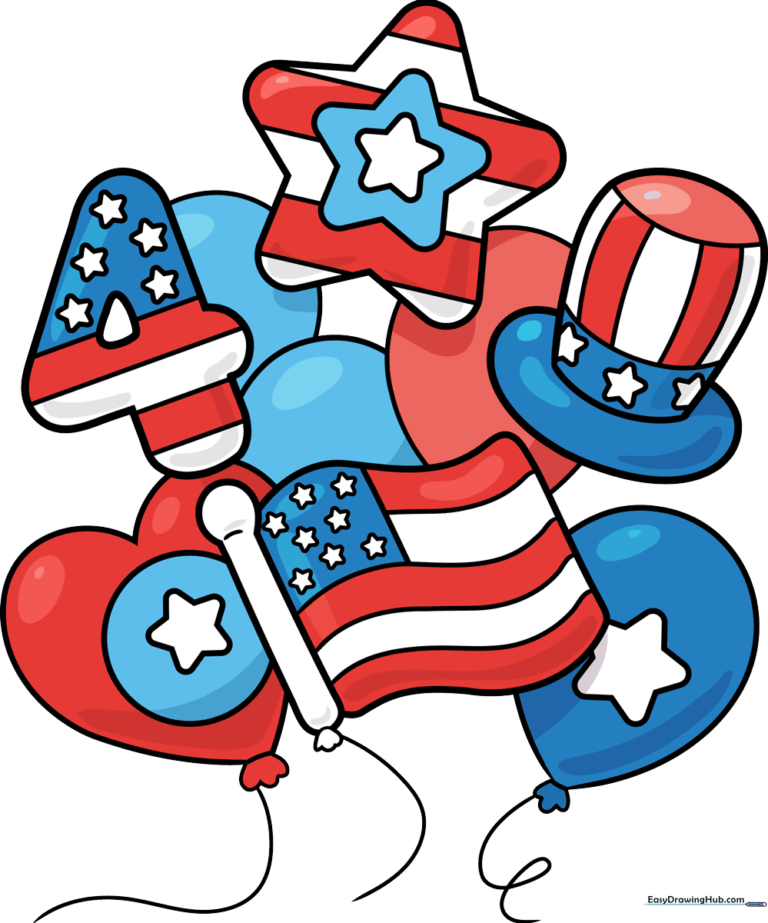
🎯 Final Result
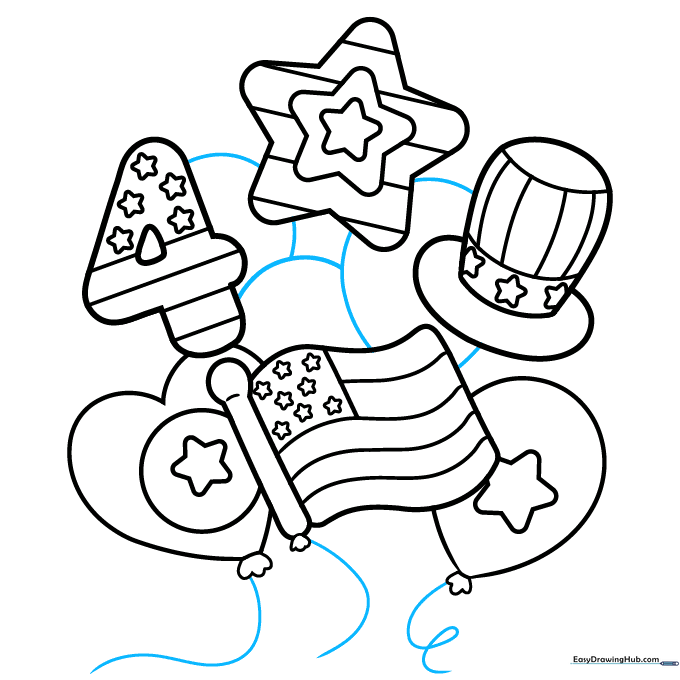
Step-by-Step Instructions
Step 1: Sketching the Star Base
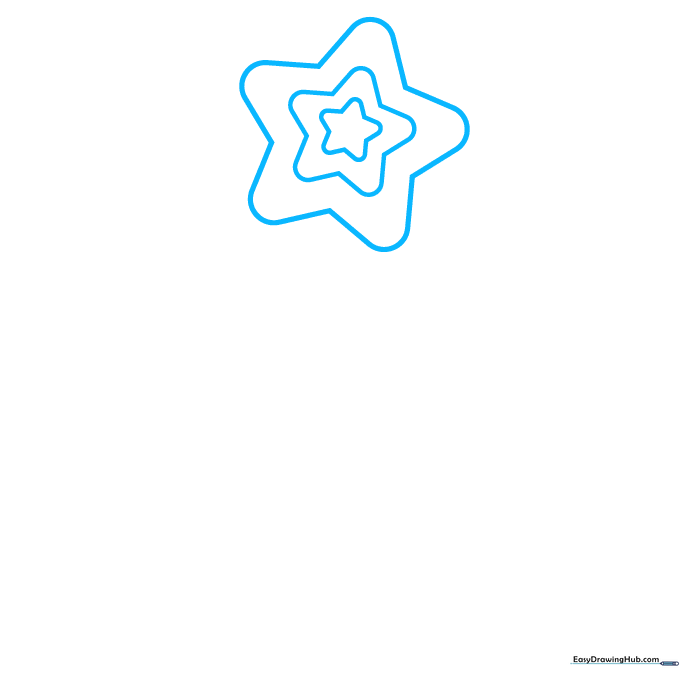
Use five rounded triangles to sketch the center star. Add a larger star outline around it, then a third layer to create a bold, multi-layered look. Teacher's Tip: Keep your lines light so you can easily adjust the symmetry before finalizing.
Step 2: Adding Structural Lines
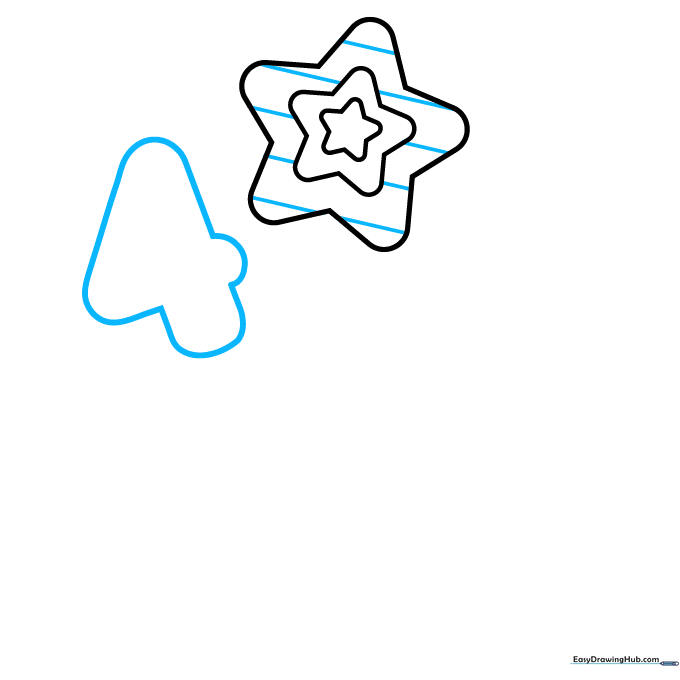
Sketch five straight lines radiating from the center of your star. To the left, draw a number '4' using a rounded triangle, a semi-circle, and a small square base. Teacher's Tip: Use a ruler if you struggle with straight lines, but freehand is great for practice!
Step 3: Refining the Details
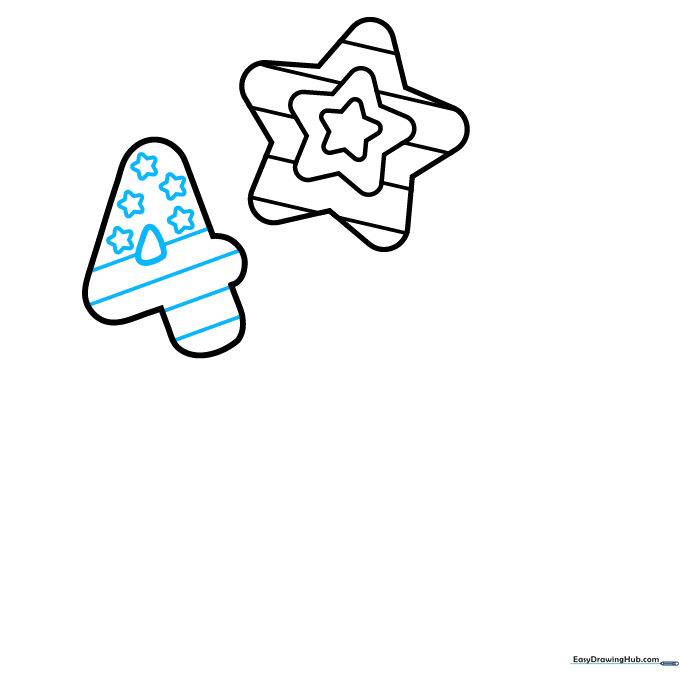
Add a small triangle inside the number, then draw four diagonal lines and five small stars around the cluster. Teacher's Tip: Focus on keeping the stars uniform in size to make the drawing look professional.
Step 4: Sketching the Balloon Shapes
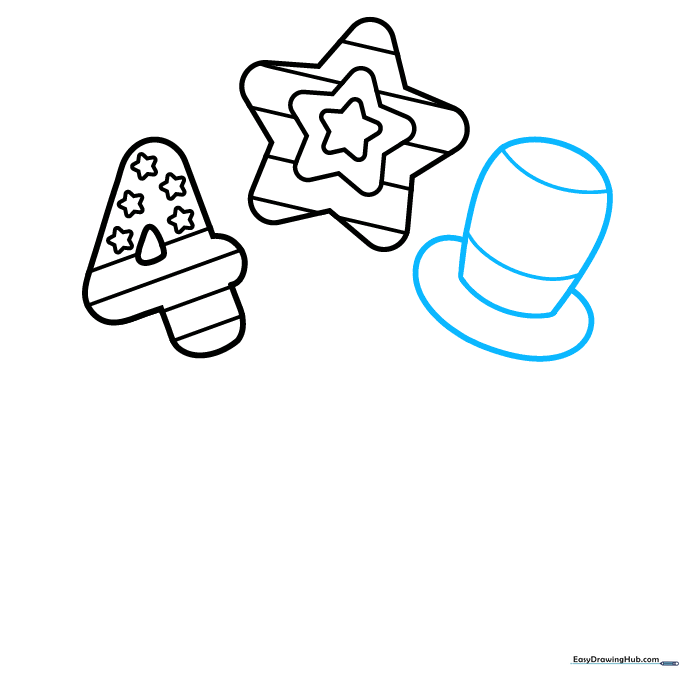
Outline a tilted oval to the side. Draw a larger, overlapping oval with a rounded bottom, then add two curved lines inside to give it volume. Teacher's Tip: Think of these as inflated bubbles; keep the curves smooth to show they are full of air.
Step 5: Adding Festive Embellishments
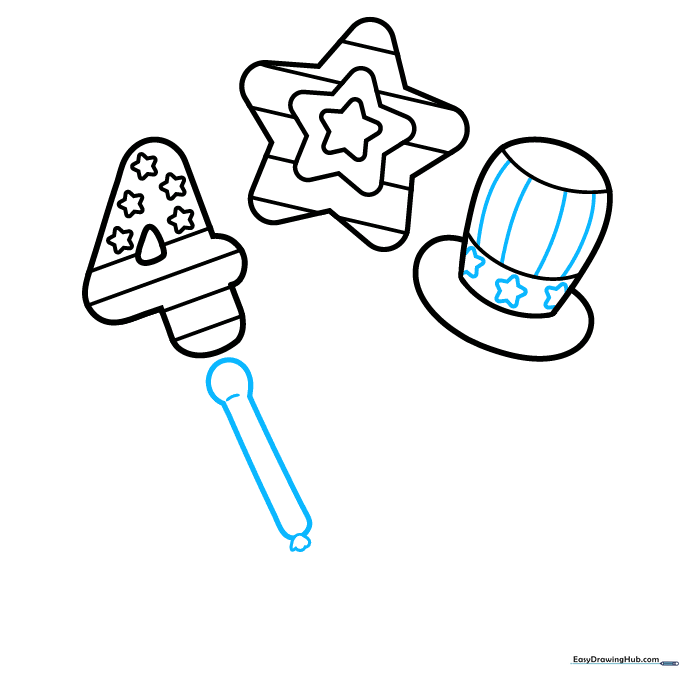
Decorate the hat area with three stars and four vertical lines. Under the first balloon, draw two diagonal lines, a curve, and a small circle. Teacher's Tip: The circle acts as the 'knot' of the balloon—don't forget to add a tiny dash underneath for the tie!
Step 6: Drawing the Flag Pattern
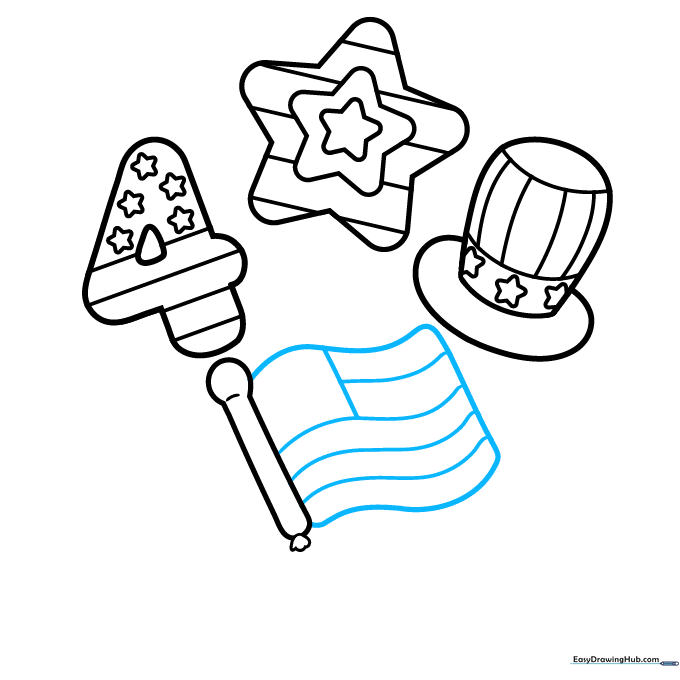
Draw six parallel wavy lines, connect them with a straight line, and add a small box in the corner. Teacher's Tip: Wavy lines give the illusion of fabric moving in the wind.
Step 7: Finalizing the Flag and Heart

Outline eight small stars inside the corner box and sketch a heart shape behind the flag. Teacher's Tip: Ensure the heart is slightly behind the flag by erasing any overlapping lines.
Step 8: Adding Teardrop Balloons
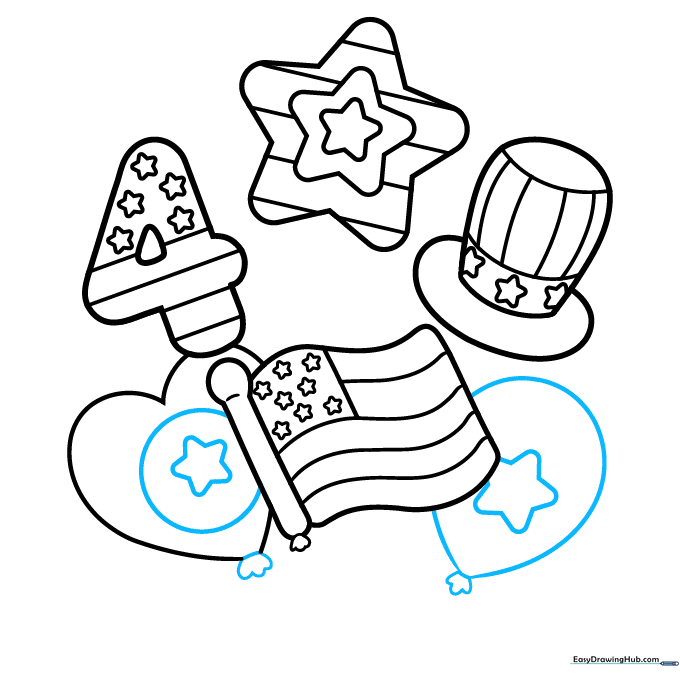
Draw a circle and a large star inside the heart. Add a teardrop shape to the right with a star and a scalloped bottom. Teacher's Tip: Scalloped edges make the balloon look like it's tied with a decorative ribbon.
Step 9: Final Outline
Sketch three ovals in the background and add squiggly lines to the bottom balloons. Use a black marker to trace your final lines. Teacher's Tip: Use a steady hand when outlining to make your drawing pop!
Step 10: Adding Color
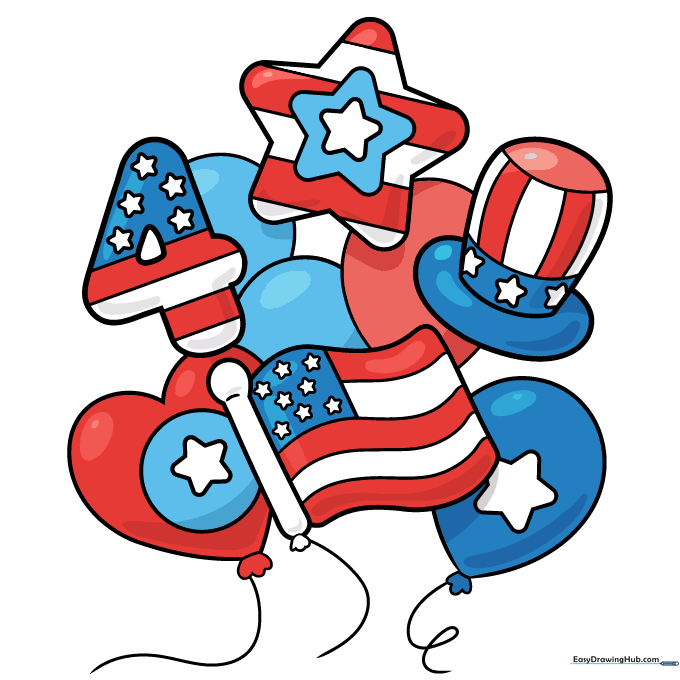
Bring your balloons to life with shades of red and blue. Use light gray for the white sections to add depth. Teacher's Tip: Use colored pencils to blend the edges for a soft, realistic balloon texture.
More Tutorials


