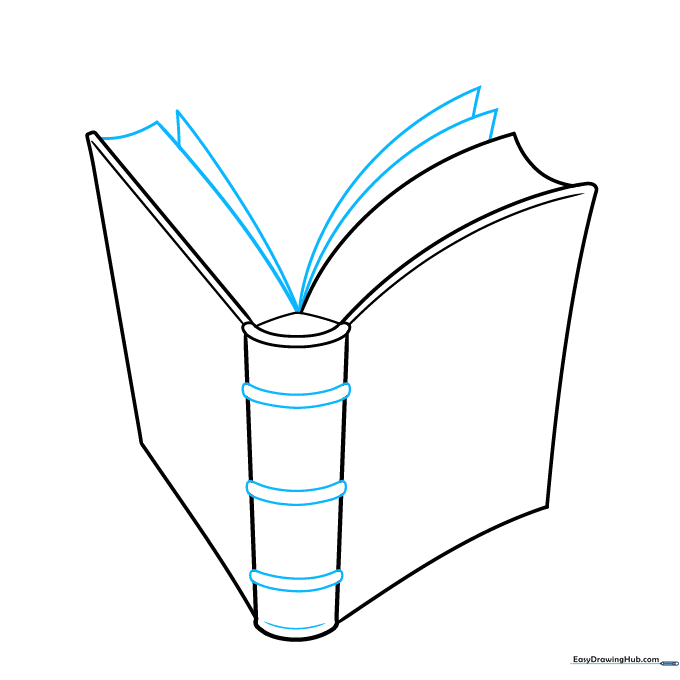
How to Draw a Book: Anatomy Diagram for Kids
This step-by-step guide is perfect for students and young artists ages 7+ who want to understand the anatomy of a book. You will need a pencil, eraser, and paper to create this detailed diagram. By the end, you'll have a clear, labeled illustration that helps you identify the spine, gutter, and leaves of your favorite stories.
🎯 Final Result
Step-by-Step Instructions
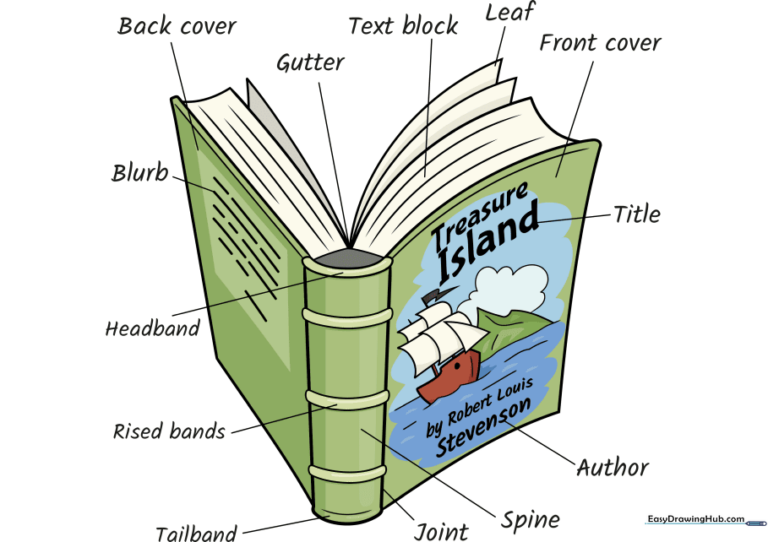
Step 1: Sketching the Spine
Start by drawing the spine of the book. Use two vertical lines connected by shorter curves at the top and bottom to form a tall rectangle. Tip: Keep your pencil pressure light so you can easily adjust the shape if it looks a bit wobbly.
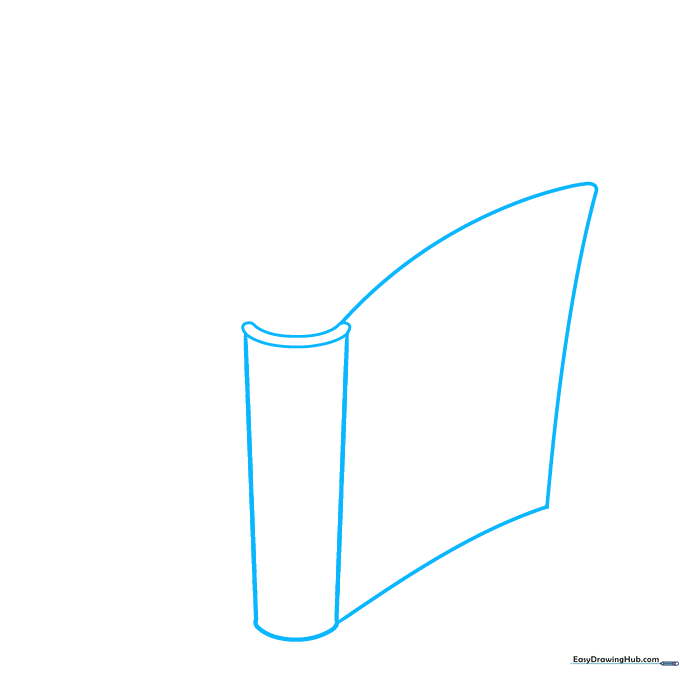
Step 2: Adding the Covers
Extend two long, slightly curved lines from the spine to create the front cover. Repeat this on the opposite side for the back cover. Tip: Imagine the book is slightly open, so the covers should angle away from the spine.
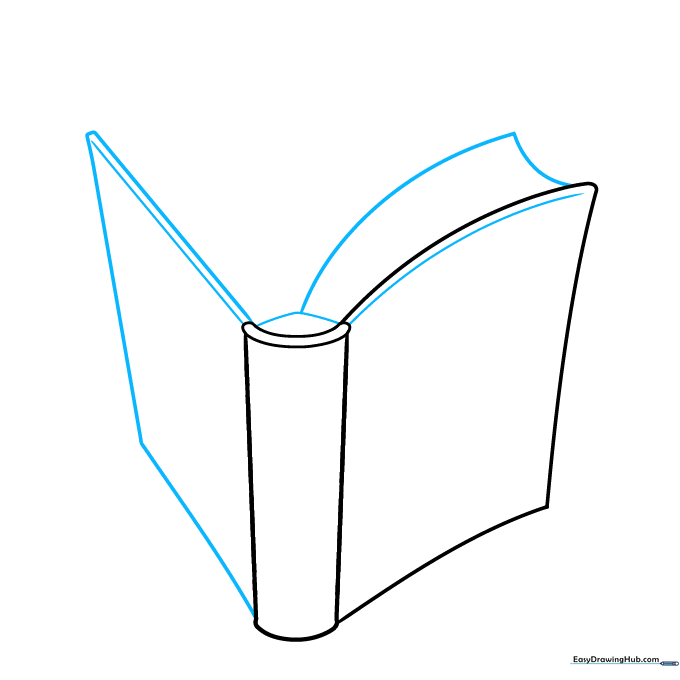
Step 3: Defining the Pages
Draw the block of pages at the back using curved lines. Add small, rounded rectangles along the spine to represent the binding. Tip: Use short, quick strokes to make the pages look like they have depth.
Step 4: Illustrating the Cover
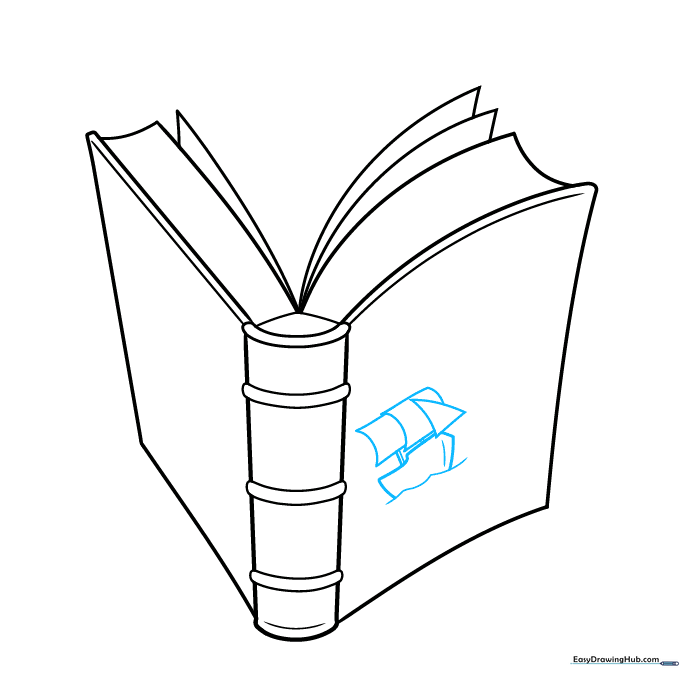
Draw a small ship on the front cover using simple geometric shapes: a triangle for the sail and a curved line for the hull. Tip: Keep the drawing simple so it looks like a classic storybook cover illustration.
Step 5: Adding Background Details
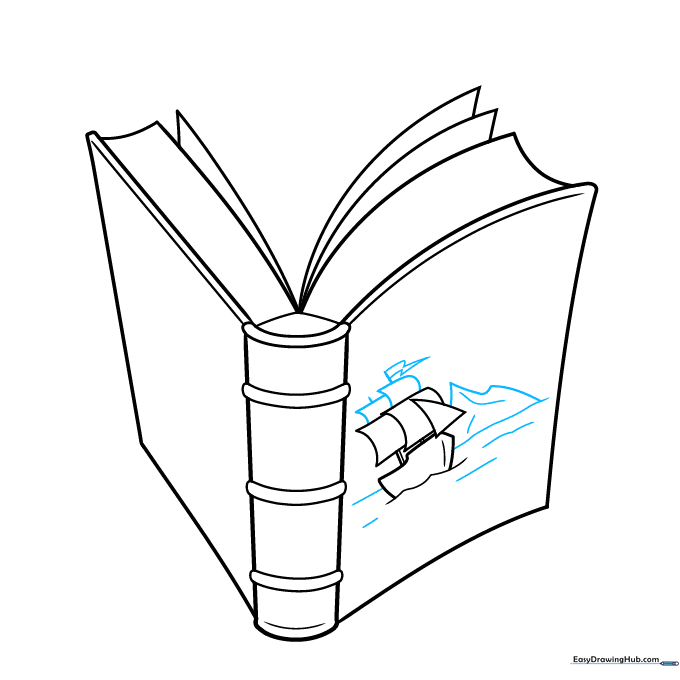
Add waves, a horizon line, and a mountain in the distance to complete your cover scene. Tip: Use wavy lines for the water to create a sense of movement.
Step 6: Adding Title Text
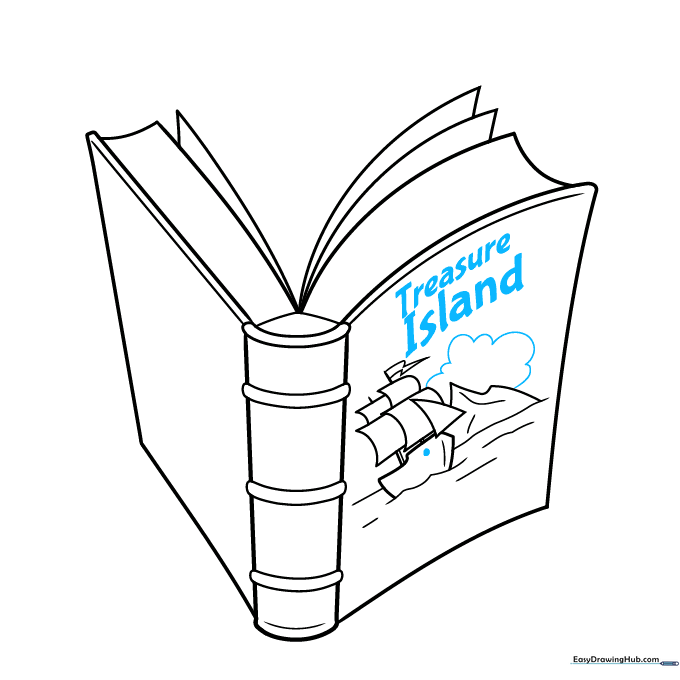
Write 'Treasure Island' in bold letters on the front cover. Add a small cloud in the sky. Tip: Use a ruler if you want your letters to look perfectly straight and professional.
Step 7: Adding Author and Texture
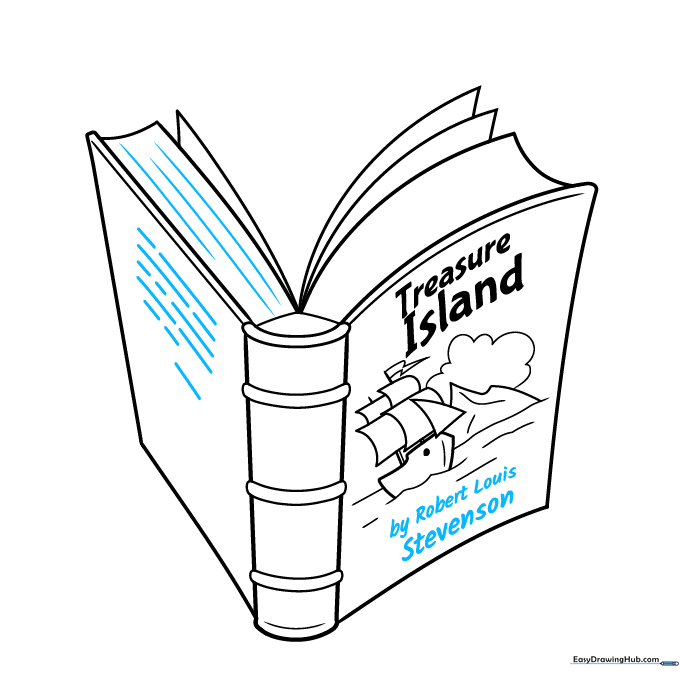
Write the author's name at the bottom and add light lines to the pages to show texture. Tip: Use very thin, light lines for the page texture so they don't distract from the main illustration.
Step 8: Labeling Parts
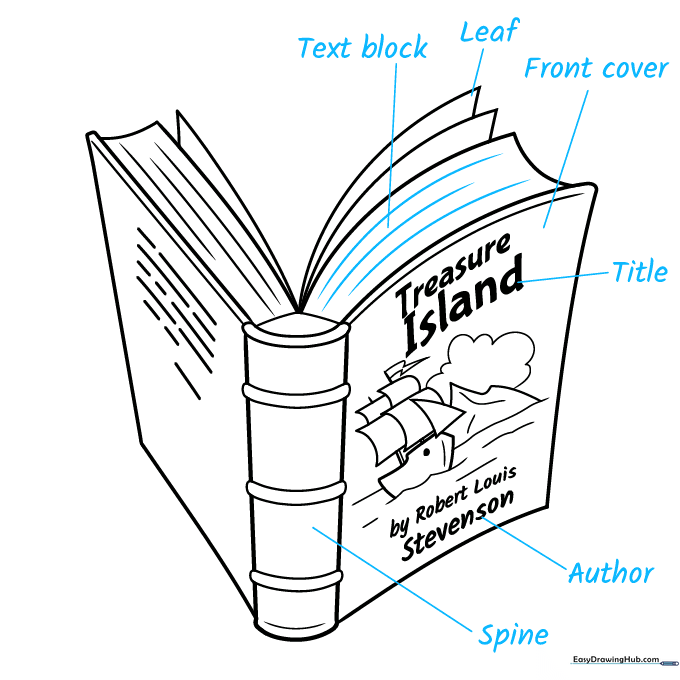
Draw straight lines from the different parts of the book and label them: text block, leaf, front cover, title, author, and spine. Tip: Use a clean, simple font for your labels so they are easy to read.
Step 9: Finalizing Labels
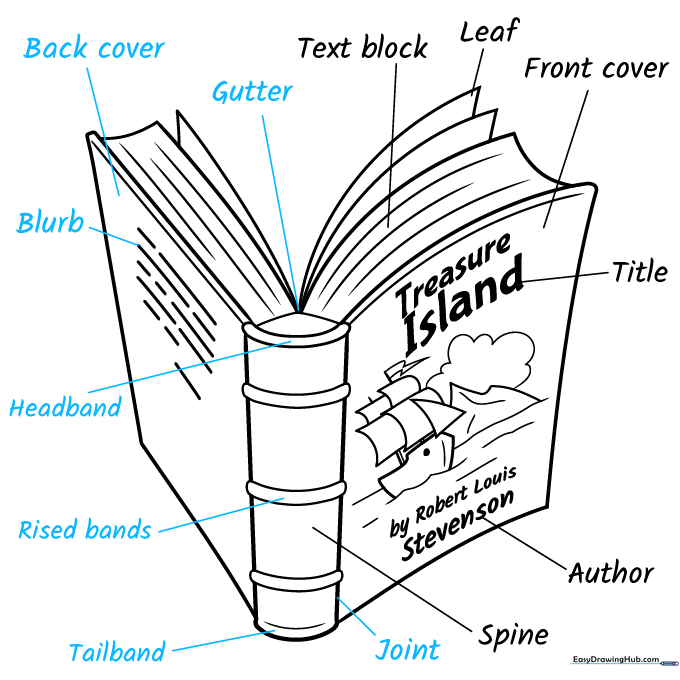
Continue labeling the remaining parts: joint, tailband, raised bands, headband, blurb, back cover, and gutter. Tip: Make sure your lines don't cross over each other to keep the diagram clean.
Step 10: Adding Color
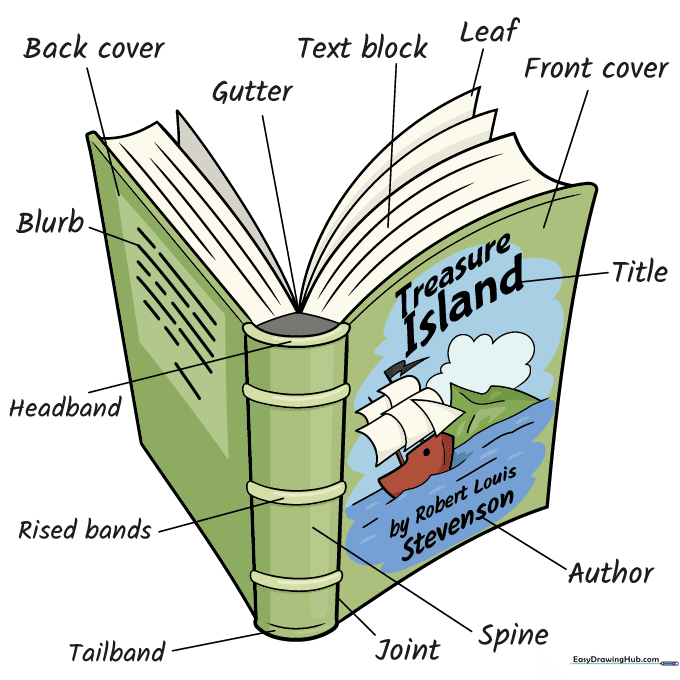
Bring your diagram to life with color! You can use traditional colors for an old-fashioned book or bright, modern colors for a contemporary look. Tip: Use colored pencils for a soft, professional finish.
More Tutorials


