How to Draw Pants: Easy 10-Step Guide for Kids
Ready to design your own fashion? This tutorial is perfect for young artists ages 5 and up. All you need is a pencil, an eraser, and some paper to get started. By the end, you will have a pair of stylish pants drawn from both the front and back views!
🎯 Final Result

Step-by-Step Instructions
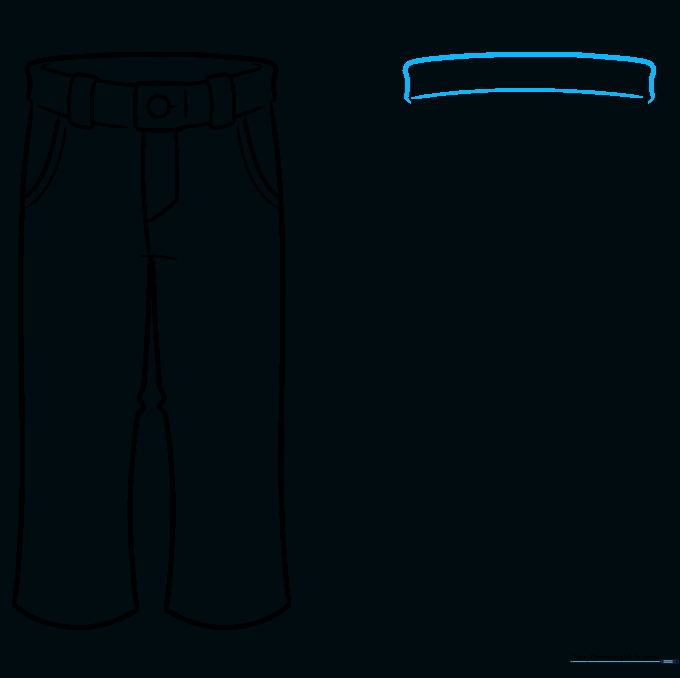
Step 1: Sketching the Waistband
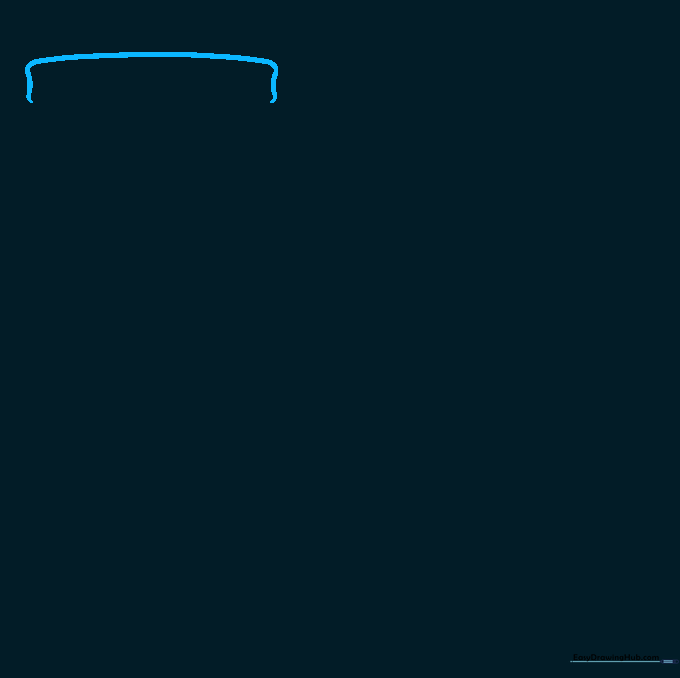
Draw a long, curved line that looks like three sides of a narrow rectangle. This is the top of your pants. Teacher's Tip: Keep your pencil lines light so you can easily adjust the shape if it looks a bit lopsided.
Step 2: Shaping the Hips
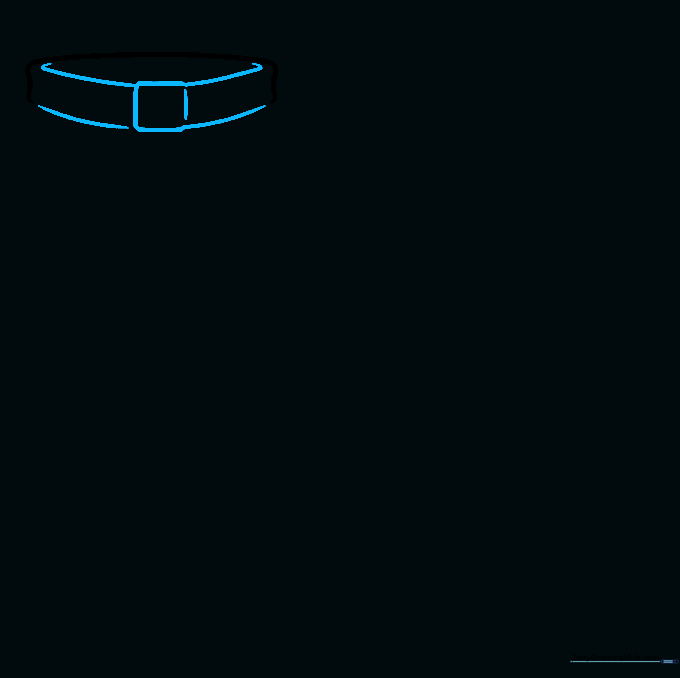
Extend a curved line from one side of the waistband, double it back to create a rounded corner, and draw a vertical line. Connect the other side with a matching curve. Teacher's Tip: Think of this as the 'seat' of the pants; keep the curves smooth to make them look comfortable.
Step 3: Defining the Legs and Fly
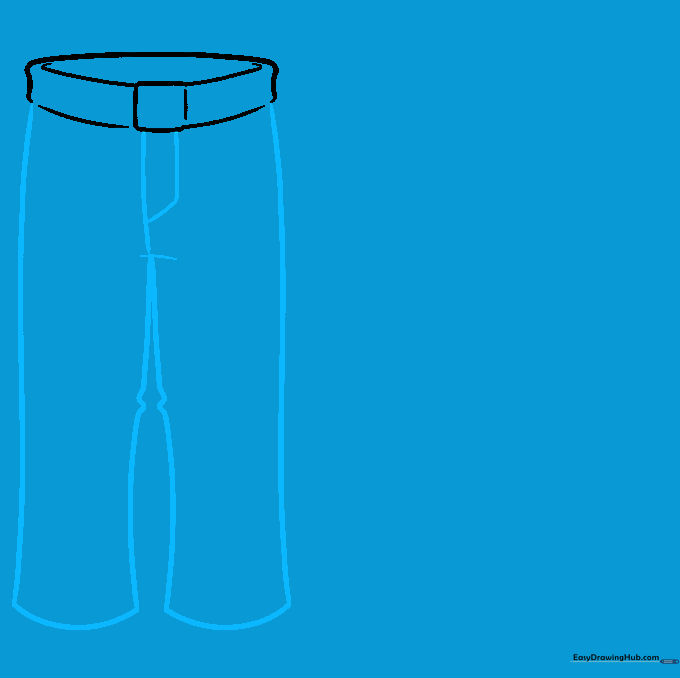
Draw long, curved lines down for the legs, closing them at the bottom. Add a small 'L' shape near the top for the zipper area. Teacher's Tip: If the legs look too skinny, just widen your curves slightly—pants come in all fits!
Step 4: Adding Pockets and Belt Loops
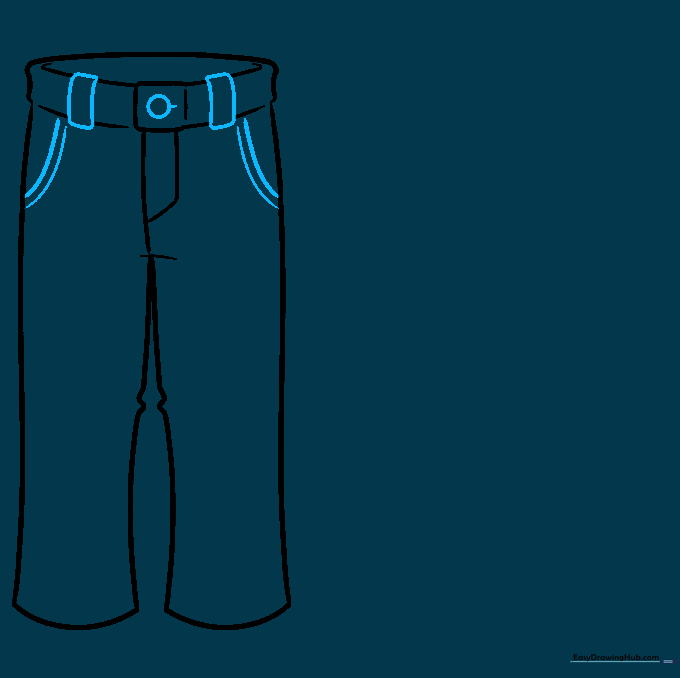
Add a small circle for the button, rectangular belt loops, and curved lines for the pockets. Teacher's Tip: Use your eraser to clean up any overlapping lines where the belt loops meet the waistband.
Step 5: Starting the Back View
Now, let's draw the back of the jeans. Start with another curved, narrow rectangle for the waistband. Teacher's Tip: Notice how the back waistband is slightly higher than the front.
Step 6: Adding Back Belt Loops
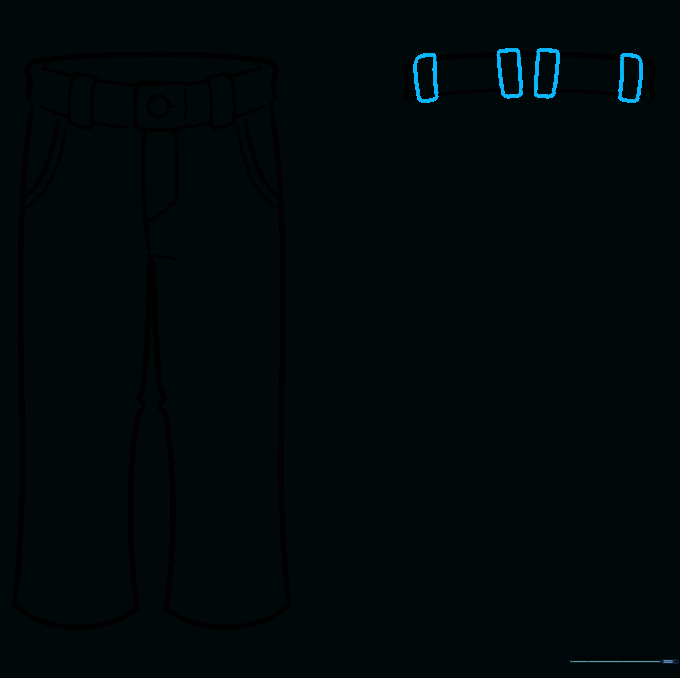
Sketch small rectangles along the waistband for the belt loops. Teacher's Tip: Make sure they are spaced evenly to look realistic.
Step 7: Drawing the Back Legs
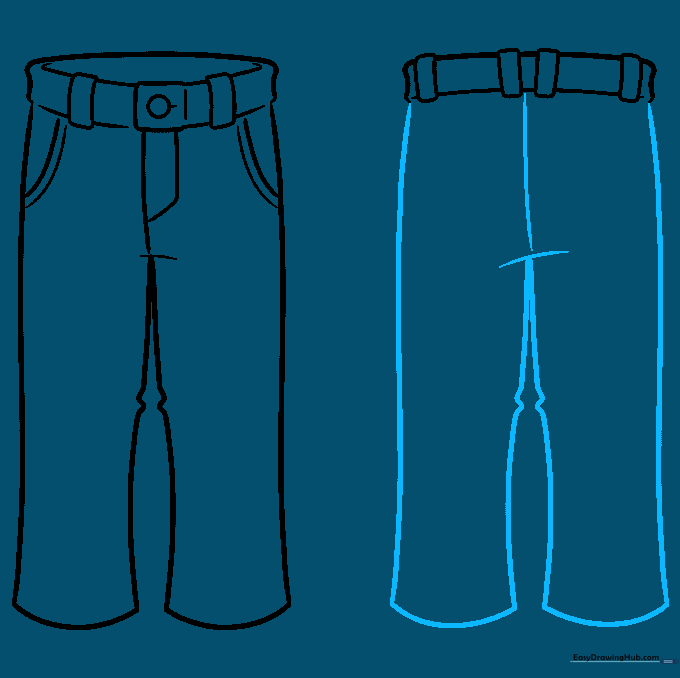
Extend long, curved lines down from the waistband to form the legs, meeting at a point in the center. Teacher's Tip: Draw a vertical line down the middle to show the seam where the fabric is stitched together.
Step 8: Adding Back Pockets
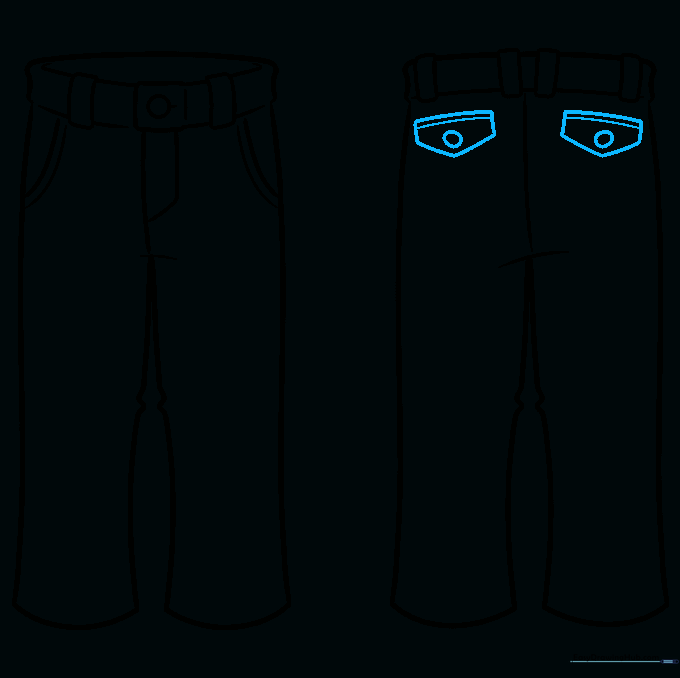
Draw two pentagon shapes on the back for the pockets. Add a button to the top of each. Teacher's Tip: Keep the pockets symmetrical so the pants look balanced.
Step 9: Adding Fabric Folds
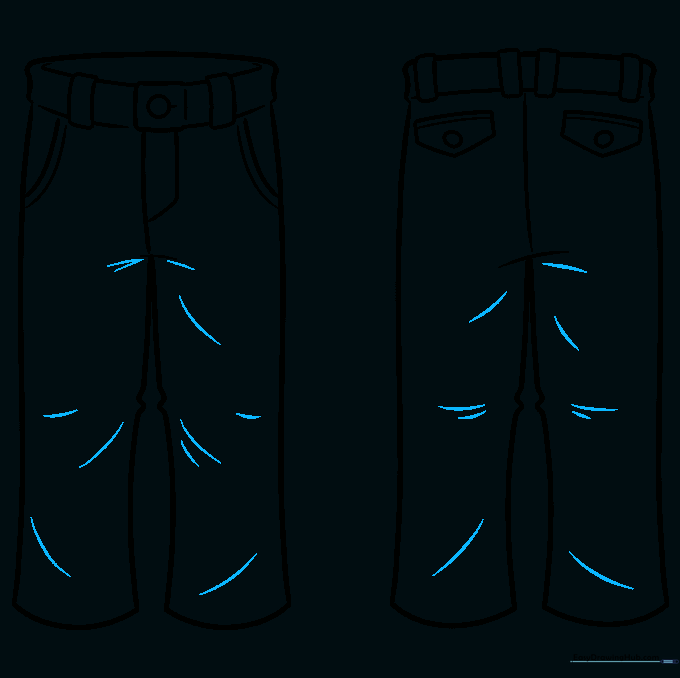
Add a few small, curved lines near the knees to show wrinkles in the fabric. Teacher's Tip: Less is more! A few simple lines make the pants look much more realistic.
Step 10: Coloring Your Design
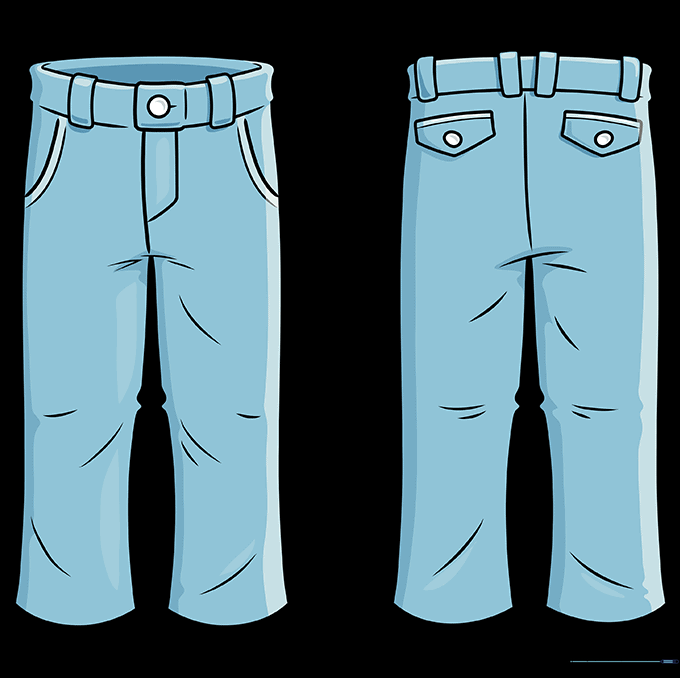
Time to bring your drawing to life! Use shades of blue to give them that classic denim look. Teacher's Tip: Use a darker blue for the seams and edges to add depth and shadow.
More Tutorials


