How to Draw Pancakes: Easy 10-Step Guide for Kids
Ready to draw a breakfast masterpiece? This tutorial is perfect for young artists ages 5 and up. All you need is a pencil, an eraser, and your favorite markers or crayons to bring this stack of fluffy pancakes to life.
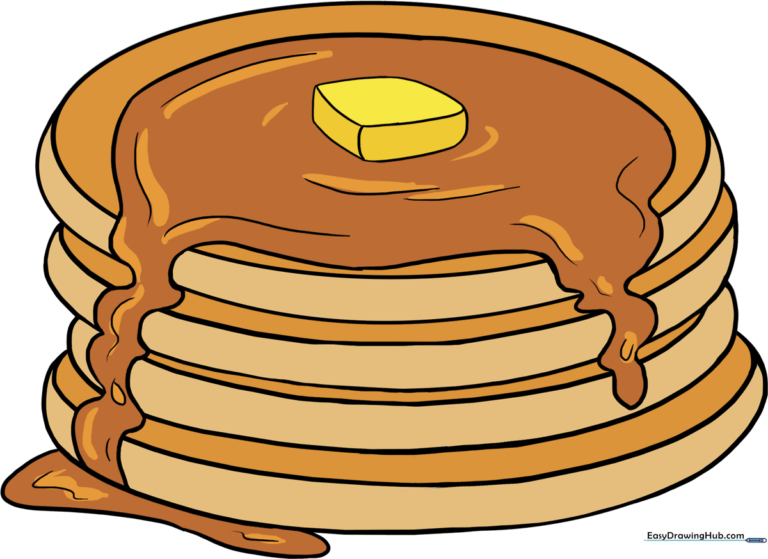
🎯 Final Result
Step-by-Step Instructions
Step 1: Sketching the Top Pancake

Draw a wide, flat oval to represent the top pancake. Teacher's Tip: Keep your pencil pressure light so you can easily adjust the shape if it looks a bit lopsided!
Step 2: Adding Depth

Draw a curved line connecting the sides of the oval to create the pancake's thickness. Tip: Think of this like the edge of a coin; it gives your drawing a 3D look.
Step 3: Building the Stack
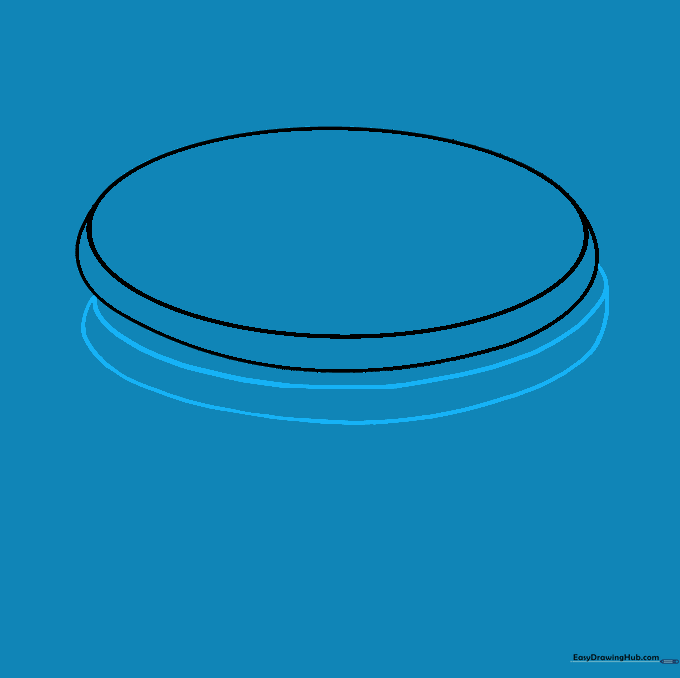
Draw another curved line beneath the first pancake to start the second one. Connect it on both sides. Tip: Make sure the second pancake is slightly wider to show it's sitting underneath.
Step 4: Adding the Third Layer
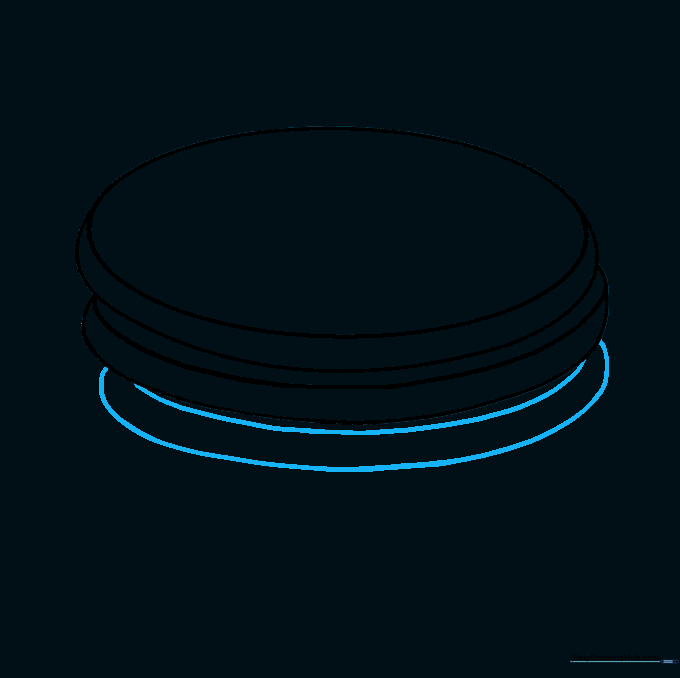
Repeat the process by drawing another curved line to form the third pancake. Tip: Keep your lines smooth and consistent to make the stack look neat.
Step 5: The Base Pancake
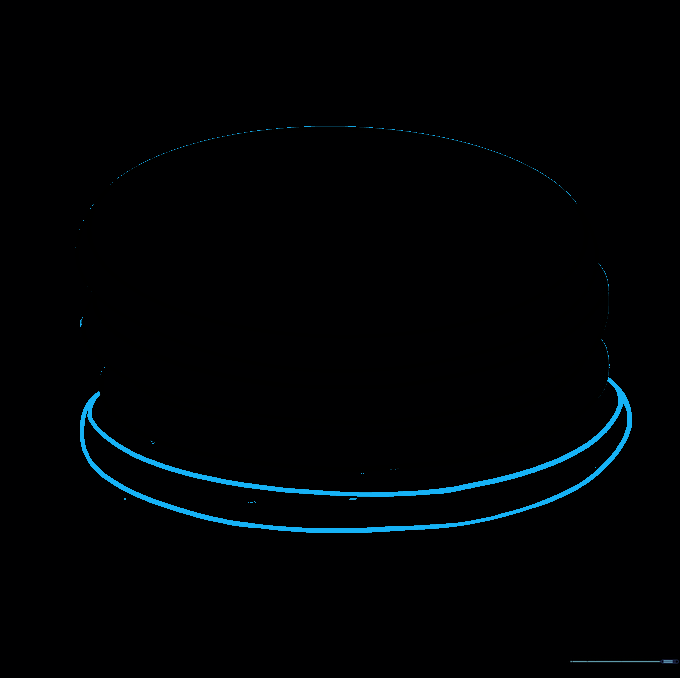
Draw the bottom pancake, making it the largest one in the stack. Tip: A wider base makes your drawing look more stable and realistic.
Step 6: Drizzling the Syrup

Draw wavy lines flowing down the sides of the pancakes to represent syrup. Tip: Let the lines curve naturally as they pass over each pancake layer to create a 'dripping' effect.
Step 7: Cleaning Up

Carefully erase any overlapping guide lines inside the syrup area. Tip: Use a clean eraser and gentle strokes to avoid smudging your drawing.
Step 8: Adding Texture

Add small, curved lines within the syrup to show texture and shine. Tip: These little details make the syrup look sticky and delicious!
Step 9: The Butter Dollop
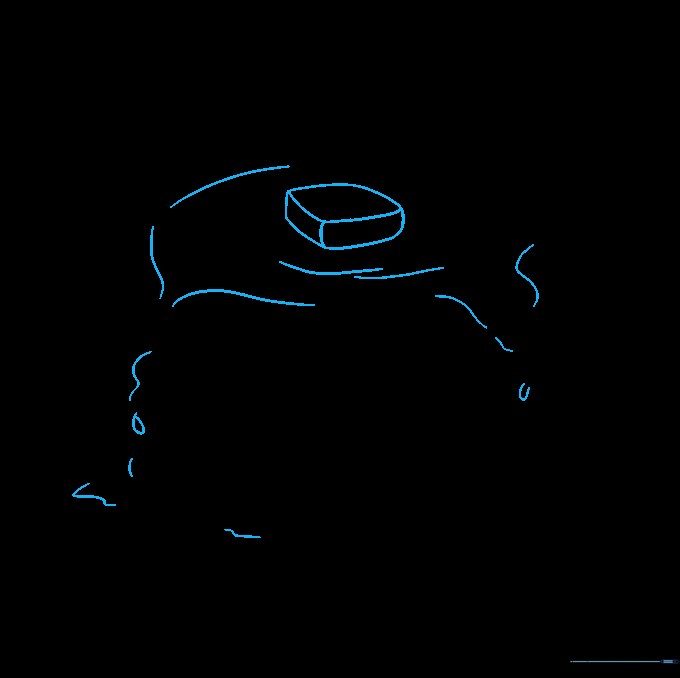
Draw a small, rounded square on top for the butter. Tip: Add a few short lines at the base of the butter to show it melting into the syrup.
Step 10: Bringing it to Life with Color
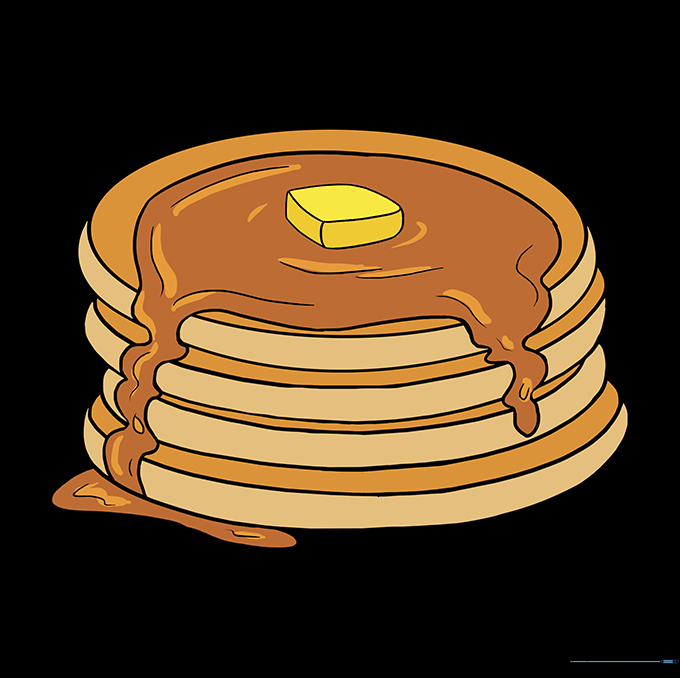
Time to color! Use warm golden browns for the pancakes and a bright yellow for the butter. Tip: Try using light and dark shades of brown to create shadows under each pancake for extra depth.
More Tutorials


