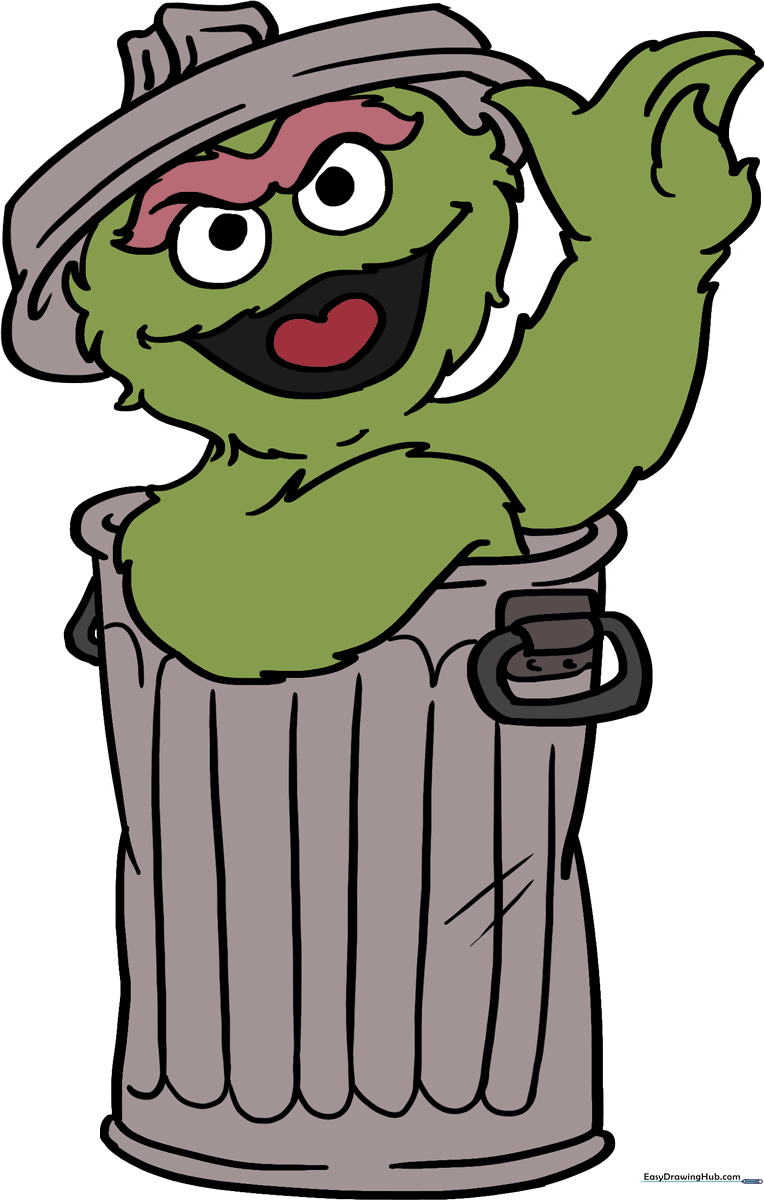
How to Draw Oscar the Grouch: Easy 10-Step Guide
Bring everyone's favorite grumpy Muppet to life with this easy drawing tutorial. Designed for ages 5 and up, this activity requires only a pencil, paper, and an eraser. Follow these steps to master Oscar's signature scowl and his iconic trash can home.
🎯 Final Result
Step-by-Step Instructions
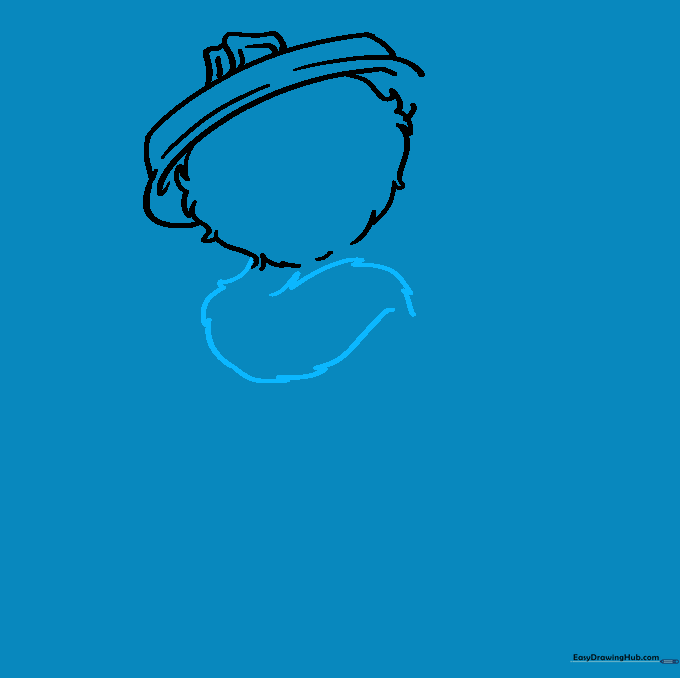
Step 1: Sketching the Trash Can Lid

Draw the lid of Oscar's trash can, which sits like a hat above his head. Use a curved line for the rim and a small rectangle on top for the handle. Teacher's Tip: Keep your pencil lines light so you can easily adjust the shape if it looks a bit lopsided.
Step 2: Defining the Furry Face

Outline Oscar's circular face using short, jagged strokes. Teacher's Tip: Don't worry about making it a perfect circle—Oscar is a messy Muppet, so a little bit of 'fuzz' in your line work actually makes him look more authentic!
Step 3: Adding the First Arm
Draw the first arm using a series of short, curved lines to create a 'C' shape. Teacher's Tip: Think of this as a soft, furry tube. Keep the lines slightly bumpy to maintain that Muppet texture.
Step 4: Sketching the Second Arm
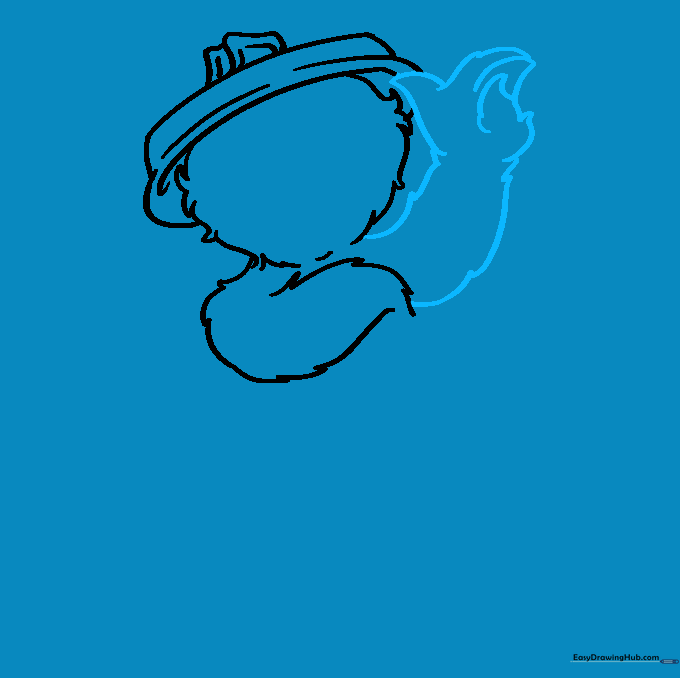
Draw the second arm and hand, ensuring the fingers have pointed, slightly messy tips. Teacher's Tip: Muppet hands are expressive! Make sure the fingers look a bit curled to show Oscar is holding onto the edge of his can.
Step 5: Drawing the Unibrow
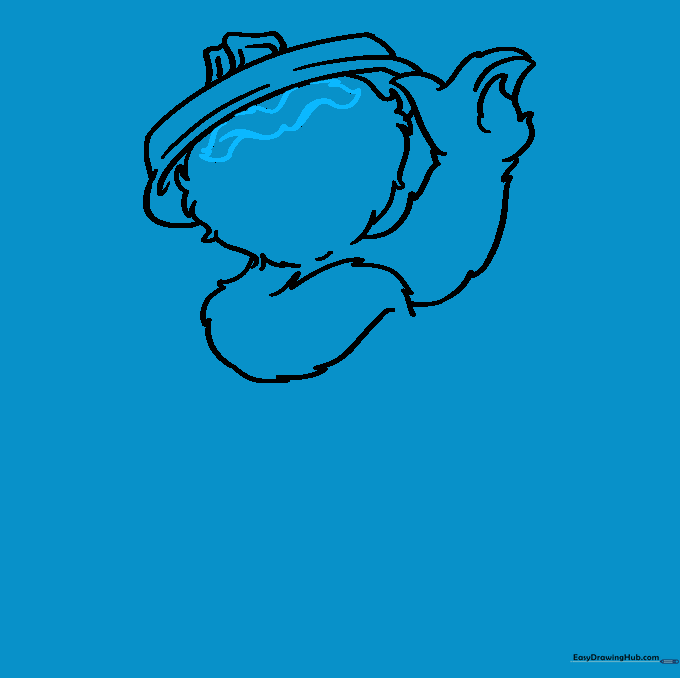
Draw Oscar's iconic, bushy unibrow using curved lines that meet at pointed tips. Teacher's Tip: This is the most important part of his expression! Make it look thick and heavy to capture his grumpy personality.
Step 6: Eyes and Mouth Details
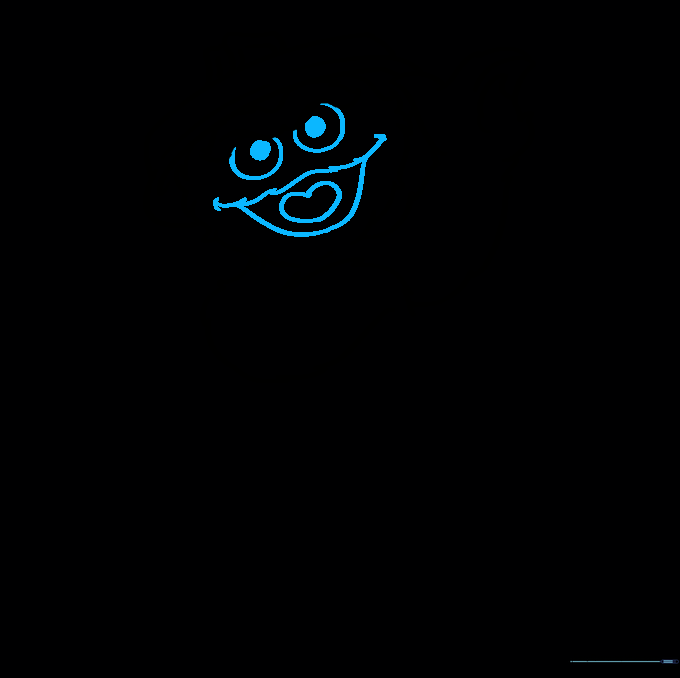
Add the eyes with shaded pupils and a wide 'U' shaped mouth. Don't forget the small heart-shaped tongue inside! Teacher's Tip: Use a darker pencil for the pupils to make his eyes pop against the green fur.
Step 7: Constructing the Trash Can
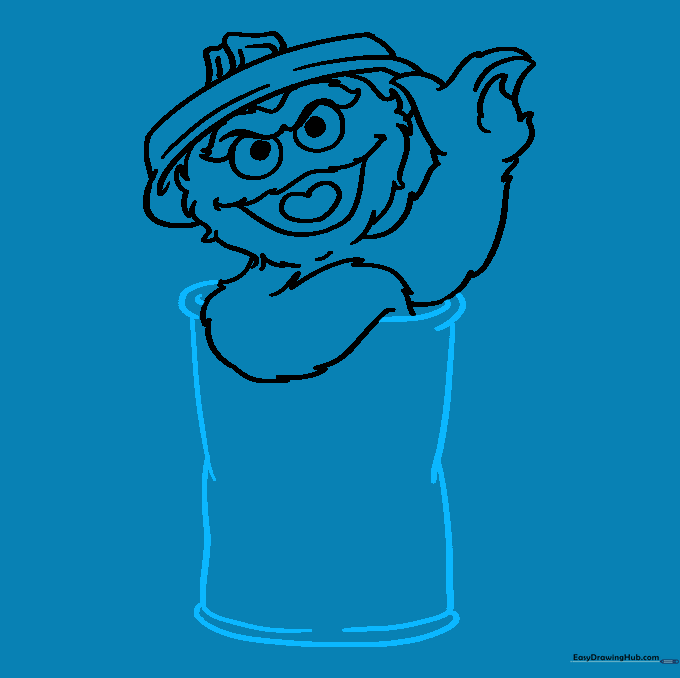
Draw the trash can body using parallel, slightly overlapping lines to give it a 'crushed' or dented look. Teacher's Tip: Dents make the can look more realistic and lived-in, so don't worry about making the sides perfectly straight.
Step 8: Adding Can Hardware

Add the rectangular handles and the metal brackets connecting them to the can. Teacher's Tip: Use a ruler if you want the rectangles to be perfectly symmetrical, or go freehand for a more rustic, 'junkyard' feel.
Step 9: Adding Texture and Detail
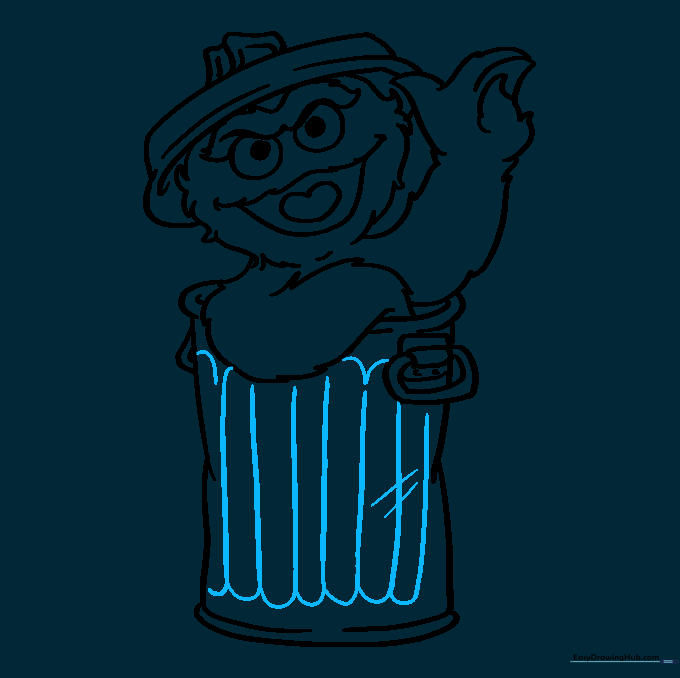
Draw scalloped lines at the top and bottom rims of the can to add texture. Teacher's Tip: These small details help define the metal material of the can, making it look distinct from Oscar's soft fur.
Step 10: Bringing Oscar to Life with Color
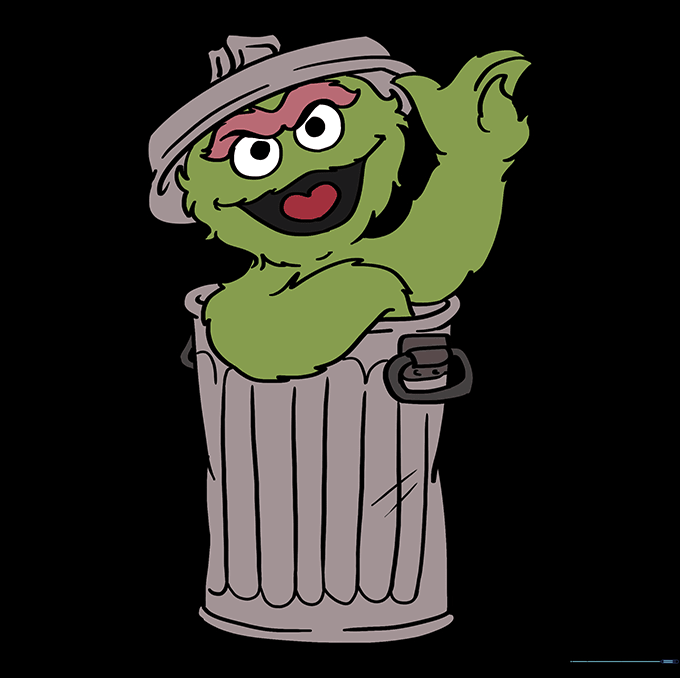
Color Oscar in shades of green, use brown for his bushy eyebrows, and grey for the metal trash can. Teacher's Tip: Try using light and dark green crayons to add depth to his fur, making him look extra fuzzy!
More Tutorials


