How to Draw Oogie Boogie: Easy Step-by-Step Guide
Bring the spooky fun of Halloween Town to your sketchbook! This tutorial is perfect for young artists and fans of The Nightmare Before Christmas who want to master this iconic villain. Grab a pencil, an eraser, and some paper to start building your character drawing skills today.
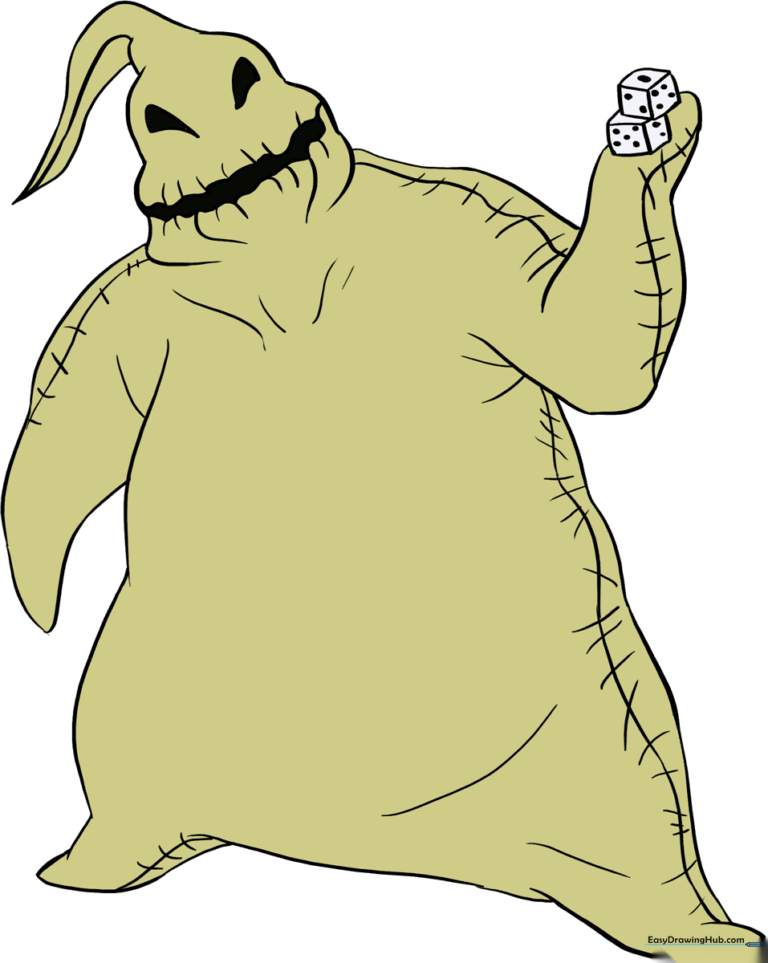
🎯 Final Result
Step-by-Step Instructions
Step 1: Sketching the Head Shape

Draw two wavy, curved lines that don't quite touch. Think of this as a loose, lumpy sack shape. Teacher's Tip: Keep your pencil pressure light so you can easily adjust the shape if it looks a bit too symmetrical—Oogie Boogie is supposed to be messy!
Step 2: Closing the Head

Extend three curved lines from the top of the head, meeting at a point to close the shape. Teacher's Tip: Don't worry about making these lines perfectly straight; the more irregular the lines, the more 'burlap-like' your character will look.
Step 3: Forming the First Arm
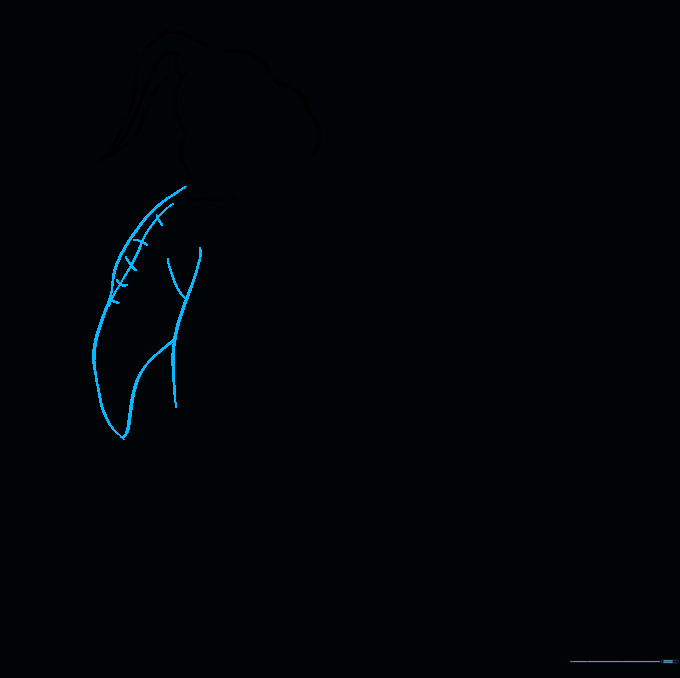
Extend a line from the base of the head, doubling it back to create an arm. Add a 'Y' shape for the torso connection. Teacher's Tip: Use short, quick strokes to cross the arm line; these will eventually become the signature stitches on his body.
Step 4: Adding the Second Arm and Dice

Draw the second arm using a 'Y' and 'U' shape. Add two small cubes on the hand with dots to represent his gambling dice. Teacher's Tip: Make the dice slightly tilted to give the drawing a sense of movement.
Step 5: Defining the Torso
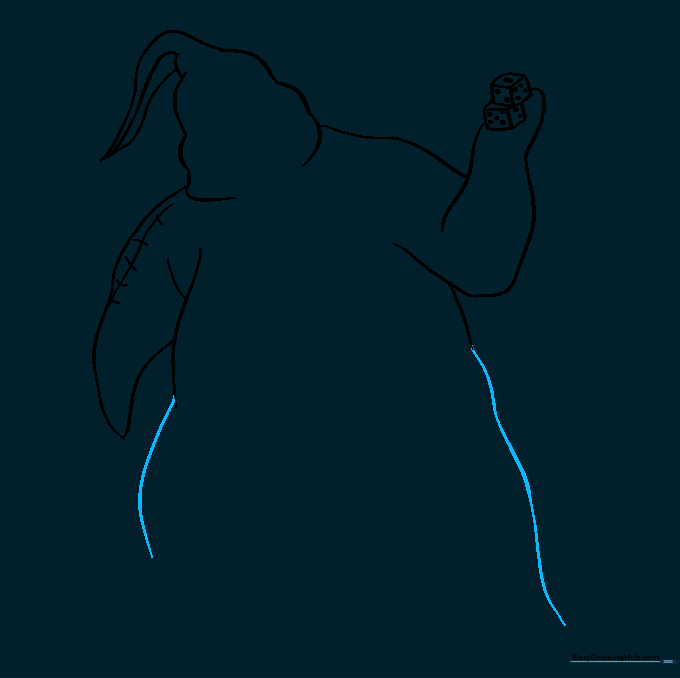
Extend the curved lines downward to create the main body mass. Teacher's Tip: Keep these lines loose and flowing to emphasize that he is a sack filled with bugs!
Step 6: Drawing the Feet
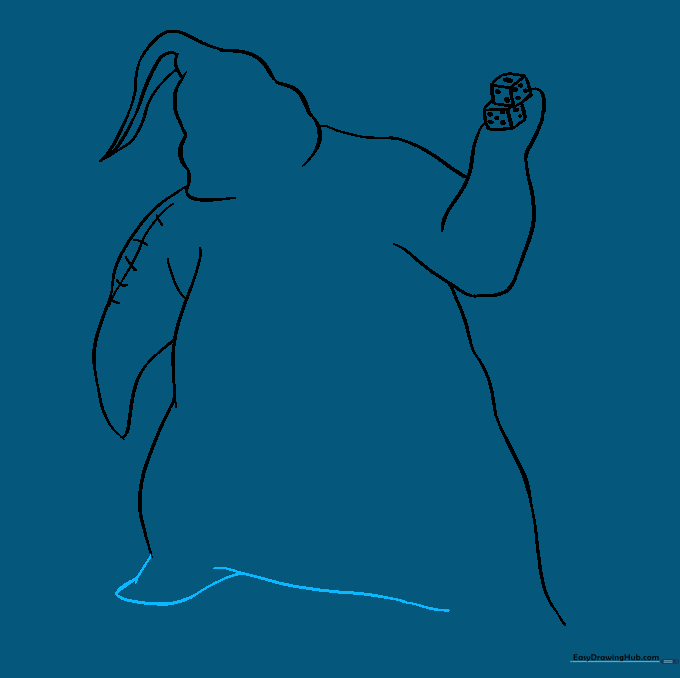
Draw two overlapping curved lines at the bottom to form the feet. Teacher's Tip: Ensure the feet look slightly rounded to match the 'stuffed' look of the character.
Step 7: Completing the Base

Add a final curved line to enclose the figure and define the remaining foot. Teacher's Tip: Check your proportions here—make sure the feet aren't too small compared to the head.
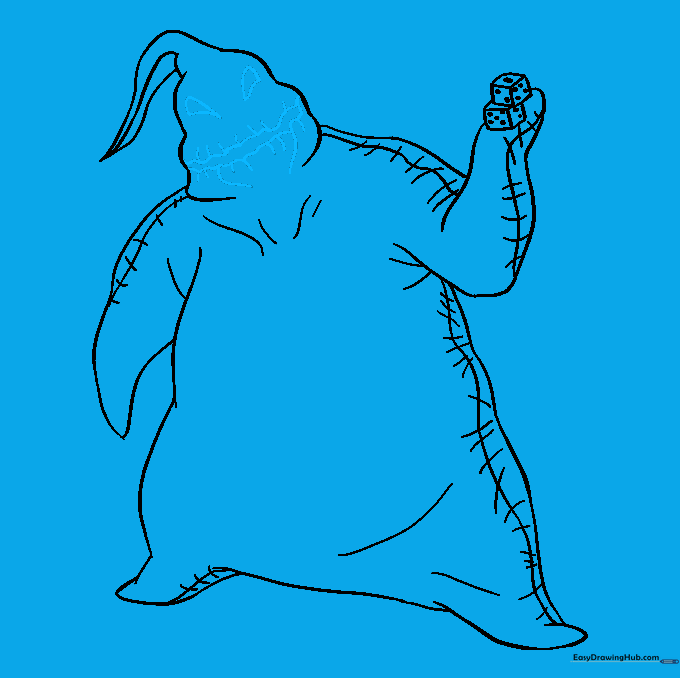
Step 8: Adding Texture and Stitches
Draw long, curved lines across the arms, torso, and feet. Cross these with small, irregular lines to create the look of stitches. Add short curved lines for shading under the neck and arms. Teacher's Tip: Vary the length of your stitch marks to make it look more authentic.
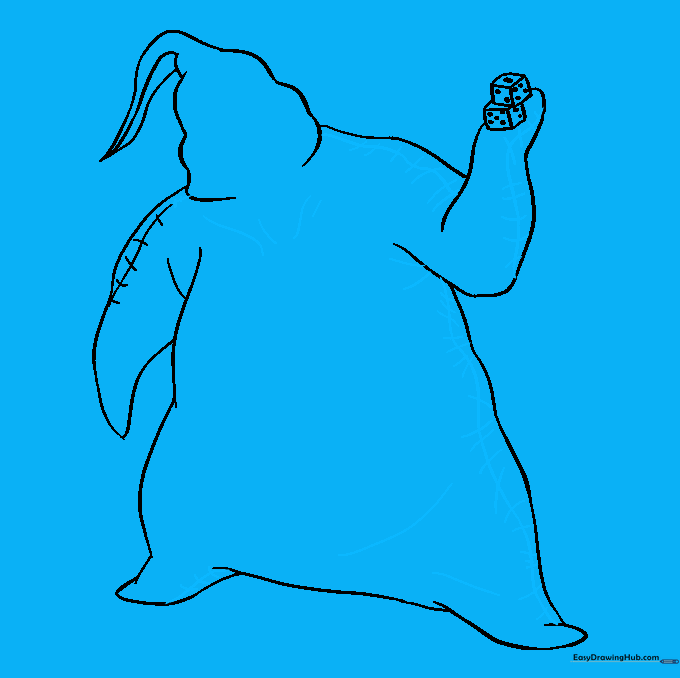
Step 9: Drawing the Face
Enclose two sideways teardrop shapes for the eyes and draw two wavy lines for the mouth. Add small lines along the lips for detail. Teacher's Tip: The eyes should be placed slightly apart to give him that classic, mischievous look.
Step 10: Bringing Him to Life with Color
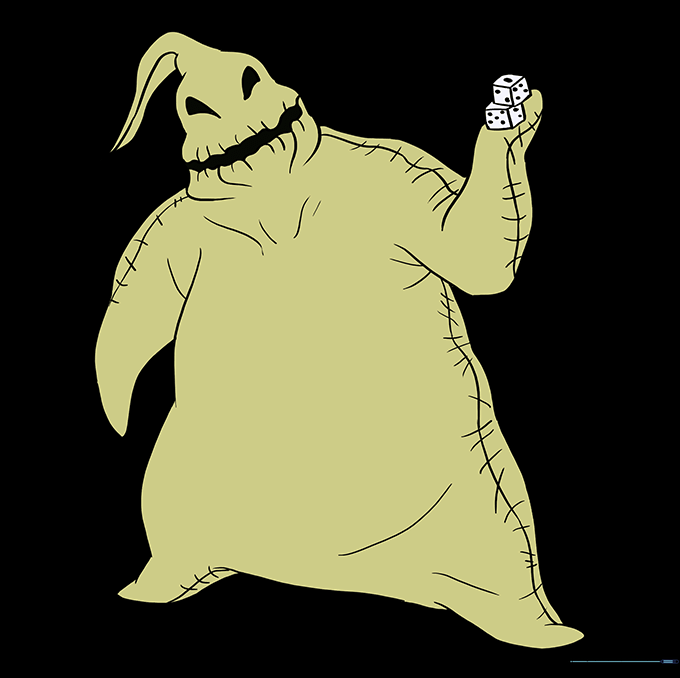
Finish your drawing by coloring Oogie Boogie in a light, burlap-toned brown. Teacher's Tip: Use a slightly darker shade of brown to color in the stitches and shadows to make the character pop off the page!
More Tutorials


