How to Draw Olaf: Easy 10-Step Frozen Drawing Guide
Bring everyone's favorite snowman to life with this simple, kid-friendly tutorial. Designed for ages 5 and up, this guide requires only a pencil, paper, and an eraser to build confidence in character sketching. Follow these steps to master Olaf's iconic, cheerful shape.
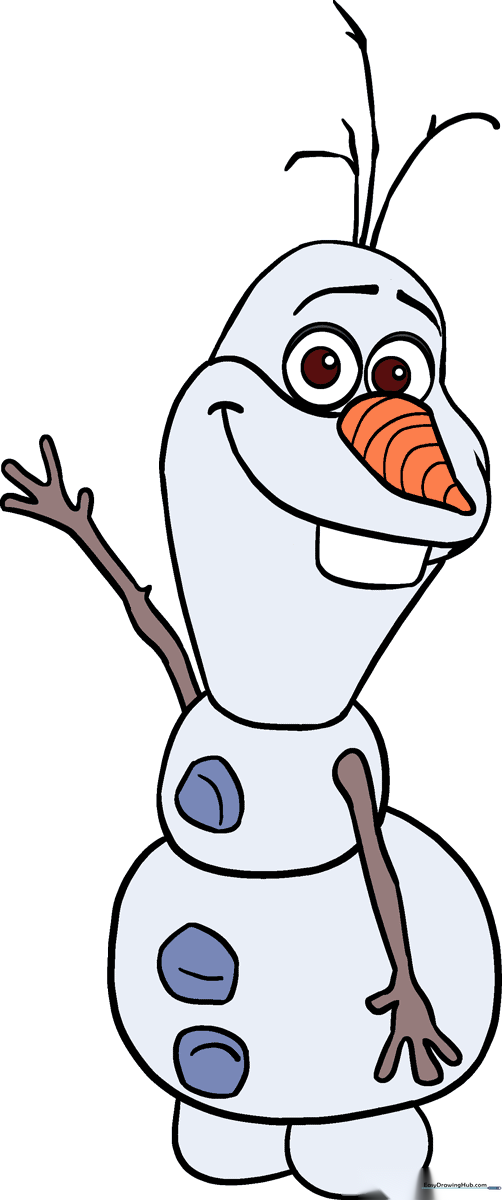
🎯 Final Result
Step-by-Step Instructions
Step 1: Sketching the Head

Draw a light circle to serve as the base for Olaf's head. Teacher's Tip: Keep this circle about the size of a coin so you have plenty of room on your paper for his body.
Step 2: Defining the Jawline

Draw an oval that overlaps the bottom of your circle. This creates the structure for his mouth and jaw. Tip: Make sure the oval is slightly wider than the circle to give him that classic, friendly look.
Step 3: Connecting the Head Shapes

Draw a smooth, curved line connecting the sides of the circle and the oval. This blends the two shapes into one cohesive head outline.
Step 4: Adding the Neck
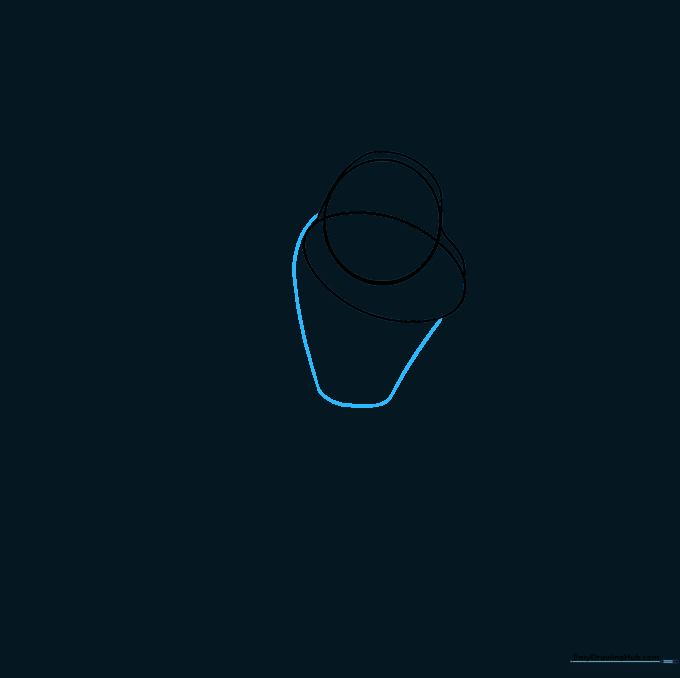
Use a long, curved line to outline the bottom of the jaw and the neck area. This gives Olaf his signature 'stacked' snowman appearance.
Step 5: Cleaning the Outline

Carefully erase the overlapping guide lines inside the head. Leave a small portion of the oval line to suggest where his mouth will be.
Step 6: Drawing the Body and Feet
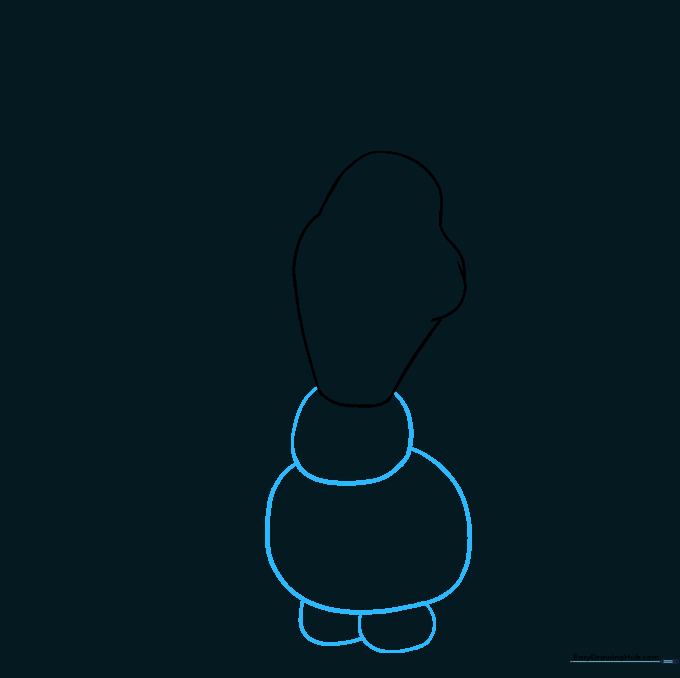
Draw two rounded shapes beneath the neck for the body, and two smaller shapes at the very bottom for his feet. Tip: Keep these shapes loose and organic; snowmen are never perfectly symmetrical!
Step 7: Adding Buttons and Arms
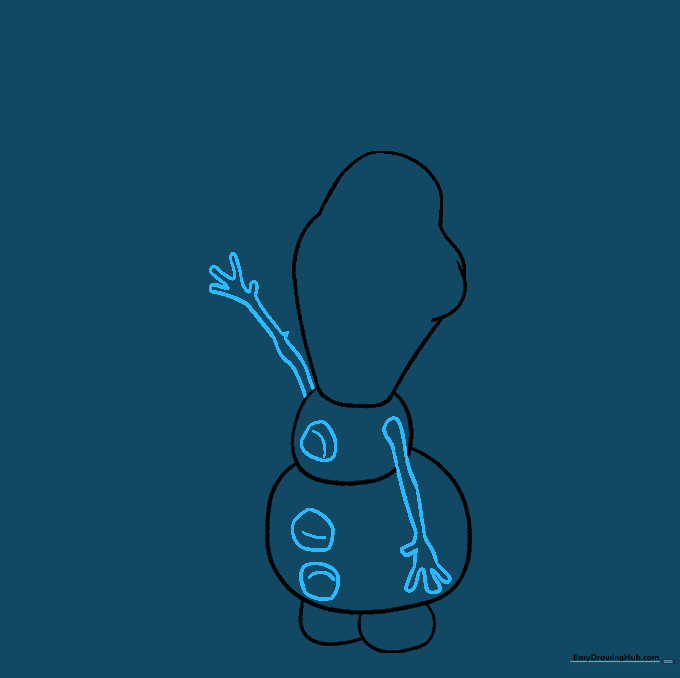
Draw three small irregular shapes on the body for coal buttons. Then, use curved lines to sketch his twig-like arms and fingers. Tip: Use short, quick strokes for the fingers to make them look like real twigs.
Step 8: Detailing the Face
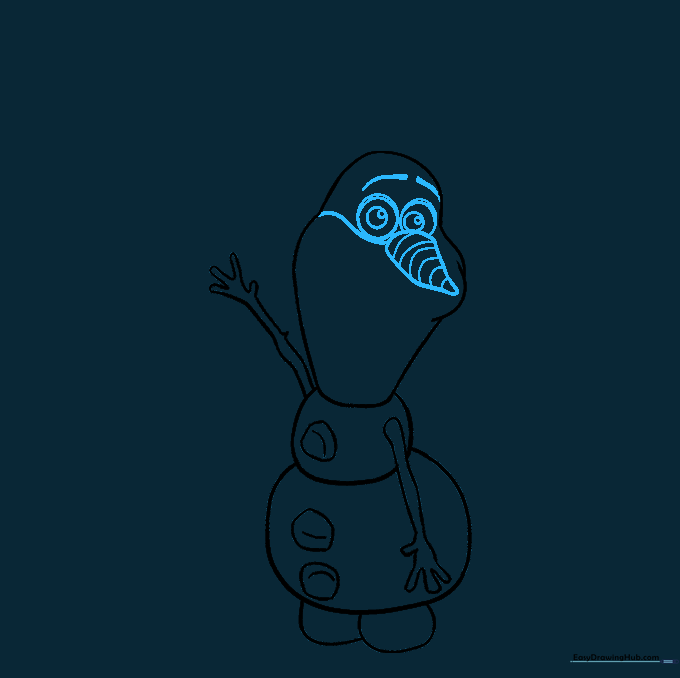
Draw his carrot nose, round eyes with pupils, and eyebrows. Use curved lines to define the jawline. Tip: Draw the pupils slightly off-center to give Olaf a playful, curious expression.
Step 9: Adding Hair and Mouth
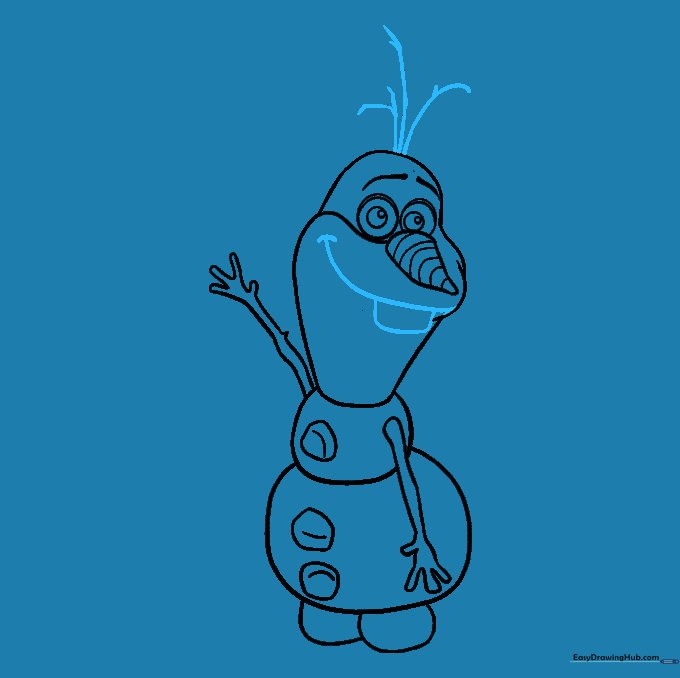
Draw twig-like hair on top of his head and a wide, happy smile with a single rectangular tooth. This is where Olaf's personality really shines!
Step 10: Coloring Olaf
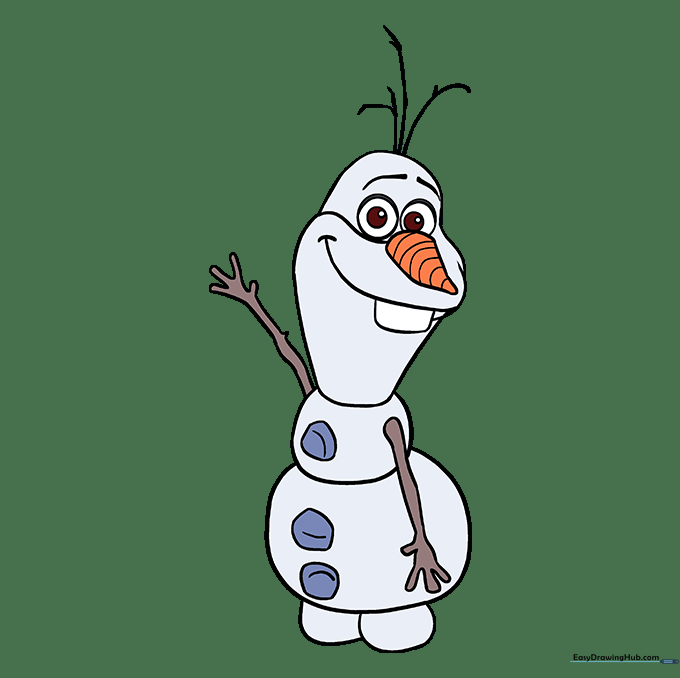
Time to color! Use white for his body (or leave it paper-colored), orange for the nose, brown for the twigs, and grey for the buttons. Add a blue background to create a fun winter scene.
More Tutorials


