How to Draw Obito Uchiha: Easy Step-by-Step Anime Guide
Ready to bring this iconic ninja to life? This tutorial is designed for anime fans and budding artists ages 8+ who want to capture Obito Uchiha’s intense expression. You will need a pencil, an eraser, and a piece of paper to practice these essential manga-style facial proportions.
🎯 Final Result

Step-by-Step Instructions
Step 1: Sketching the Eyes
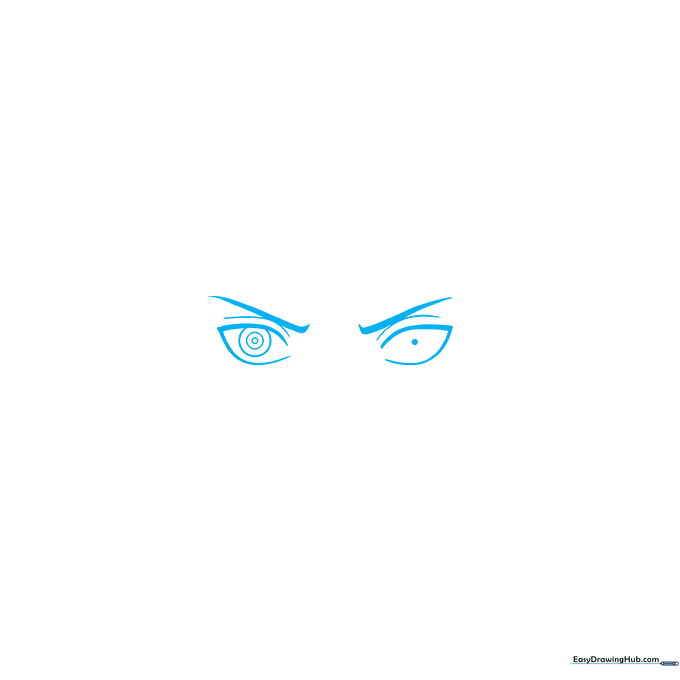
Start by drawing the eyes using thick, curved lines to create an incomplete teardrop shape. Add the eyelids and furrowed brows to capture his serious look. Teacher's Tip: Keep your pencil lines light for the initial sketch so you can easily adjust the symmetry before committing to the final ink.
Step 2: Defining Facial Features
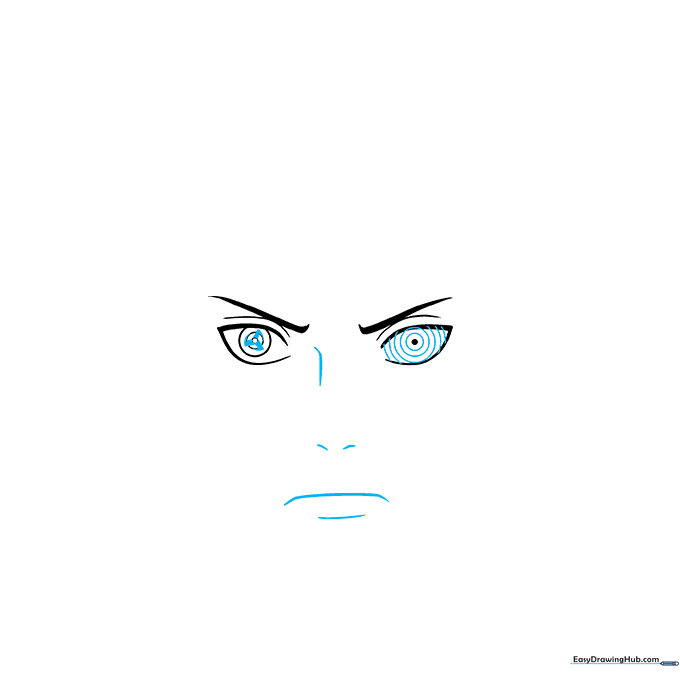
Add three 'L' shaped lines in a fan pattern over the iris for the Sharingan detail. Sketch the bridge of the nose, nostrils, and a tight, frowning mouth using small, precise curved lines. Tip: Focus on the spacing between the nose and mouth to maintain the character's signature stern expression.
Step 3: Establishing the Jawline
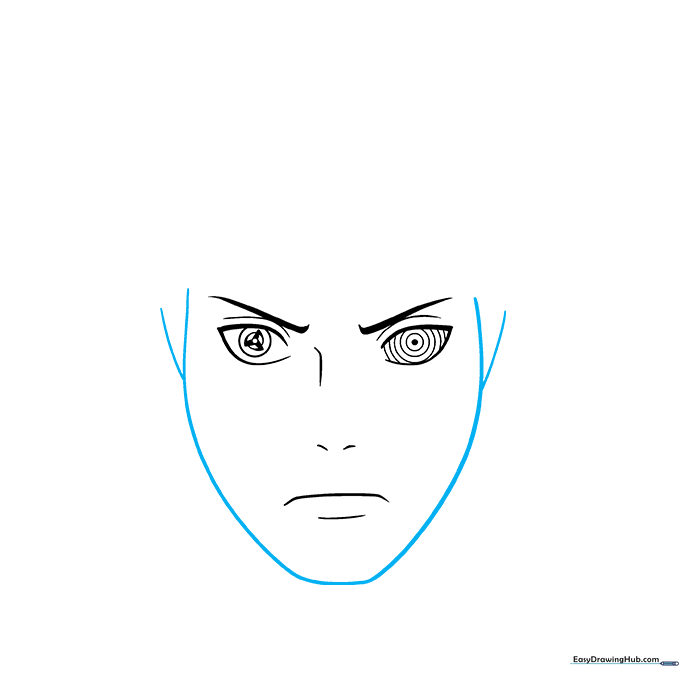
Draw long, curved lines to define the lower face and jaw, then add small curves on the sides for the ears. Tip: Use a fluid motion for the jawline to ensure it looks sharp and angular, which is common in anime character design.
Step 4: Framing the Face
Use curved lines to complete the face shape and start sketching the hair strands falling at the sides. Tip: Keep your strokes rhythmic to mimic the flow of hair rather than drawing stiff, straight lines.
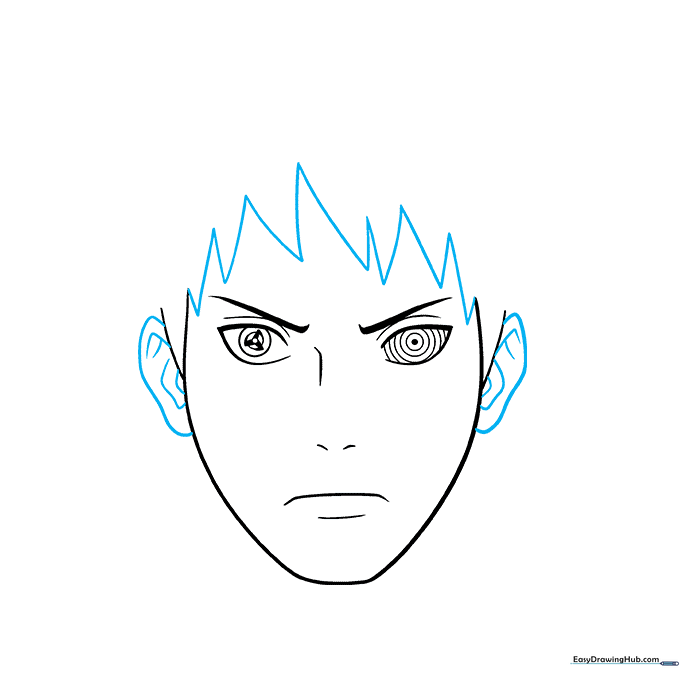
Step 5: Adding Hair and Ear Detail
Contour the ears with small curved lines and draw the hair across the forehead using sharp, pointed shapes. Tip: Vary the size of the hair spikes to make the hairstyle look more natural and dynamic.
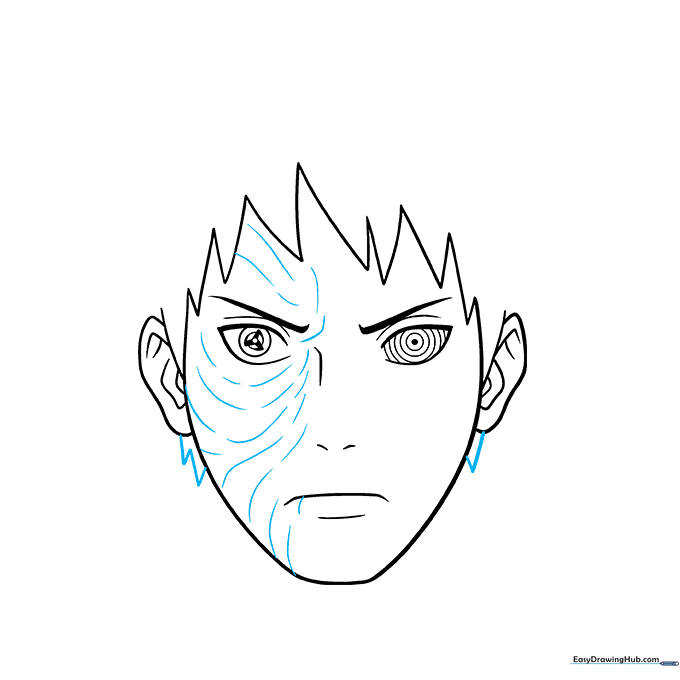
Step 6: Adding Scars and Texture

Draw curved lines on one side of the face to represent his scars, then add more hair below the ears. Tip: Use a lighter touch for the scar lines to give them a subtle, textured appearance compared to the bold hair outlines.
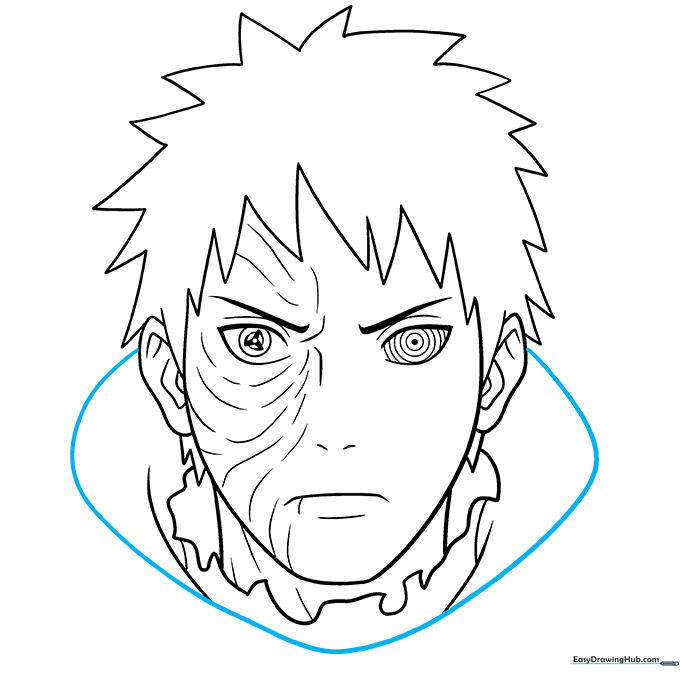
Step 7: Completing the Hair and Neck

Finish the manga-style hair with sharp points and extend two lines downward to form the neck. Tip: Ensure the neck lines align with the jaw for proper anatomical balance.
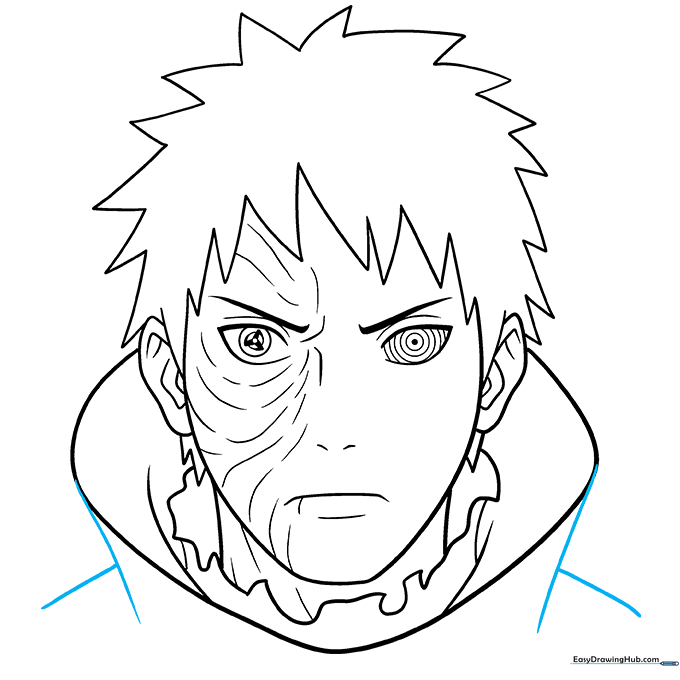
Step 8: Drawing the Collar
Use long, wavy lines to outline the high collar of his garment and add contour lines to the neck scars. Tip: The collar should be drawn slightly wider than the neck to give it a realistic, layered look.
Step 9: Finalizing the Outline
Complete the drawing by refining the large collar with a final, bold curved line. Tip: Go over your main lines with a darker pencil or pen to make the character pop before you start coloring.
Step 10: Adding Color
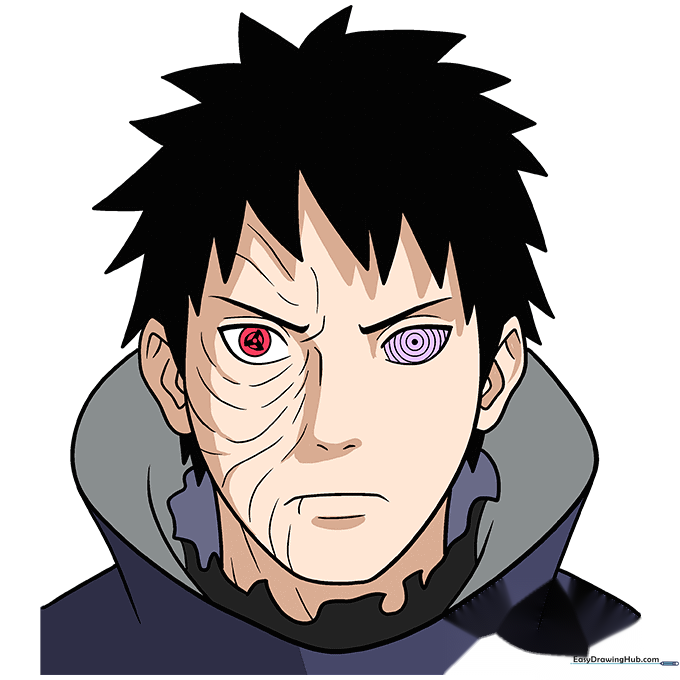
Bring your drawing to life! Use black for his hair, and carefully color one eye red and the other purple to reflect his unique look. Tip: Use light, circular motions with your colored pencils to achieve an even, smooth finish.
More Tutorials


