How to Draw Nicole Watterson: Easy Step-by-Step Guide
Bring Gumball's hardworking mom to life with this fun, guided drawing activity. Designed for ages 6 and up, this tutorial requires only a pencil, paper, and an eraser to master Nicole's iconic look. Follow along to develop your character-drawing skills and create your own cartoon masterpiece.
🎯 Final Result

Step-by-Step Instructions
Step 1: Sketching the Head

Draw a light circle to serve as the base for Nicole's head. Teacher's Tip: Keep your pencil pressure very light here so you can easily erase these guidelines once the facial features are in place.
Step 2: Defining Ears and Cheeks

Add three curved shapes around your circle. The two smaller, pointed shapes are her ears, and the larger rounded one is her cheek. Tip: Think of these as 'bumps' on the side of the circle to give her that distinct cat-like silhouette.
Step 3: Drawing the Neck and Collar

Extend a short line from the cheek and connect it to the head using two straight lines to form a triangle. This creates her neck and collar. Tip: Ensure the lines are sharp to give her that professional, 'mom-on-the-go' look.
Step 4: Cleaning the Guidelines

Gently erase the overlapping lines inside the face area. Tip: Use a soft eraser and brush away the crumbs so your paper stays clean for the detailed facial features coming next.
Step 5: Outlining the Dress

Sketch the torso and skirt using a mix of straight and curved lines. Add the collar triangles and a circular button. Tip: Keep the skirt lines symmetrical to make her look balanced.
Step 6: Adding Sleeves and Pleats
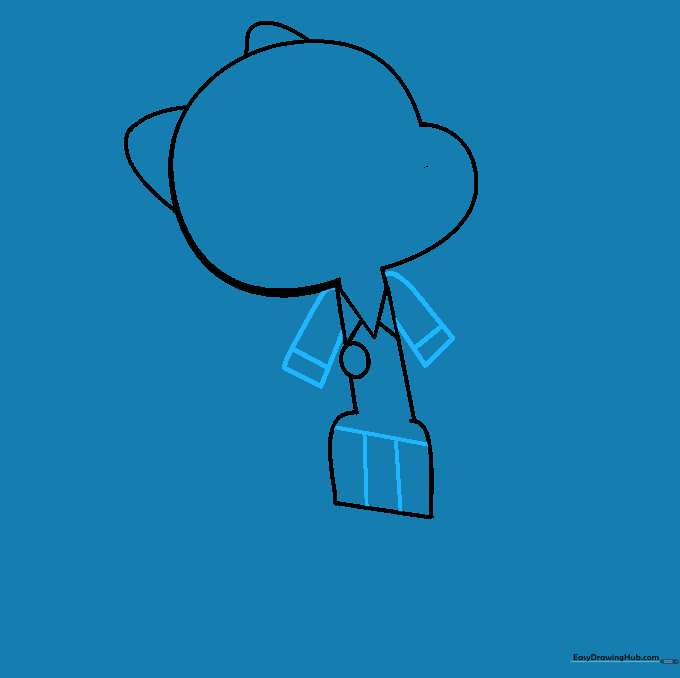
Draw the sleeves with banded cuffs and add vertical lines to the skirt for pleats. Tip: Use a ruler if you struggle with straight lines, but freehand is great for practice!
Step 7: Drawing Legs and Feet

Use curved lines for the legs and rounded shapes for the feet. Add small lines at the tips for toes. Tip: Keep the legs slightly apart to give the character a stable, standing pose.
Step 8: Sketching Arms and Hands
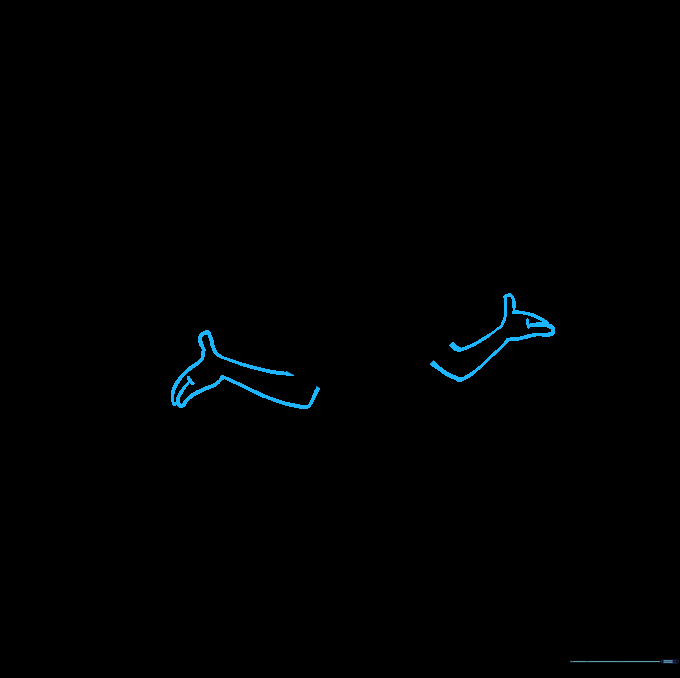
Draw the arms with a slight bend at the elbow and add the hands. Tip: Focus on the 'doubling back' motion for the fingers to make them look rounded and cartoonish.
Step 9: Final Facial Details
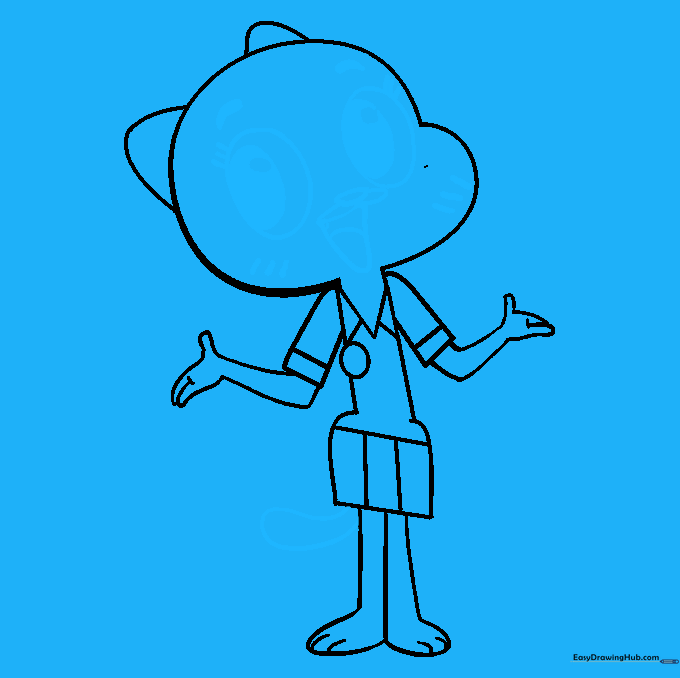
Add the tail, eyes, nose, mouth, and whiskers. Tip: For the eyes, draw the pupils as small, dark ovals to give her that expressive, alert look.
Step 10: Adding Color

Color your drawing using light blue for her fur. Tip: Use colored pencils or markers to fill in the areas smoothly, keeping your strokes in one direction for a clean finish.
More Tutorials


