How to Draw Neymar Jr: Easy 9-Step Portrait Guide
Capture the likeness of soccer superstar Neymar Jr with this beginner-friendly portrait tutorial. Designed for young artists and sports fans, this guide focuses on facial structure and expressive features. All you need is a pencil, an eraser, and a piece of paper to bring this legendary forward to life.
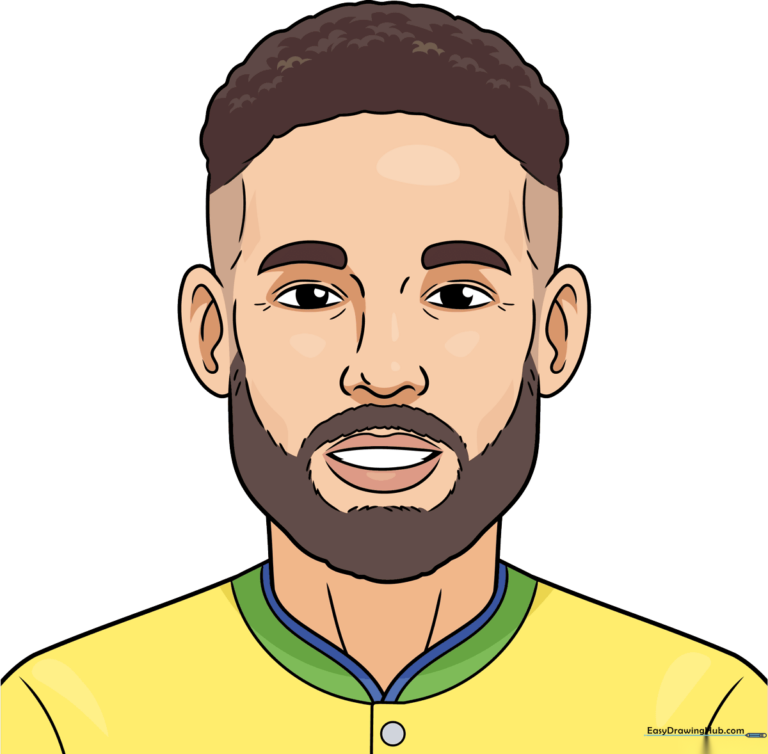
🎯 Final Result
Step-by-Step Instructions
Step 1: Sketching the Eyes and Brows
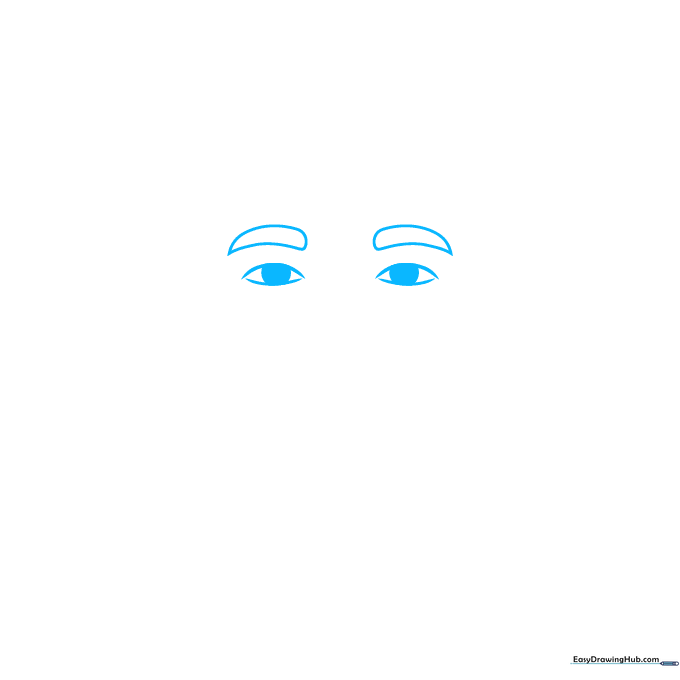
Start by sketching two almond-shaped eyes using light, sweeping lines. Shade in a dark, round pupil for each. Above the eyes, draw two teardrop-shaped arches for the eyebrows. Teacher's Tip: Keep the brows angled slightly downward to give Neymar his signature focused, competitive look.
Step 2: Defining the Eyelids and Nose
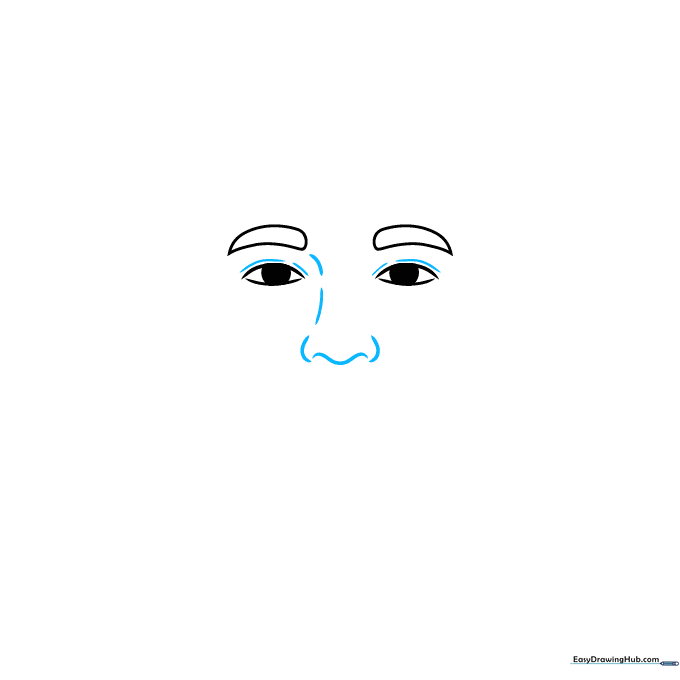
Add a small crease above each eye to define the eyelids. Below the eyes, sketch the bridge of the nose using two gentle, curved lines. Teacher's Tip: Don't press too hard; these lines are just guides for the nose's structure.
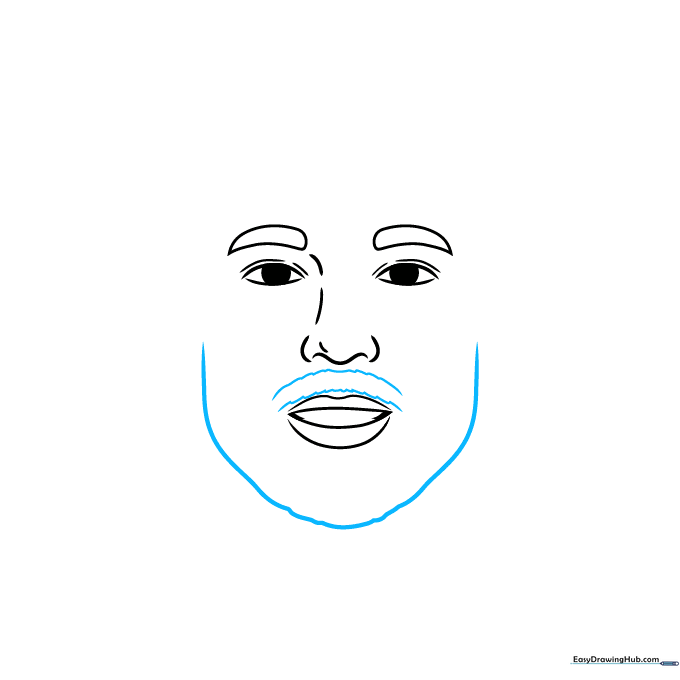
Step 3: Drawing the Smiling Mouth

Define the tip of the nose with a short, horizontal stroke. Below, draw a wide, smiling mouth using two curved lines that meet at the corners. Add small shaded triangles at the edges to hint at teeth. Teacher's Tip: A smile is all about the curve—make sure the corners of the mouth turn up slightly.
Step 4: Adding Facial Hair and Chin
Draw two scalloped, wavy lines above the upper lip to create the mustache. Then, draw a long, sweeping curve to form the chin and jawline. Teacher's Tip: Use short, choppy strokes for the beard area to give it a realistic, textured look.
Step 5: Sketching the Ears and Beard
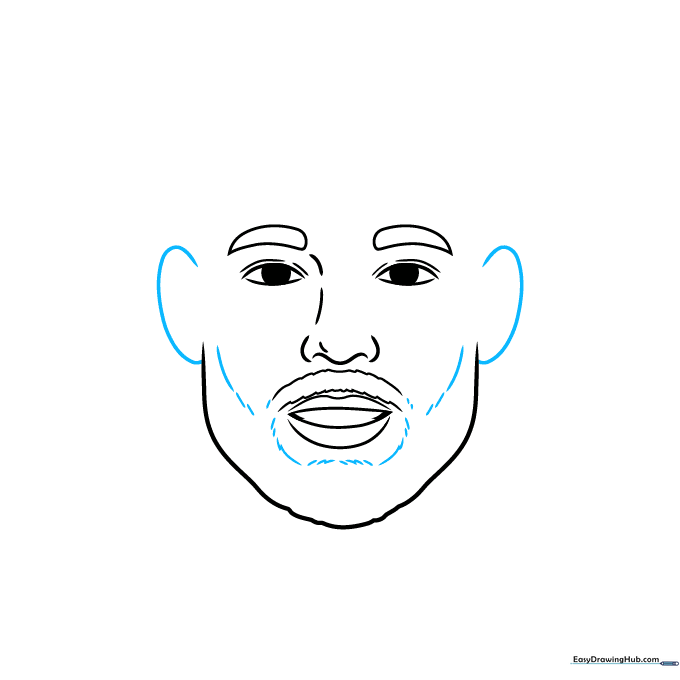
Draw 'C' shaped lines on either side of the head for the ears. Continue the beard outline using a series of short, disconnected curved lines along the jaw. Teacher's Tip: Keep the beard lines loose and airy to make it look like natural hair growth.
Step 6: Detailing Ears and Hairline
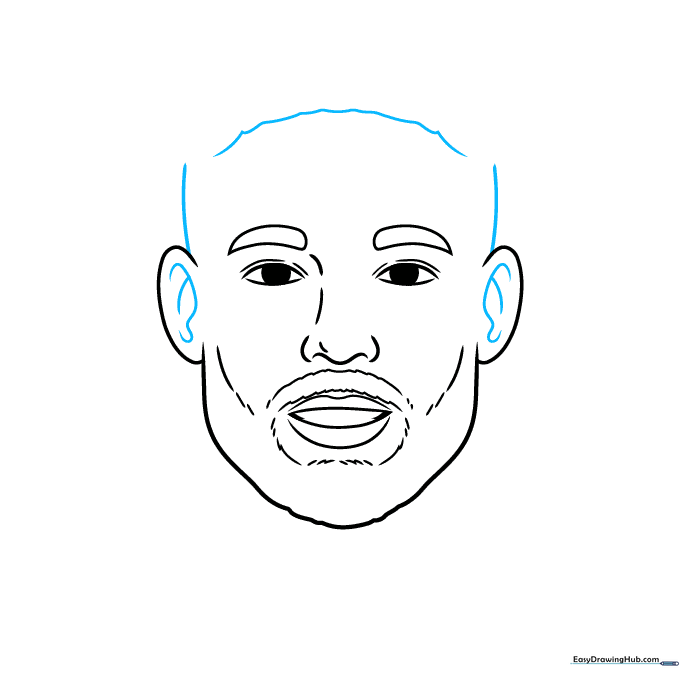
Add inner details to the ears with small, overlapping curves. Extend lines upward from the ears to frame the face, and draw a wavy line across the forehead for the hairline. Teacher's Tip: The hairline doesn't have to be perfectly straight; hair is naturally uneven!
Step 7: Completing the Hair and Neck
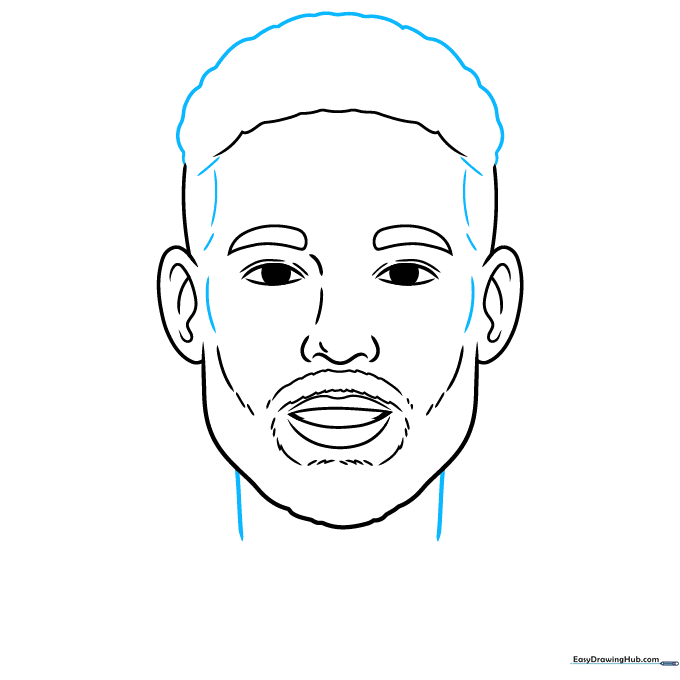
Draw a large, wavy curve over the top of the head to enclose the hair. Finish the beard and sideburns, then draw two vertical lines below the chin to form the neck. Teacher's Tip: Make the neck lines slightly curved to show the muscles of the neck.
Step 8: Adding Shoulders and Collar
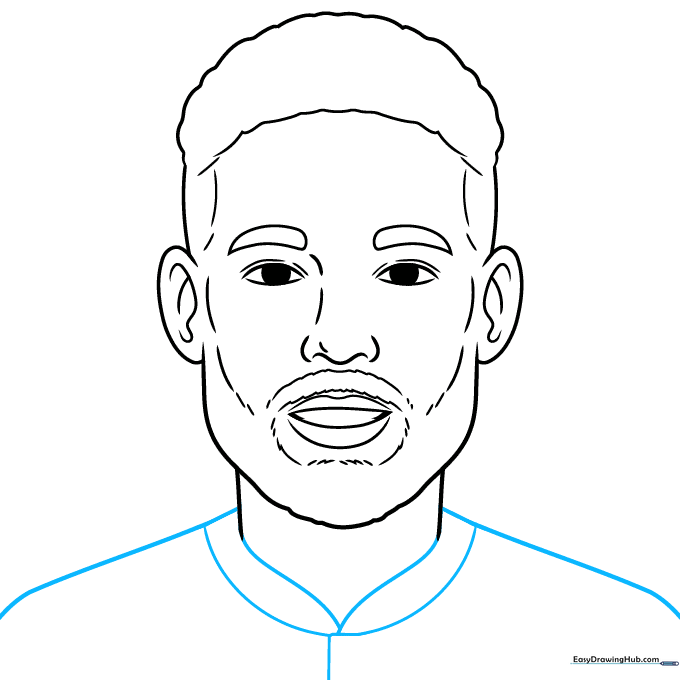
Extend long, curved lines from the neck to create the shoulders. Draw a 'V' shape at the base of the neck, then add a half-circle and a line below it to represent the collar of his jersey. Teacher's Tip: Keep the shoulders wide to give the drawing a balanced, athletic silhouette.
Step 9: Final Touches
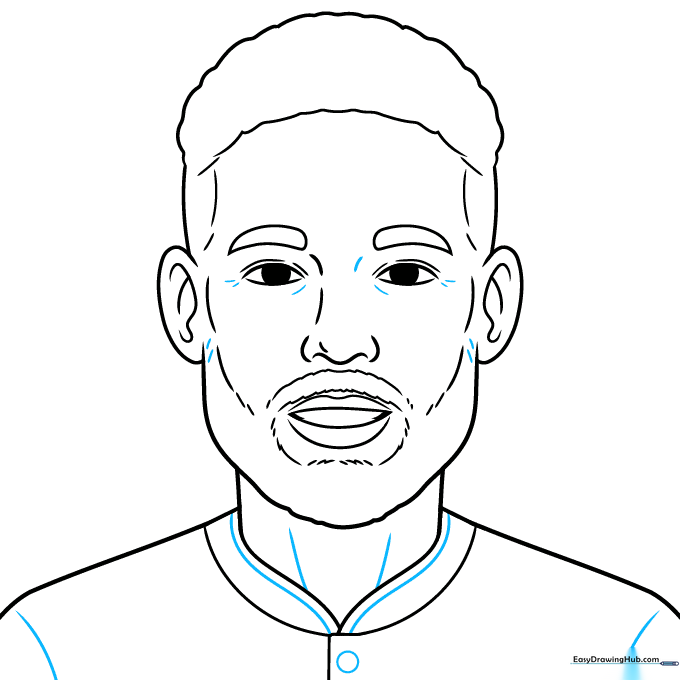
Refine the collar and sleeves with small curved lines for detail. Add a small circle below the collar to represent a button on the shirt. Teacher's Tip: Now is the time to go over your final lines with a darker pencil or pen before erasing your light guide marks.
Step 10: Color Your Portrait
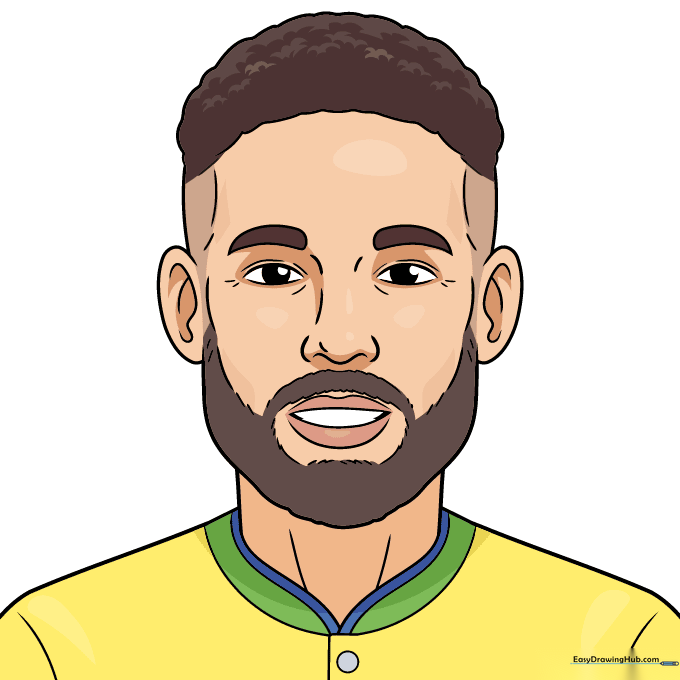
Your outline is ready! Use brown for his hair and beard. For the jersey, choose the colors of your favorite team to make the portrait truly yours. Teacher's Tip: Use light pressure with your colored pencils to build up the skin tone gradually.
More Tutorials


