How to Draw Nemo: Easy 20-Step Guide for Kids
Bring your favorite clownfish to life with this step-by-step drawing tutorial designed for ages 5 and up. All you need is a pencil, an eraser, and a piece of paper to get started. Follow along to build confidence in your sketching skills while creating a vibrant, underwater friend.
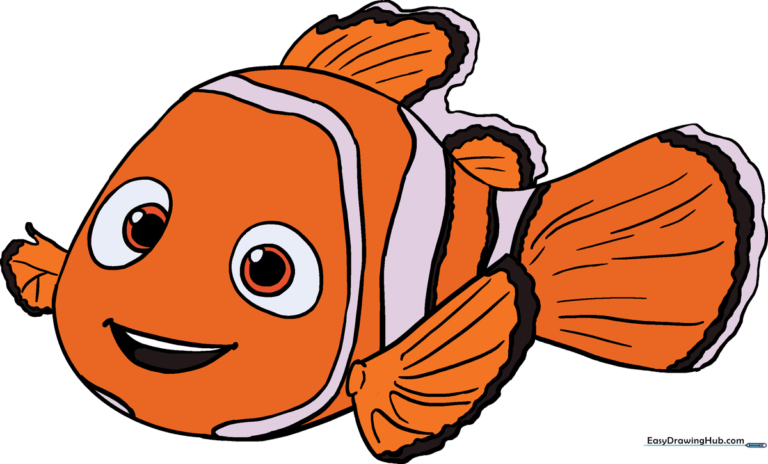
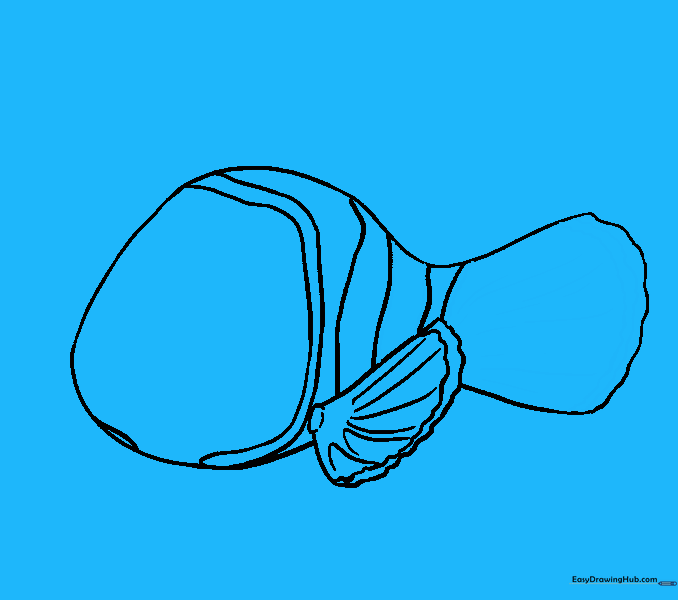
🎯 Final Result
Step-by-Step Instructions
Sketching the Head
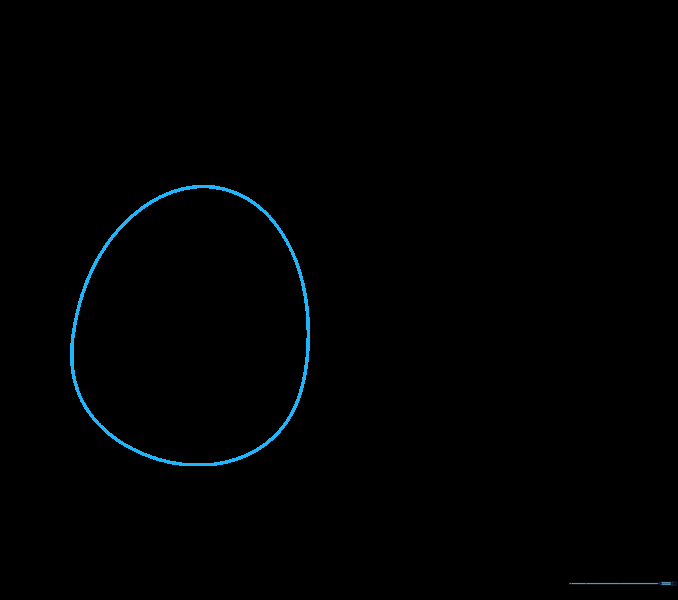
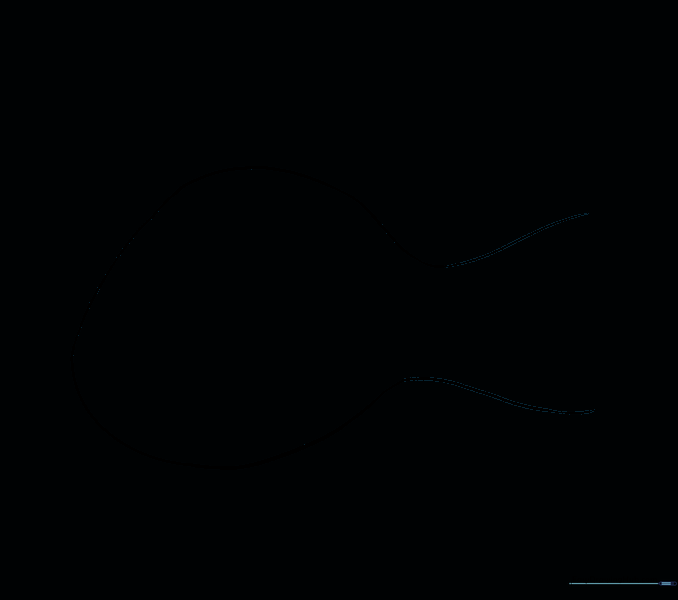
Draw a light egg shape to outline Nemo's head. Teacher's Tip: Keep your pencil pressure very light so you can easily erase these guidelines later.
Defining the Body
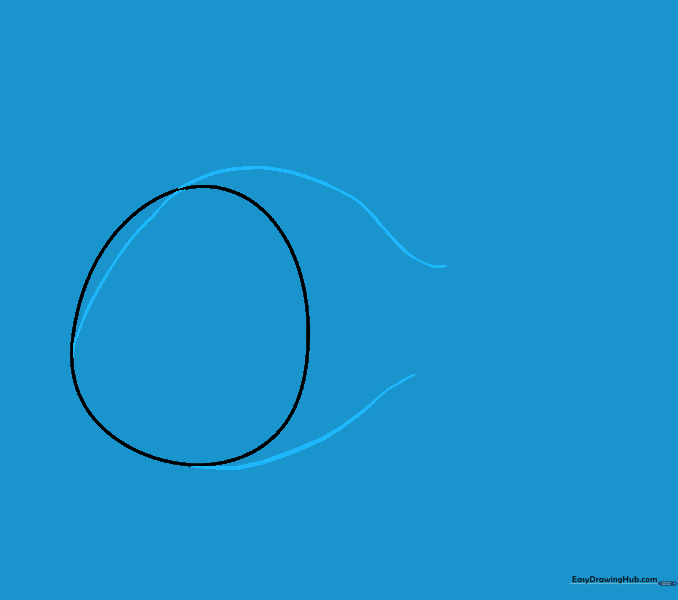
Extend long, curved lines from the head to outline the body. Teacher's Tip: Think of this as drawing a teardrop shape that flows naturally from the head.
Forming the Tail
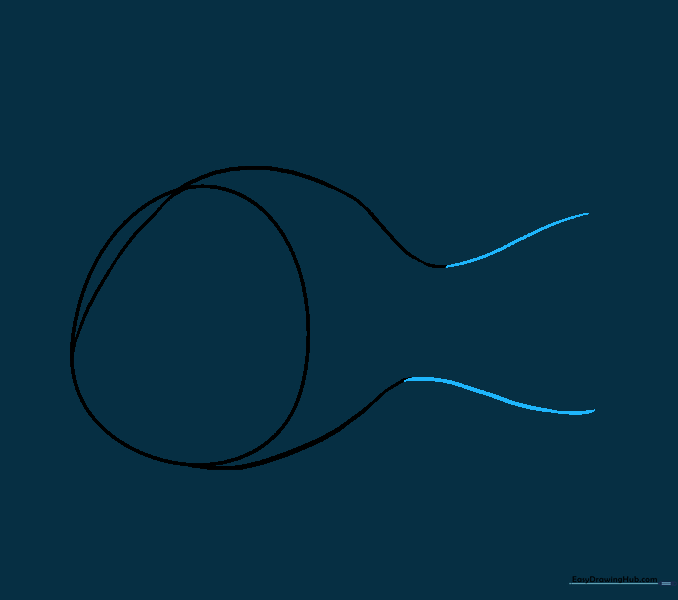
Flare the body lines outward to create the tail base. Teacher's Tip: Make the tail look like a fan by keeping your lines smooth and rhythmic.
Cleaning the Guidelines
Carefully erase the overlapping lines inside the head. Teacher's Tip: Use a clean eraser and brush away the crumbs so your paper stays smudge-free.
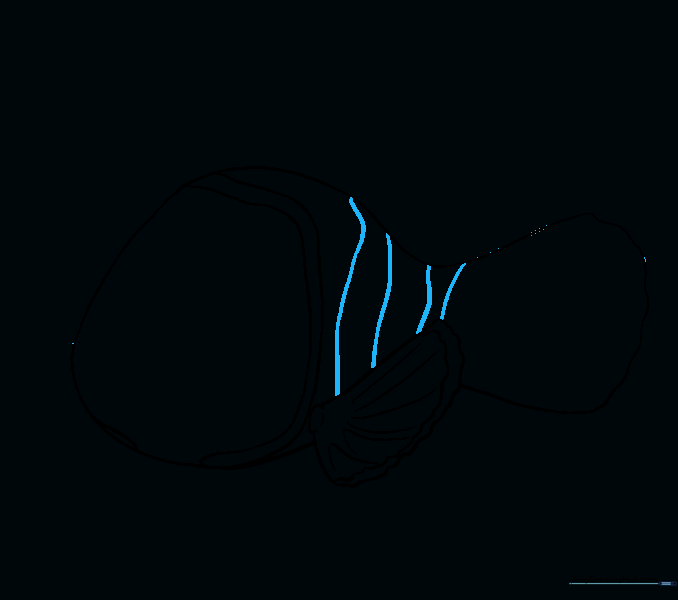
Adding Stripes and Tail
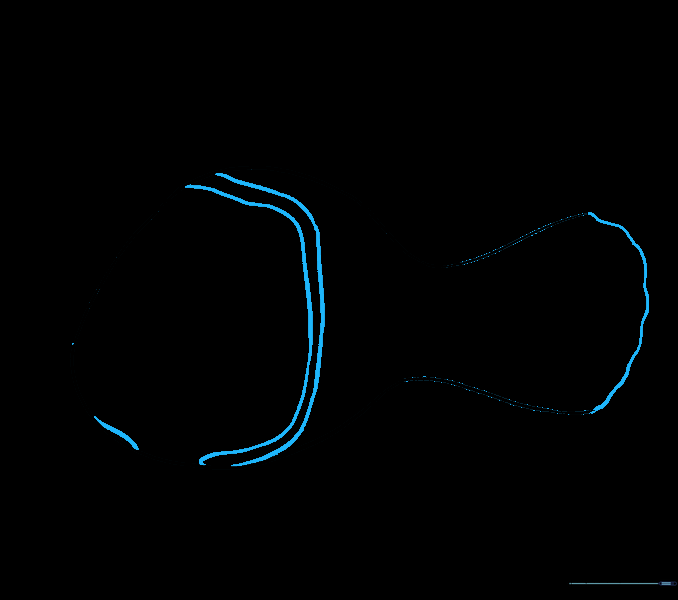
Enclose the tail with a scalloped line and add the first stripe near the head. Teacher's Tip: Scalloped lines look like gentle waves—keep them consistent.
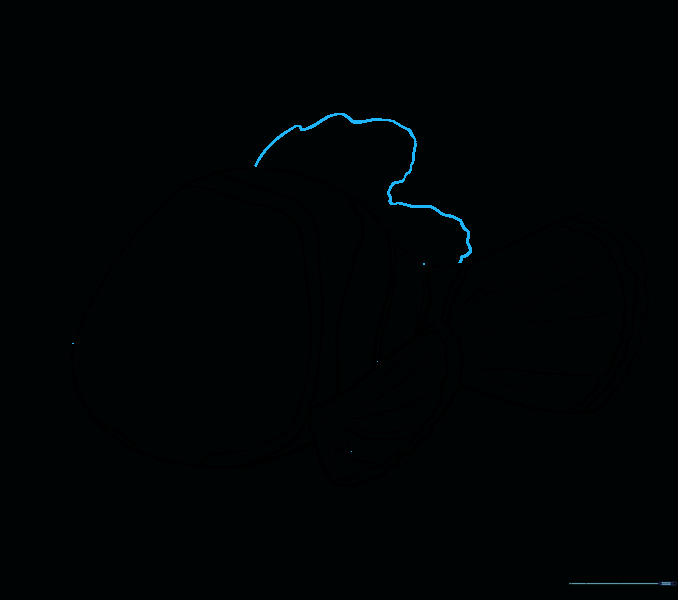
Drawing the Pectoral Fin
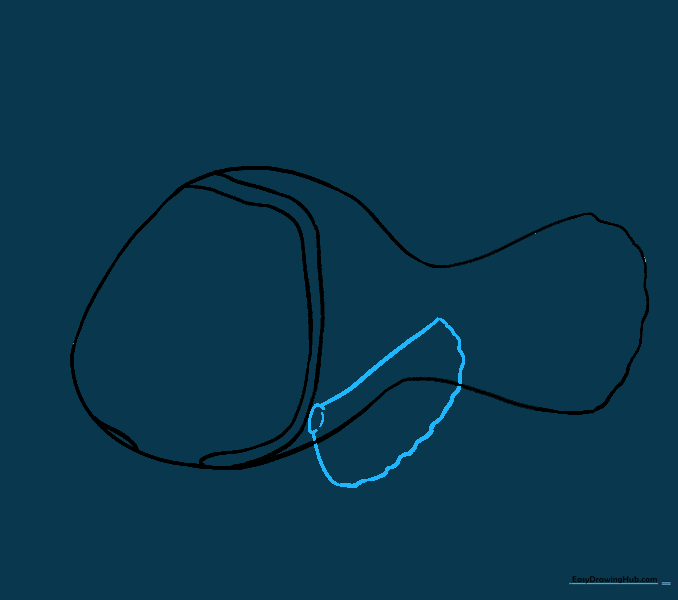
Draw a small oval for the fin base, then extend curved lines to form the fin. Teacher's Tip: Use a dotted line for the base to help with placement.
Refining the Fin

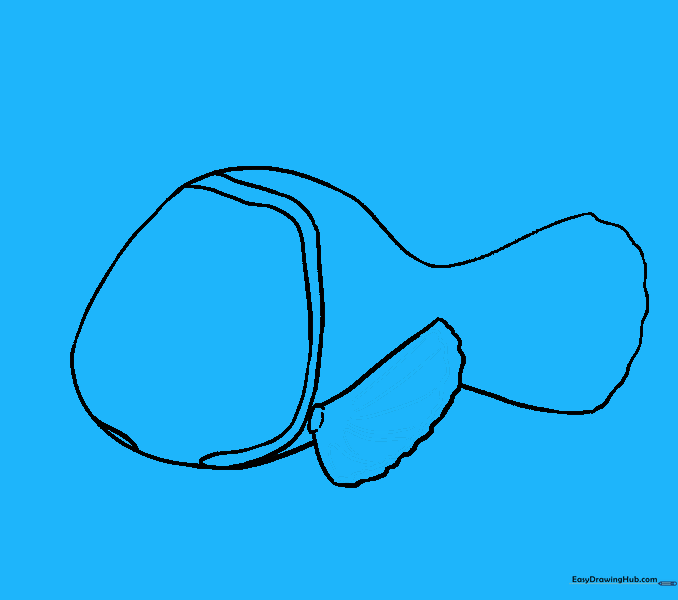
Erase the guide lines inside the fin. Teacher's Tip: Take your time here; small details make the character look more professional.
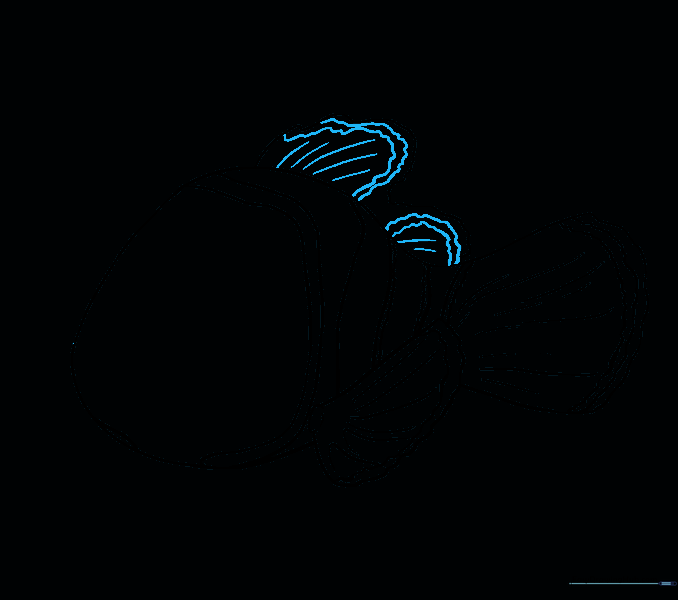
Adding Fin Detail
Add scalloped lines and 'U' shapes inside the fin. Teacher's Tip: These lines represent the delicate rays of the fin.
Adding Body Stripes
Draw curved lines across the body to create the remaining stripes. Teacher's Tip: Keep the stripes slightly curved to match the roundness of the fish's body.
Detailing the Tail
Add scalloped lines to the tail and body stripes. Teacher's Tip: Varying the size of your scalloped lines adds visual interest.
Drawing the Dorsal Fin
Draw a wavy line along the top of the back for the dorsal fin. Teacher's Tip: Imagine a gentle ocean wave as you draw this line.
Detailing the Dorsal Fin
Add scalloped lines and curved details to the dorsal fin. Teacher's Tip: Consistency is key—match the style of the pectoral fin.
The Lucky Fin
Draw the smaller, irregular 'lucky fin' on the side. Teacher's Tip: Make this fin slightly smaller and dip the line inward to show its unique shape.
Detailing the Lucky Fin
Add scalloped lines to the lucky fin. Teacher's Tip: Even though it's smaller, adding these details makes the drawing look complete.
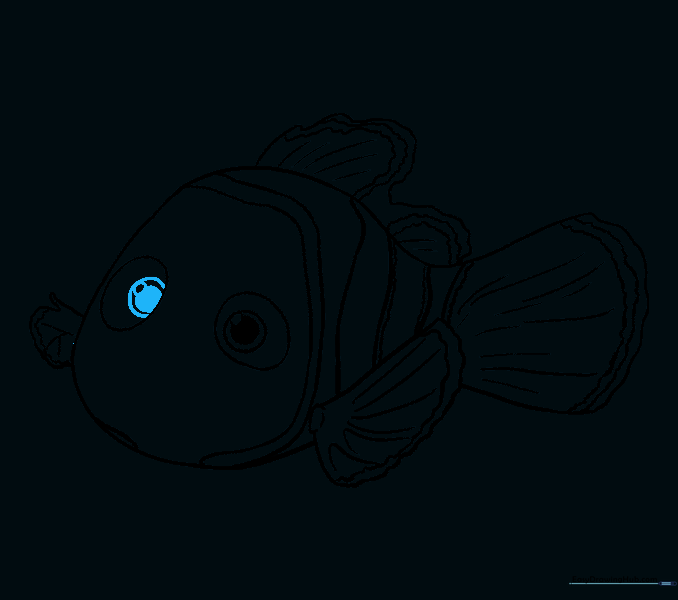
Drawing the Eyes
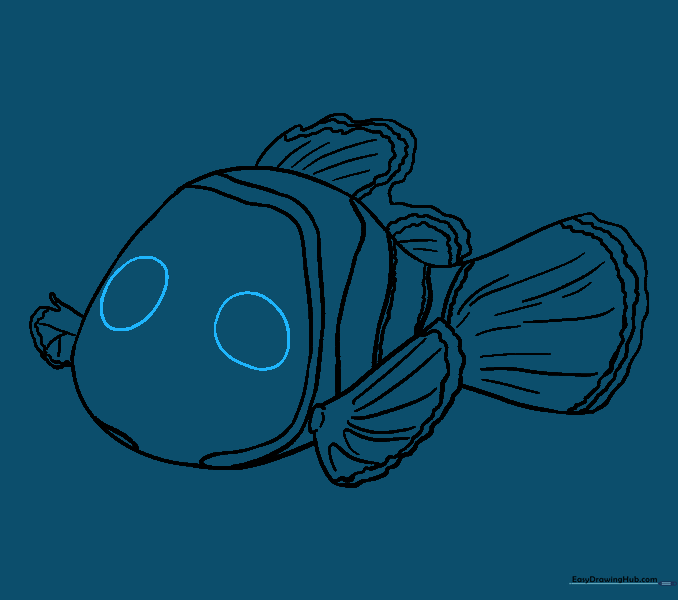
Draw two ovals for the eyes. Teacher's Tip: Place them slightly apart to give Nemo his friendly, wide-eyed expression.
Adding Eye Detail
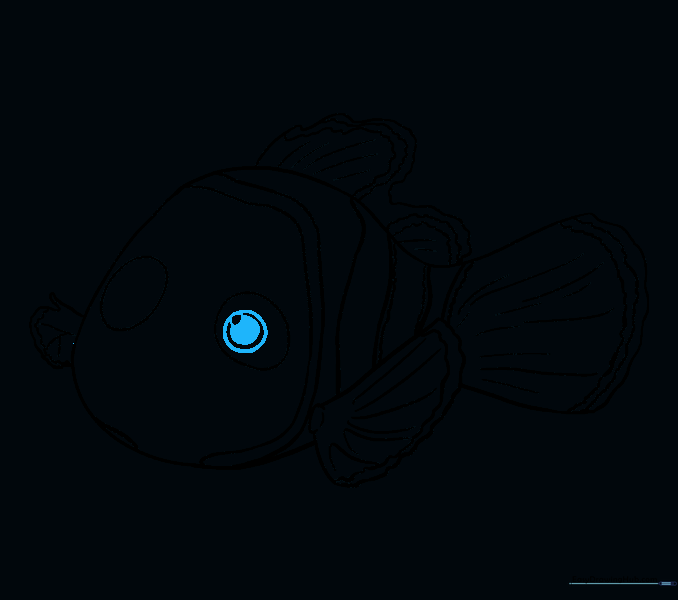
Draw circles within circles for the pupils and shade them. Teacher's Tip: Leave a tiny white dot unshaded to create a 'glint' or sparkle in the eye.
Completing the Eyes
Repeat the eye detail process for the second eye. Teacher's Tip: Keep the eyes symmetrical to maintain the character's look.
Drawing the Mouth
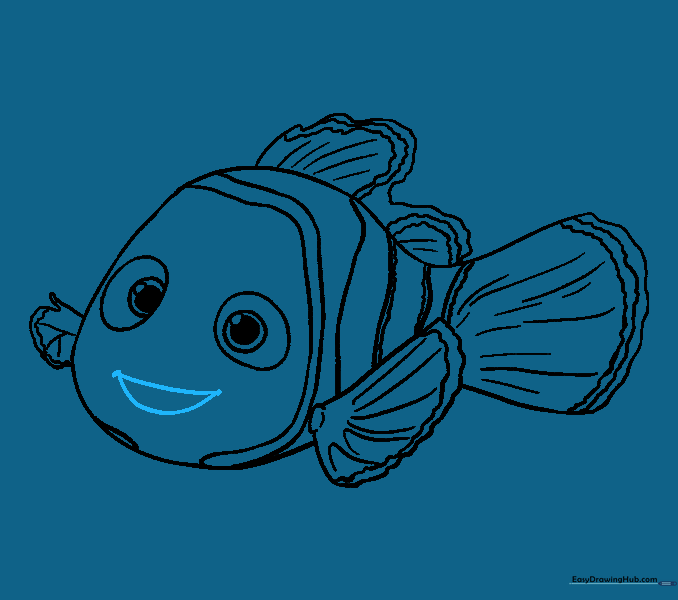
Draw a wide 'U' shape for the smiling mouth. Teacher's Tip: Add small curved lines at the corners to make the smile look natural.
Adding Teeth
Draw two curved lines inside the mouth for teeth and shade the area. Teacher's Tip: Keep the teeth small so they don't look too sharp.
Coloring Nemo
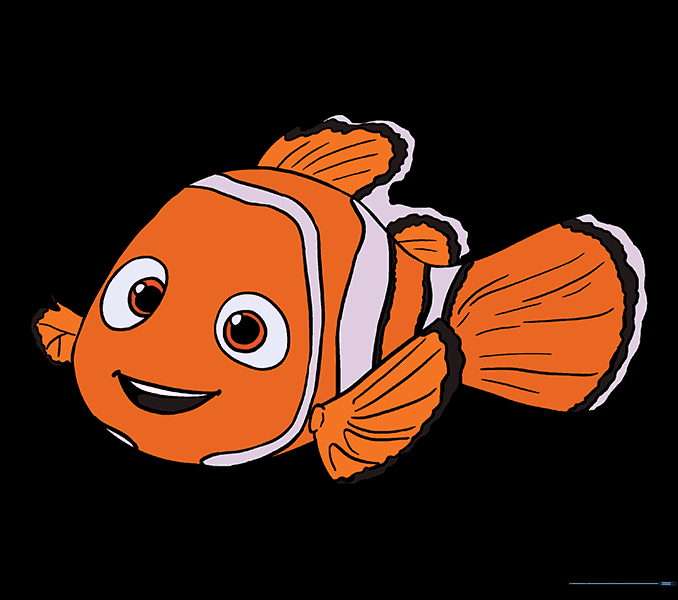
Use bright orange for the body, with white and black stripes. Teacher's Tip: Use light, circular motions with your colored pencils to get an even, vibrant finish.
More Tutorials


