How to Draw Nefertiti: Easy Step-by-Step Guide for Kids
Bring Ancient Egypt to life by drawing the iconic Queen Nefertiti! This tutorial is designed for young artists and beginners, requiring only a pencil, paper, and an eraser. Follow these steps to master her regal profile and famous headdress while developing your portrait sketching skills.
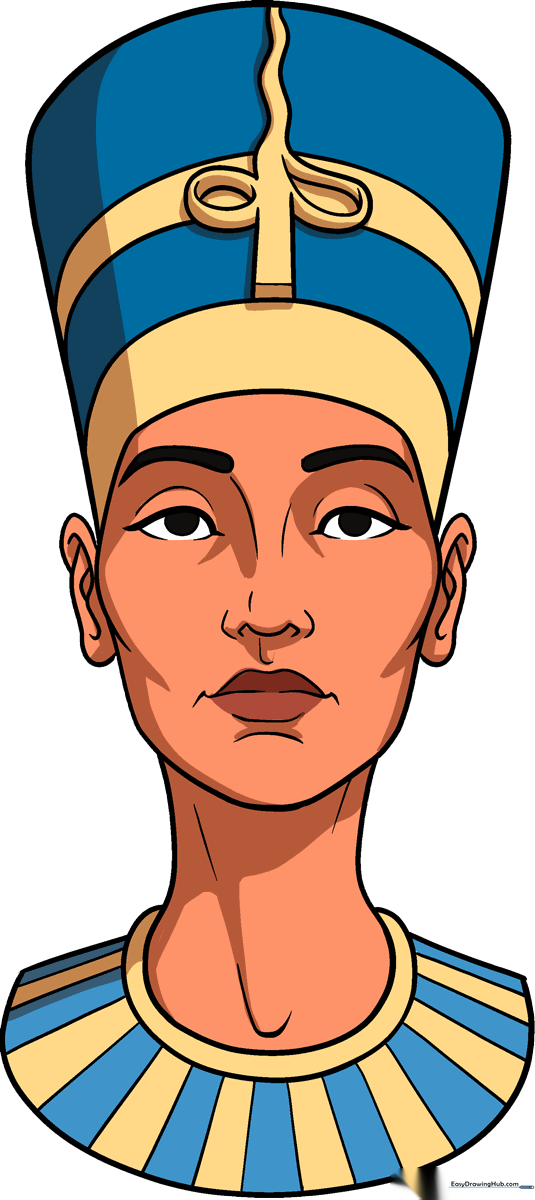
🎯 Final Result
Step-by-Step Instructions
Step 1: Sketching the Eyes
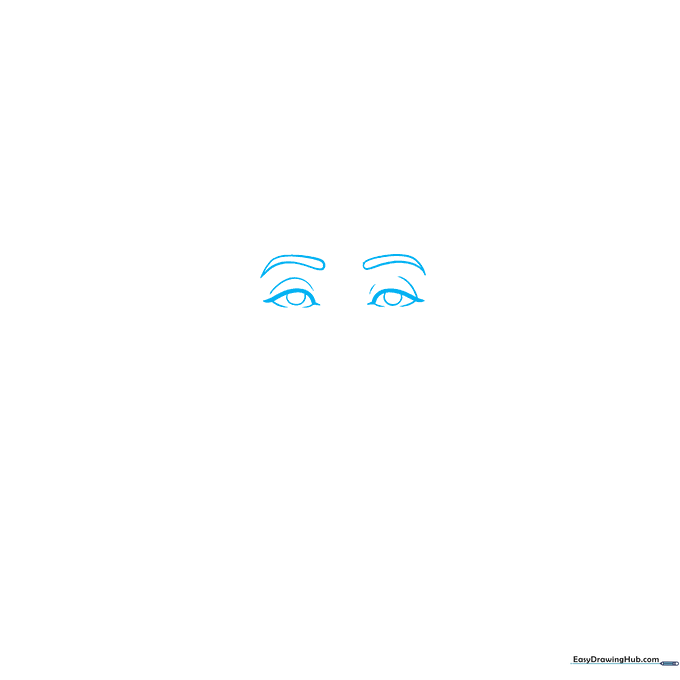
Start by drawing the eyes. Use curved lines to define the eyelashes, eyelids, and brows. Teacher's Tip: Keep your pencil strokes light here; the lash line should be thick and bold to give her that regal, expressive look.
Step 2: Defining the Nose and Lips
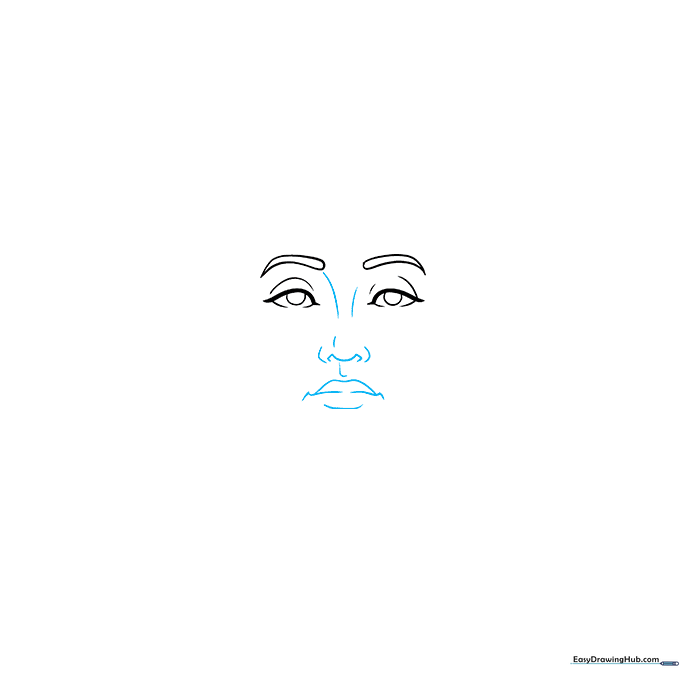
Use gentle curved lines to sketch the bridge of the nose, the nostril, and the lips. Teacher's Tip: Focus on the side profile—keep the nose line slightly pointed to capture her elegant silhouette.
Step 3: Shaping the Face
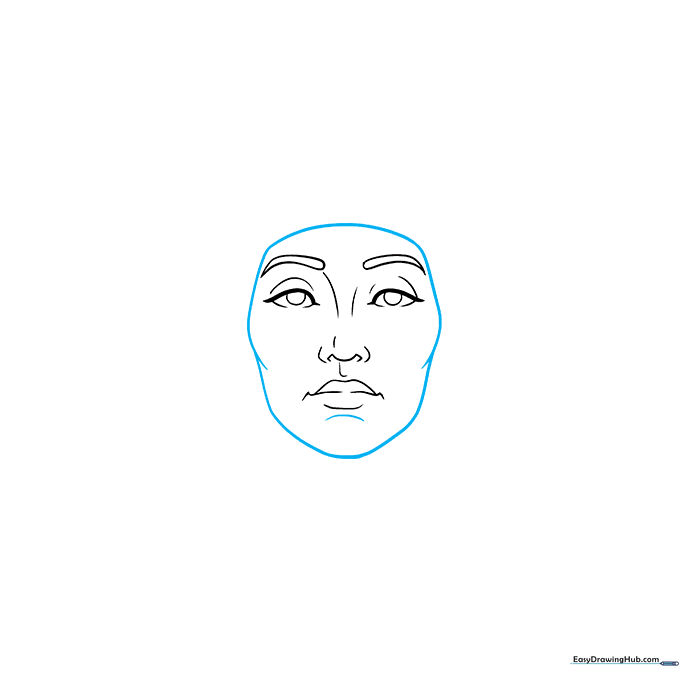
Outline the face using smooth, curved lines that contour the cheekbones. Add a small curve below the lips to define the chin. Teacher's Tip: Think of the face as a soft 'S' shape to get that natural, graceful flow.
Step 4: Adding the Ears
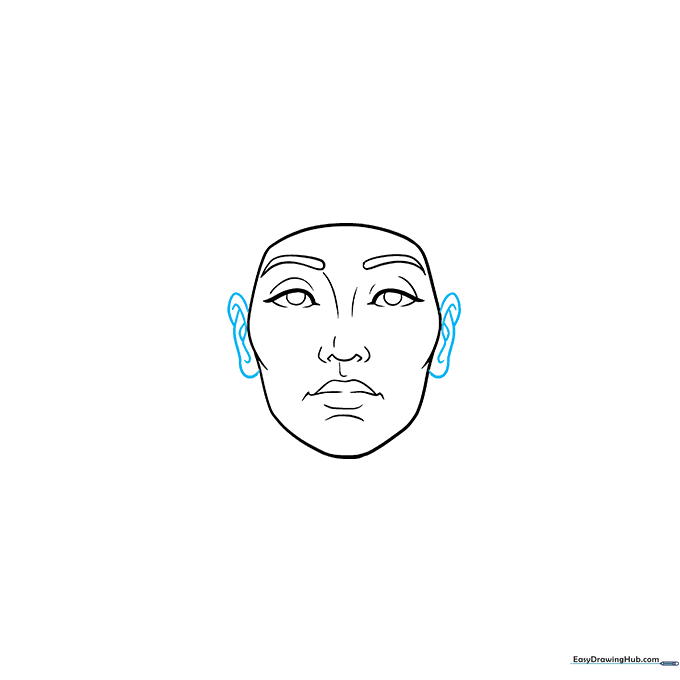
Use overlapping curved lines to draw the ears. Add small, subtle lines inside to suggest the folds of the ear. Teacher's Tip: Position the ear slightly behind the cheekbone line you drew in the previous step.
Step 5: Sketching the Headdress
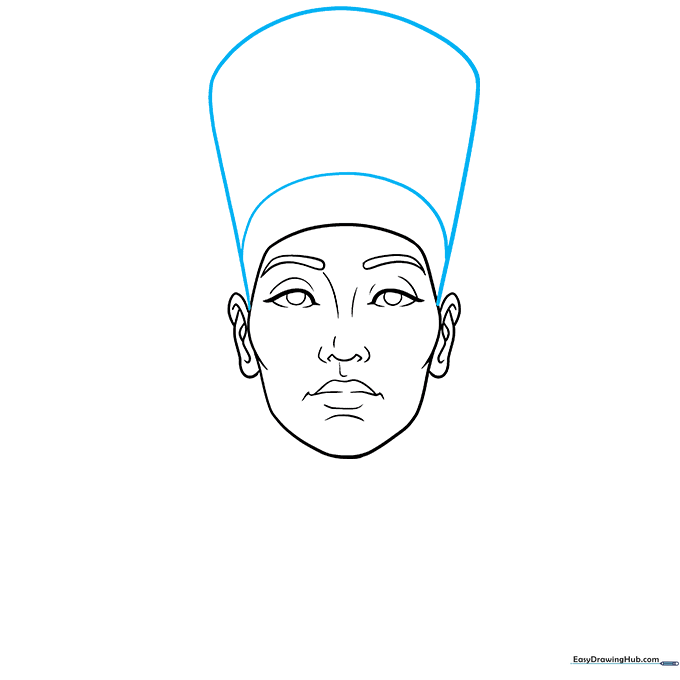
Draw the iconic tall headdress. Use a long, sweeping curved line to enclose the rectangular shape, then add a curved line at the base. Teacher's Tip: Keep the top of the headdress slightly flat to match the historical look.
Step 6: Adding the Royal Cobra
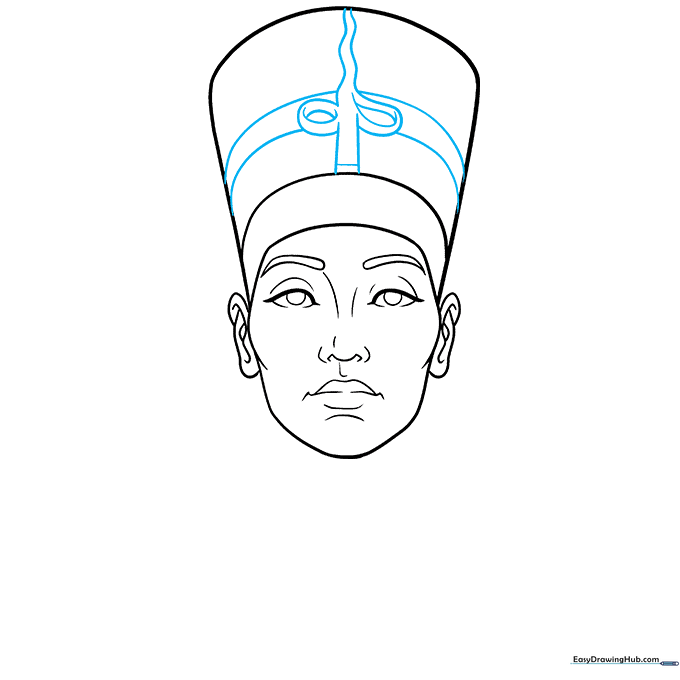
Draw the Uraeus (cobra) on the front of the headdress using wavy lines and teardrop shapes. Add a horizontal stripe across the headdress for detail. Teacher's Tip: Take your time with the cobra—it's a small detail that adds a lot of historical authenticity!
Step 7: Drawing the Neck and Collar
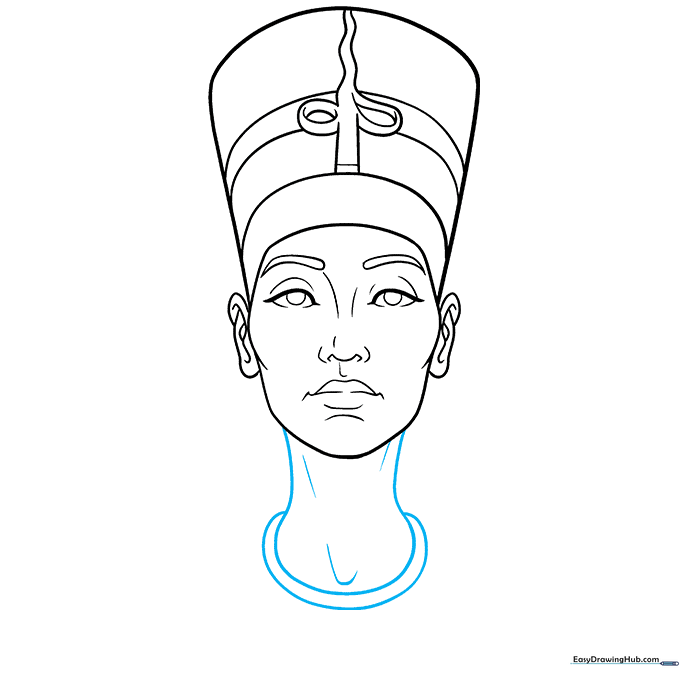
Extend a curved line down from the head to form the neck, then add a curved collar at the base. Teacher's Tip: Use two lines for the neck to give it a sturdy, realistic appearance.
Step 8: Refining the Garment
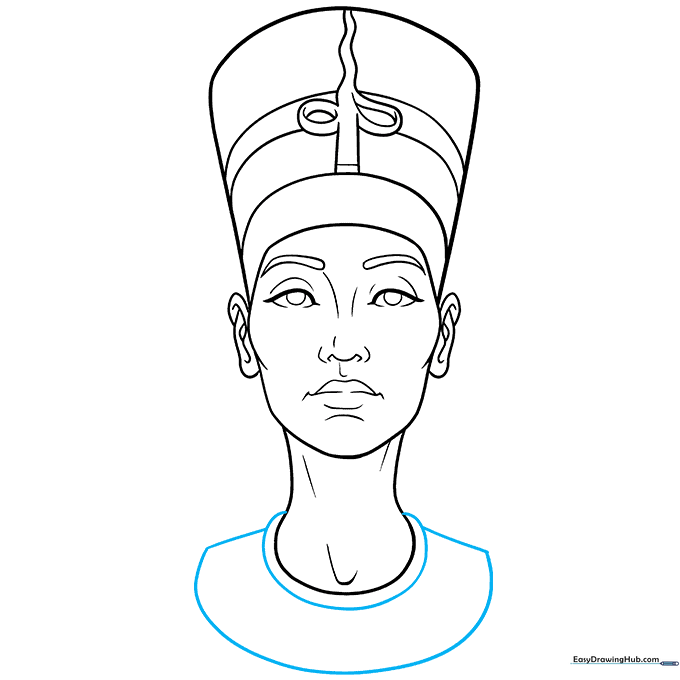
Extend straight lines from the collar and connect them with a long, sweeping curved line to finish the garment shape. Teacher's Tip: Ensure your lines are smooth to represent the fabric of the royal clothing.
Step 9: Adding Final Details
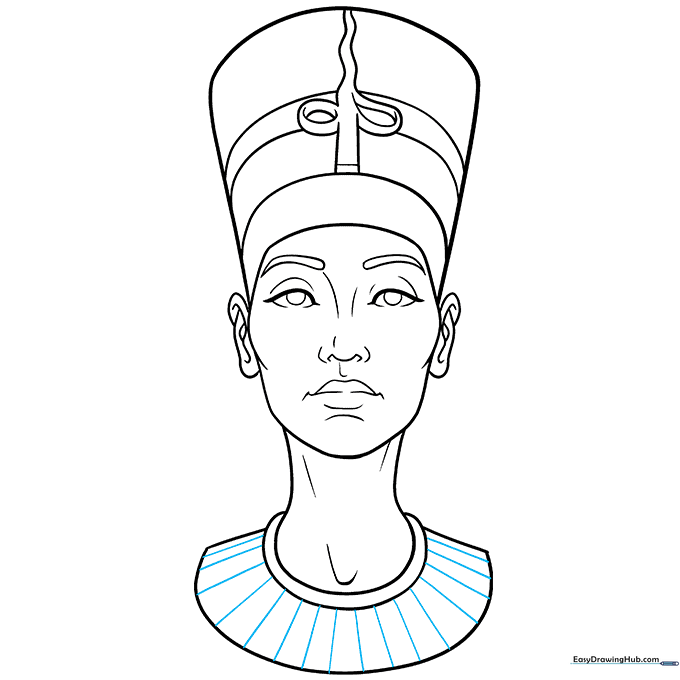
Decorate the collar with straight lines in a ray pattern. This adds a beautiful, traditional Egyptian touch to your portrait. Teacher's Tip: Use a ruler if you want the lines to be perfectly straight and symmetrical!
Step 10: Coloring Your Masterpiece
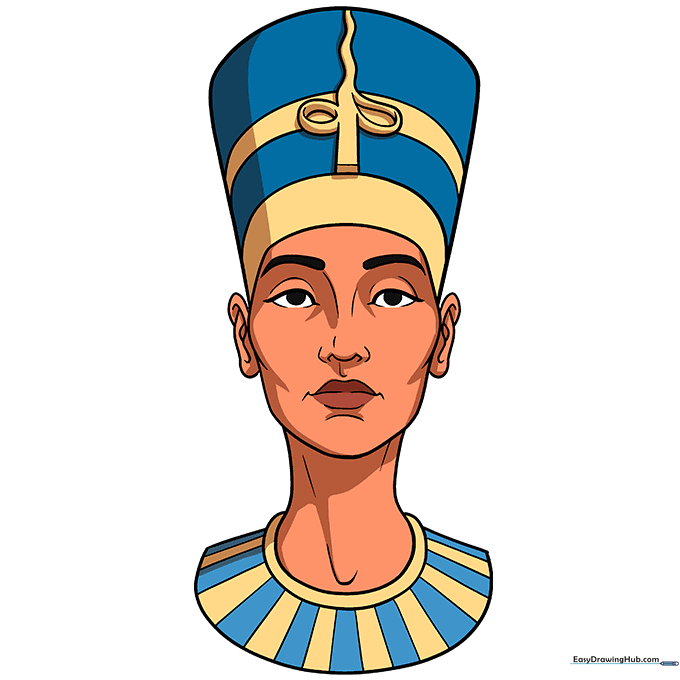
Your outline is complete! Now, bring it to life with color. Use deep blues and vibrant golds to capture the royal aesthetic of Ancient Egypt. Teacher's Tip: Try using gold markers for the jewelry to make it pop against the paper.
More Tutorials


