How to Draw Mushu from Mulan: Easy Step-by-Step Guide
Bring Mulan's spirited guardian to life with this easy-to-follow drawing tutorial. Designed for young artists and beginners, this guide requires only a pencil, eraser, and paper to master Mushu's iconic, expressive features. Follow along to build confidence in your character sketching skills.
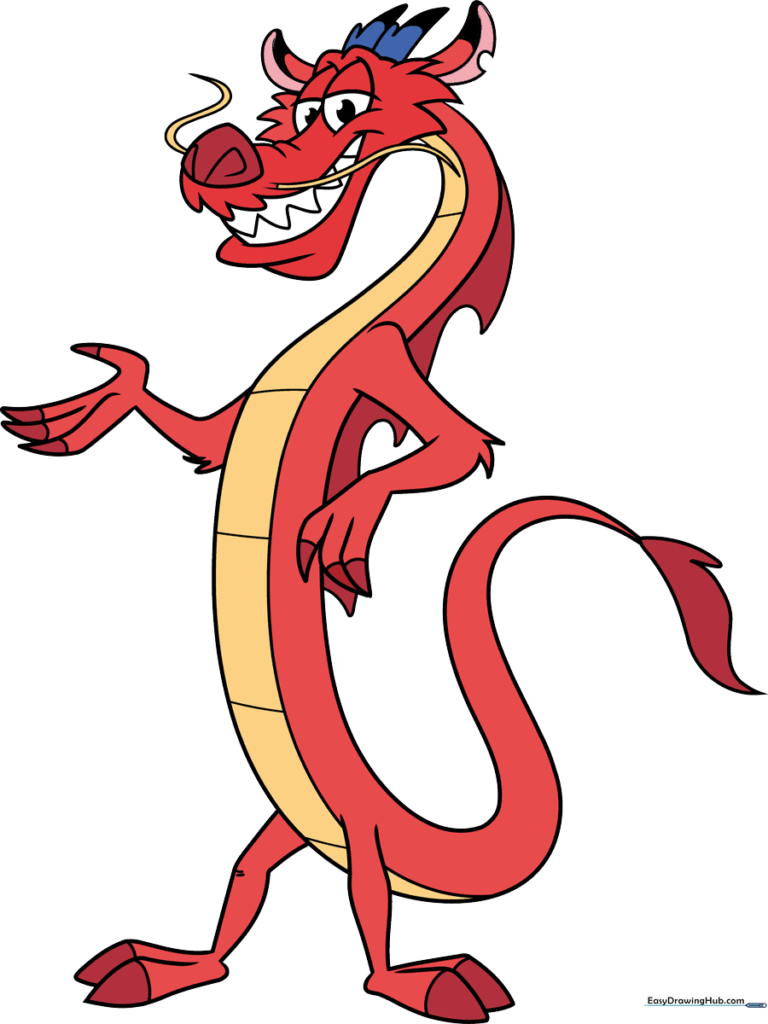
🎯 Final Result
Step-by-Step Instructions
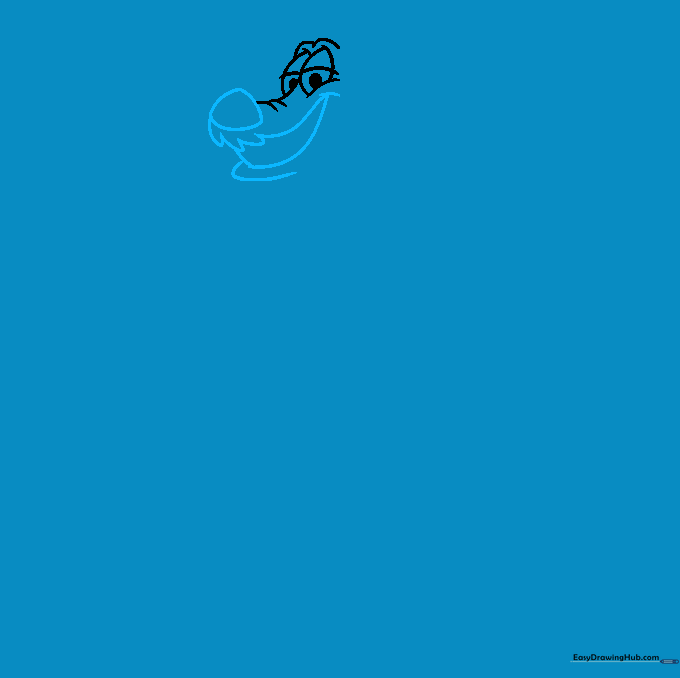
Step 1: Sketching the Expressive Eyes

Start by outlining the eyes with curved lines, noting how the cheek overlaps the near eye. Add the brow lines above and the wrinkled nose bridge in front. Tip: Keep your pencil strokes light here so you can easily adjust the expression later.
Step 2: Defining the Snout and Mouth
Draw a rounded triangle for the nose. Below it, use a series of 'U' shaped lines to create his signature mustache-like upper lip. Tip: Think of the mustache as a soft, wavy cloud shape to get that classic cartoon look.
Step 3: Adding Teeth and Whiskers
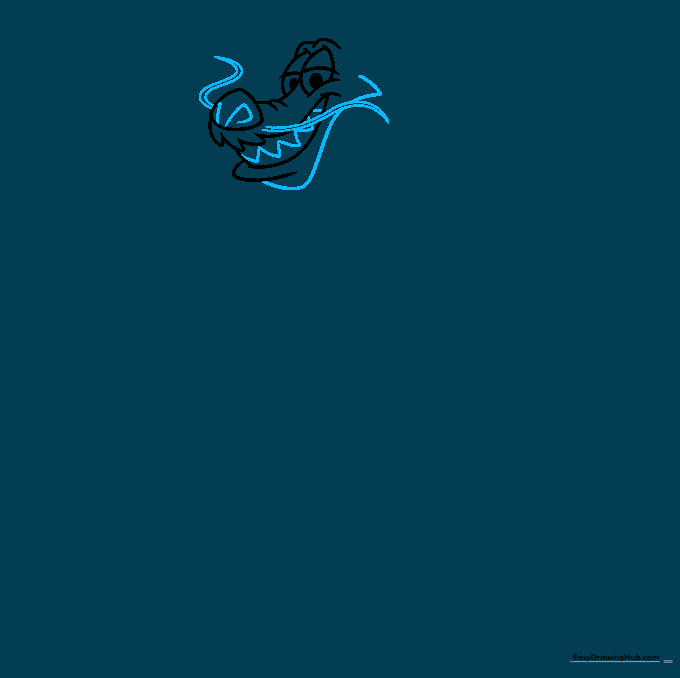
Add a zigzag line for the teeth and small spirals for the nostrils. Extend two parallel curved lines from the nose to create his long, flowing whiskers. Tip: Make the whiskers taper to a sharp point to give them a sense of movement.
Step 4: Shaping the Head and Ears
Enclose the head shape and add the ears. One ear features a distinct 'C' shaped notch. Tip: Add a curved line down the center of each ear to give them a three-dimensional, folded appearance.
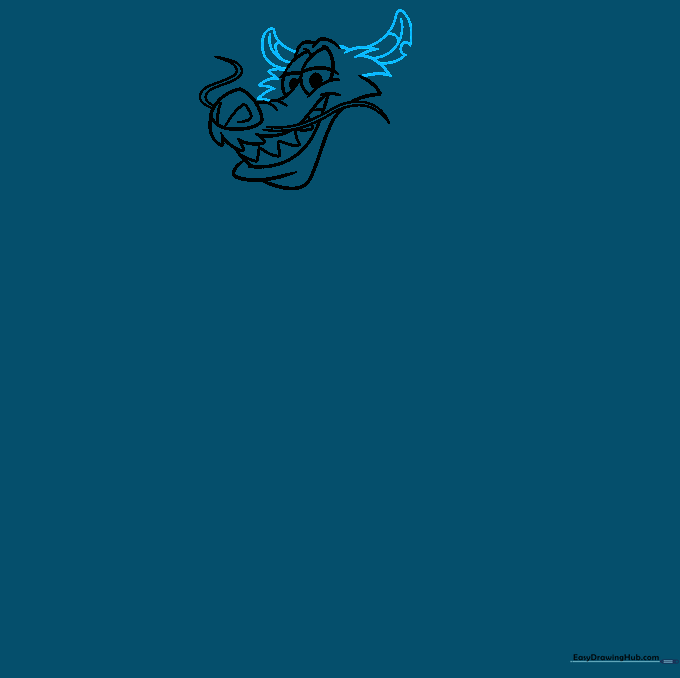
Step 5: Adding Horns and Neck
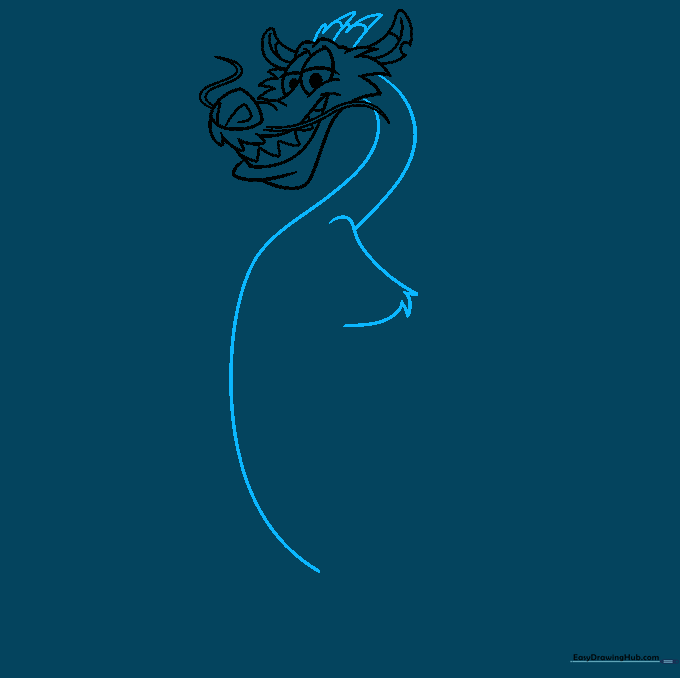
Draw the horns on top of the head using gentle points. Then, sketch the long, sinuous neck and the start of the torso. Tip: Use jagged, furry lines at the elbow to show texture.
Step 6: Sketching the Arms and Claws
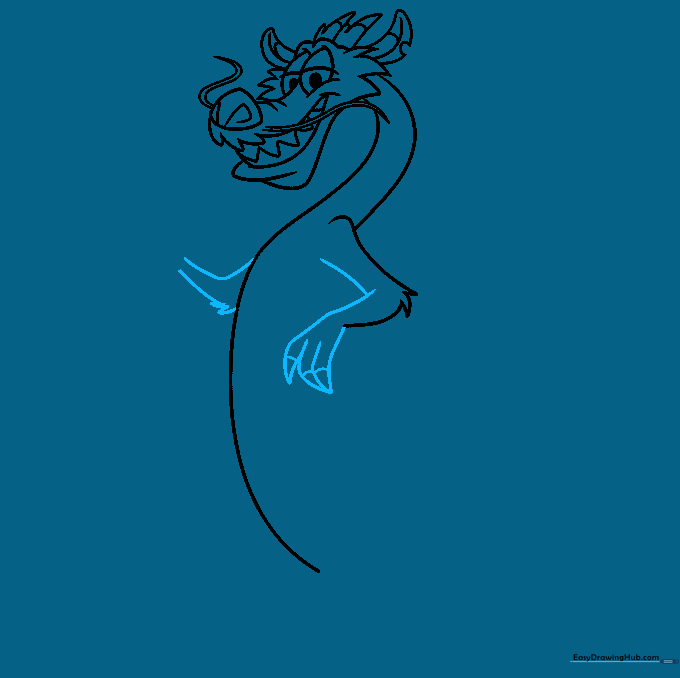
Use overlapping curved lines to form the arms and fingers. Band the fingertips to indicate his sharp claws. Tip: Keep the arm lines fluid to match Mushu's energetic personality.
Step 7: The Back and Spikes
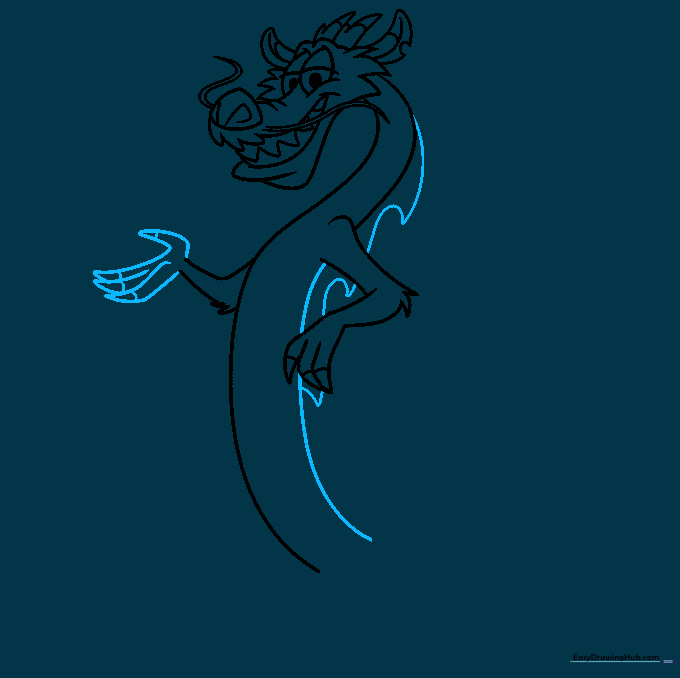
Complete the second hand and draw the back using a long, sweeping curve. Add a wavy line with triangular points for the spikes along his spine. Tip: Vary the size of the spikes slightly to make them look more natural.
Step 8: Adding the Belly and Legs
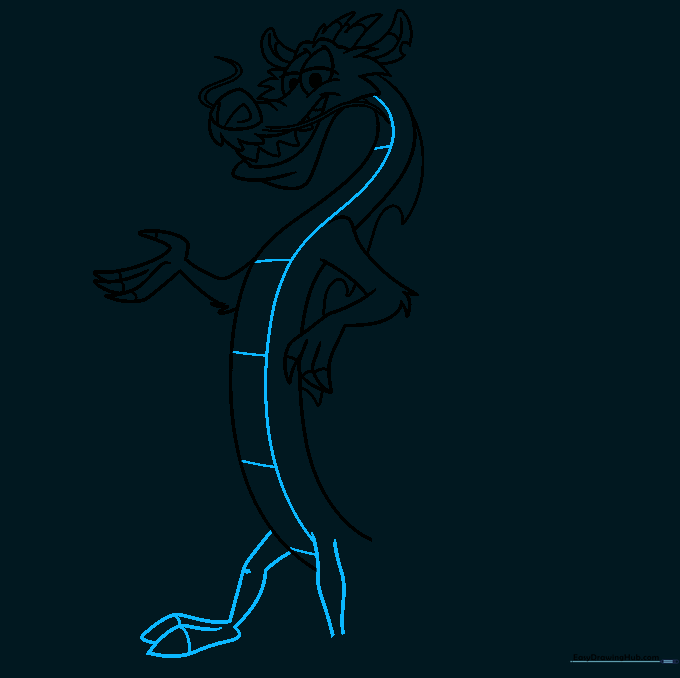
Draw a long curve for the belly and add horizontal bands for detail. Begin sketching the legs and feet, noting the knee joints. Tip: Use light, quick strokes for the legs to maintain the character's agile look.
Step 9: Finalizing the Tail
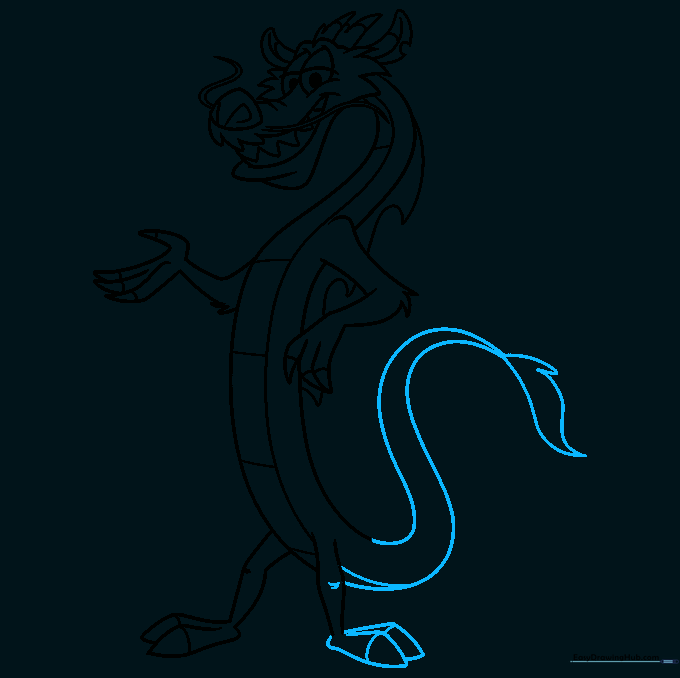
Finish the feet and extend the belly and back lines to form the tail. End the tail with a tuft of fur. Tip: Make the tail curve gracefully to balance the composition of your drawing.
Step 10: Bringing Mushu to Life with Color
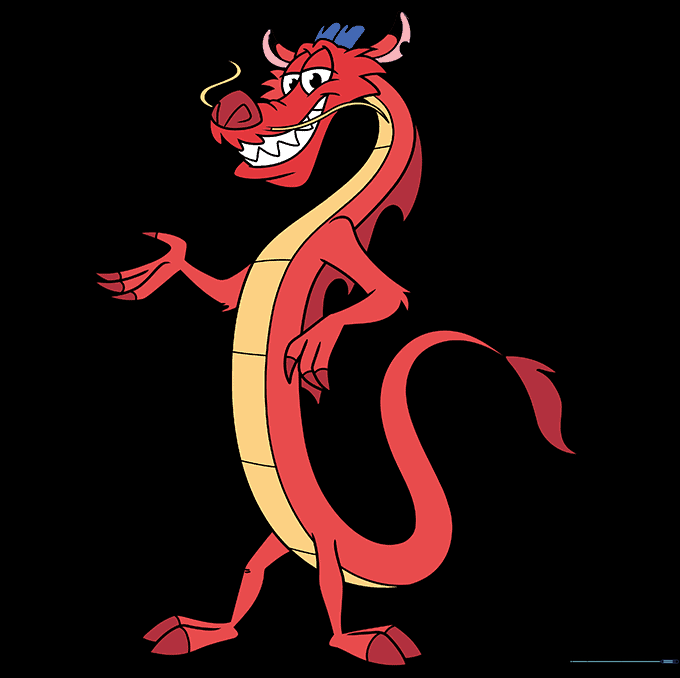
Time to color! Use a vibrant red for his body, a soft yellow for his belly, and black for the tips of his horns and ears. Tip: Use light pressure with your colored pencils to blend the red and yellow smoothly.
More Tutorials


