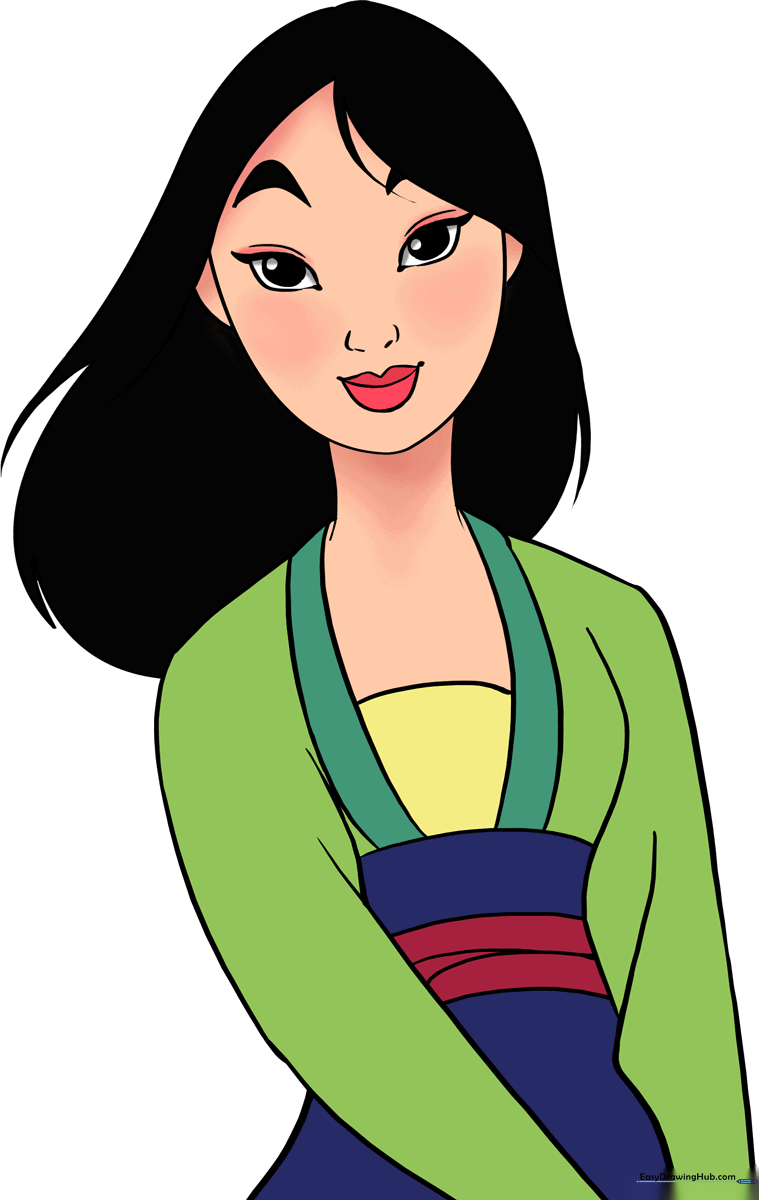
How to Draw Mulan: Easy Step-by-Step Guide for Kids
Bring the legendary warrior to life with this beginner-friendly drawing tutorial. Designed for young artists ages 6 and up, this guide requires only a pencil, paper, and an eraser. Follow along to build confidence in character sketching and facial proportions.
🎯 Final Result
Step-by-Step Instructions
Step 1: Sketching the Face Shape

Draw a soft 'U' shape for the chin and extend two short, curved lines downward to form the neck. Teacher's Tip: Keep your pencil pressure light here; these are just guidelines that we will refine later.
Step 2: Framing the Hair

Add a sweeping, upside-down 'V' shape across the forehead for her bangs, then cap the head with a 'U' shape. Add pointed wisps on the sides to give her hair natural movement. Tip: Use quick, confident strokes to make the hair look flowy rather than stiff.
Step 3: Drawing the Kimono Collar
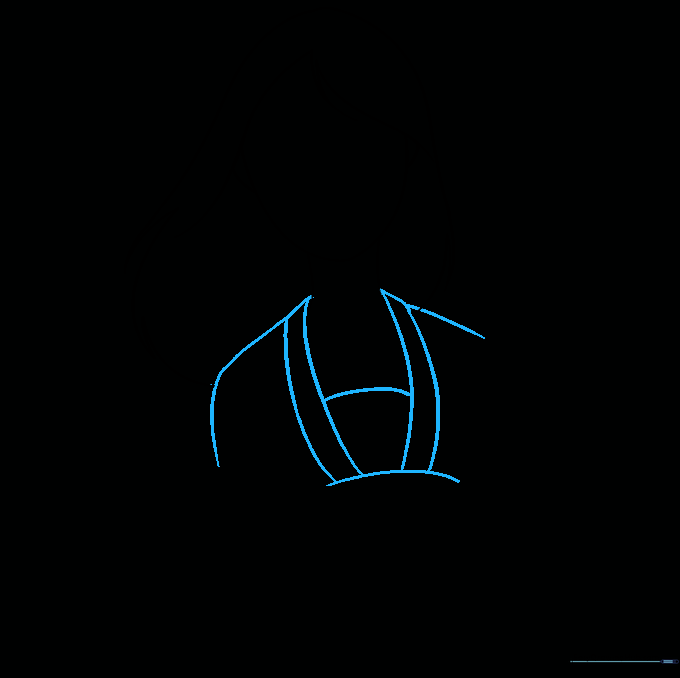
Extend two lines from the neck to create the kimono collar, connecting them with horizontal curves. Tip: Ensure the collar looks thick and layered to give the garment a realistic, fabric-like appearance.
Step 4: Sketching the Arms

Use long, smooth, curved lines to outline the sleeves and arms. Tip: Think of the arms as soft tubes; avoid sharp corners to keep the character looking friendly and natural.
Step 5: Defining the Torso and Obi
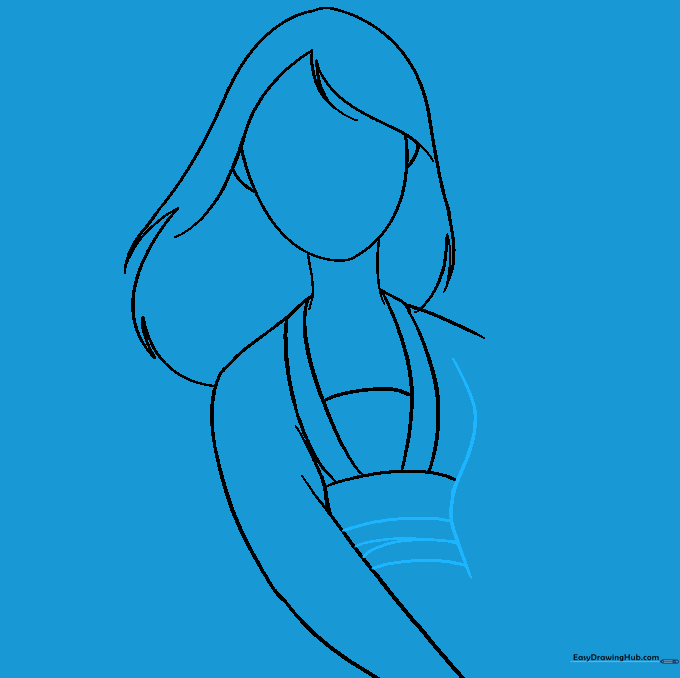
Complete the torso outline and add two curved lines at the waist for the obi belt. Tip: The belt should be slightly wider than the waist to show it is wrapped around her body.
Step 6: Refining the Silhouette
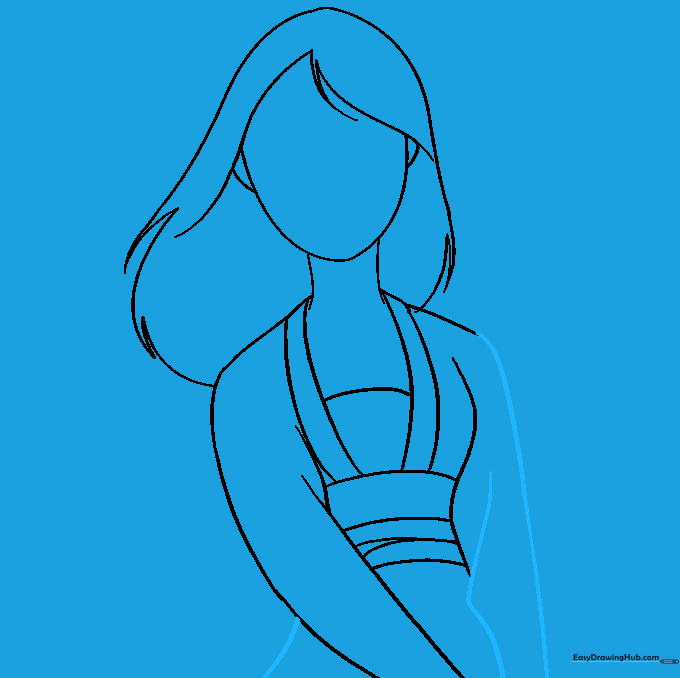
Use overlapping curved lines to define the hips and arm position. Tip: Overlapping lines create depth, making the drawing look 3D rather than flat.
Step 7: Drawing the Eyebrows

Draw two curved, tapered lines for the eyebrows. Tip: Make them slightly angled to give Mulan her determined, brave expression.
Step 8: Adding the Eyes
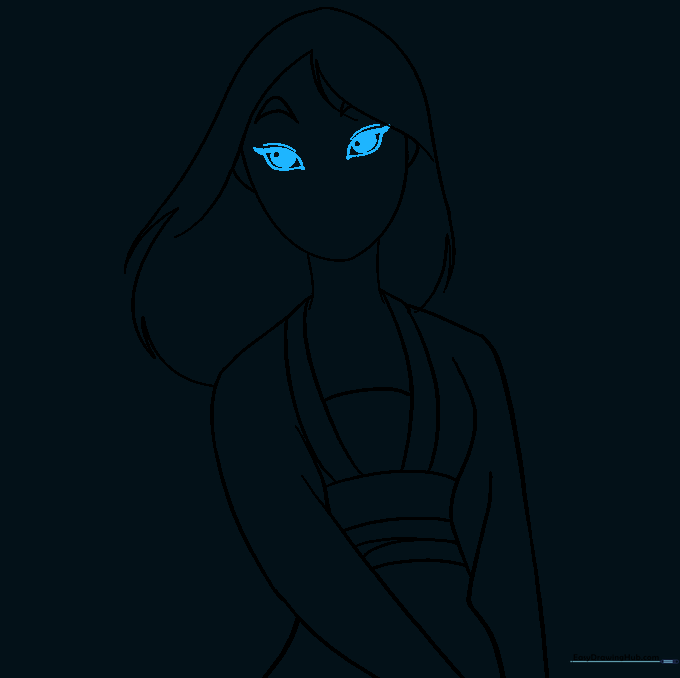
Draw almond-shaped eyes with thick upper lids. Add an oval pupil inside and shade it in. Tip: Leave a tiny white dot in the pupil to create a 'sparkle' effect, which makes the eyes look alive.
Step 9: Final Facial Features

Add a small curve for the nose and a gentle line for the lips. Tip: Keep these features simple and minimal to maintain the clean cartoon style.
Step 10: Bringing Mulan to Life with Color
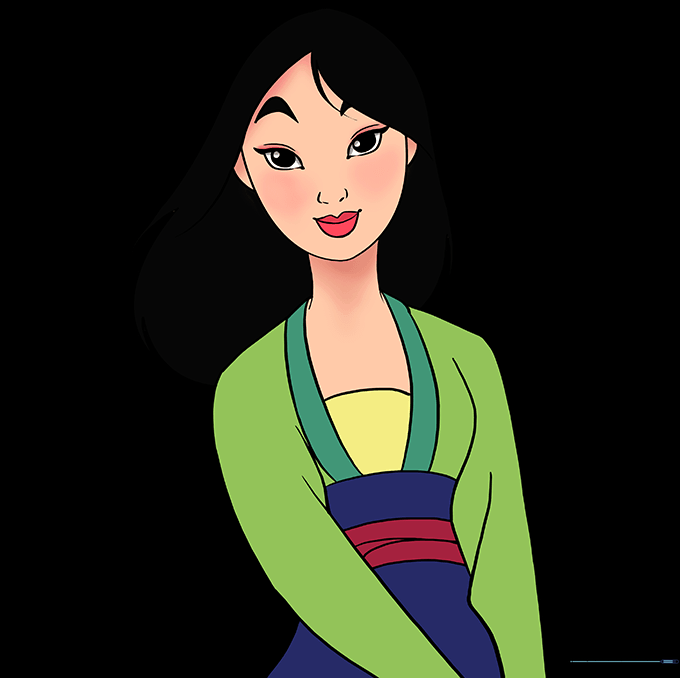
Use black for her hair, and a palette of blue, green, and red for her kimono. Tip: Add small cherry blossom petals around her to capture the iconic movie aesthetic. Remember, art is about expression—don't worry about staying perfectly inside the lines!
More Tutorials


