How to Draw Mr. Skunk: Easy Step-by-Step Guide
Bring the gentle world of Little Bear to life by drawing Mr. Skunk! This tutorial is perfect for young artists ages 5 and up. You will only need a pencil, an eraser, and a piece of paper to capture his friendly expression and classic striped fur.
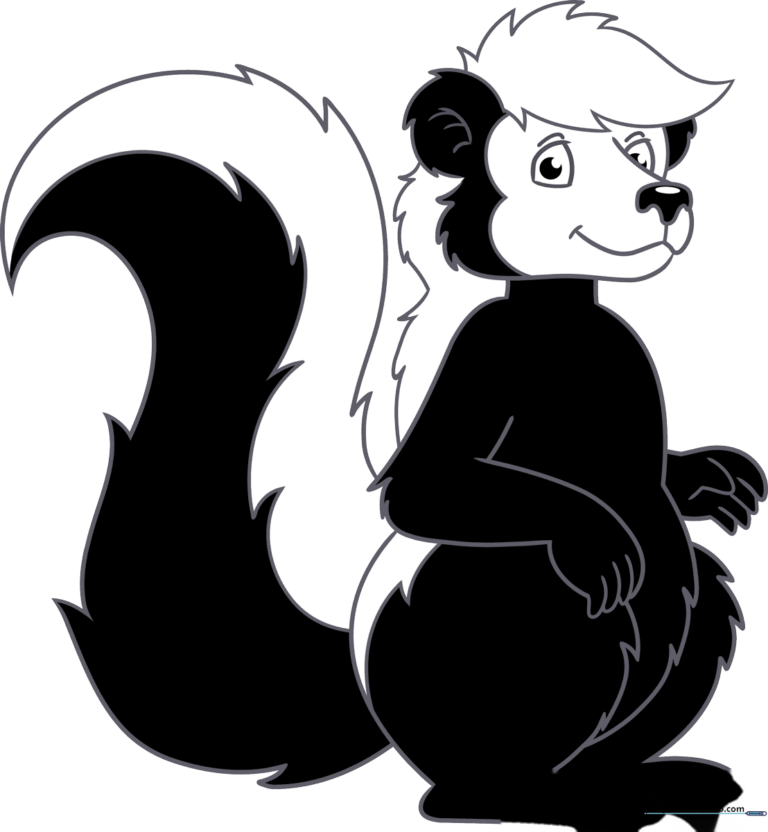
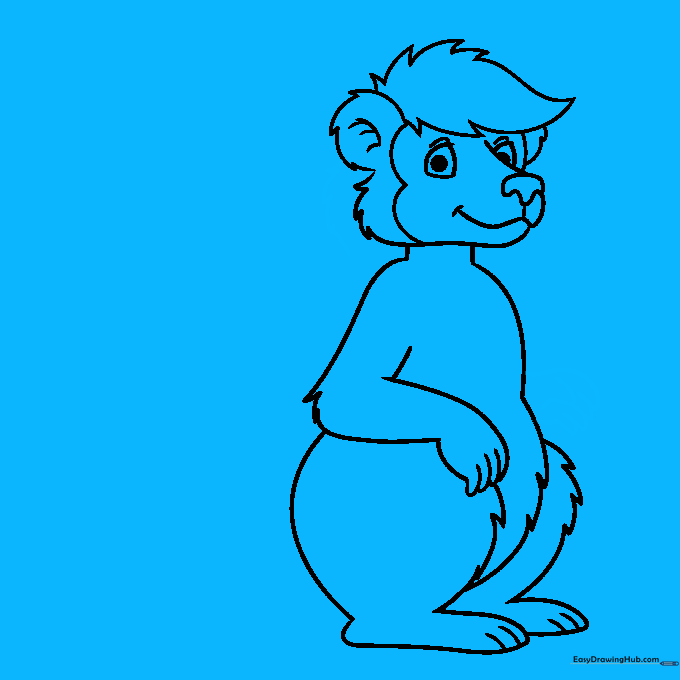
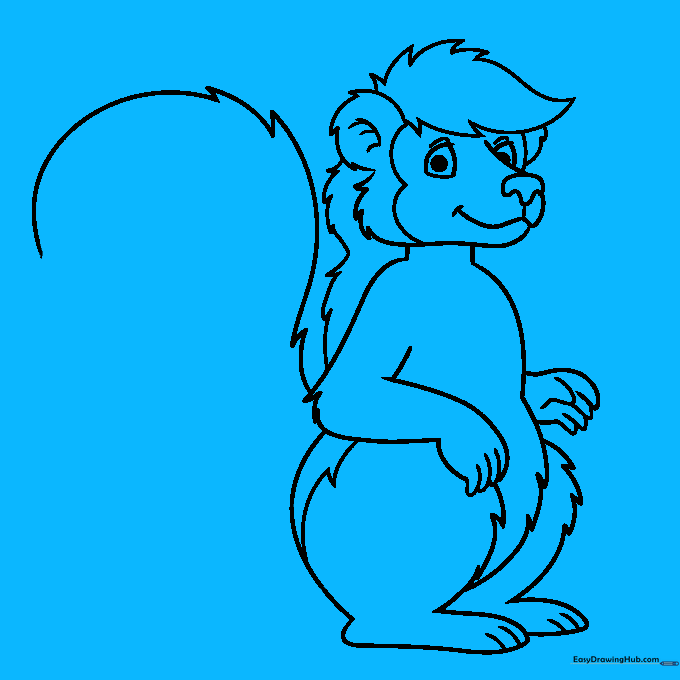
🎯 Final Result
Step-by-Step Instructions
Step 1: Sketching the Snout and Eyes
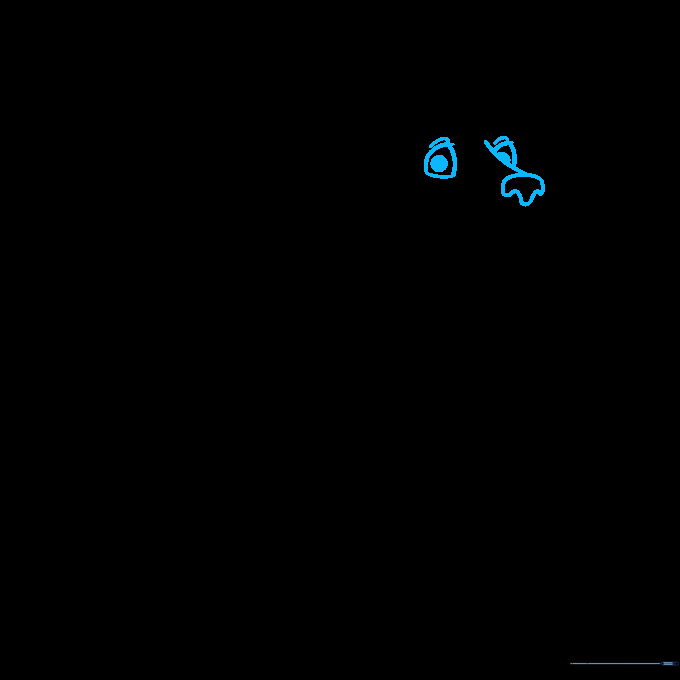
Start with a diagonal line for the snout. Draw a rounded rectangle with a small dip for the nose. For the eyes, sketch two uneven triangles with circles inside. Teacher's Tip: Keep your pencil pressure light so you can easily adjust the shape of the snout if needed.
Step 2: Defining the Ear and Jaw
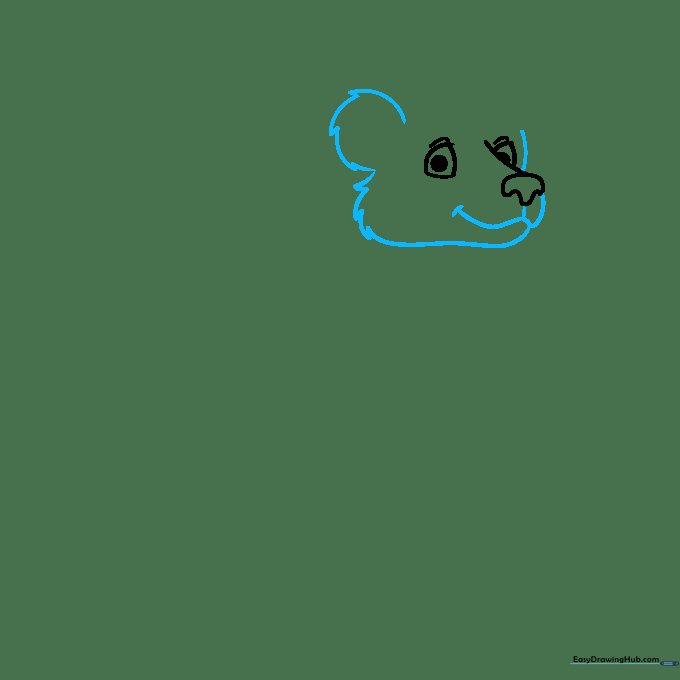
Outline the left ear using a circle with jagged, short strokes to suggest soft fur. Sketch the jawline with a gentle curve. Tip: Use quick, flicking motions with your pencil to make the fur look textured rather than perfectly smooth.
Step 3: Adding Head Details
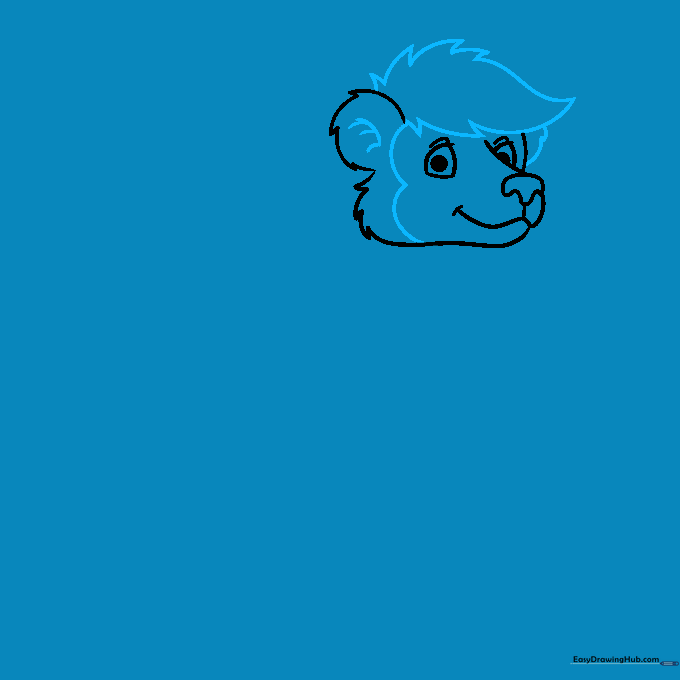
Draw two hill-shaped curves on the left side of the face and add interior lines to the ears. Use loose, sketchy triangles on top of the head to create the fur pattern. Tip: Think of these as little 'V' shapes to give him that classic woodland creature look.
Step 4: Sketching the Neck and Hands
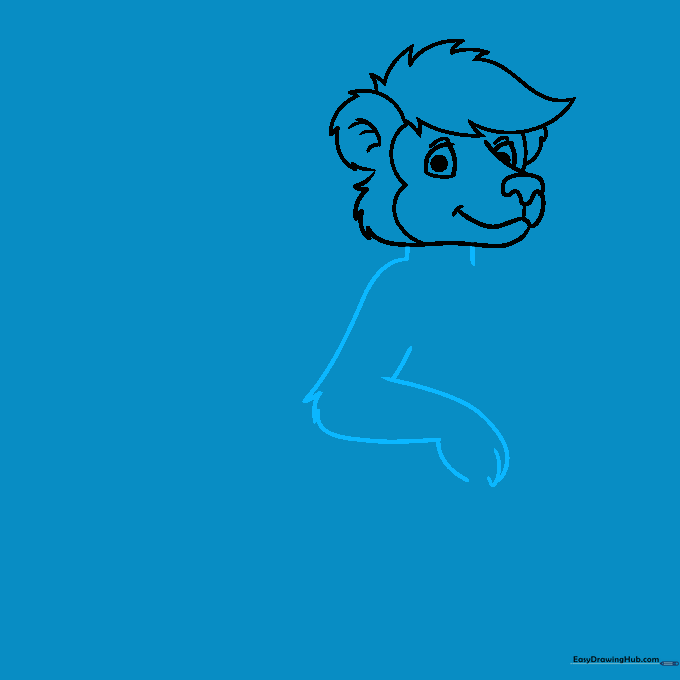
Outline the neck with two vertical lines. Draw a curve on the left that transitions into a diagonal line for the body. Add overlapping shapes for the fingers. Tip: Keep the fingers rounded so they look like soft cartoon paws.
Step 5: Forming the Chest and Leg

Draw a curve for the chest, adding jagged edges to show fur. For the leg, draw a shape that looks like a chicken drumstick. Tip: Don't worry about perfect lines; the 'furry' edges make the drawing look more natural.
Step 6: Adding Feet
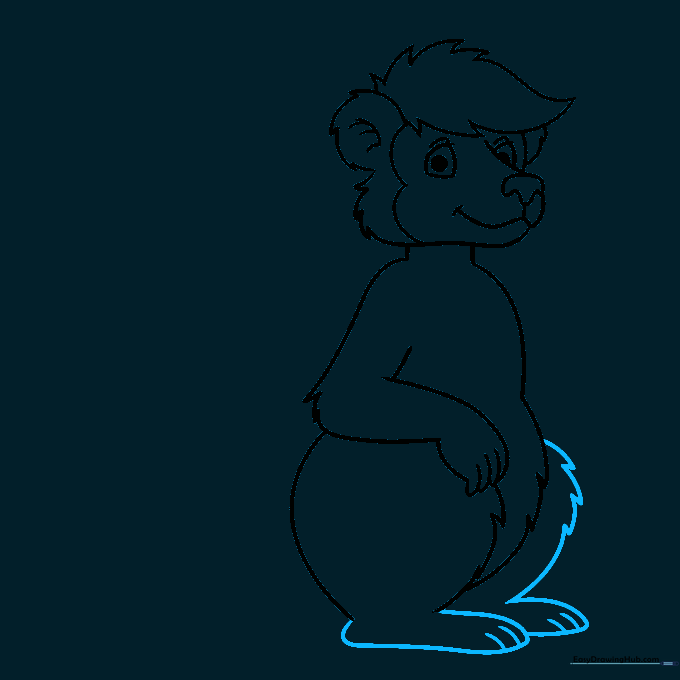
Draw a cylinder shape for the left foot and add small dashes for toes. Repeat this on the right side. Tip: Keep the toes small and close together to maintain the character's proportions.
Step 7: Refining the Hands
Add a loose line behind the head. On the right, draw overlapping cylinders for fingers and a hook shape for the thumb. Tip: Use a curved line to connect the thumb to the palm for a smooth, finished look.
Step 8: Starting the Tail
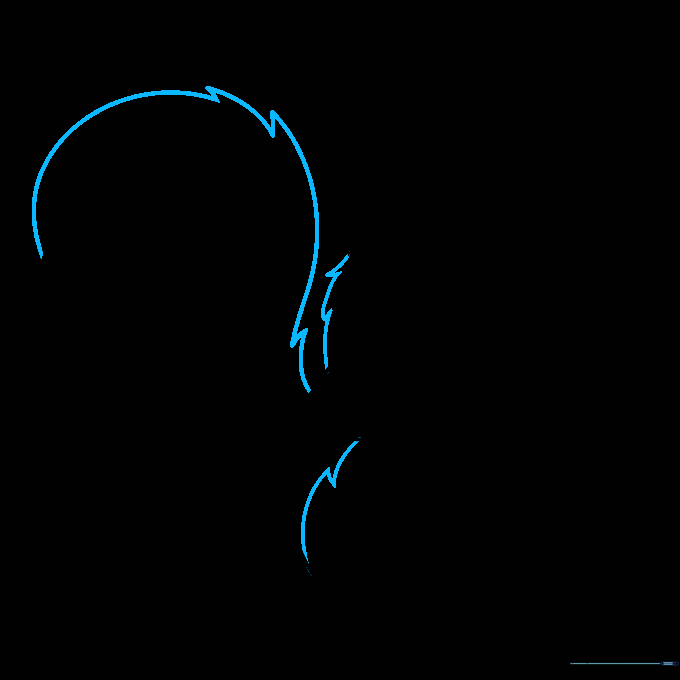
Draw a jagged hook shape to begin the tail. Add extra lines behind the body and leg to show depth. Tip: Skunk tails are big and bushy, so don't be afraid to make your lines nice and wide!
Step 9: Completing the Tail
Finish the tail by adding long, swooping lines that resemble flames. This gives the tail a sense of movement. Tip: Use long, confident strokes to make the tail look fluffy and full.
Step 10: Final Touches and Coloring
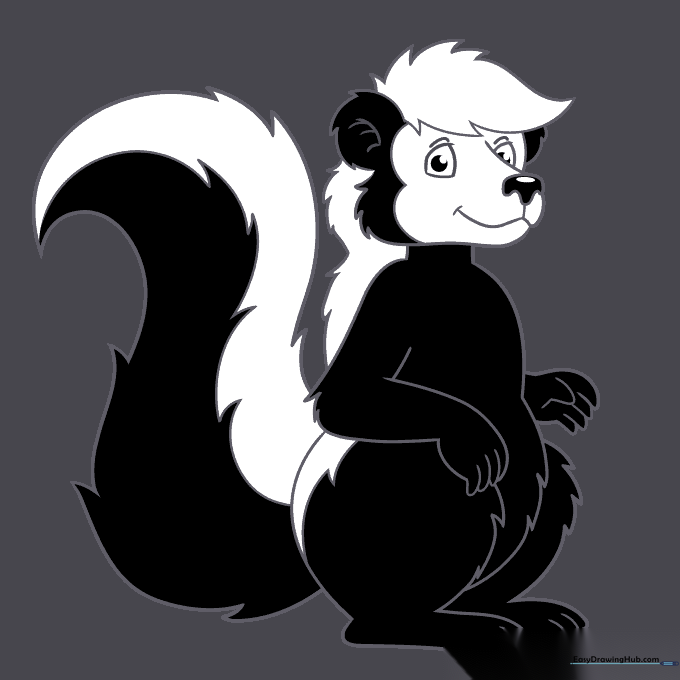
Go over your lines with a black marker or dark pencil. Color the dark parts of his fur black, leaving the rest white. Tip: Use a light grey for the white areas to add a little bit of shading and depth!
More Tutorials


