How to Draw Mr. Bean: Easy 10-Step Cartoon Guide
Bring the iconic Mr. Bean to life with this fun, screen-free drawing activity perfect for ages 7 and up. You will need a pencil, an eraser, and a piece of paper to capture his classic, expressive look. Follow these simple steps to master his unique facial features and signature suit.
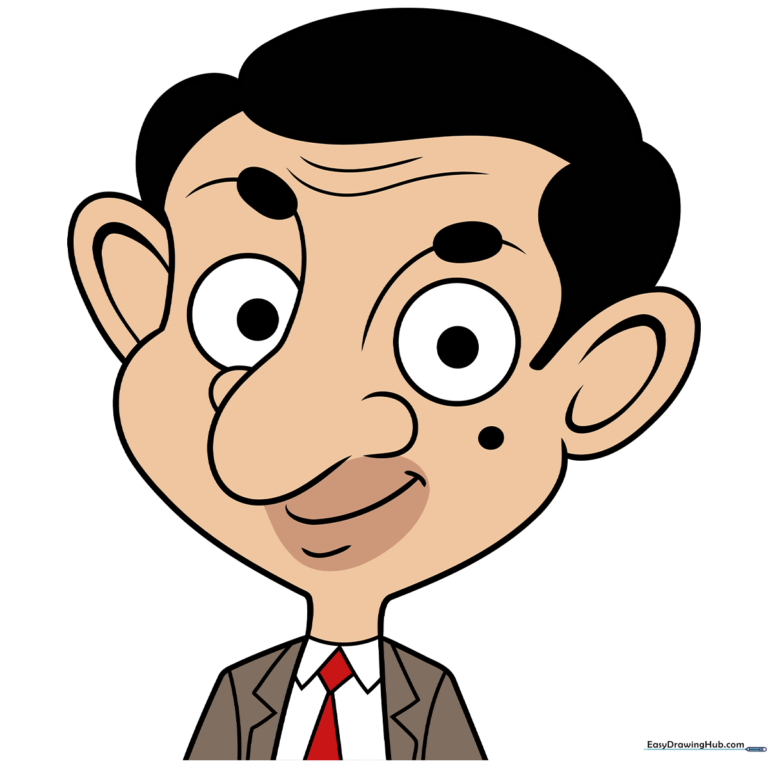
🎯 Final Result
Step-by-Step Instructions
Step 1: Sketching the Eyes and Nose

Start by drawing a large circle for the first eye with a smaller pupil inside. Add two 'C' or 'U' shapes for the nose. Teacher's Tip: Keep the nose small and centered; it’s the anchor for the rest of his face!
Step 2: Adding the Second Eye
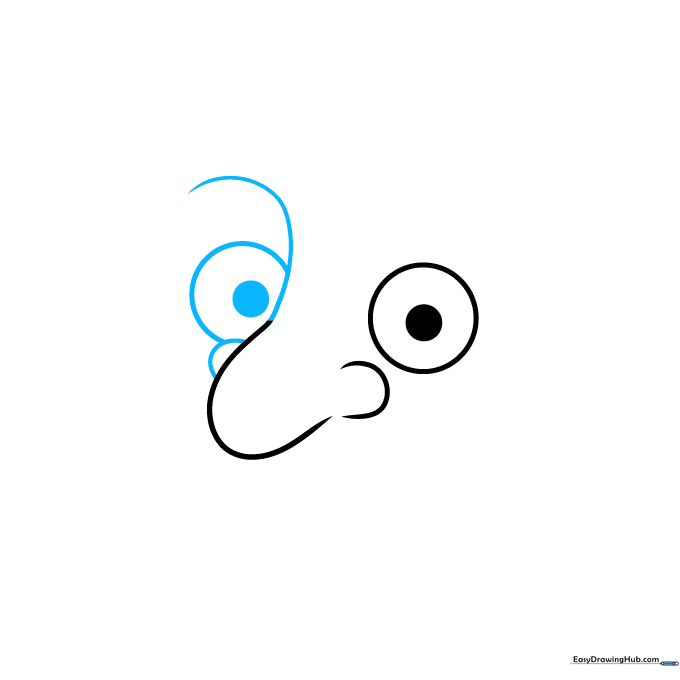
Extend the nose line upward to create the brow ridge, then add the second eye. Teacher's Tip: Ensure the eyes are roughly the same size to keep his face balanced.
Step 3: Brows and Mouth

Draw the iconic thick eyebrows and a simple curved line for his smiling mouth. Teacher's Tip: Use short, quick strokes for the eyebrows to give them that 'hairy' texture.
Step 4: Defining the Face Shape

Outline the face and neck with long, smooth curves. Don't forget his signature mole! Teacher's Tip: A light touch here helps create a natural, rounded jawline.
Step 5: Ears and Hairline

Draw the ears using 'C' shapes and start the hairline. Teacher's Tip: Make the ears slightly large to match his cartoon proportions.
Step 6: Completing the Hair
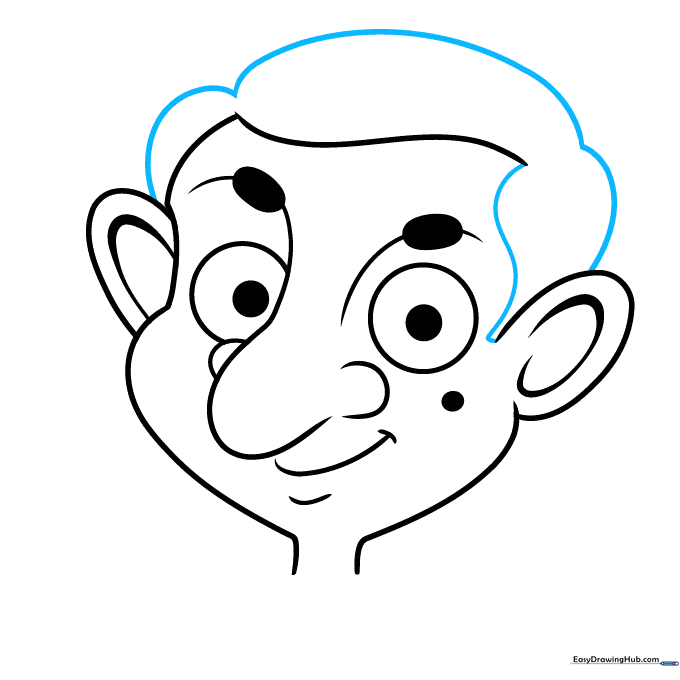
Use connected curved lines to finish the hair. Teacher's Tip: Keep the hair messy and slightly uneven for that authentic Mr. Bean look.
Step 7: Wrinkles and Shoulders
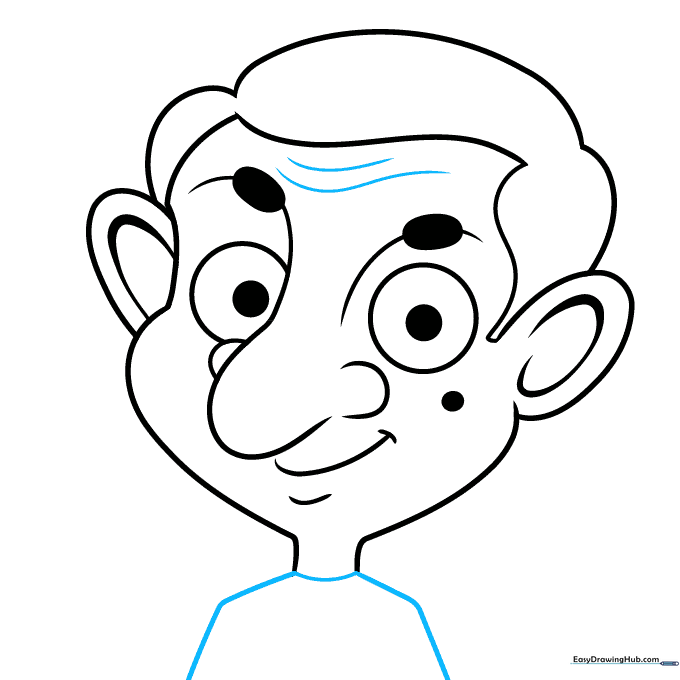
Add forehead wrinkles and sketch the shoulders. Teacher's Tip: Use very light lines for wrinkles so they look subtle, not harsh.
Step 8: Suit and Tie Details
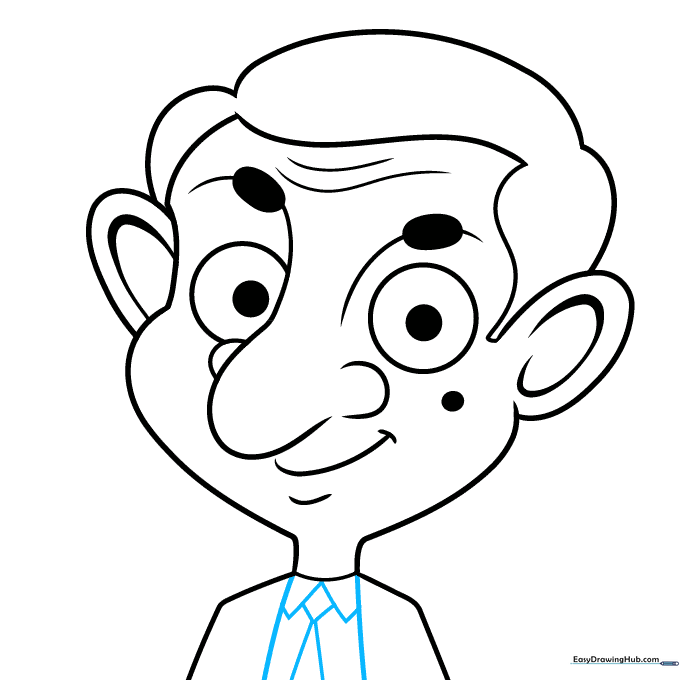
Draw the jacket opening, collar, and necktie. Teacher's Tip: Use a ruler if you struggle with straight lines for the jacket lapels.
Step 9: Final Touches
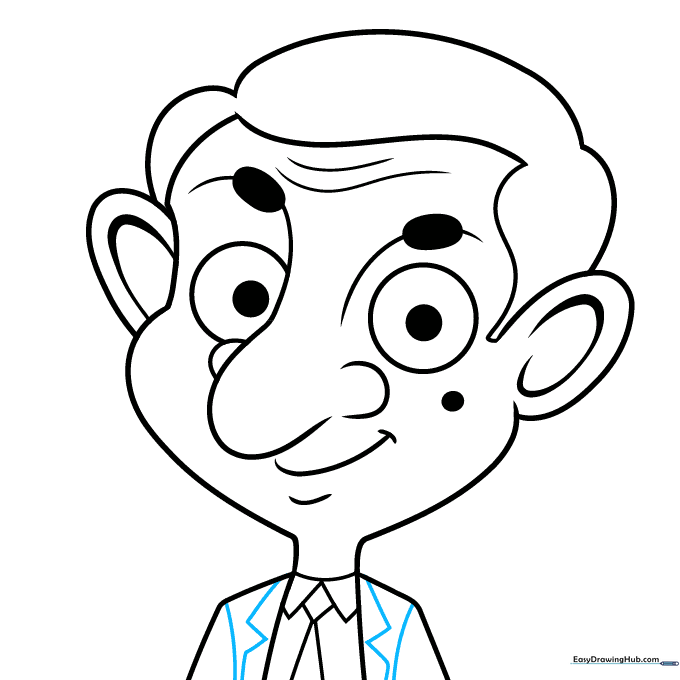
Add lapel and sleeve seam details with zigzag lines. Teacher's Tip: These small details add depth to your character's clothing.
Step 10: Coloring
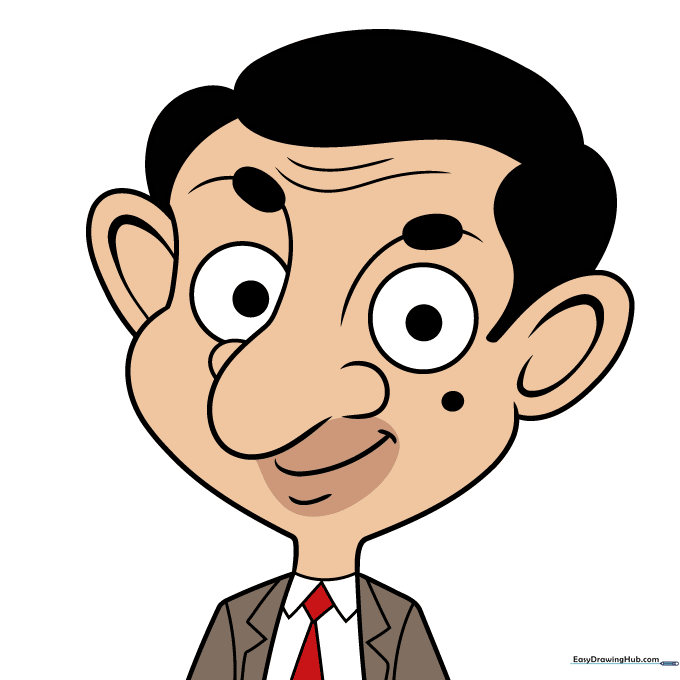
Fill in the hair with black and the suit with brown. Teacher's Tip: Use light pressure with your brown pencil to create a nice, even tone for the jacket.
More Tutorials


