How to Draw a Mother’s Day Heart: Easy 10-Step Guide
Looking for a screen-free way to show Mom some love? This tutorial is perfect for artists ages 5 and up to create a personalized, hand-drawn heart banner. All you need is a pencil, an eraser, and your favorite markers or crayons to bring this design to life.
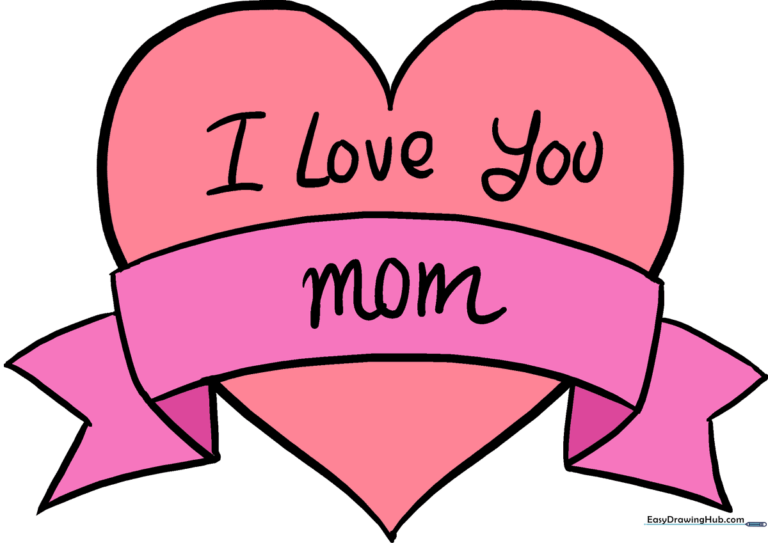
🎯 Final Result
Step-by-Step Instructions
Sketch the Heart Base

Draw a classic heart shape using two symmetrical curved lines that meet at a point at the top and bottom. Teacher's Tip: Keep your pencil pressure light; this helps you fix the shape if it looks a bit lopsided on your first try!
Outline the Banner

Draw two parallel, horizontal curved lines across the center of the heart. This creates the ribbon banner where you'll write your message. Tip: Try to keep the distance between the two lines consistent for a professional look.
Close the Banner Ends

Connect the two horizontal lines at each end with a short, curved stroke. This makes the banner look like it is wrapping around the heart.
Create the Ribbon Fold
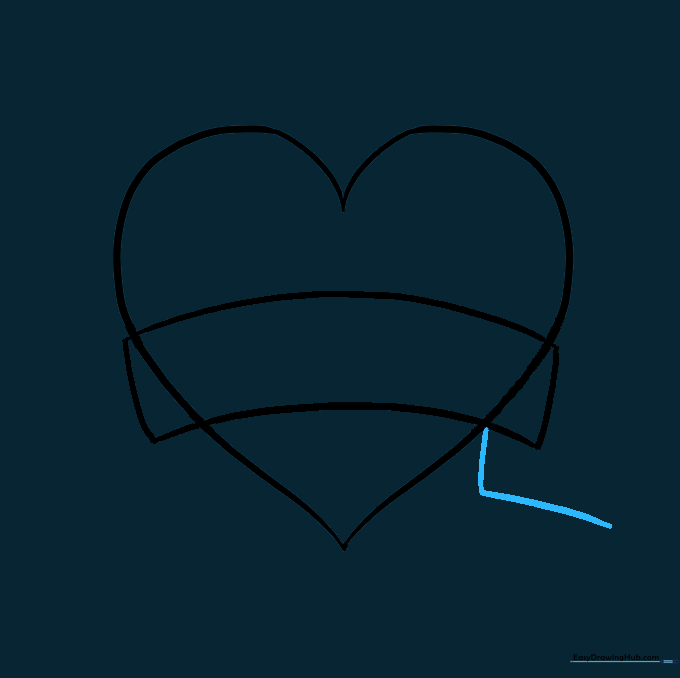
Draw a short vertical line downward from the banner edge, then a perpendicular line to start the ribbon tail. This adds depth to your drawing.
Finish the First Ribbon Tail

Extend a curved line outward and connect it with a 'V' shape to finish the ribbon end. Tip: Think of this as a 'fishtail' cut on a piece of fabric.
Start the Second Ribbon Tail

Repeat the process on the right side by extending a vertical line and a longer curved line. Symmetry is key here, so take your time matching the length of the first tail.
Complete the Second Ribbon Tail

Use a 'V' shaped line to finish the right ribbon end, mirroring the left side. Your banner should now look balanced and complete.
Clean Up Your Sketch

Carefully erase the heart lines that are hidden behind the banner. This makes the banner look like it is sitting on top of the heart.
Add Depth and Text
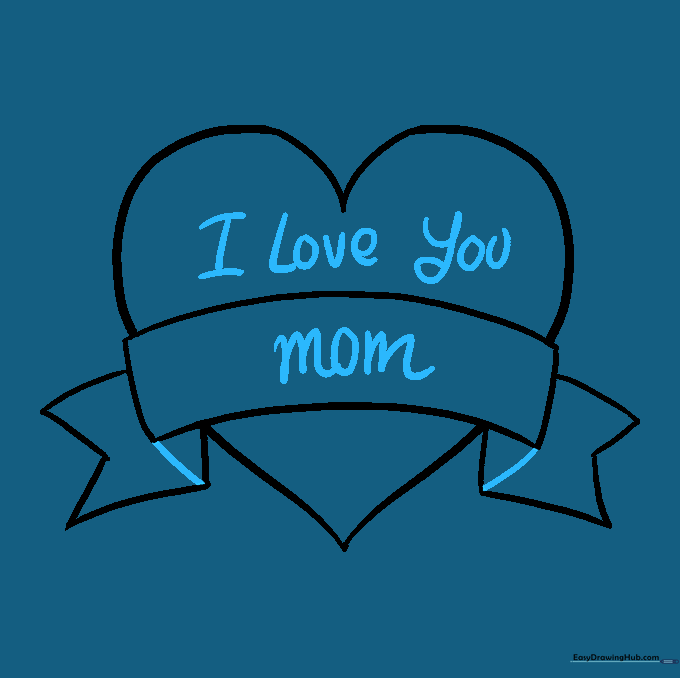
Draw small curved lines to show the folds in the banner. Then, write 'Mom' in the banner and 'I Love You' in the heart. Use a steady hand for the lettering!
Add Color
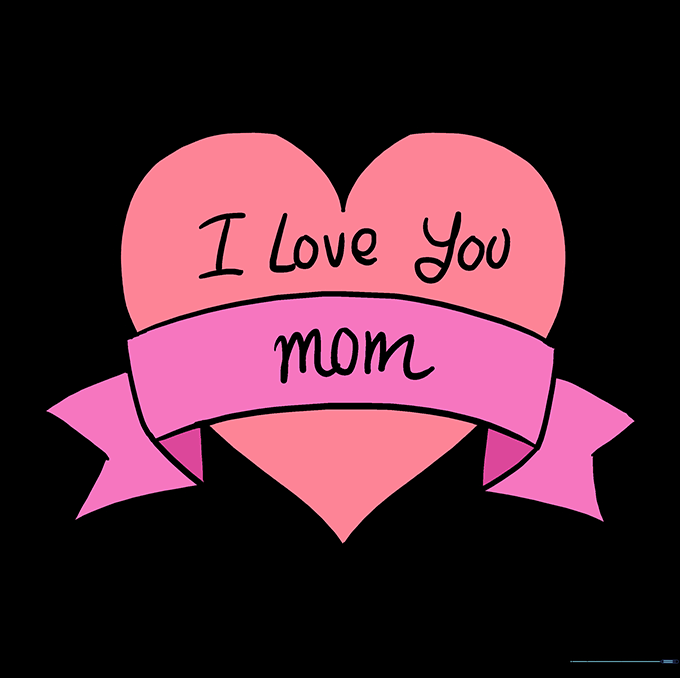
Bring your drawing to life with bright reds, pinks, and purples. Remember, it's the thought that counts, so have fun with your color choices!
More Tutorials


