How to Draw Mokoko: Easy Step-by-Step Labubu Guide
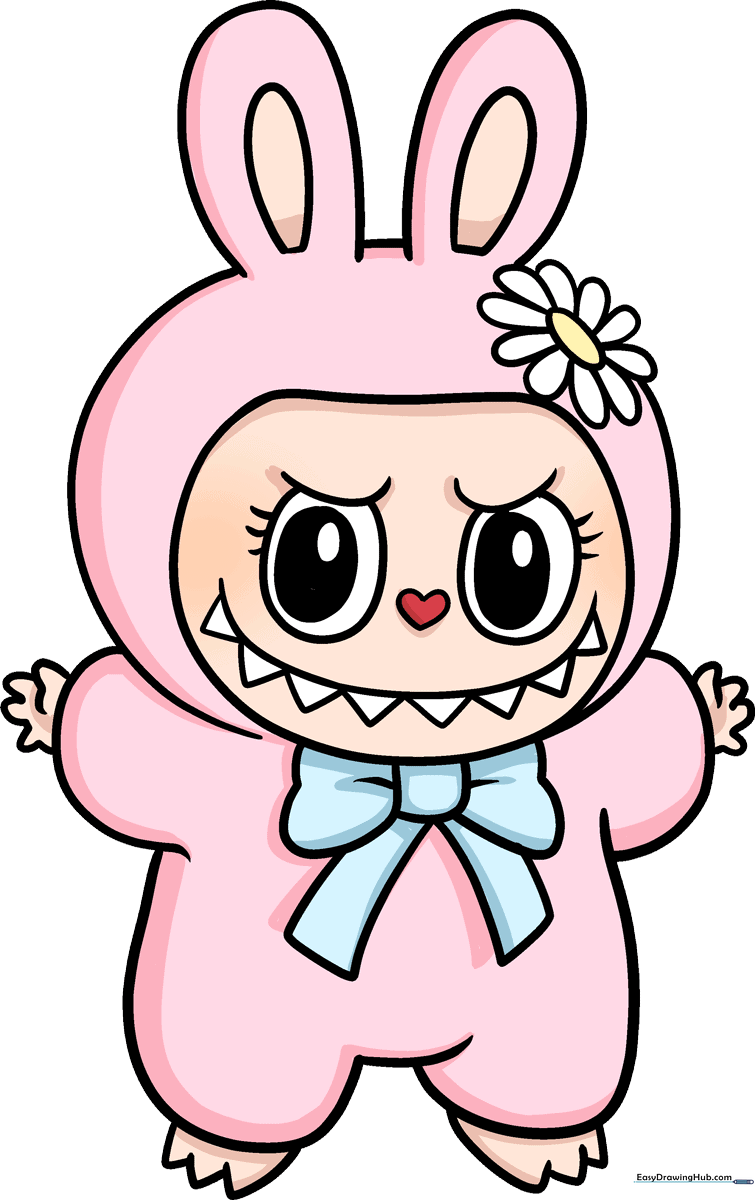
Bring the adorable Mokoko from The Monsters Labubu to life with this screen-free drawing activity. Designed for ages 5 and up, this tutorial helps children practice shape recognition and steady hand control. All you need is a pencil, an eraser, and your favorite coloring supplies to create your own character masterpiece.
🎯 Final Result
Step-by-Step Instructions
Step 1: Sketching the Expressive Eyes
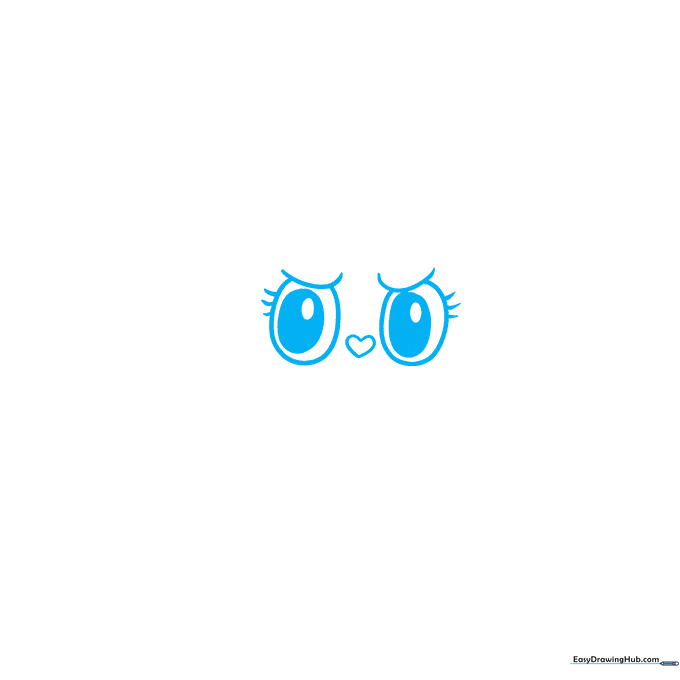
Start by drawing two large, rounded ovals for the eyes, topped with soft, curved brow lines. Teacher's Tip: Keep your pencil pressure light here so you can easily adjust the symmetry before committing to the final lines.
Step 2: Adding the Friendly Smile
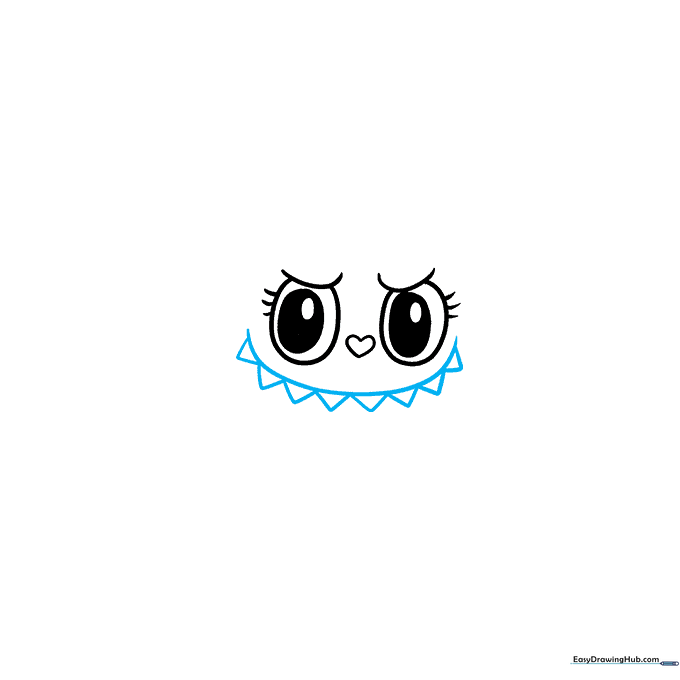
Draw a wide, gentle curve for the mouth, then add small triangles underneath to represent those cute, sharp teeth. Tip: Remind your artist that the teeth don't need to be perfectly uniform—a little variation makes the character look more playful!
Step 3: Shaping the Face

Outline the rounded, slightly flattened face with a smooth, continuous curved line. Place a small oval above the head to serve as the center point for the flower accessory. Tip: Use a 'ghosting' motion with your hand before touching the paper to get the curve just right.
Step 4: Drawing the Flower Petals
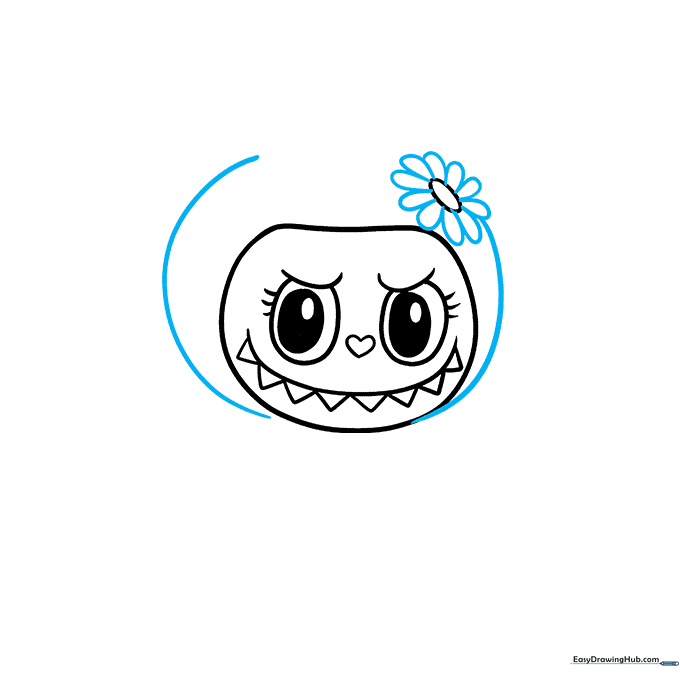
Create the flower by drawing 'U' shaped petals around the center oval. Connect these to the head with a smooth line. Tip: Try to keep the petals roughly the same size to maintain the character's balanced look.
Step 5: Adding the Ears
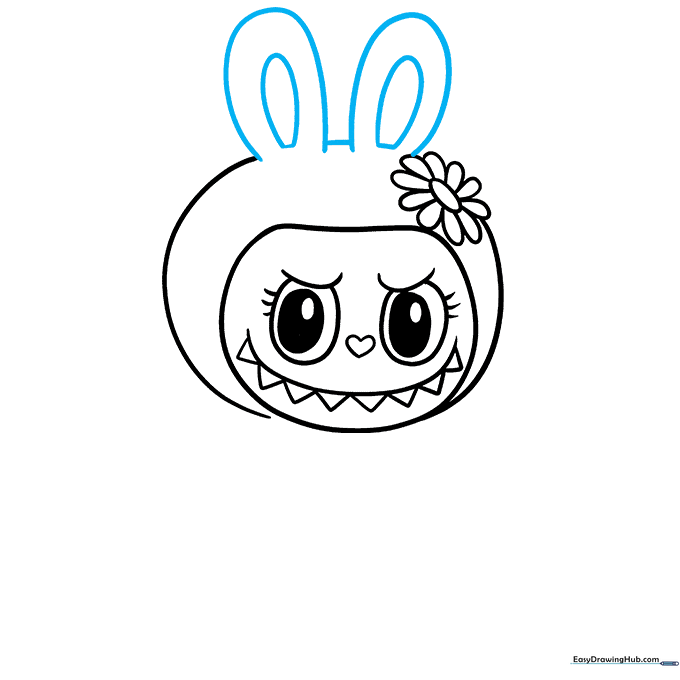
Draw the long, rabbit-like ears using tall 'U' shapes. Add a smaller flattened oval inside each for depth. Tip: Connect the ears with a short, soft curve to make the head look like one solid piece.
Step 6: Sketching the Arms

Draw the outstretched arms using thick, curved lines. Use small, overlapping strokes to define the hands. Tip: Think of the arms as soft tubes—keep the lines rounded rather than sharp to match the character's plush toy aesthetic.
Step 7: Defining the Legs
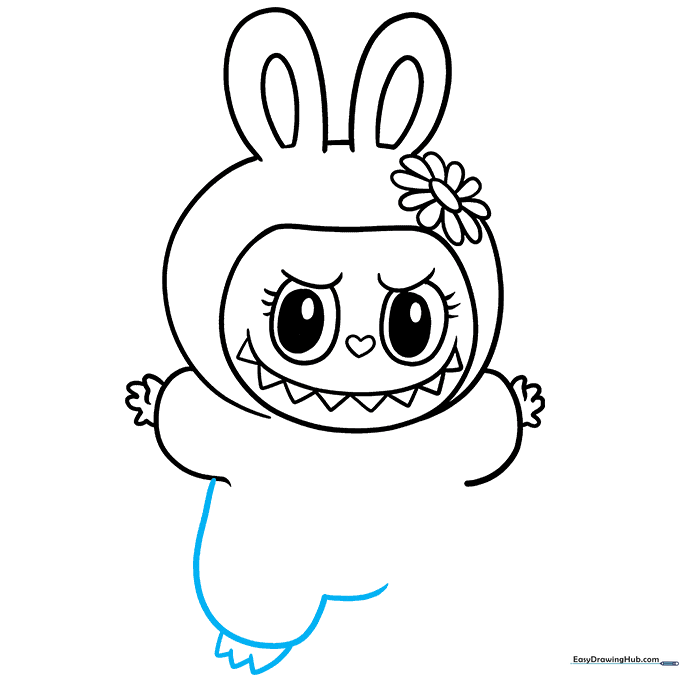
Use a long, sweeping curve to create the side of the body and the first leg. Finish the foot with short, angled lines that meet at a point. Tip: Ensure the leg connects smoothly to the body to keep the character looking balanced.
Step 8: Completing the Lower Body
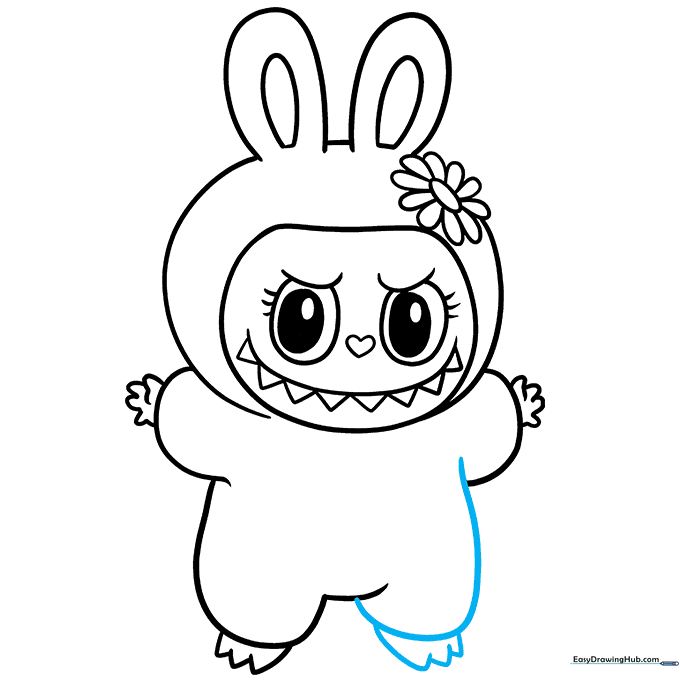
Mirror the previous step to draw the second leg and foot. This completes the base of the character's body. Tip: Check that both feet are at the same level so your character looks like it's standing firmly on the ground.
Step 9: Adding the Bow Tie
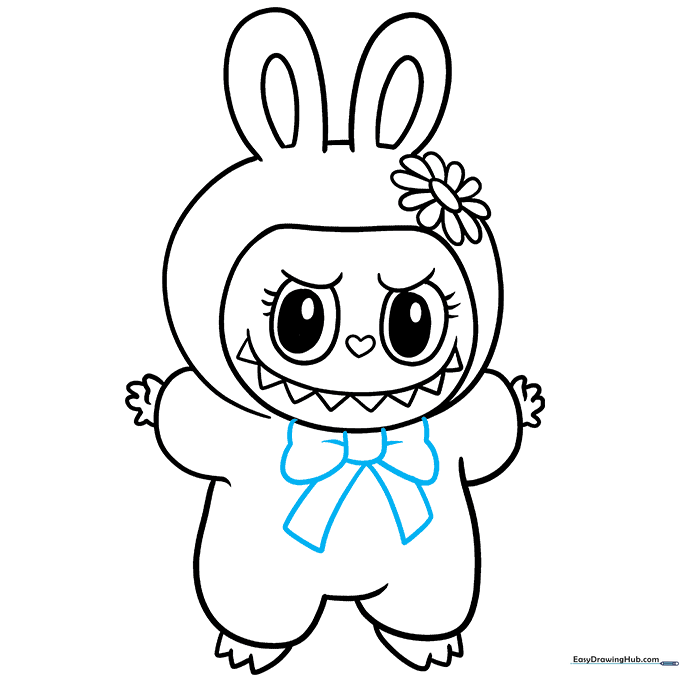
Draw a bow around the neck using overlapping curved lines for the knot and the loops. Add two small tails hanging down. Tip: The bow adds a great focal point—don't worry if the lines overlap, as you can erase the extra marks later.
Step 10: Bringing Mokoko to Life with Color
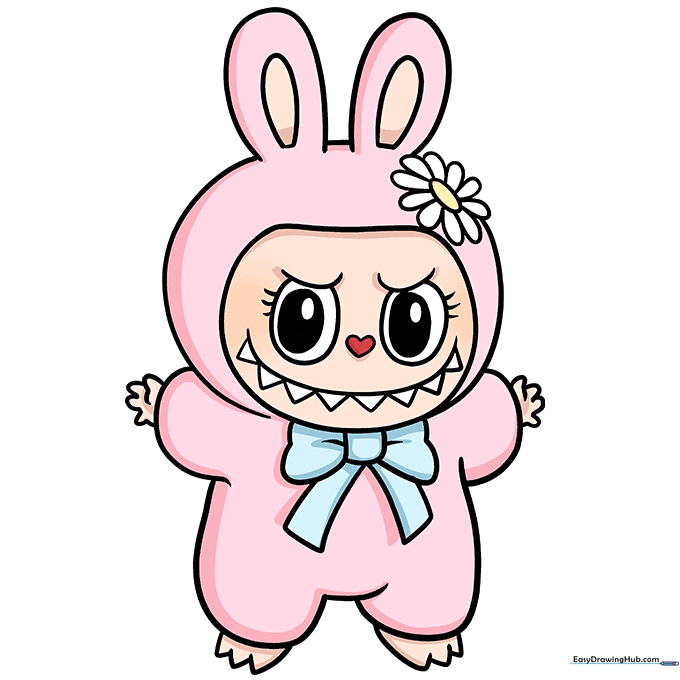
Your outline is ready! Use pink for the fur, white for the belly, a bright blue-green for the bow, and a pop of red for the nose. Tip: Use light, circular coloring motions to keep the texture looking soft and fuzzy.
More Tutorials


