How to Draw Mittens: Easy 10-Step Guide for Kids
Ready to get cozy? This tutorial is perfect for artists ages 5 and up who want to practice drawing winter gear. All you need is a pencil, an eraser, and your favorite coloring supplies to bring these warm mittens to life.
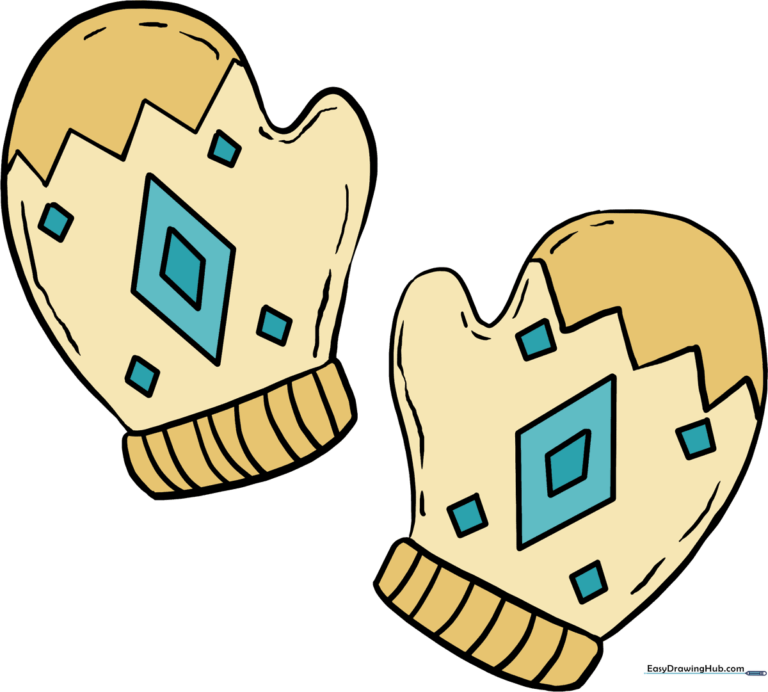
🎯 Final Result
Step-by-Step Instructions
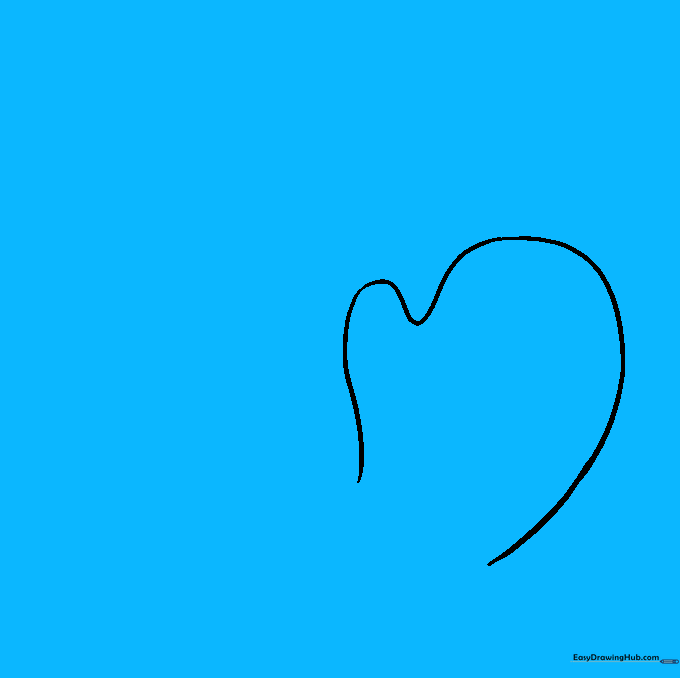
Step 1: Sketching the First Mitten

Draw a long, curved line with two upward-facing lobes—one small for the thumb and one large for the fingers. Teacher's Tip: Keep the shape rounded and soft to make the mitten look warm and fuzzy.
Step 2: Adding the Second Mitten
Repeat the process to draw a second mitten shape next to the first. Tip: Try to mirror the curve of the first one so they look like a matching pair.
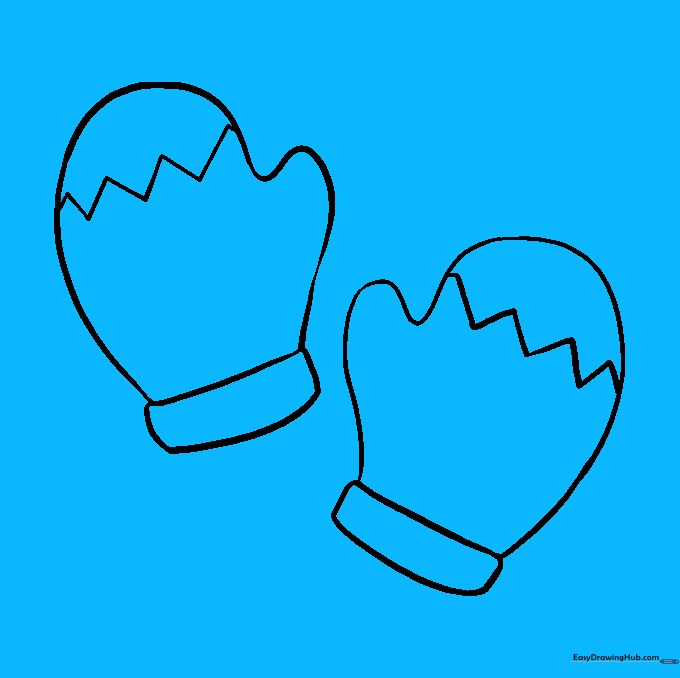
Step 3: Defining the Wrist Hems
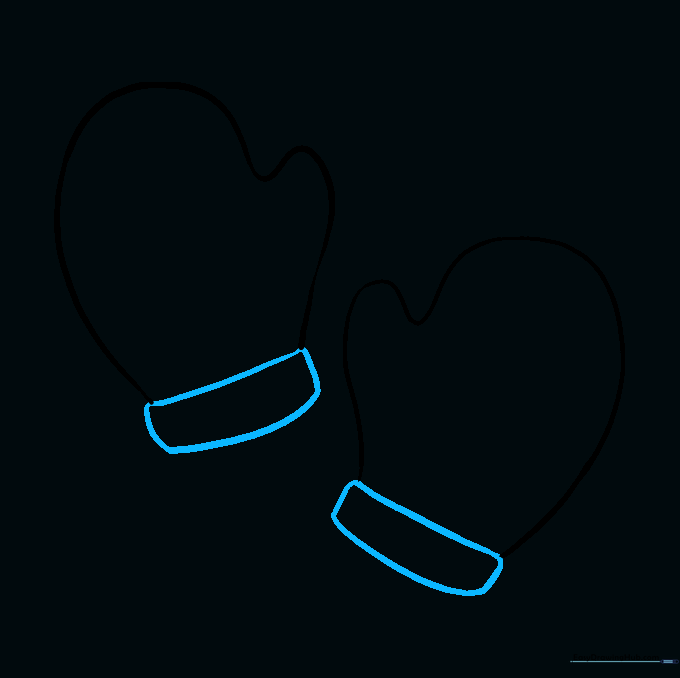
Connect the bottom ends of each mitten with a slightly curved line, then add a curved rectangle below it to create the wrist cuff. Tip: Rounded corners on the cuff make the mittens look soft and comfortable.
Step 4: Adding Zigzag Patterns
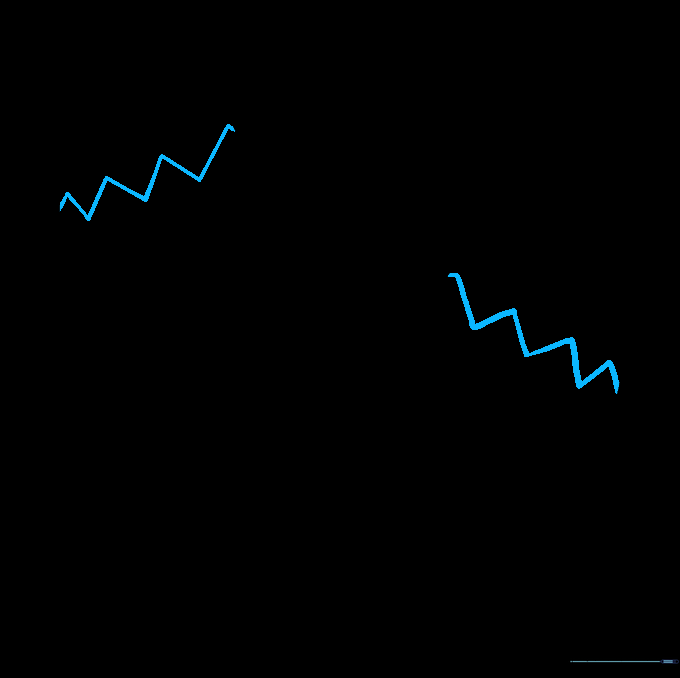
Draw a fun zigzag line across the finger area of each mitten. Tip: Use a steady hand to make your zigzags even, or keep them loose for a hand-knitted look.
Step 5: Drawing the First Diamond
Draw a large diamond in the center of the first mitten, then nest a smaller diamond inside it. Tip: This creates a beautiful 'quilted' effect.
Step 6: Matching the Diamond
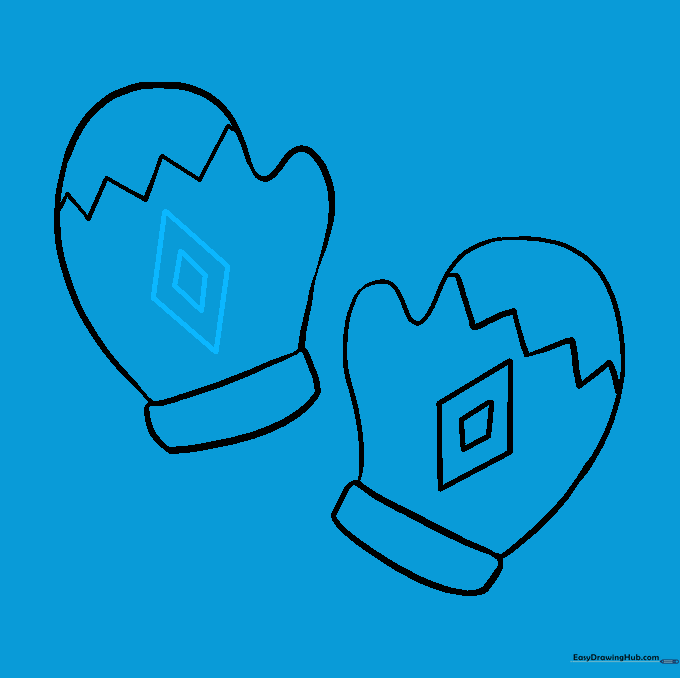
Repeat the diamond-within-a-diamond pattern on the second mitten. Tip: Try to keep the size similar to the first one for a balanced look.
Step 7: Adding Decorative Accents

Draw four small diamonds surrounding the large center diamond on the first mitten. Tip: Take your time—small shapes are great for practicing pencil control!
Step 8: Finalizing Patterns and Texture
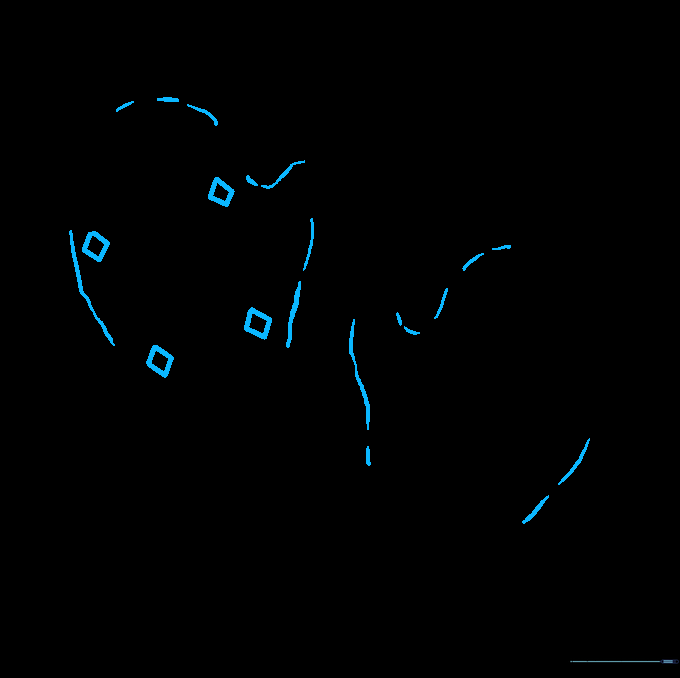
Add the four small diamonds to the second mitten. Then, add curved lines inside the edges of both mittens to give them a rounded, 3D look. Tip: These lines suggest the thickness of the wool.
Step 9: Ribbing the Hems

Add short, vertical lines to the wrist cuffs to represent ribbing. Tip: Space them evenly to make the cuffs look like real knitted fabric.
Step 10: Adding Color
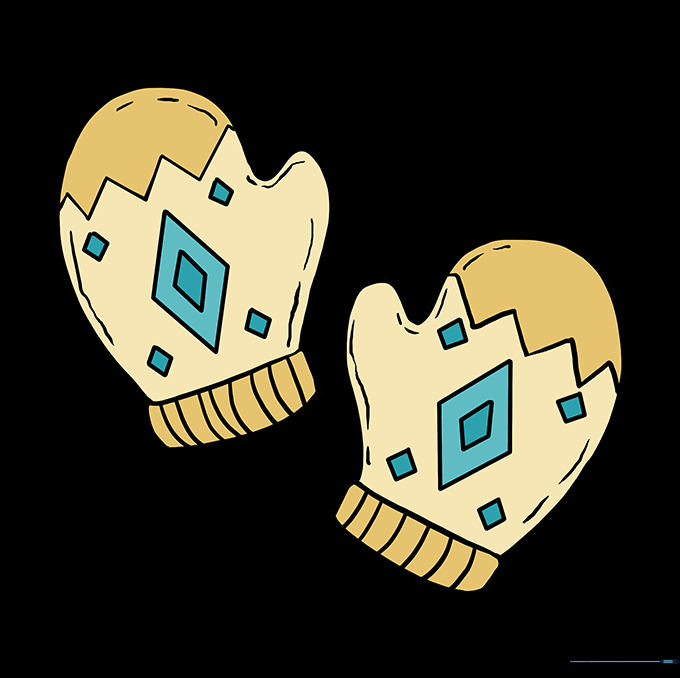
Time to color! Use bright, festive colors to make your mittens pop. Tip: Try using two shades of the same color to add depth and shadow.
More Tutorials


