How to Draw Tails from Sonic: Easy Step-by-Step Guide
Ready to bring Sonic’s best friend to life? This tutorial is perfect for young artists ages 6+ looking to master cartoon character proportions. Grab a pencil, an eraser, and some paper, and follow these simple steps to build Tails from basic shapes to a finished masterpiece.
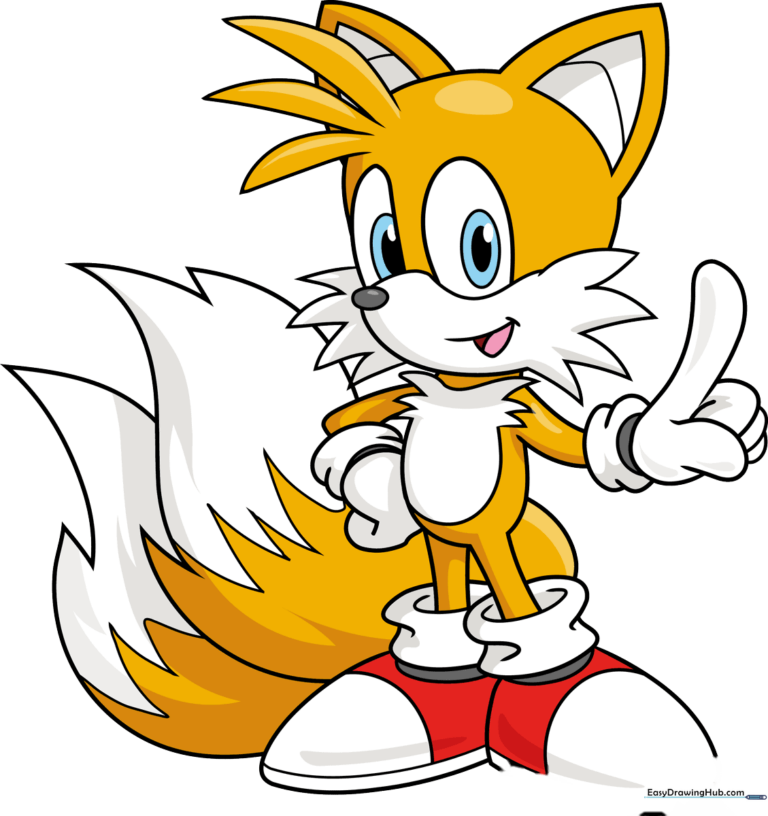
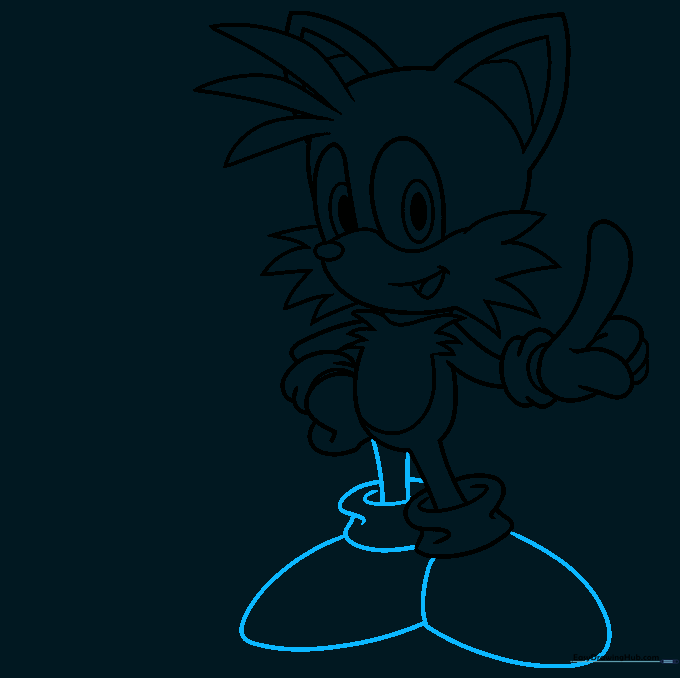
🎯 Final Result
Step-by-Step Instructions
Step 1: Sketching the Face and Snout

Start by drawing a small oval for the nose, then add curved lines above and below to create the snout. For the eyes, draw two large 'U' shapes. Teacher's Tip: Keep your pencil lines light so you can easily erase any overlapping marks later.
Step 2: Defining the Mouth and Cheek Fur
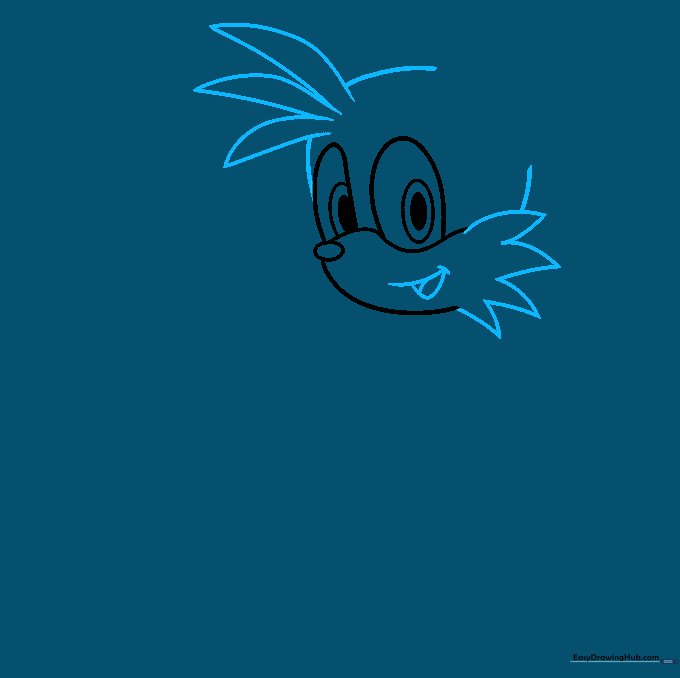
Use overlapping curved lines to define the mouth, including the tongue and corner dimple. Add spikey, zigzag lines for the cheek fur and forehead. Teacher's Tip: Use quick, flicking motions with your wrist to make the fur look sharp and natural.
Step 3: Adding Ears and Head Shape
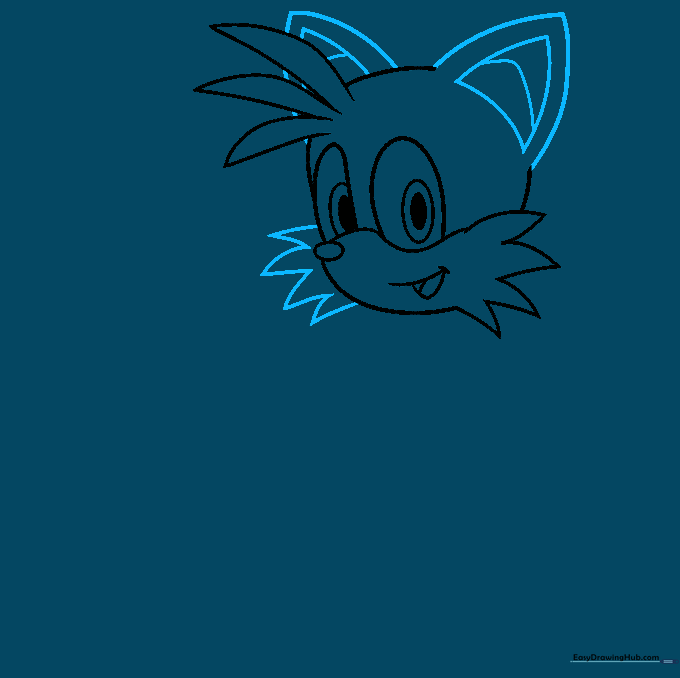
Draw the opposite cheek tuft and two large triangular ears. Add a smaller triangle inside each ear for depth. Teacher's Tip: Make sure the ears are symmetrical to give Tails his iconic look.
Step 4: Sketching the Torso and Belly
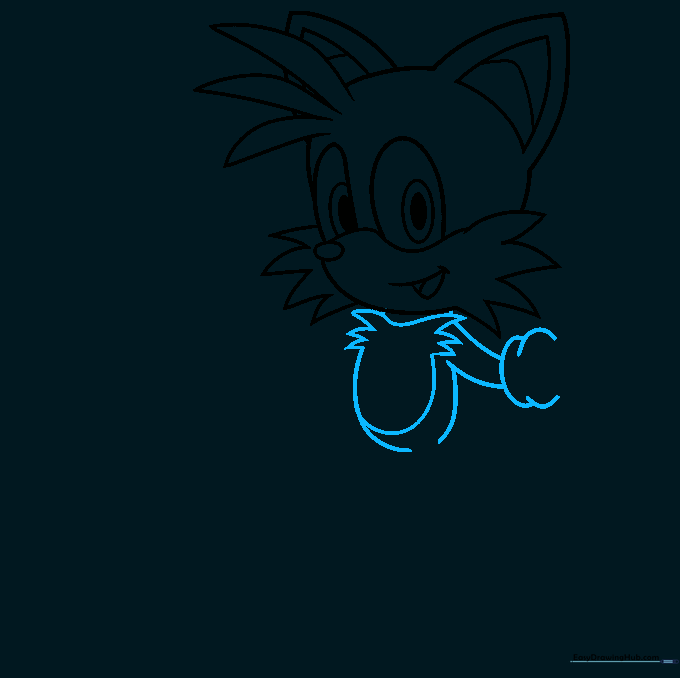
Draw the pineapple-shaped belly fur using a large 'U' curve. Connect the head to the chest with short lines for the neck, then outline the torso and arm. Teacher's Tip: Think of the belly as a soft, rounded shape to make him look friendly.
Step 5: Drawing the First Hand

Carefully draw the hand using overlapping curved lines for the fingers. Add two lines to start the second arm. Teacher's Tip: If the fingers look tricky, draw them as small, rounded sausages first, then refine the curves.
Step 6: Adding Legs and Socks
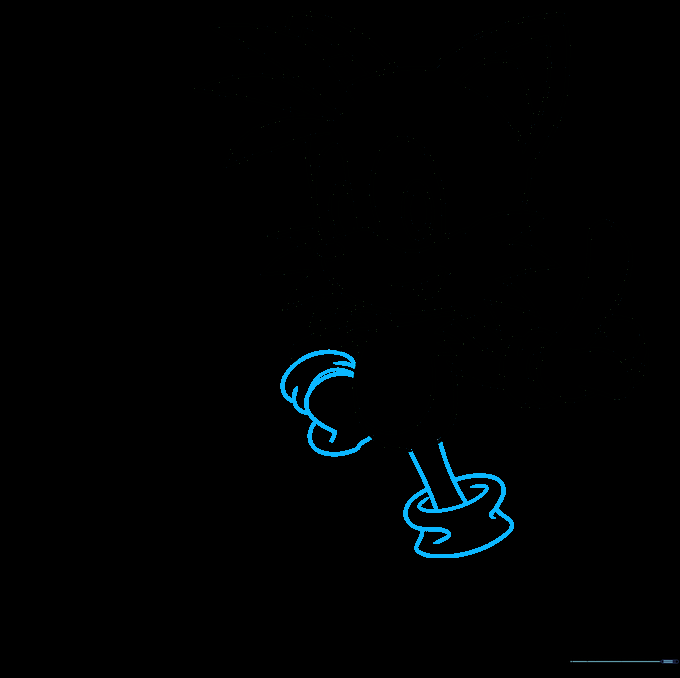
Draw the second hand and cuff. Extend parallel lines from the torso to create the leg, connecting them with a 'C' curve for the sock top. Teacher's Tip: Keep the lines for the legs parallel to ensure he looks like he's standing straight.
Step 7: Drawing the Shoes
Complete the second leg and sock, then sketch the partial oval-shaped shoes. Teacher's Tip: Tails' shoes are chunky, so don't be afraid to make them look a bit wide and sturdy.
Step 8: Sketching the First Tail

Now for the best part! Use curved lines of varying lengths to sketch the first tail, allowing the lines to meet at sharp points. Teacher's Tip: Tails' tails are fluffy, so make the curves nice and wide.
Step 9: Adding the Second Tail
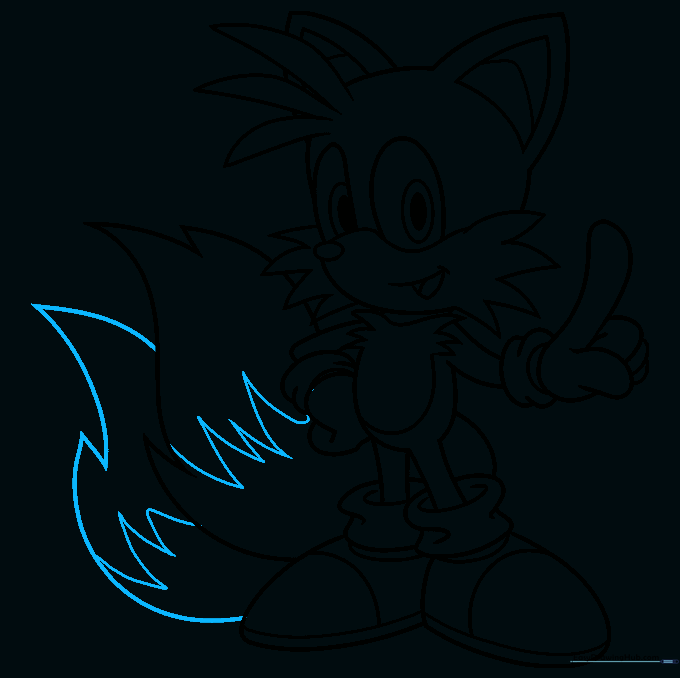
Draw the second tail below the first using similar sharp-pointed curves. Add a zig-zag line across each tail for detail. Teacher's Tip: The zig-zag line helps show the color separation between the main fur and the tail tip.
Step 10: Bringing Tails to Life with Color

Time to color! Use a warm yellowish-brown for the fur, white for the belly and tail tips, and bright red for the shoes. Teacher's Tip: Use light pressure with your crayons or markers to keep the colors smooth and vibrant.
More Tutorials


