How to Draw Miles Morales Spider-Man: Easy 10-Step Guide
Ready to bring Miles Morales to life? This tutorial is perfect for young artists ages 7+ who want to master superhero proportions. Grab a pencil, an eraser, and a black marker to follow along as we break down his iconic suit and dynamic pose into simple, manageable shapes.
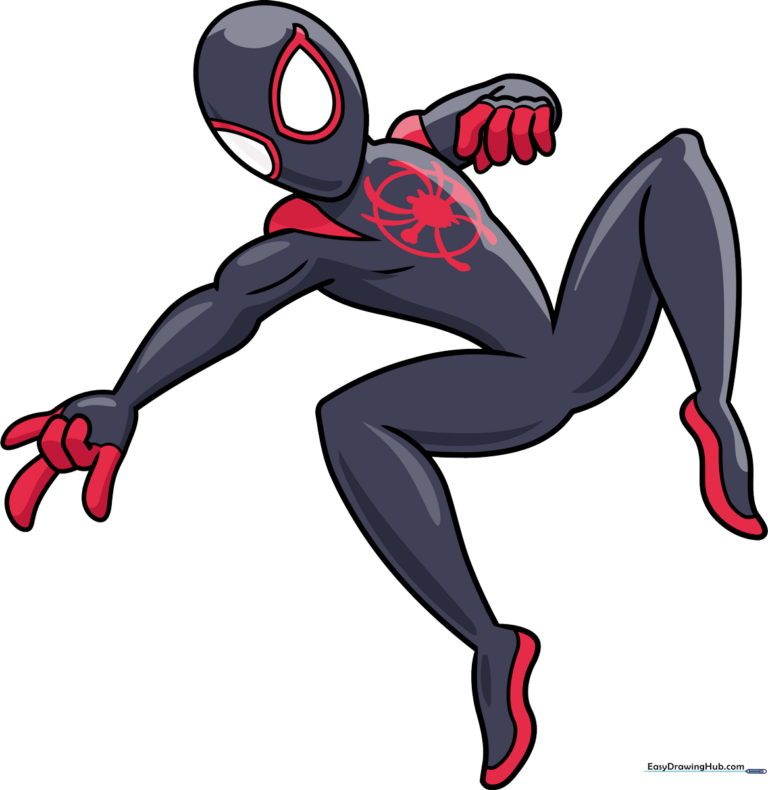
🎯 Final Result
Step-by-Step Instructions
Step 1: Sketching the Head and Eyes

Draw a light, inverted teardrop shape for the head. Inside, sketch two smaller teardrop shapes for the mask's eye lenses. Teacher's Tip: Keep the eyes symmetrical to give him that focused, heroic look.
Step 2: Defining the Torso and Arms

Use overlapping curved lines to build the shoulders and torso. Think of these as rounded blocks. Teacher's Tip: Use loose, flowing motions to keep the character looking agile rather than stiff.
Step 3: Sketching the Web-Slinging Hand
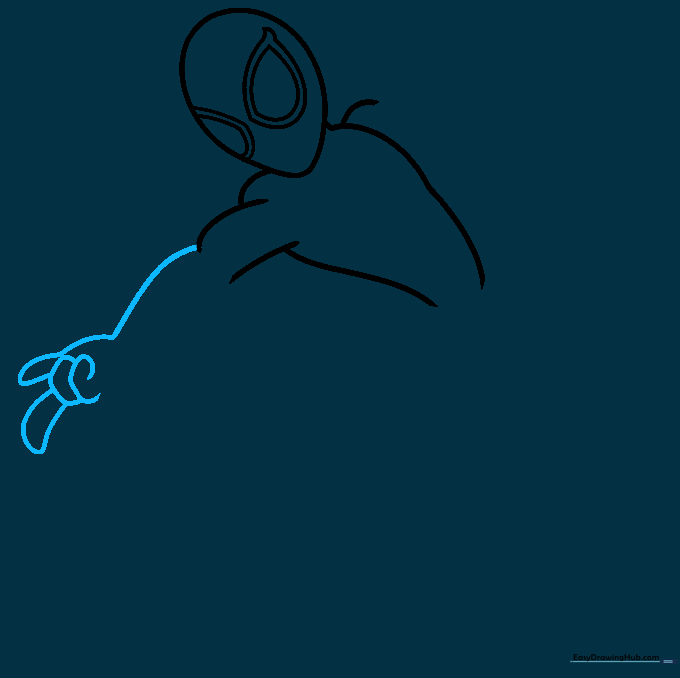
Draw the forearm and begin the hand. Sketch the fingers curled into the classic web-shooting gesture. Teacher's Tip: Imagine the fingers are like small, bent sausages to get the proportions right.
Step 4: Refining the Arms
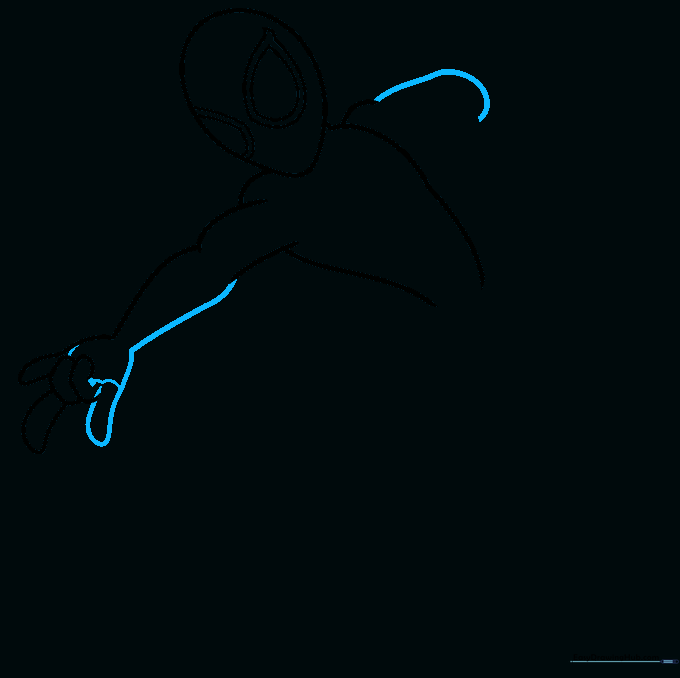
Finish the pinky finger and define the underside of the arm. Add a wavy line across the palm for detail. Teacher's Tip: Don't worry about perfection; focus on the flow of the lines.
Step 5: Adding Hand Detail
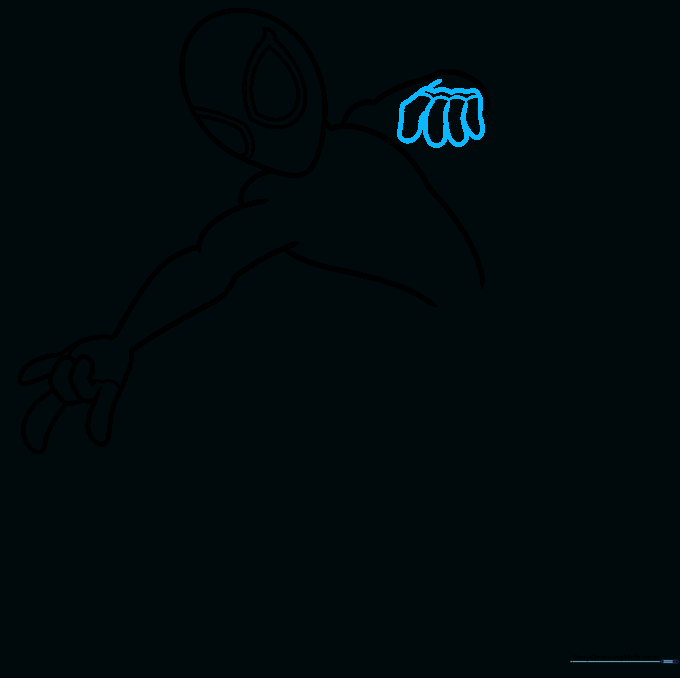
Complete the other hand using 'U' shaped lines for the fingers. Add wavy lines for the knuckles. Teacher's Tip: Keep your pencil pressure light so you can erase the overlapping construction lines later.
Step 6: Drawing the Legs
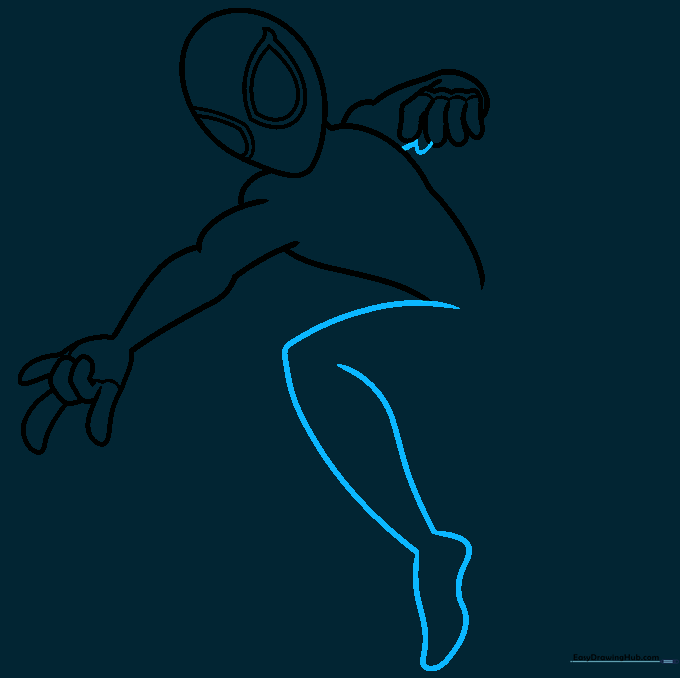
Sketch the thigh, shin, and foot using curved lines to show muscle movement. Teacher's Tip: Think of the leg as a series of connected ovals to help with the shape.
Step 7: Connecting the Legs
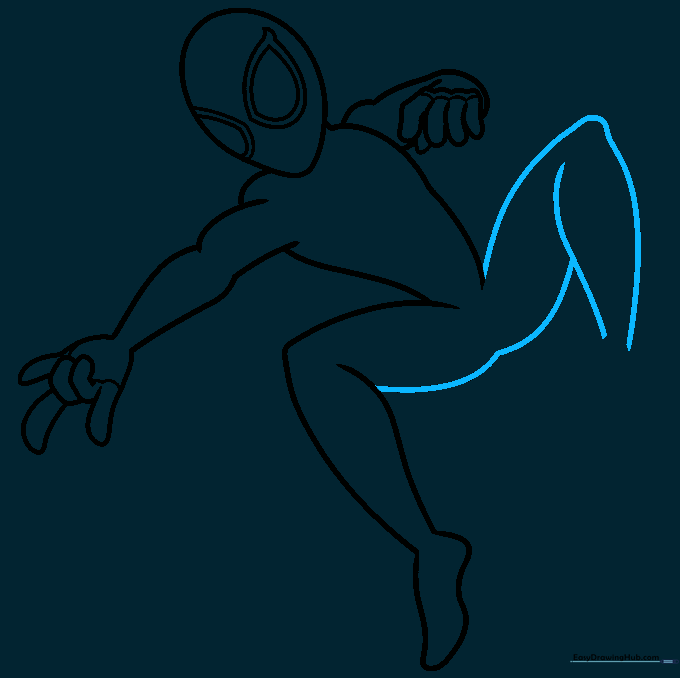
Complete the second leg and connect both thighs to the torso. Teacher's Tip: Ensure the legs look balanced so the character doesn't look like he's falling over!
Step 8: Adding Suit Details
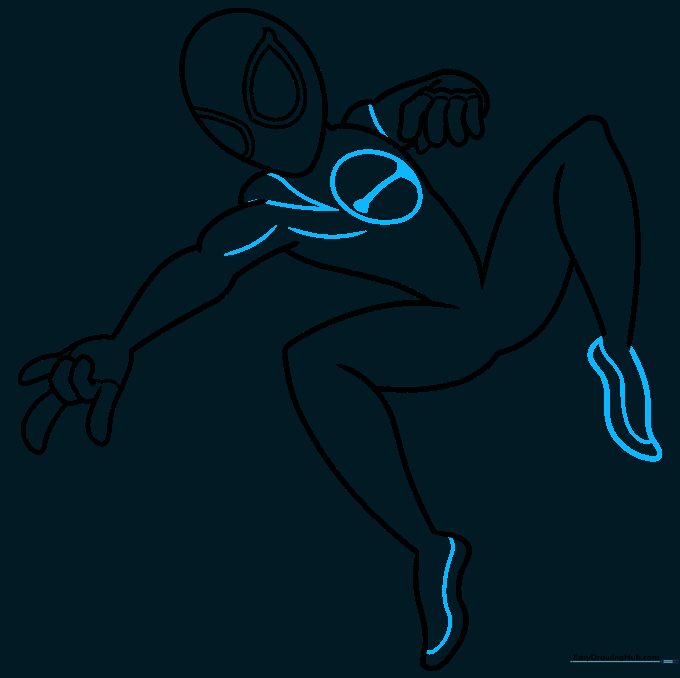
Draw the soles of the feet and start the spider logo on the chest. Add contour lines to the shoulders and arms. Teacher's Tip: Use a darker pencil stroke here to define the final shape.
Step 9: Finalizing the Spider Logo
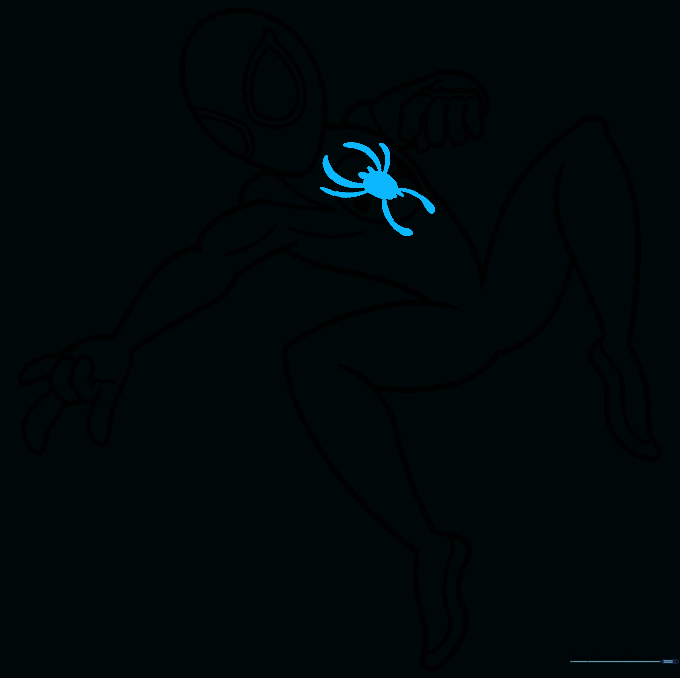
Complete the spider logo by shading the center and drawing the legs and fangs. Teacher's Tip: Take your time with the logo—it's the most recognizable part of his suit!
Step 10: Coloring Your Hero
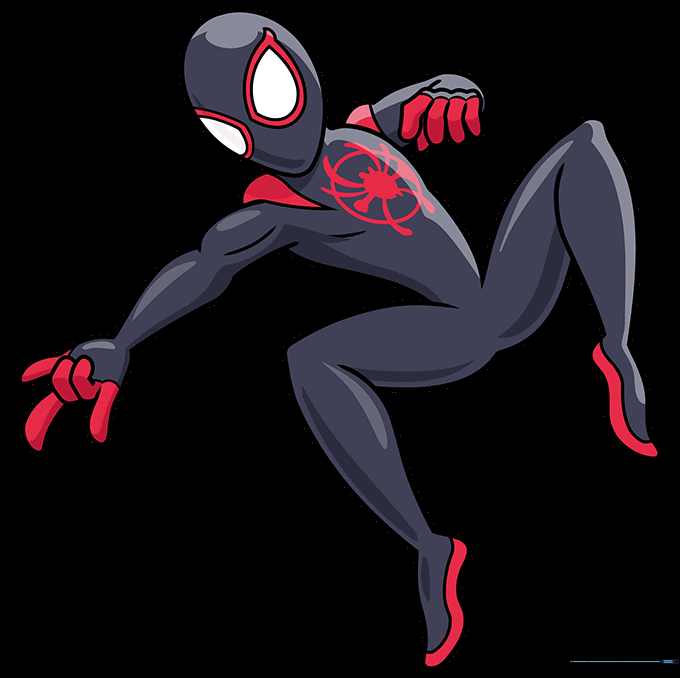
Color your drawing! Use black for the main suit and vibrant red for the mask, shoulders, and hands. Teacher's Tip: Use a white gel pen to add small highlights to the eyes to make them pop.
More Tutorials


