How to Draw Mickey Mouse: Easy 20-Step Guide for Kids
Bring the world's most famous mouse to life with this step-by-step drawing tutorial, perfect for artists ages 5 and up. You will only need a pencil, an eraser, and a piece of paper to master Mickey’s iconic silhouette. Follow along to build confidence in your sketching skills while creating a classic character masterpiece.
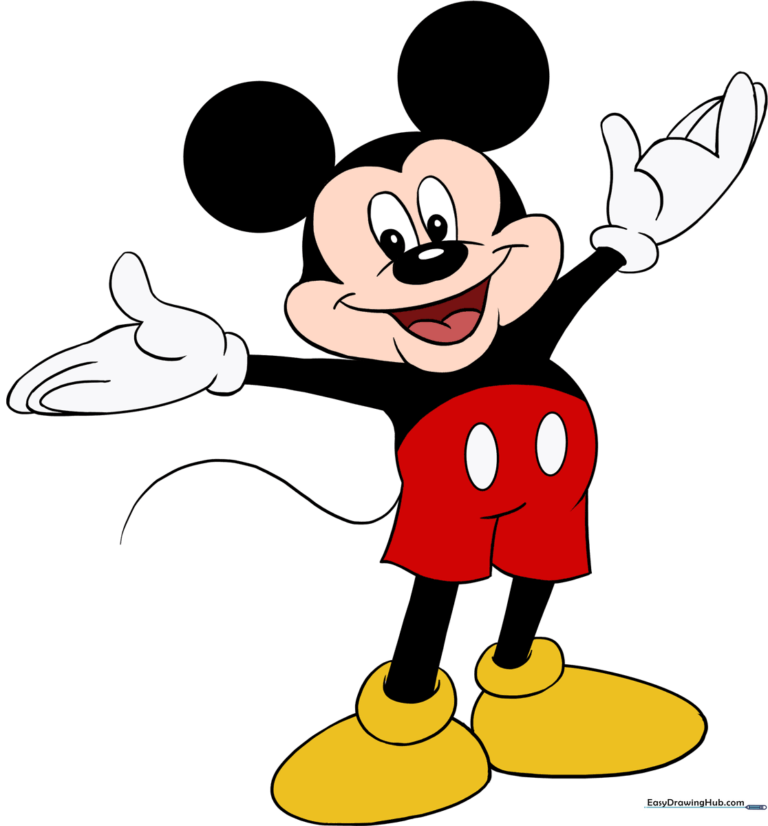
🎯 Final Result
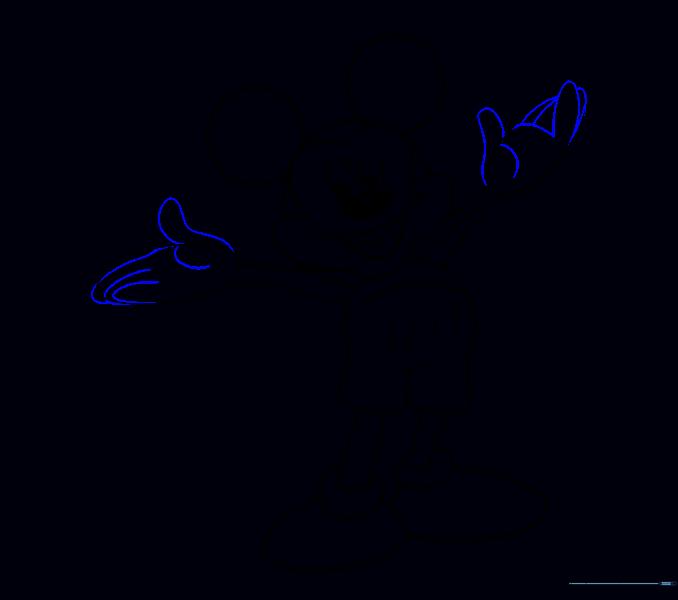
Step-by-Step Instructions
Step 1: Sketching the Head

Draw a light circle to serve as the base for Mickey’s head. Teacher's Tip: Keep your pencil strokes very faint so you can easily erase the construction lines later.
Step 2: Adding the Ears
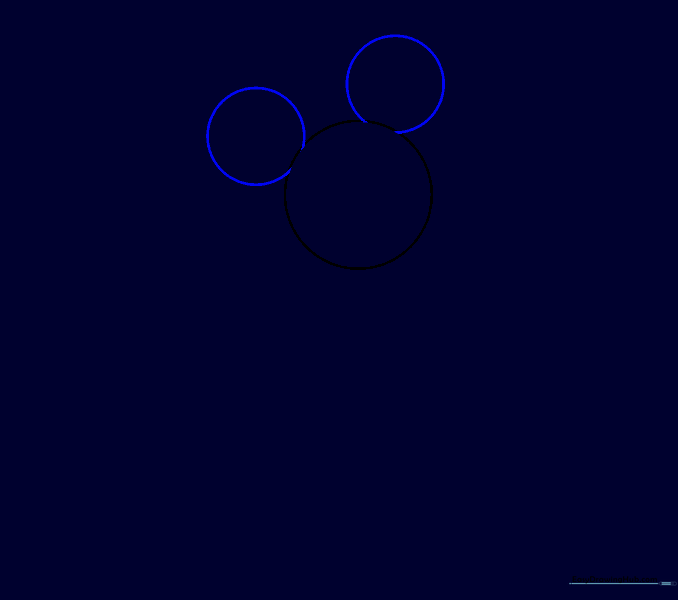
Add two smaller circles to the top sides of the head. Tip: Try to make them symmetrical to capture Mickey's classic, balanced look.
Step 3: Facial Guidelines

Draw two curved lines that intersect at a perpendicular angle on the face. Tip: These act as a map to ensure your eyes and nose are perfectly centered.
Step 4: Sketching the Torso
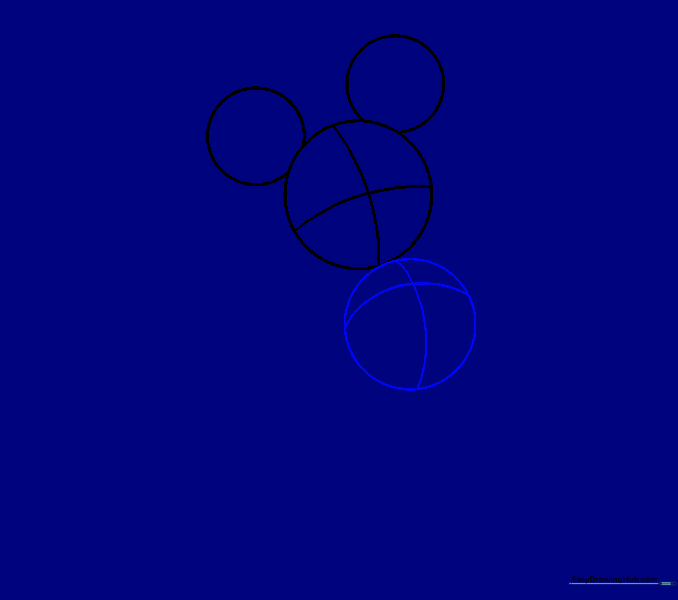
Draw a larger circle below the head for the body, adding cross-guidelines slightly above the center. Tip: This creates the correct proportions for his torso.
Step 5: Legs and Feet
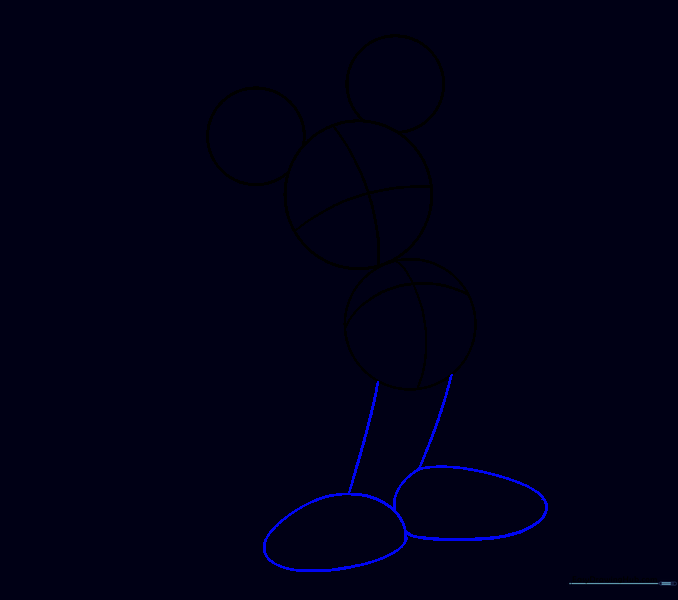
Draw two lines for the legs and irregular shapes at the bottom for the feet. Tip: Keep the feet slightly rounded to match Mickey's cartoon style.
Step 6: Arms and Hands
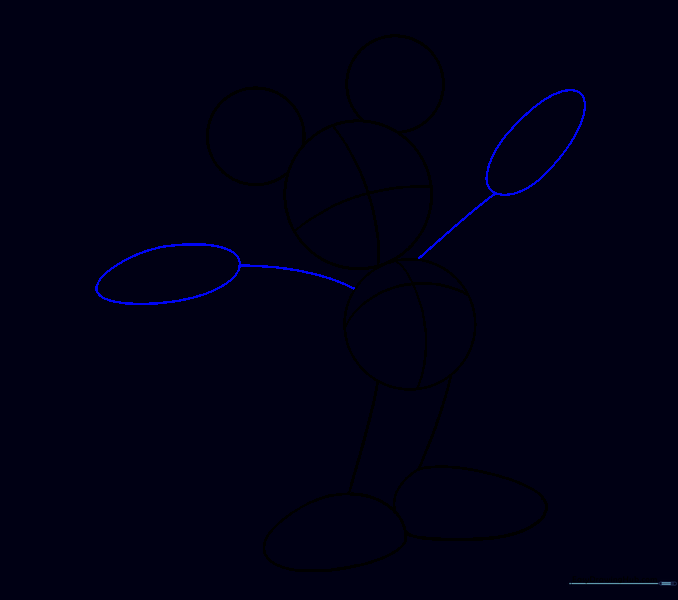
Extend two curved lines from the torso for arms, ending in ovals for the hands. Tip: Think of these as simple shapes before we add the glove details.
Step 7: Defining Limbs
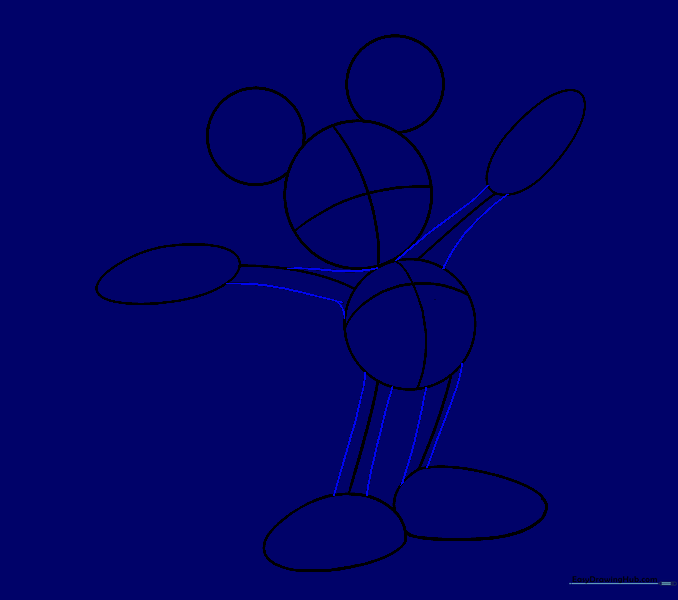
Connect the body to the hands and feet with curved lines to give the limbs thickness. Tip: Use smooth, continuous motions for a more professional look.
Step 8: Adding Buttons

Draw two circles on the torso for his iconic buttons. Tip: Place them in the lower quadrants of your guide lines for perfect placement.
Step 9: Refining the Pants

Erase the vertical torso guide line to reveal the outline of his shorts. Tip: Use a soft eraser to avoid damaging your paper.
Step 10: Pant Legs
Draw three curved lines descending from the torso to create the pant legs. Tip: Connect them with small curves to enclose the shape.
Step 11: Cleaning the Outline

Erase any remaining guide lines from the pants. Tip: A clean outline makes the final coloring stage much easier.
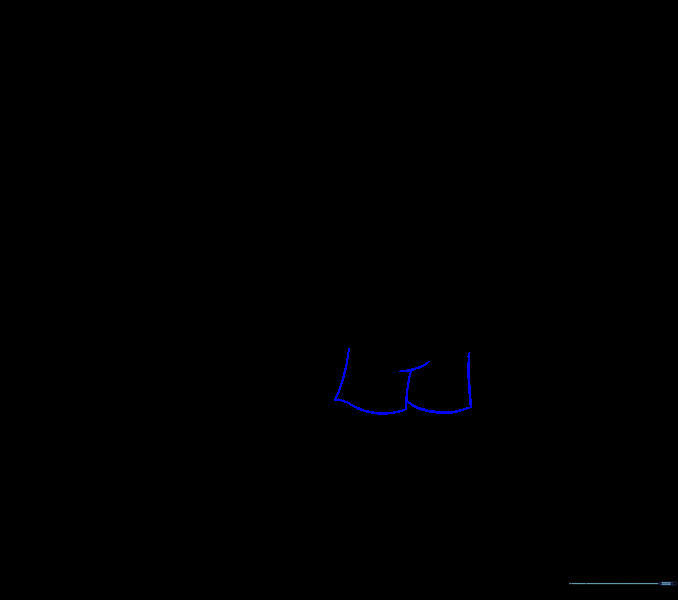
Step 12: Adding Shoe Details

Erase the bottom of the legs and draw donut-like shapes for the shoe tops. Tip: These small details add character to his footwear.
Step 13: Contouring the Face

Use overlapping curved lines to define the cheeks and chin. Tip: Focus on the roundness of the cheeks to capture his friendly expression.
Step 14: Facial Features
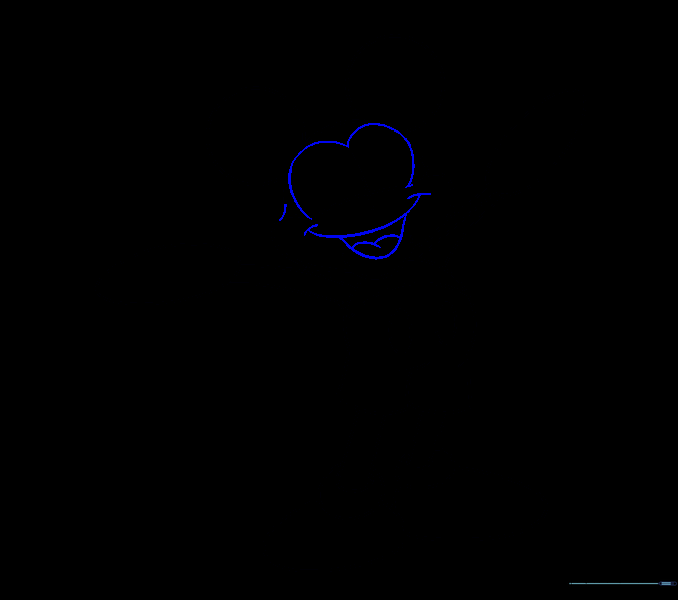
Draw the eyes, smile, and mouth using the remaining guidelines. Tip: Take your time with the smile to ensure it looks cheerful.
Step 15: Nose and Pupils

Draw the snout, nose, and pupils. Tip: Shade the nose and pupils darkly to make them pop against the face.
Step 16: Gloved Hands
Refine the shapes of the hands to look like gloves. Tip: Add small curves for the fingers to give them a natural, cartoonish look.
Step 17: Cleaning Hands

Erase any remaining guide lines from the hands. Tip: Keep your lines bold and clear.
Step 18: Glove Cuffs

Add rounded shapes at the wrists to represent the cuffs of his gloves. Tip: This small detail makes the gloves look authentic.
Step 19: The Tail

Draw a long, wavy 'S' shaped line for the tail. Tip: Make it look fluid and flexible.
Step 20: Final Coloring
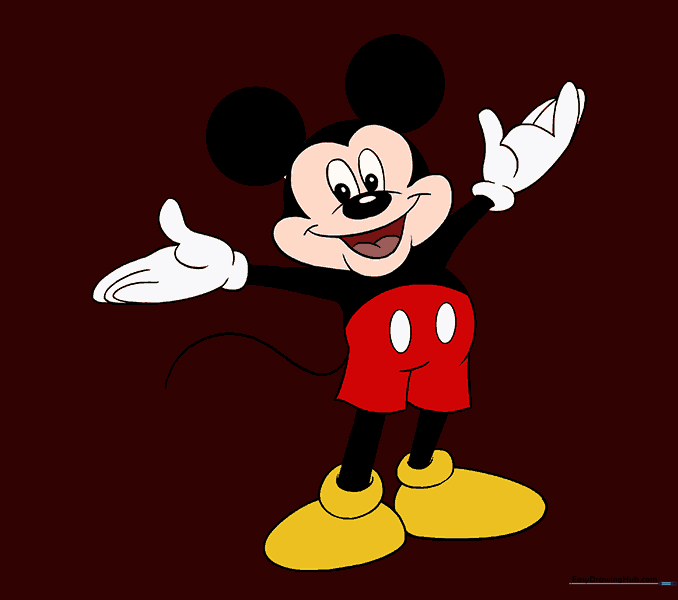
Color your drawing! Use bright red for the shorts and yellow for the shoes. Tip: Use light, even strokes with your crayons or markers for a smooth finish.
More Tutorials


