How to Draw Michael Myers: Easy 10-Step Horror Art Guide
Ready to capture the iconic look of Michael Myers? This tutorial is perfect for intermediate artists looking to practice facial structure and expressive shading. Grab your graphite pencils and a kneaded eraser, and let’s bring this classic horror character to life on your page.
🎯 Final Result

Step-by-Step Instructions
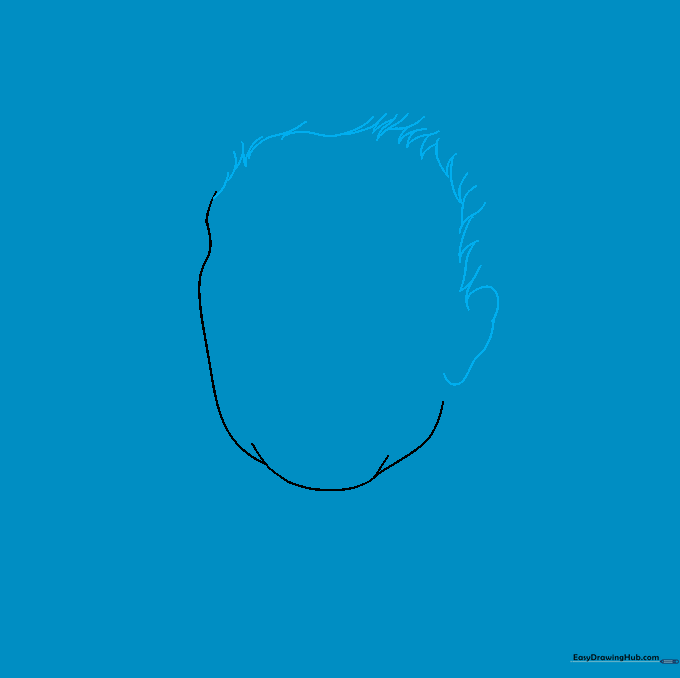
Step 1: Establishing the Facial Structure

Start by sketching the basic contour of the face using light, curved lines. Teacher's Tip: Keep your pencil pressure very light here; you'll want to easily adjust the chin and cheekbone placement as we add more detail later.
Step 2: Mapping the Ears and Hairline
Outline the lumpy shape of the ear and connect it to the head using jagged, overlapping lines to suggest the hairline. Teacher's Tip: Don't worry about making the hair look perfect—the jagged edges help create that gritty, unkempt look.
Step 3: Detailing the Ears
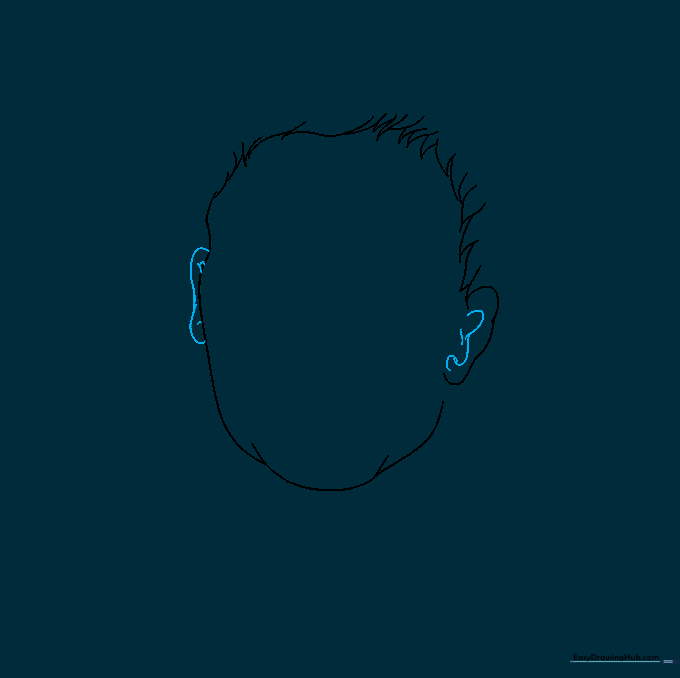
Enclose the second ear and add internal curved lines to define the cartilage. Teacher's Tip: Use a slightly sharper pencil tip for these inner ear details to keep them distinct from the outer head shape.
Step 4: Sketching the Hair Texture
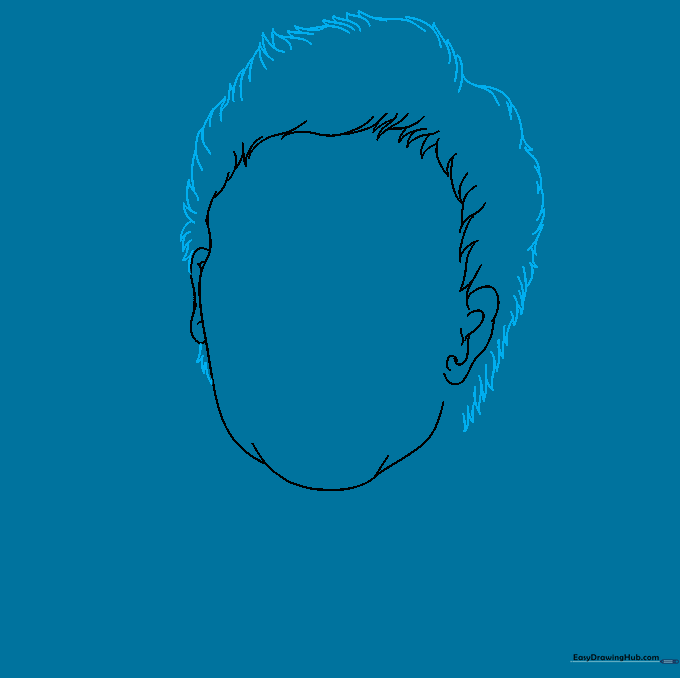
Use short, overlapping curved lines to build out the hair volume from ear to ear. Teacher's Tip: Vary the length of your strokes to make the hair look more natural and less like a solid block.
Step 5: Drawing the Neck and Collar
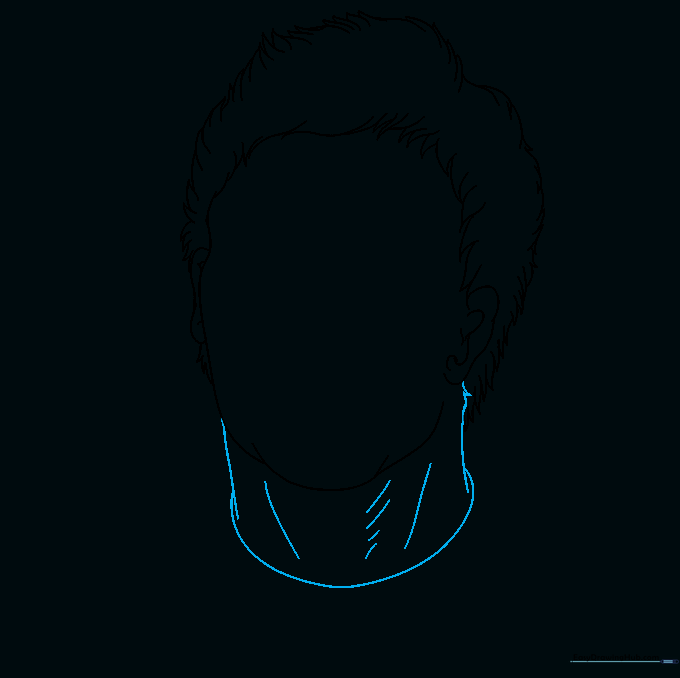
Extend two lines downward for the neck and connect them with a curved line to represent the shirt collar. Teacher's Tip: Keep the neck lines slightly angled to give the character a more imposing posture.
Step 6: Defining the Eyebrows
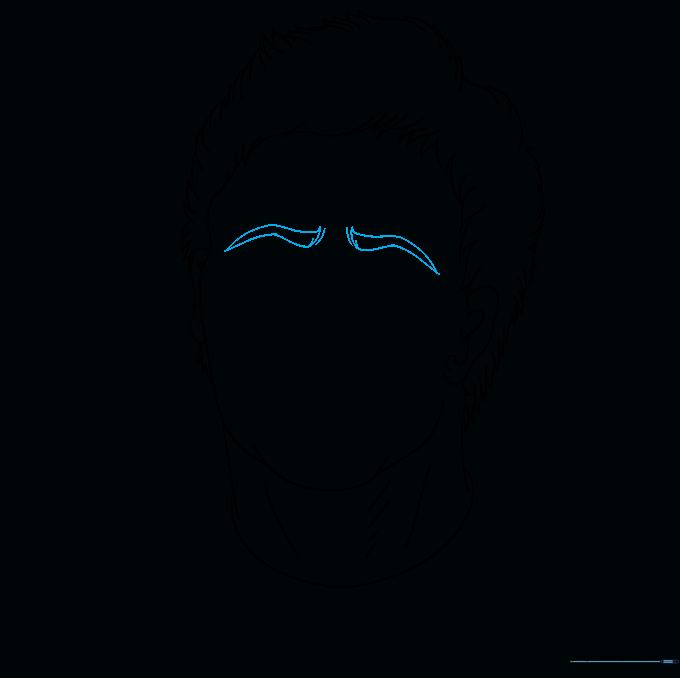
Sketch the pointed, heavy eyebrows using zig-zag strokes at the inner corners. Teacher's Tip: The zig-zag motion creates a 'hairy' texture that adds to the character's intense, menacing expression.
Step 7: Adding the Eyes
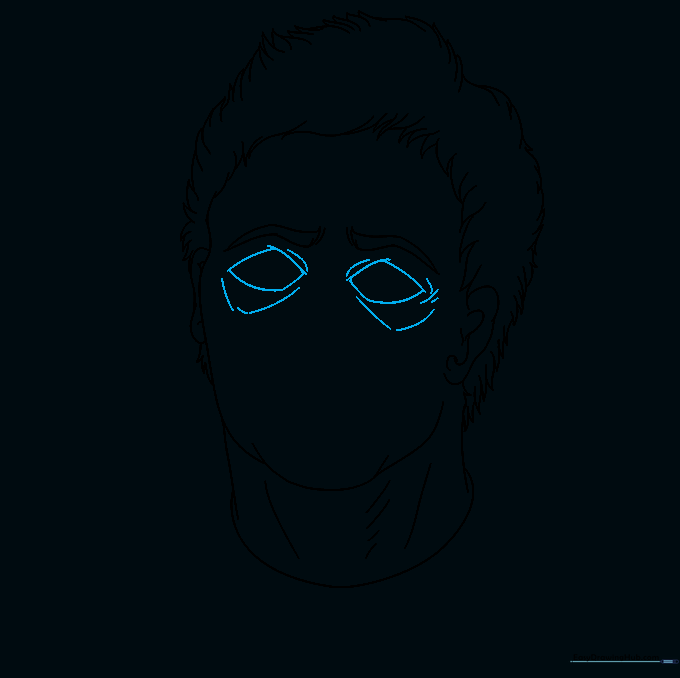
Draw the rounded diamond shapes for the eyes, adding curved lines beneath them to create 'tired' bags. Teacher's Tip: Focus on the placement of these bags—they are key to capturing the mask's eerie, hollow look.
Step 8: Facial Features and Contours
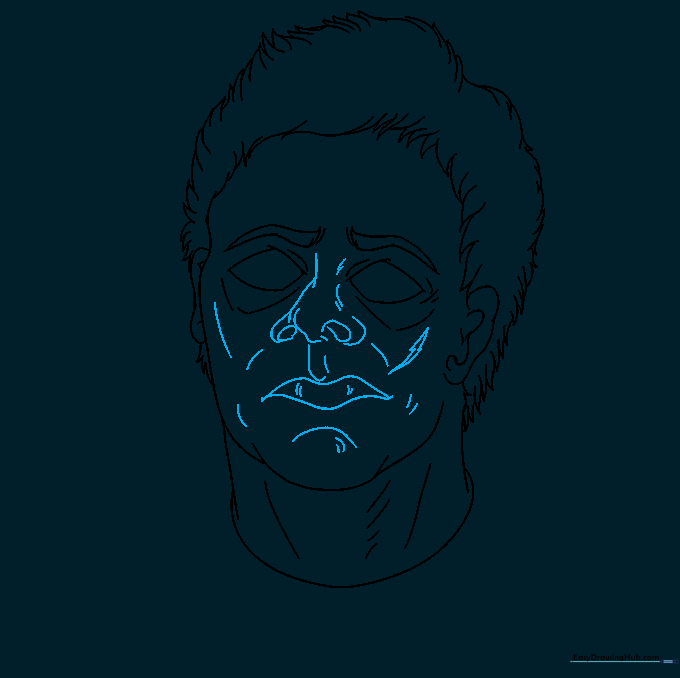
Sketch the nose, nostrils, and mouth area using subtle curved lines to suggest the mask's texture. Teacher's Tip: Keep these lines minimal; the mask is famous for its blank, expressionless quality.
Step 9: Final Texture and Wrinkles
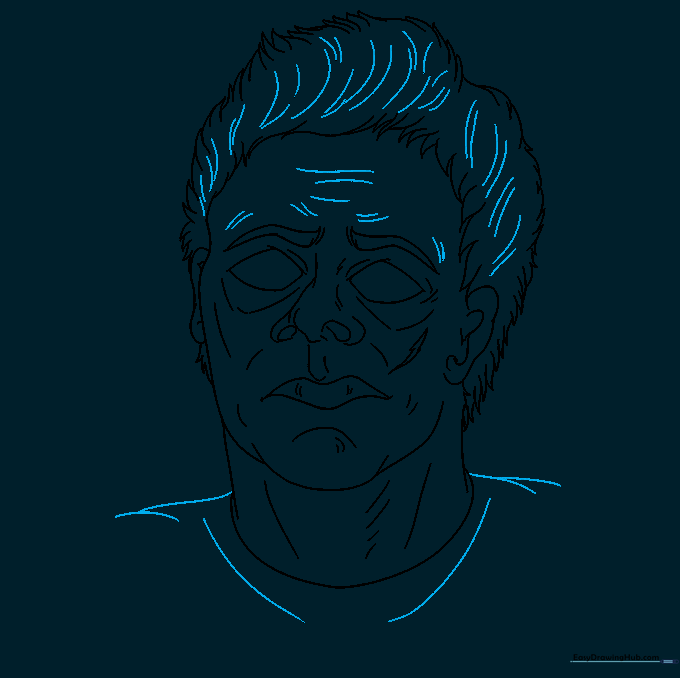
Add final details like forehead wrinkles and extra texture to the hair. Teacher's Tip: Use light, broken lines for the wrinkles to make them look like natural creases in the mask material.
Step 10: Final Shading and Coloring
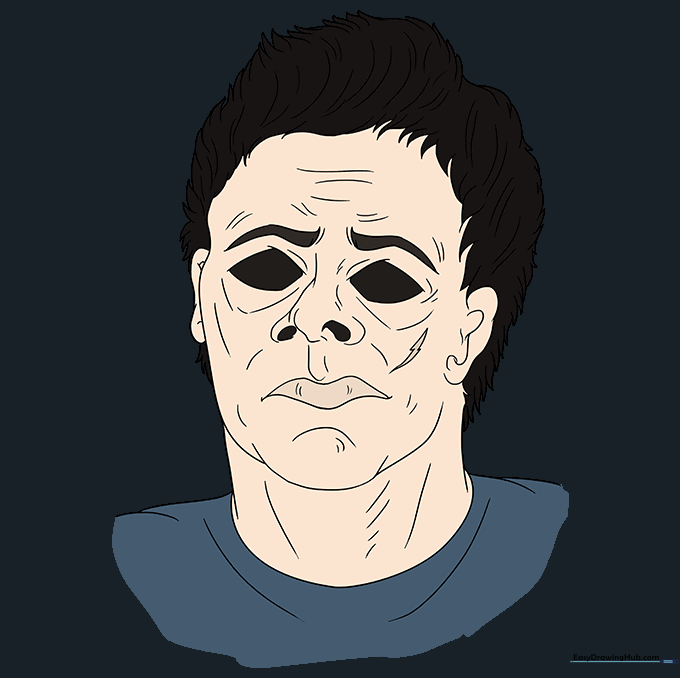
Apply your final colors or shading to complete the look. Teacher's Tip: Use muted, cool tones for the mask to emphasize the spooky, cinematic atmosphere of the character.
More Tutorials


