How to Draw Mew: Easy 10-Step Pokémon Drawing Guide
Bring the legendary Pokémon Mew to life with this simple, guided drawing lesson perfect for young artists ages 6 and up. All you need is a pencil, an eraser, and a piece of paper to master this iconic character. Follow along to build confidence in your sketching skills while creating a masterpiece you can proudly color.
🎯 Final Result

Step-by-Step Instructions
Step 1: Sketching the Head Base

Lightly draw an overlapping circle and oval to map out the head shape. Teacher's Tip: Keep these lines very faint—they are just a 'map' for your final drawing and will be erased later!
Step 2: Adding Ears and Facial Structure
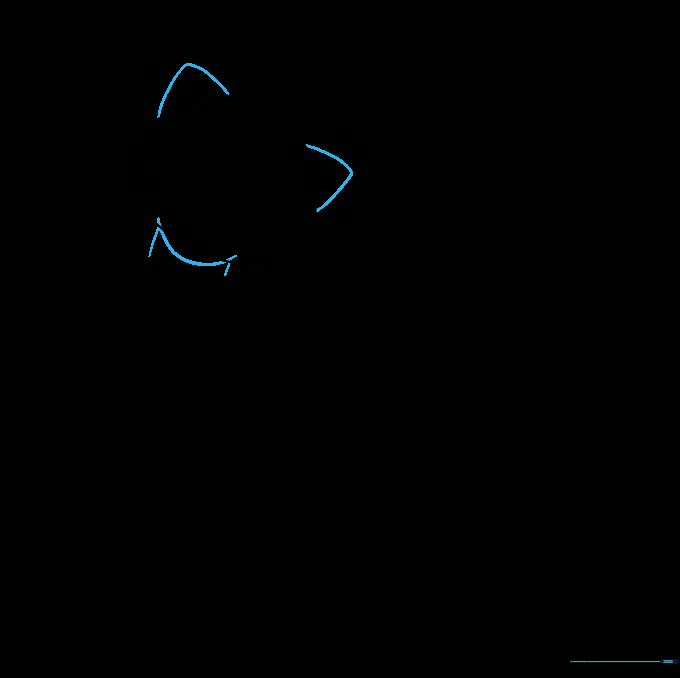
Draw two rounded triangles on the sides of the head for ears. Add a small curve for the nose and two short lines for the neck. Teacher's Tip: Make the ears slightly asymmetrical to give your Mew a curious, tilted look.
Step 3: Cleaning the Face

Carefully erase the internal guide lines from the face so you have a clean silhouette. Teacher's Tip: Use a kneaded eraser if you have one; it’s gentler on the paper and won't leave messy crumbs.
Step 4: Mapping the Body
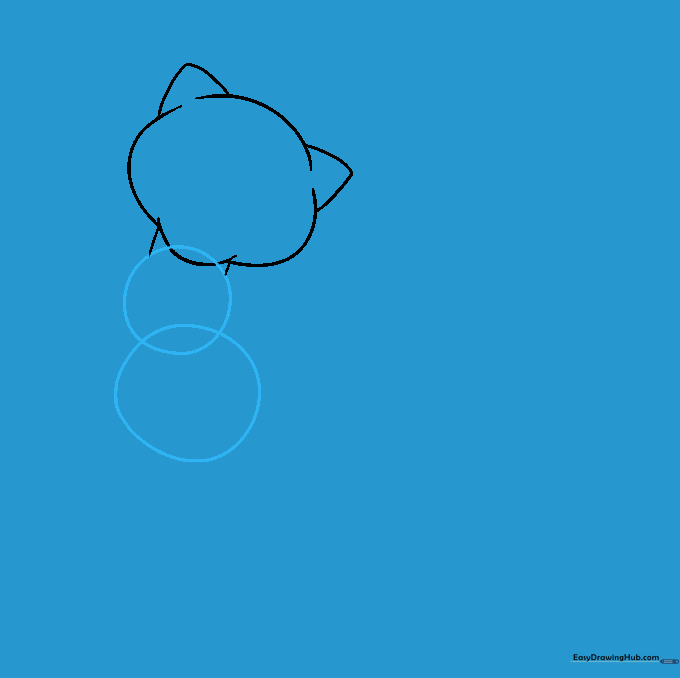
Sketch two overlapping circles beneath the neck to form the torso. Teacher's Tip: Think of these as two bubbles—they don't need to be perfect circles, just soft, rounded shapes.
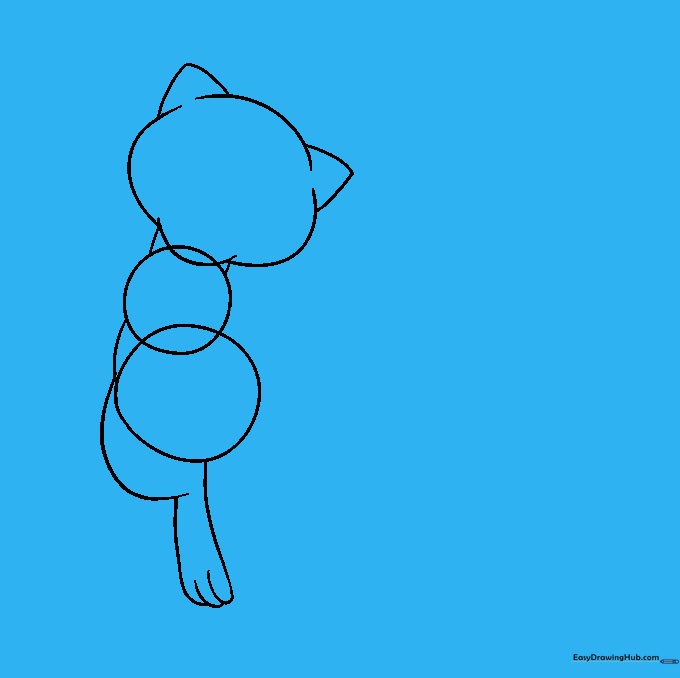
Step 5: Drawing the First Leg
Connect the body circles with a curve, then sketch the knee and foot. Use 'U' shapes for the toes. Teacher's Tip: Keep the toes small and rounded to maintain Mew's cute, soft aesthetic.
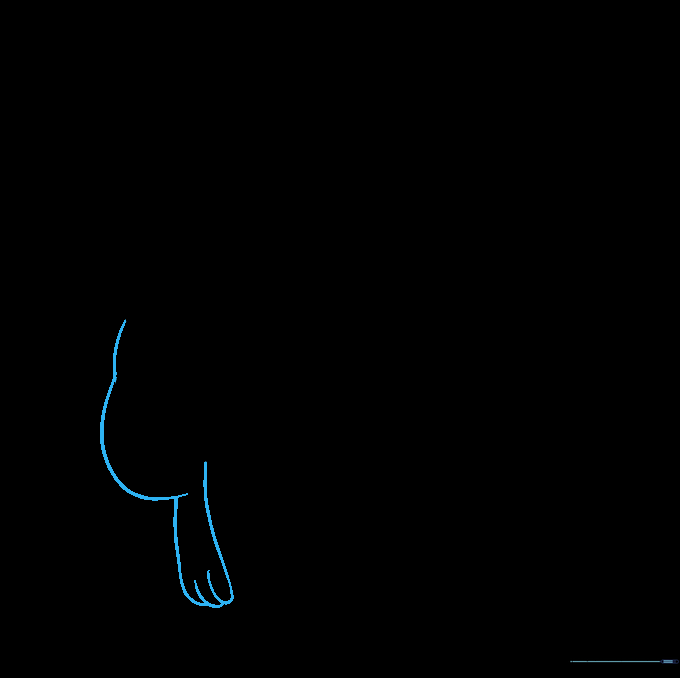
Step 6: Adding the Second Leg
Draw the back leg using a long 'J' shaped line for the thigh. Add the foot and toes to match the first leg. Teacher's Tip: Try to keep the feet roughly the same size to ensure your drawing looks balanced.
Step 7: Refining the Body

Gently erase the extra guide lines from the torso. Keep the lines that define the body's curve. Teacher's Tip: If you accidentally erase too much, just lightly re-sketch the outline.
Step 8: Adding Arms and Tail
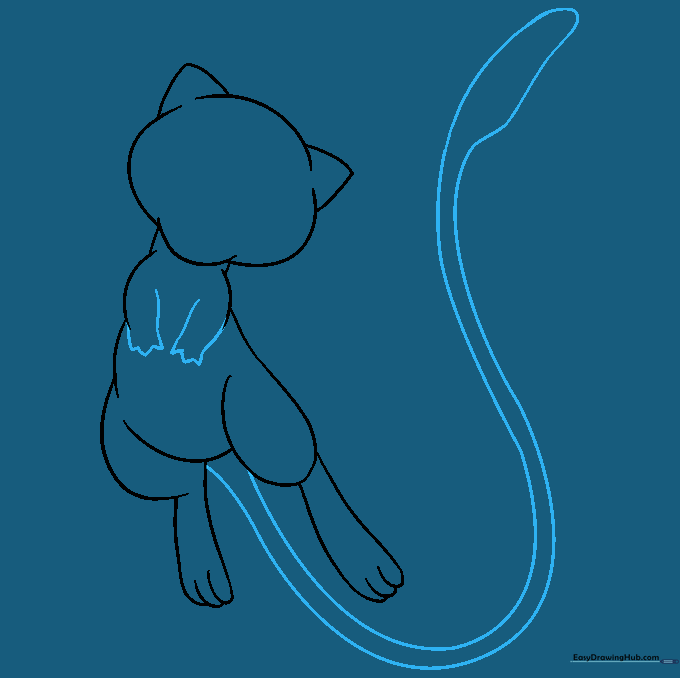
Draw the arms with small triangular fingers and sketch the long, sweeping tail with an oblong tip. Teacher's Tip: The tail should look fluid and graceful—don't make it too stiff!
Step 9: Drawing the Eyes

Draw two teardrop-shaped eyes with small ovals for pupils. Add a tiny curved line above each eye for depth. Teacher's Tip: The eyes are the 'window' to the character—take your time to make them symmetrical.
Step 10: Bringing Mew to Life with Color

Color your Mew using a soft pink or light purple. Teacher's Tip: Use light, circular motions with your pencil to get an even, smooth color without harsh streaks.
More Tutorials


