How to Draw Metal Sonic: Easy Step-by-Step Guide
Ready to bring Sonic's robotic rival to life? This tutorial is perfect for young gamers and artists ages 7+ who want to practice drawing mechanical characters. Grab your pencil, eraser, and paper, and follow these simple steps to build Metal Sonic from basic geometric shapes.
🎯 Final Result

Step-by-Step Instructions
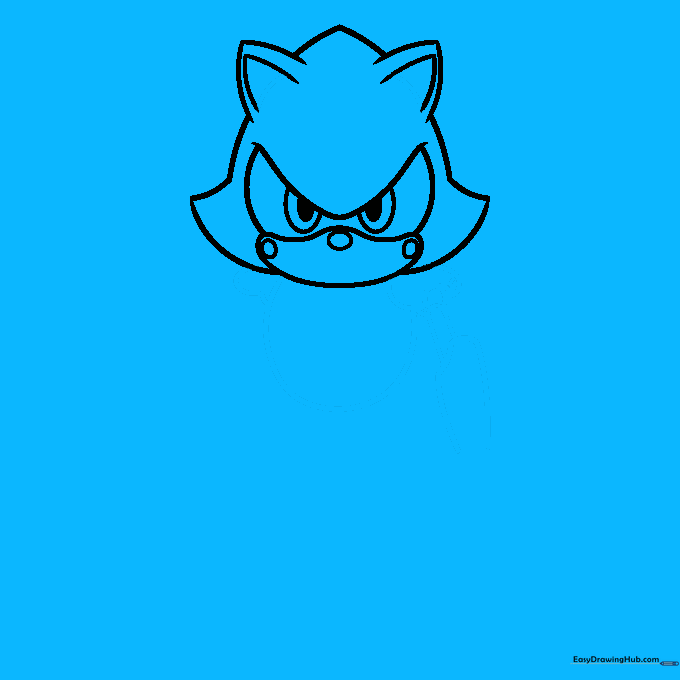
Step 1: Sketching the Head Base

Draw a V-shape near the top of your paper. Underneath, add a semi-circle that peaks in the center, then connect them with curved lines. Tip: Keep your pencil pressure light so you can easily erase these guidelines later.
Step 2: Defining the Robotic Features

Use sharp triangles for the ears and a larger triangle between them to define the head structure. Add small circles on the cheeks to represent his robotic joints. Tip: Focus on symmetry here to make his face look balanced.
Step 3: Constructing the Torso
Outline the body using a large oval. Sketch a loose heart shape for the shoulder, ensuring it overlaps the head slightly to create depth. Tip: Think of the arm as a thick tube; keep your lines smooth to mimic metal plating.
Step 4: Adding the Hand
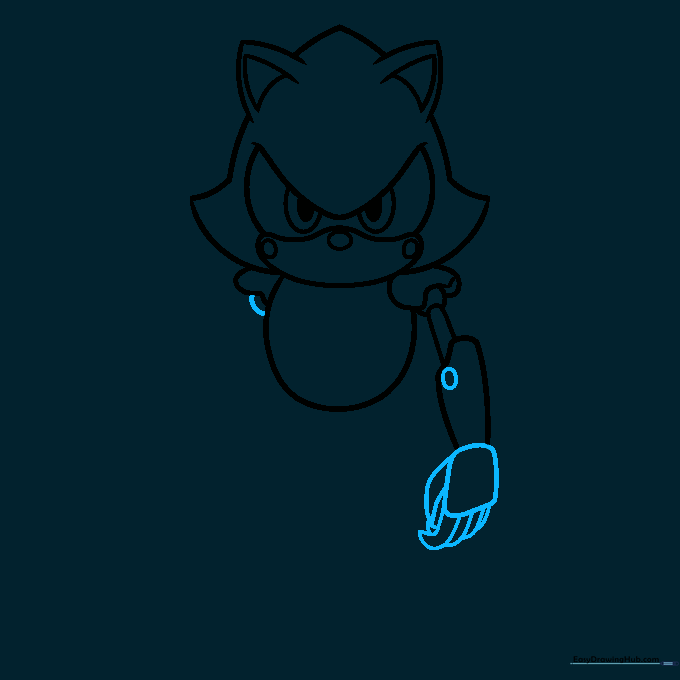
Draw a rounded square for the palm and a long triangle for the thumb. Use simple tubes to map out the fingers. Tip: Don't worry about perfect detail yet; focus on getting the proportions right.
Step 5: Refining the Arms
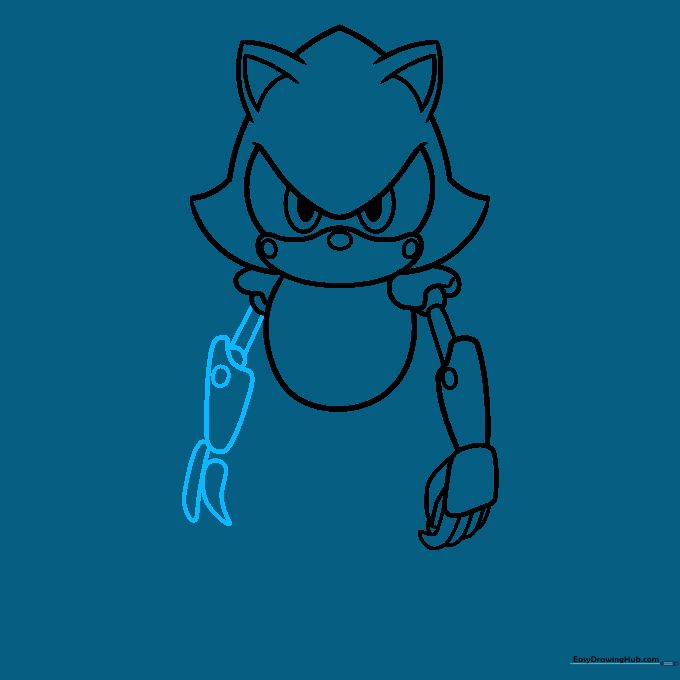
Draw a tube that widens toward the shoulder for the left arm. Add a rounded rectangle and a teardrop shape for the fingers. Tip: Use a curved line to connect the arm to the body to show movement.
Step 6: Starting the Legs
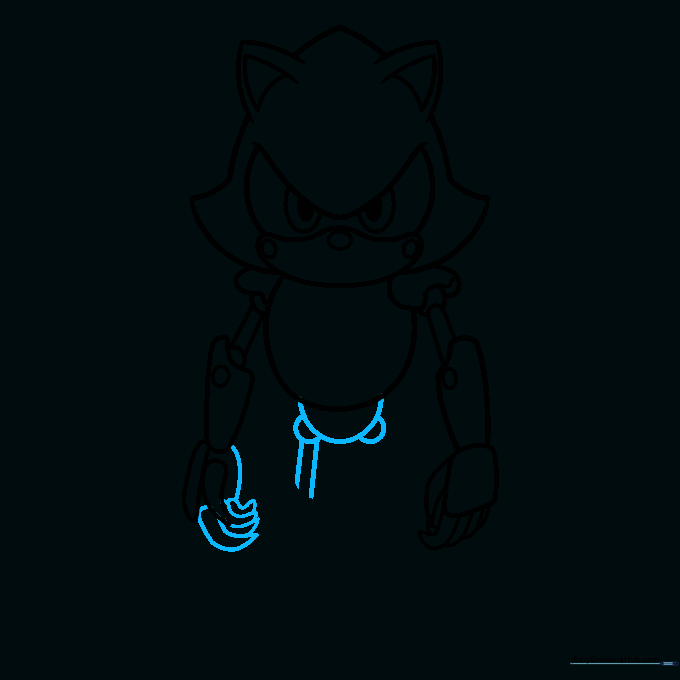
Sketch a semi-circle under the body for the hip area. Add two smaller semi-circles and straight lines to form the base of the left leg. Tip: Keep your lines firm to give the character a sturdy, robotic look.
Step 7: Building the Feet

Draw two circles at the bottom to anchor the feet. Use straight lines to connect the legs to these circles. Tip: Ensure the feet look slightly larger to give Metal Sonic a grounded, balanced stance.
Step 8: Adding Leg Details
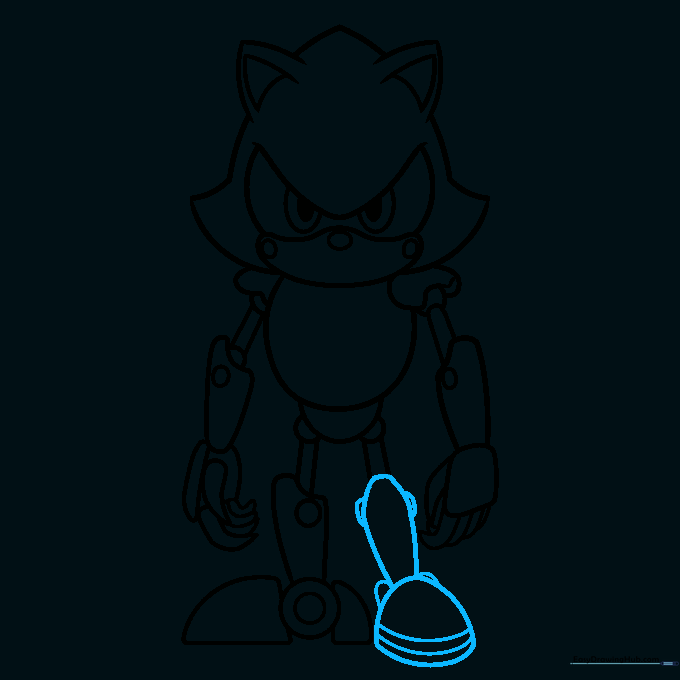
Draw a coffin-like shape for the right leg. Add a semi-circle with parallel lines at the bottom for the foot. Tip: Adding these parallel lines helps create the illusion of mechanical segments.
Step 9: Finalizing the Chest and Details
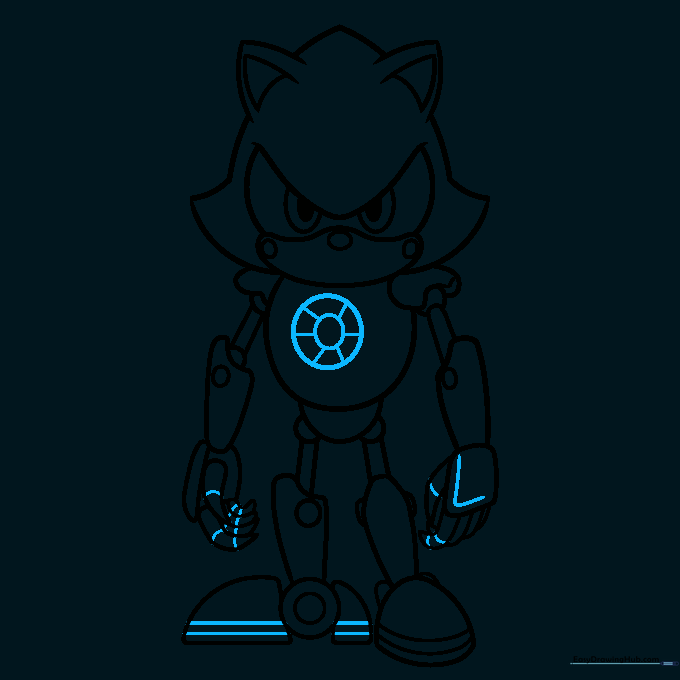
Add lines to the fingers and shoes to show joints. On the chest, draw two circles with lines radiating from the center. Tip: These radiating lines represent the power core, a key feature of his design!
Step 10: Ink and Color

Trace your final lines with a black marker and erase your pencil guidelines. Color the body in metallic blues, using red, yellow, and gray for the accents. Tip: Use a silver or light gray colored pencil to add highlights to the blue areas for a true metallic shine.
More Tutorials


