How to Draw Mercury: Easy 9-Step Space Art Guide
Ready to explore the solar system? This tutorial is perfect for young astronomers and budding artists ages 5+. You'll only need a pencil, an eraser, and some paper to bring the smallest planet to life while practicing your circular sketching skills.
🎯 Final Result

Step-by-Step Instructions
Step 1: Sketching the Planetary Base
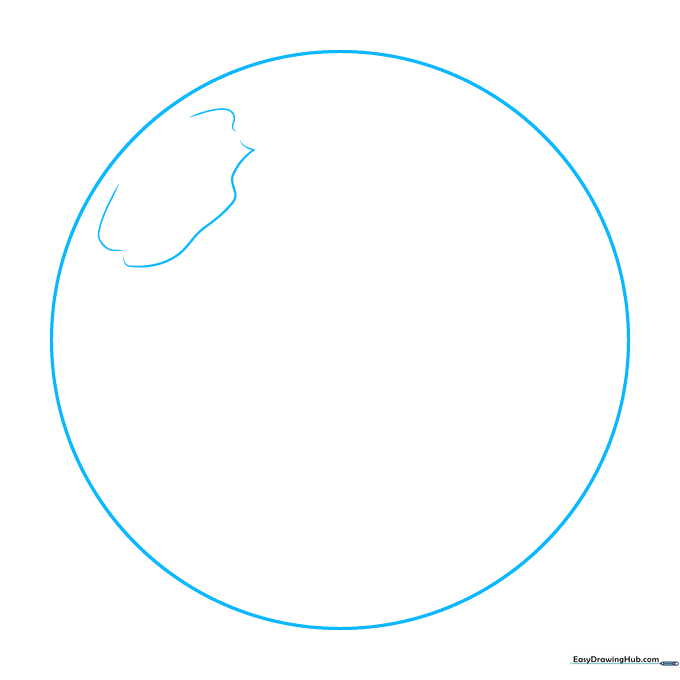
Start by drawing a large, light circle for the planet's body. Inside, add a few irregular curved lines. Teacher's Tip: Keep your pencil pressure light so these lines act as a guide for the craters we'll add later!
Step 2: Adding Surface Texture
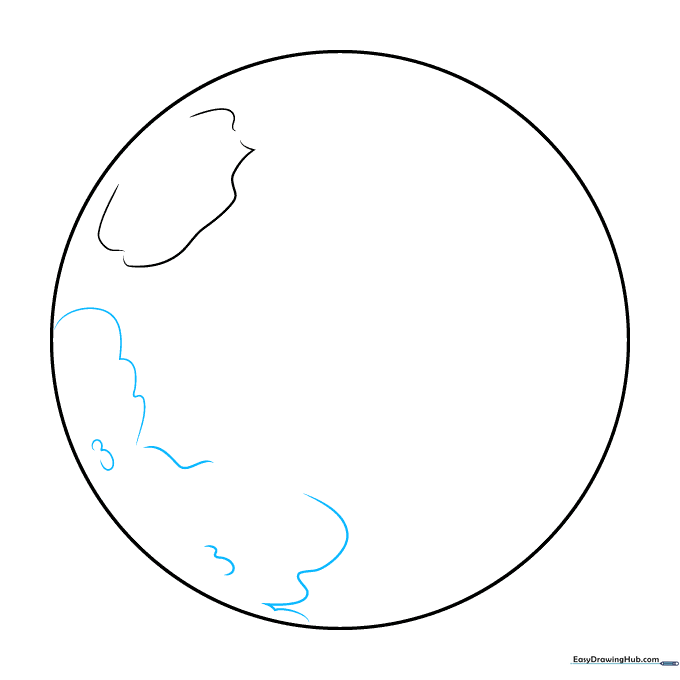
Add more curved lines across the surface to give the planet a rocky, uneven look. Tip: Don't worry about making these lines perfect; planets are naturally rugged!
Step 3: Defining Rocky Features
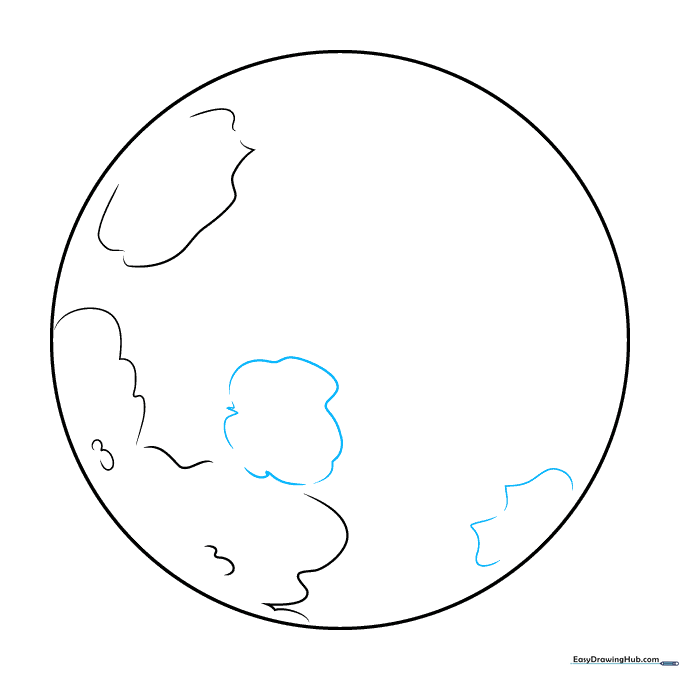
Enclose a few irregular round shapes within your lines. These will become the craters. Tip: Vary the size of your circles to make the planet look more realistic.
Step 4: Filling the Surface
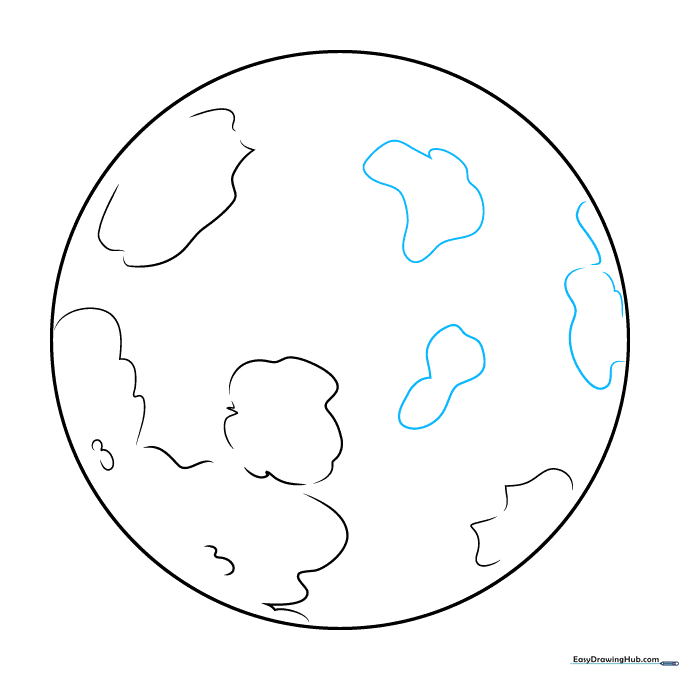
Continue adding curved, irregular shapes across the remainder of the planet's surface. Tip: Try to space them out so the planet doesn't look too crowded.
Step 5: Drawing the Northern Crater
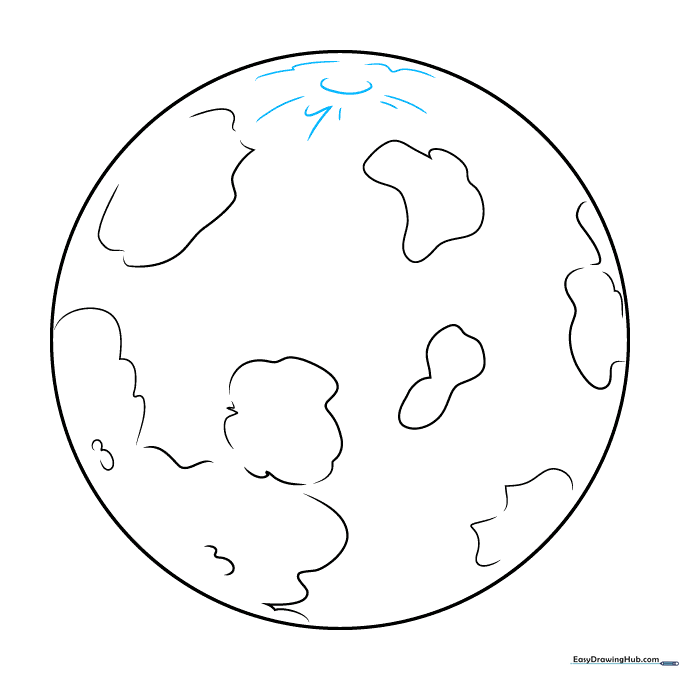
Draw a large 'C' shaped line near the top to form a crater. Add small curved lines extending outward to show depth. Tip: Think of this like a bowl sitting on the surface.
Step 6: Adding Southern Details
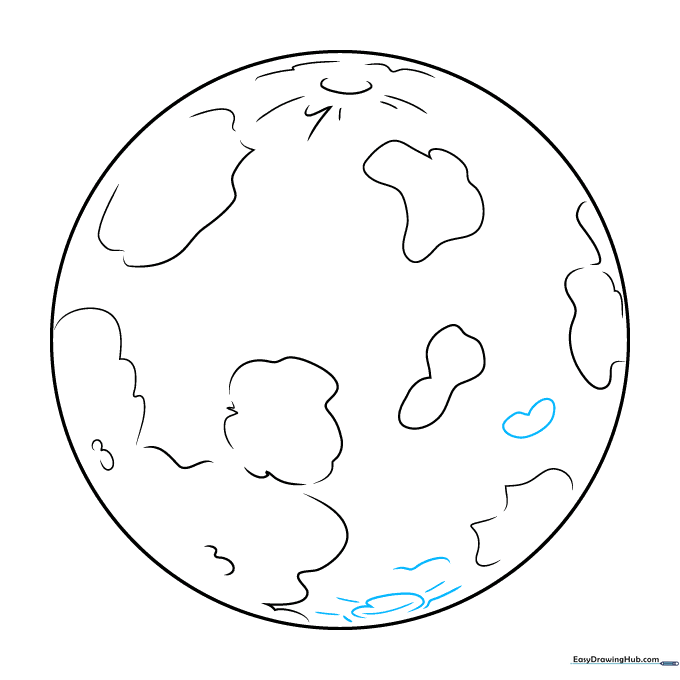
Repeat the crater process near the bottom of the planet. Add a small heart-shaped outline elsewhere to add character. Tip: Don't be afraid to rotate your paper to get the best angle for your hand!
Step 7: Creating Impact Marks
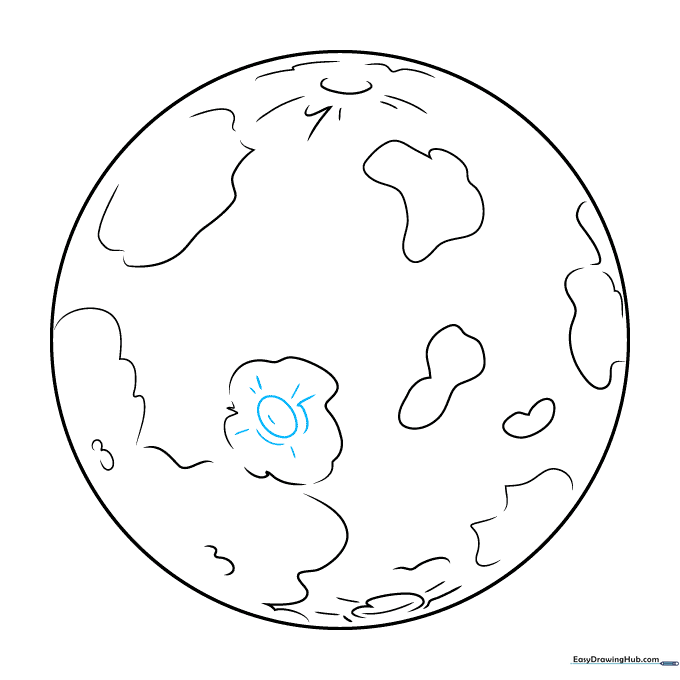
Draw a central crater using an oval shape with parallel lines for the rim. Extend straight lines outward to represent impact rays. Tip: Use a sharper pencil for these fine details.
Step 8: Adding Small Craters
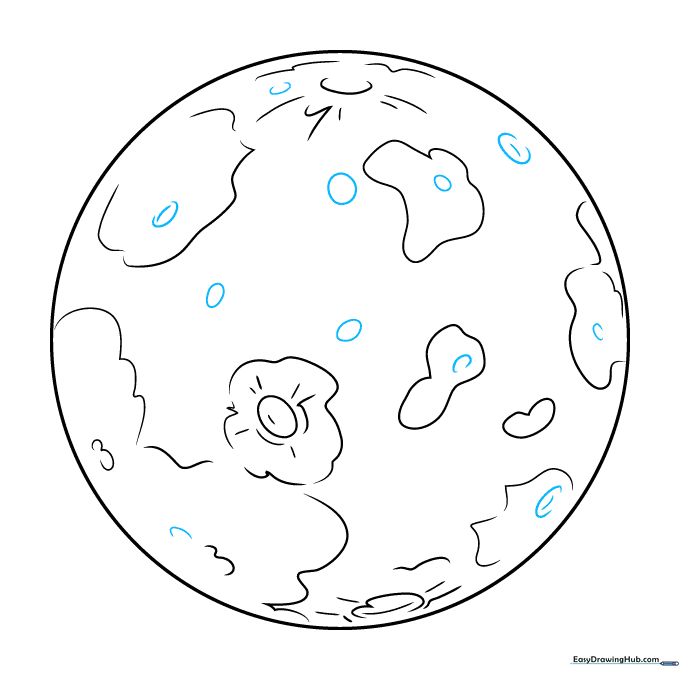
Fill in the empty spaces with tiny ovals and 'C' shapes. Tip: These small marks make the planet look much more realistic and 'bumpy'.
Step 9: Final Touches
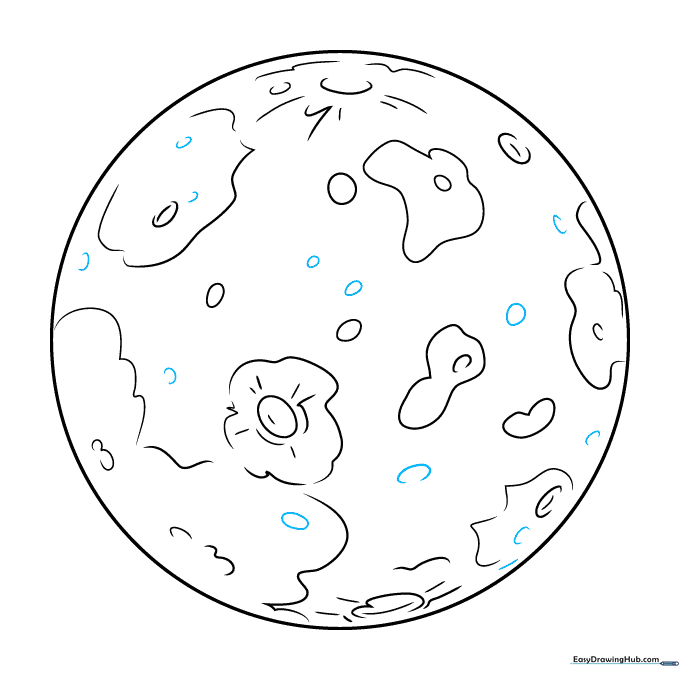
Add a few final small craters to complete the surface. You've now drawn the planet Mercury! Tip: Use a grey or brown colored pencil to shade your drawing for a finished look.
Coloring Your Mercury
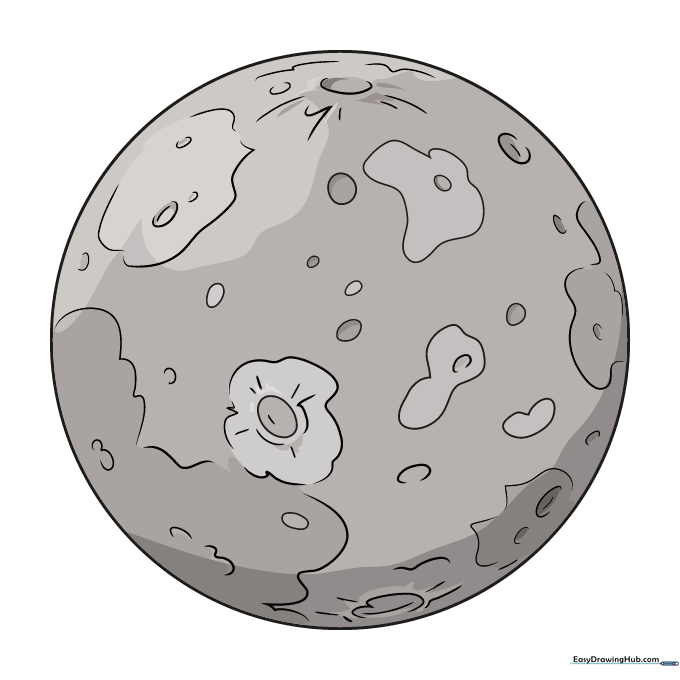
Mercury is a rocky, greyish-brown world. Use light greys and tans to color your planet. Tip: Try blending two shades of grey to give the craters more depth and shadow.
More Tutorials


