How to Draw Medusa: Easy Step-by-Step Guide for Kids
Bring Greek mythology to life with this fun Medusa drawing tutorial, perfect for artists ages 7 and up. You will only need a pencil, an eraser, and your favorite coloring markers to complete this character. Follow along to master drawing expressive faces and stylized snakes in just a few simple steps.
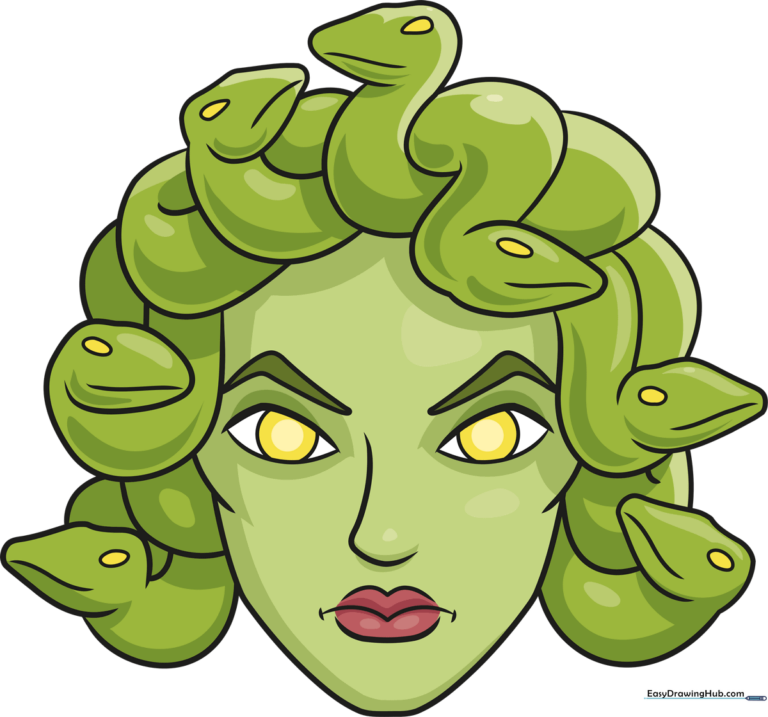
🎯 Final Result
Step-by-Step Instructions
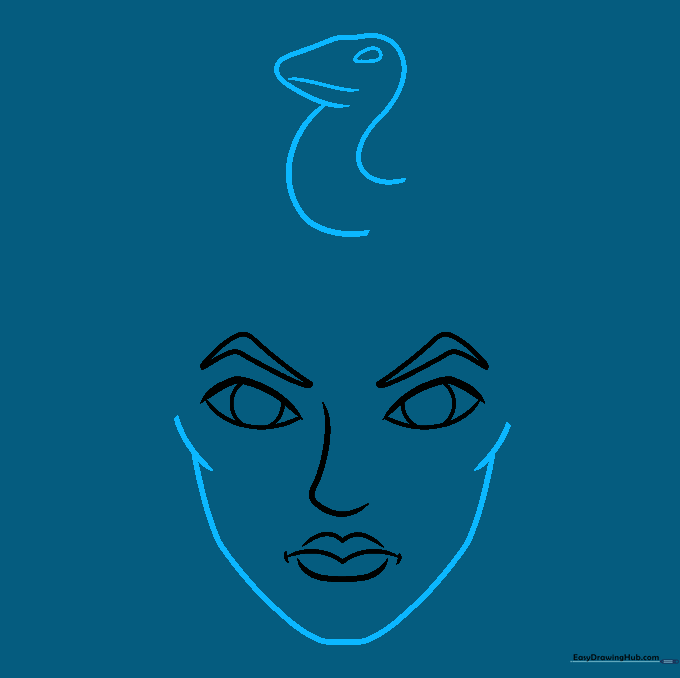
Step 1: Sketching the Eyes and Brows

Start by drawing two thick, curved lines to form the upper eyelids. Add a partial circle inside each for the iris, and top them off with boomerang-shaped eyebrows. Teacher's Tip: Keep your pencil pressure light here so you can easily adjust the symmetry of the eyes before moving on.
Step 2: Defining the Nose and Mouth

Sketch a small curved line for the nose. Below that, draw two 'M' shaped lines to create the lips, adding a tiny dash at each corner for a subtle smile. Teacher's Tip: Use short, soft strokes for the mouth to keep the expression friendly rather than too stern.
Step 3: Shaping the Face and First Snake
Draw the chin and sides of the face using smooth, continuous curves. Now, begin the hair by sketching the first snake using two overlapping lines for its body. Teacher's Tip: Make sure the snake's head overlaps the face line slightly to create depth.
Step 4: Adding the Second Snake
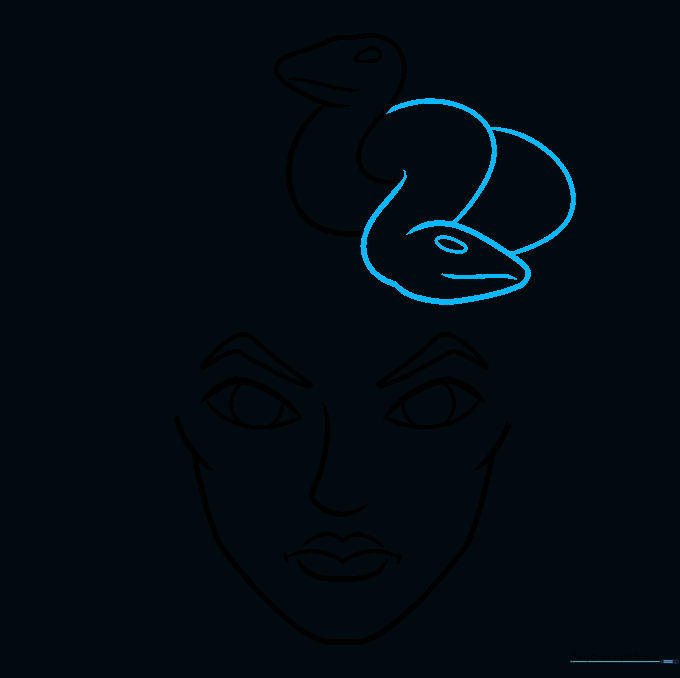
Draw the body of the second snake coiling near the first. Use a small oval for the eye and a curved line for the mouth. Teacher's Tip: Vary the size of the snake heads to make the hair look more natural and dynamic.
Step 5: Building the Snake Hair
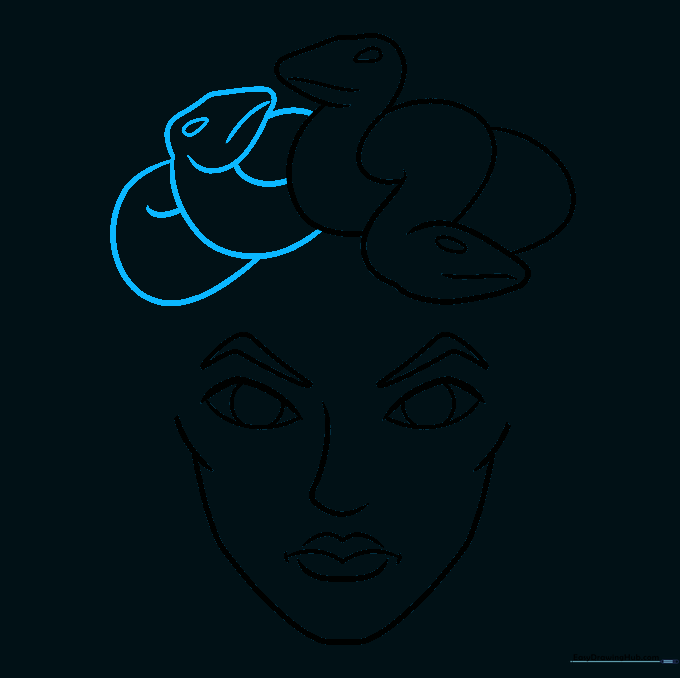
Continue adding snakes by drawing overlapping curved lines for their bodies and heads. Add a teardrop shape for each snake's eye. Teacher's Tip: Don't worry if the lines overlap; that's what gives the 'nest of snakes' look its realistic texture!
Step 6: Filling the Sides
Outline another snake body to frame the side of the face. Ensure the head overlaps the previous shapes to maintain a cohesive look. Teacher's Tip: Use your eraser to clean up any lines inside the snake heads that shouldn't be there.
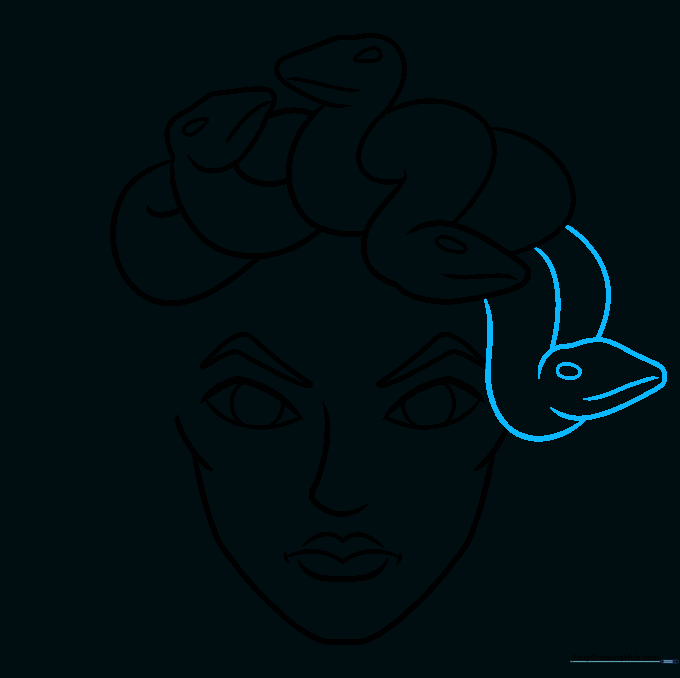
Step 7: Balancing the Hair
Draw another snake on the opposite side to balance the composition. Use curved lines for the body and a small oval for the eye. Teacher's Tip: Keep the snakes facing different directions to make the drawing look more active.
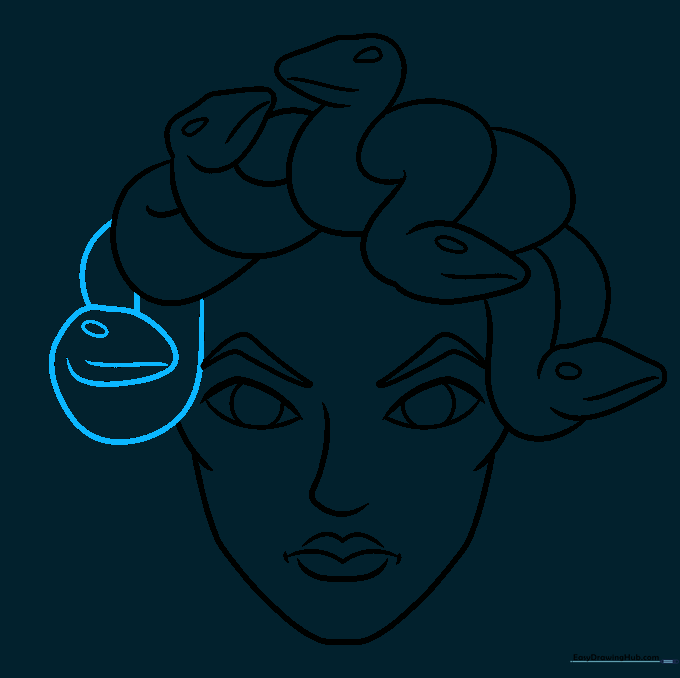
Step 8: Adding Final Details
Add one more snake to fill in any gaps in the hair. Focus on the curves of the body and the placement of the eye. Teacher's Tip: If your drawing feels crowded, try making the last snake smaller to create a sense of distance.
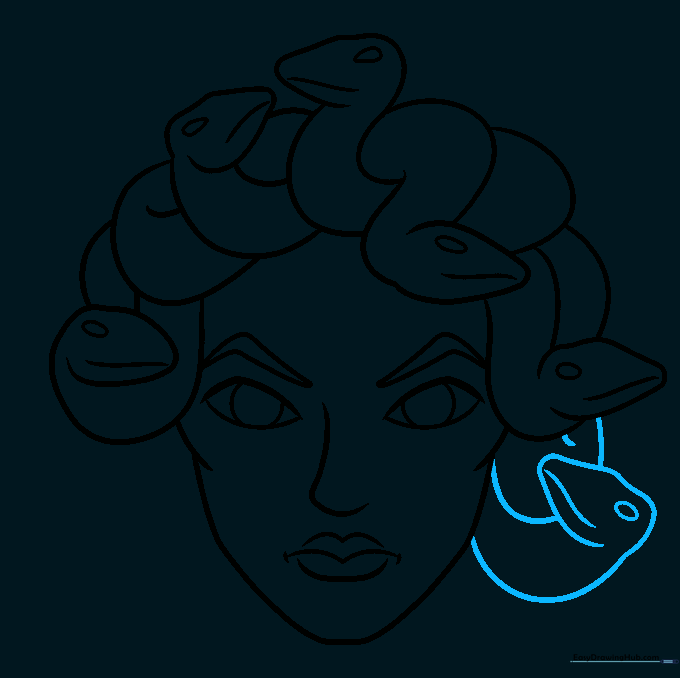
Step 9: Finalizing the Outline

Complete the outline of the final snake, ensuring all coils and heads are clearly defined. Teacher's Tip: Go over your final lines with a darker pencil or pen to make the drawing pop before you start coloring.
Step 10: Bringing Medusa to Life with Color

Time to color! Use shades of green, purple, or grey for Medusa's skin and the snakes. Teacher's Tip: Try using a lighter green for the skin and a darker, vibrant green for the snakes to create a nice contrast.
More Tutorials


