How to Draw Maya Angelou: Easy Portrait Guide for Kids
Celebrate the legacy of Maya Angelou by creating your own portrait! This tutorial is designed for young artists and beginners to practice facial proportions and expressive features. Grab a pencil, an eraser, and some colored pencils to get started on this meaningful art project.
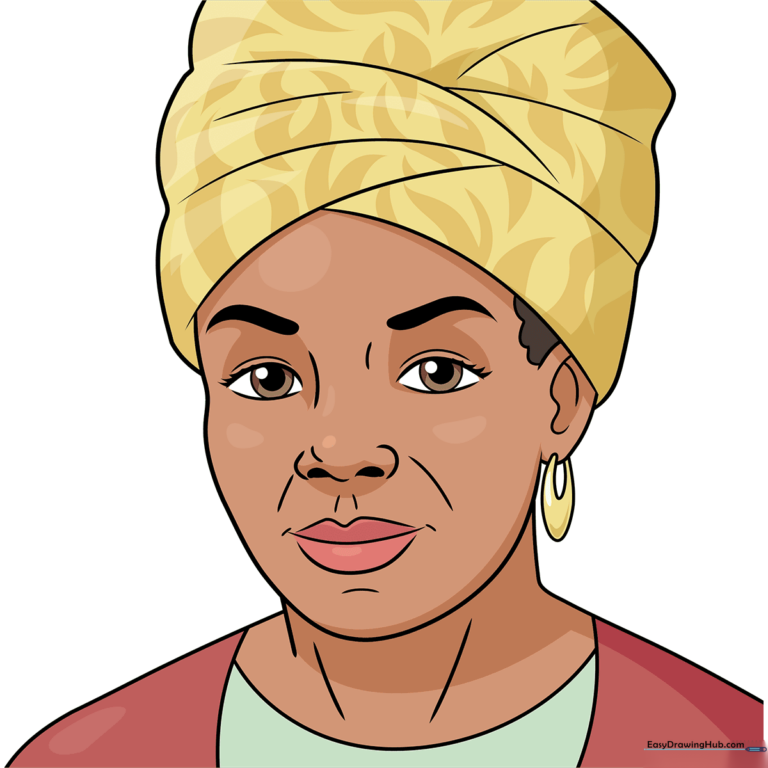
🎯 Final Result
Step-by-Step Instructions
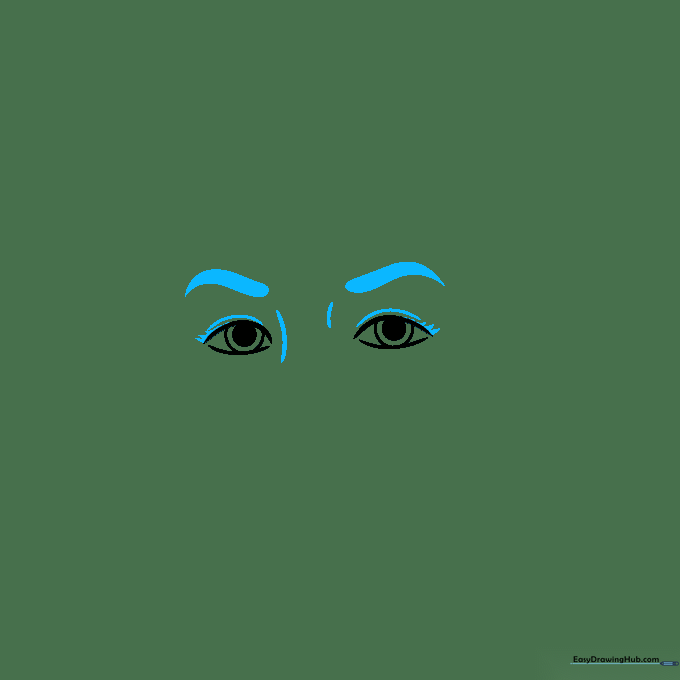
Step 1: Sketching the Eyes

Draw two almond-shaped outlines for the eyes. Add a circle inside each for the iris and a smaller, dark-shaded circle for the pupil. Teacher's Tip: Keep your pencil lines light so you can easily adjust the shape if they look uneven.
Step 2: Defining Eyelids and Brows
Add curved lines above the eyes for eyelids and small strokes for lashes. Sketch thick, arched eyebrows above the eyes. Teacher's Tip: Use a soft touch for the lashes to keep them looking natural rather than spiky.
Step 3: Drawing the Nose and Mouth
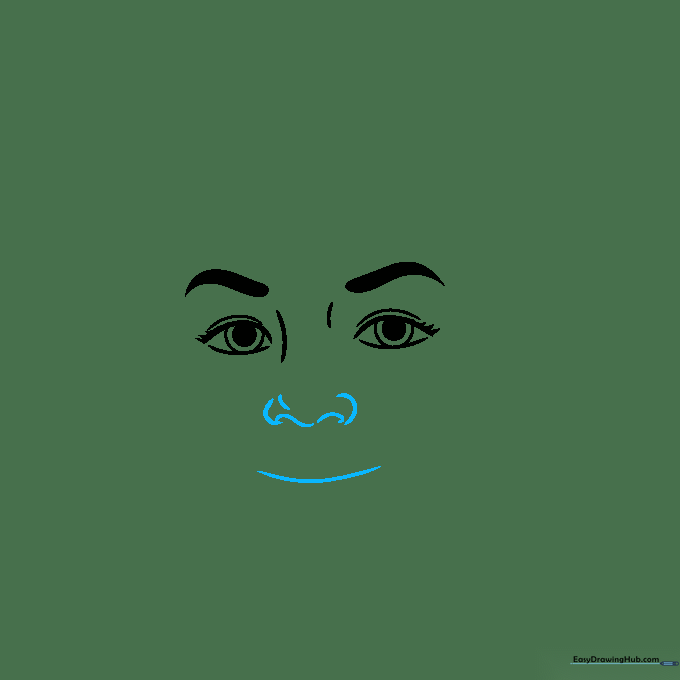
Sketch the bridge and tip of the nose using soft curves, then add the nostrils. Draw a gentle, horizontal curved line for the mouth. Teacher's Tip: The nose is the center of the face; keep it aligned with the space between the eyes.
Step 4: Outlining the Face and Lips
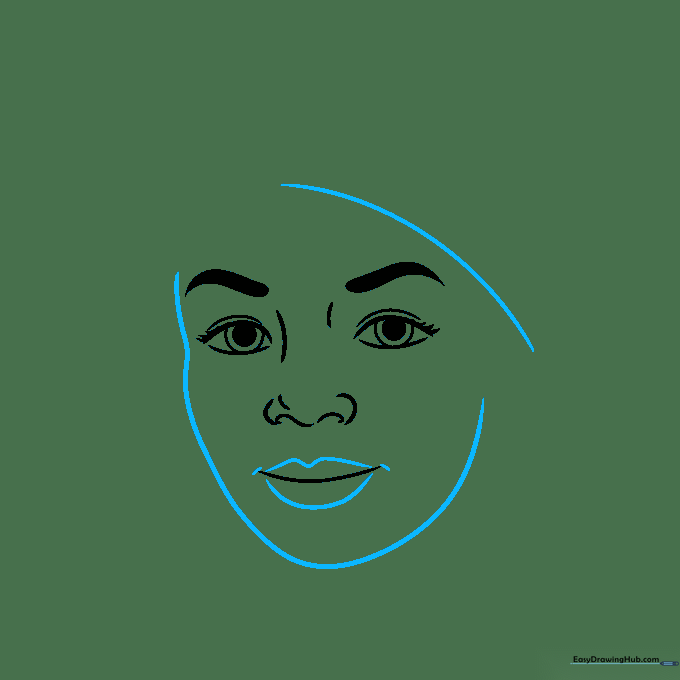
Draw the jawline and the start of the head wrap. Define the upper and lower lips with soft curves. Teacher's Tip: Don't draw the lips as a solid line; use small curves to show the fullness of the mouth.
Step 5: Adding the Ear and Earring
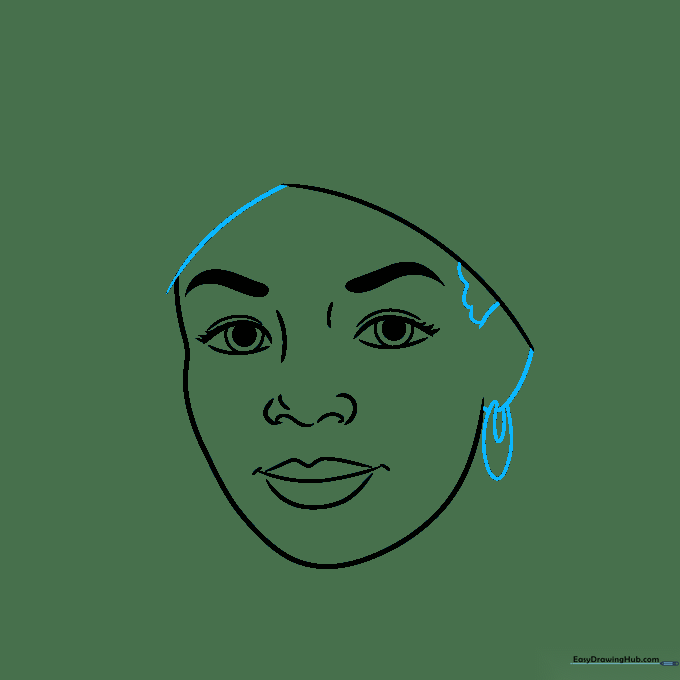
Complete the base of the head wrap and draw the ear on the side. Add a 'C' shaped earring. Teacher's Tip: Ensure the top of the ear aligns with the eye line for correct facial proportions.
Step 6: Detailing the Head Wrap

Extend the lines of the head wrap to frame the face. Add small curved lines inside the ear to show detail. Teacher's Tip: Use long, flowing strokes for the fabric to make it look like soft cloth.
Step 7: Adding Fabric Folds
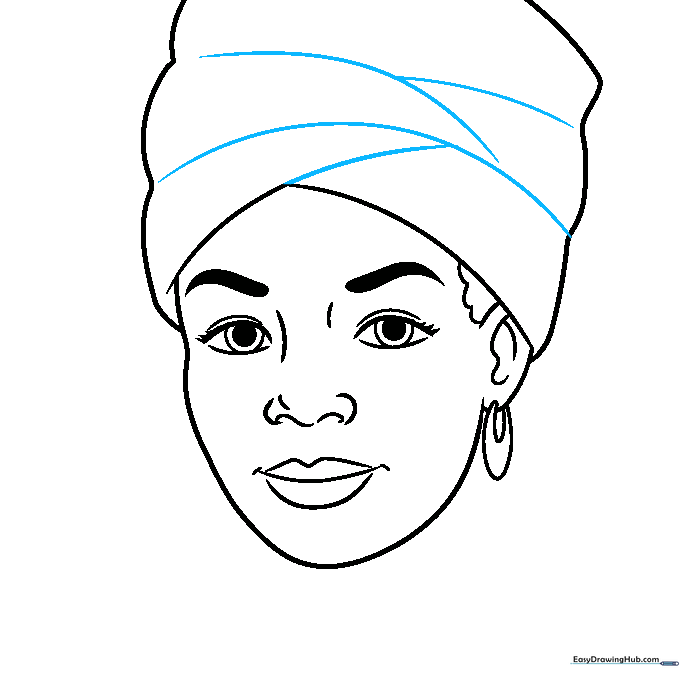
Draw 'Y' shaped lines across the head wrap to represent folds in the fabric. Teacher's Tip: Vary the size of the 'Y' shapes to make the fabric look realistic and draped.
Step 8: Drawing the Neck and Shoulders
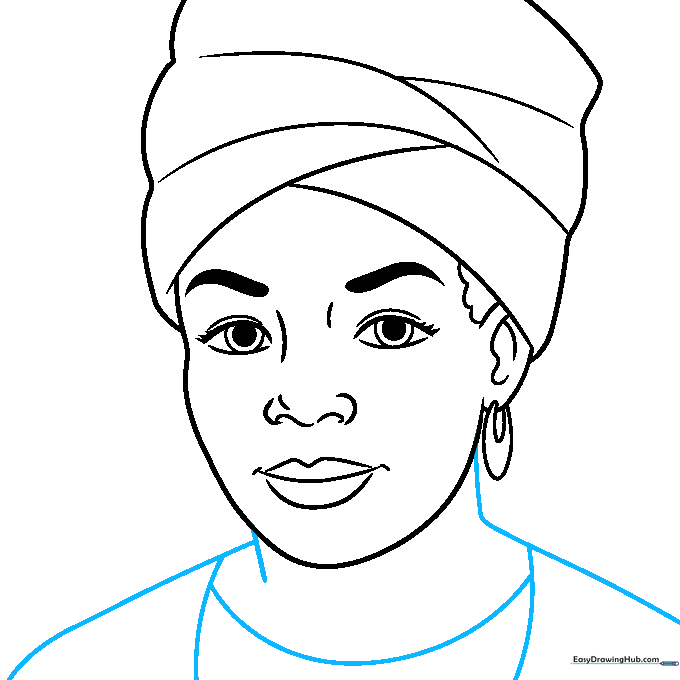
Draw the neck and shoulders using curved lines, and add the collar of her jacket. Teacher's Tip: Keep the lines for the shoulders rounded to give her a natural, relaxed posture.
Step 9: Refining the Contours
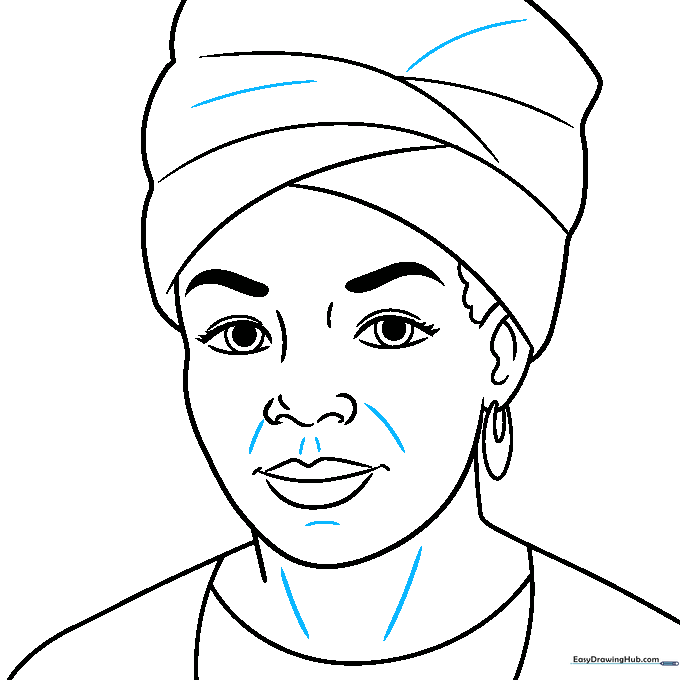
Go over your lines to refine the chin, neck, and fabric edges. Erase any extra guidelines. Teacher's Tip: Use a darker pencil or pen to outline your final drawing for a clean, finished look.
Step 10: Adding Color

Bring your portrait to life! Use warm brown tones for her skin, black for her hair, and vibrant colors for her clothing. Teacher's Tip: Use a lighter shade of brown for highlights on the cheeks to add depth.
More Tutorials


