How to Draw Master Chief: Easy 10-Step Guide
Ready to bring the Spartan-117 to life? This tutorial is designed for young artists and Halo fans who want to master character proportions. You'll need a pencil, an eraser, and a steady hand to capture the iconic Mjolnir armor. Let's get started on your own legendary Spartan sketch.
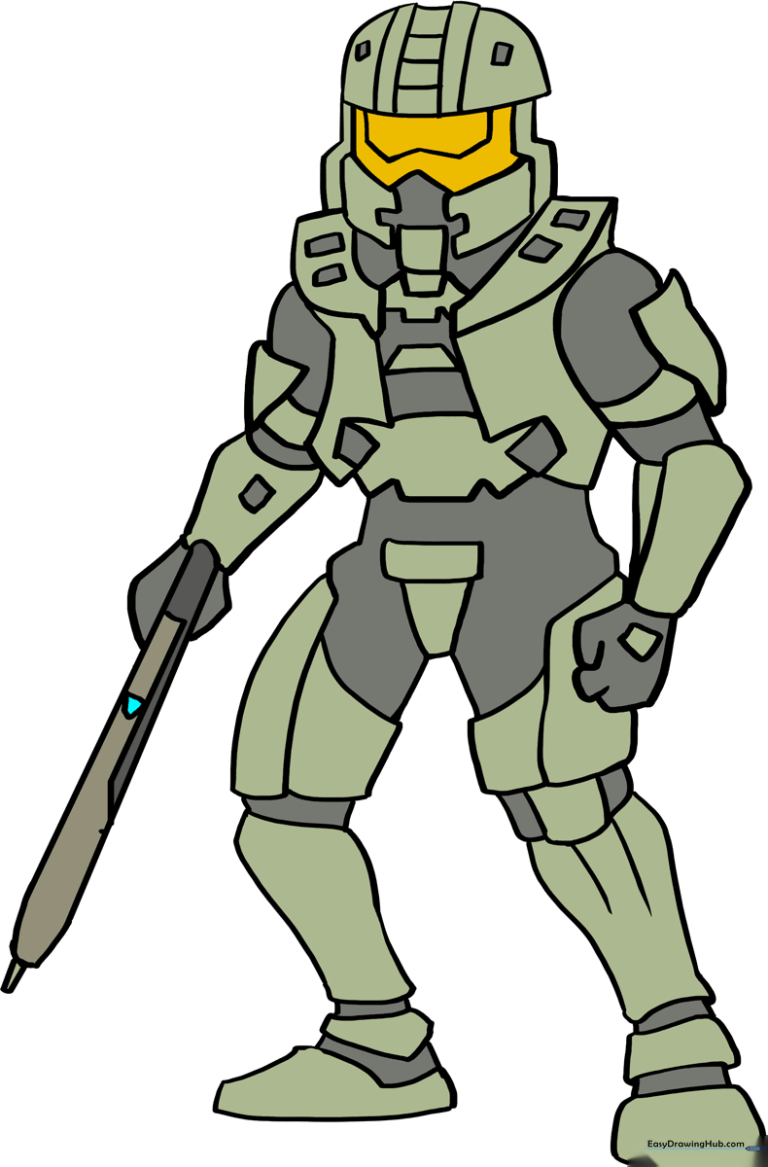
🎯 Final Result
Step-by-Step Instructions
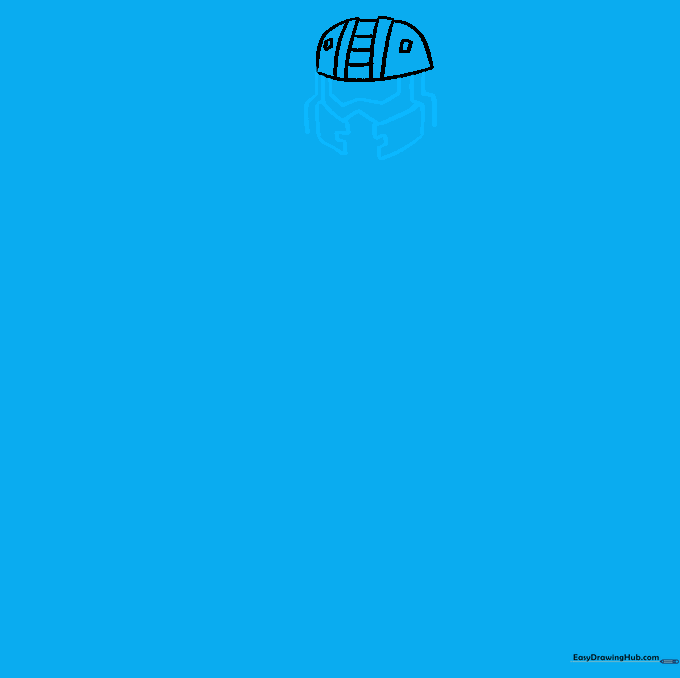
Step 1: Sketching the Helmet Base

Start by drawing a soft semi-circle for the top of the helmet. Add four vertical lines in the center, connected by horizontal bars to form the visor grid. Teacher's Tip: Keep your pencil pressure light here; you'll want to erase these guidelines later to make the visor look clean and metallic.
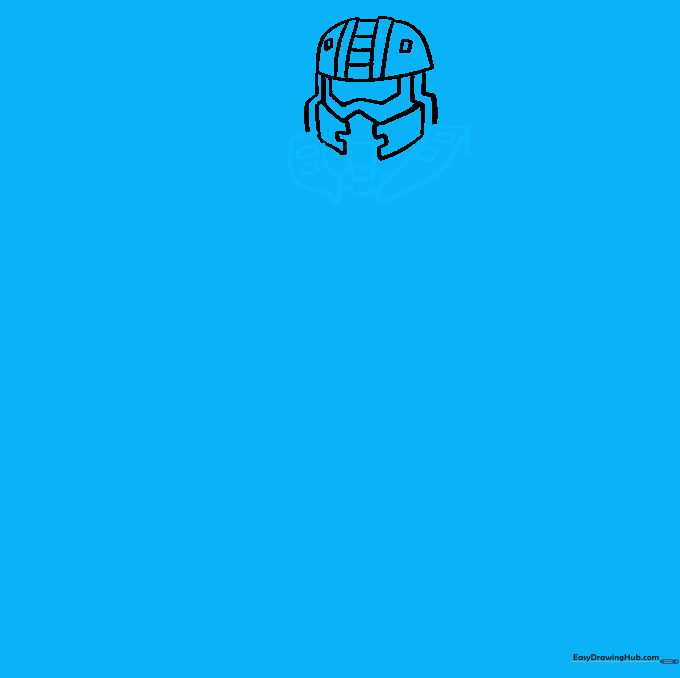
Step 2: Defining the Visor and Mask
Draw four 'Z' shaped lines extending downward from the helmet base. Use short, precise strokes to outline the goggles, then connect the inner lines with a 'W' shape. Tip: Focus on symmetry—if one side looks a bit off, don't worry, just use your eraser to adjust the angle.
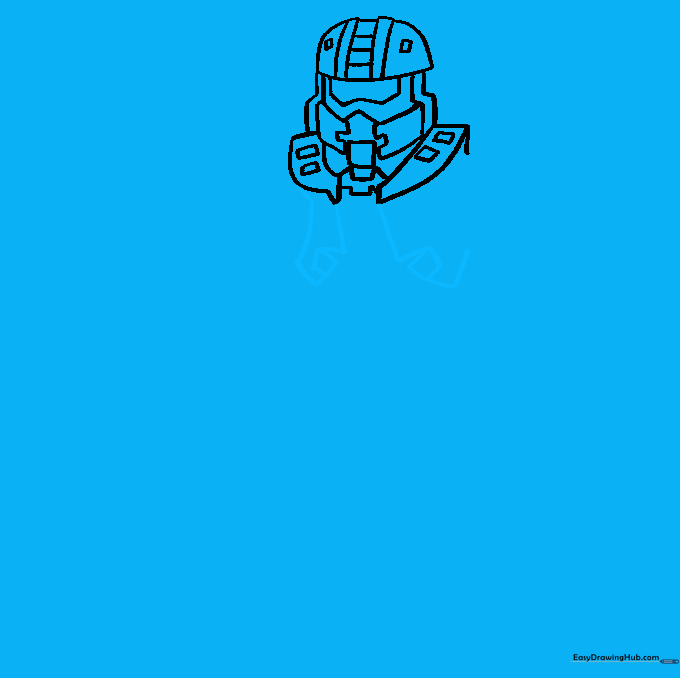
Step 3: Constructing the Shoulders
Add a small square and rectangle below the mask to represent the neck armor. Extend horizontal lines from the mask sides, then draw converging curves to create the shoulder pads. Tip: Think of the shoulder pads as rounded shields; keep the edges slightly curved to match the armor's design.
Step 4: Outlining the Torso
Extend connected lines from the shoulders to build the chest plate. Include small rhombus shapes within these lines to represent the armor plating. Tip: Master Chief’s armor is bulky, so don't be afraid to make these shapes look thick and sturdy.
Step 5: Sketching the Arm and Gauntlet
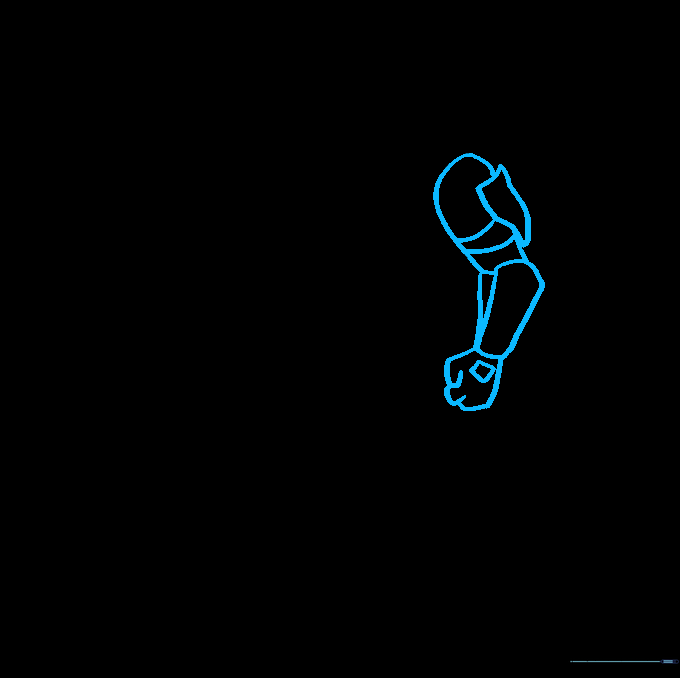
Use smooth, curved lines to outline the upper arm and the gauntlet. Add a small rhombus on the hand area to indicate the armored glove. Tip: Keep the arm shape slightly tapered to show the movement of the suit.
Step 6: Refining the Torso and Weapon

Add lines across the torso to create the abdominal armor plates. Sketch the weapon in the hand using curved lines to show the grip. Tip: Focus on the negative space between the arm and the body to make the pose look more dynamic.
Step 7: Drawing the Legs
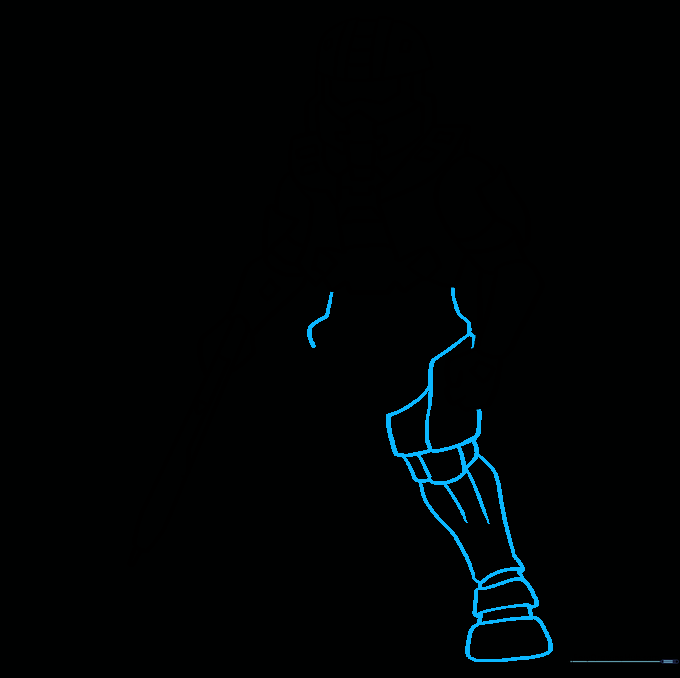
Extend long, curved lines down from the torso to form the legs. Sketch the armored knee and foot shapes. Tip: The legs should be the longest part of your drawing to maintain the Spartan's tall, heroic stature.
Step 8: Adding Armor Details
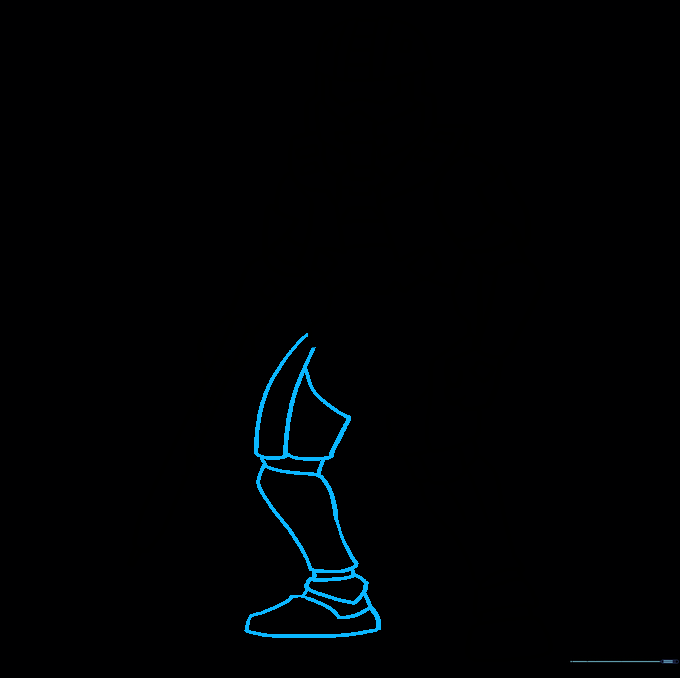
Fill in the remaining leg armor with irregular shapes to mimic the plating. Tip: Don't worry about making every shape perfect; the armor is meant to look rugged and battle-worn.
Step 9: Finalizing the Outline
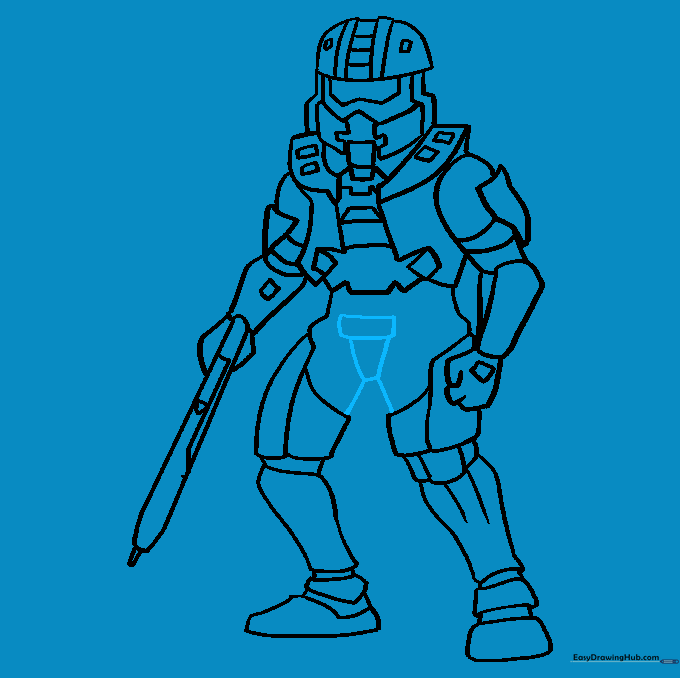
Add the final details to the abdomen, including the belt buckle and connection points. Connect the torso to the legs to complete the full-body silhouette. Tip: Use a darker pencil or a fine-liner to trace your final lines so the character pops off the page.
Step 10: Bringing Him to Life with Color
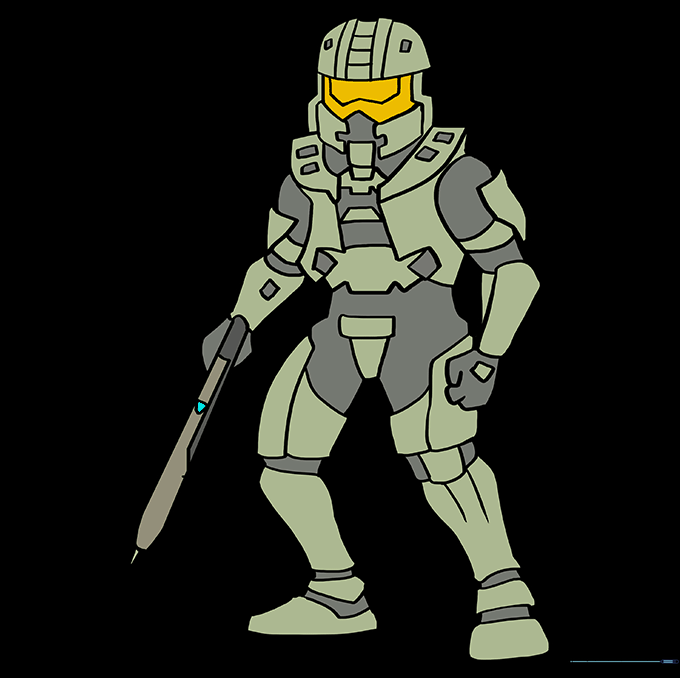
Time to color! Use a deep olive green for the armor and a bright, vibrant yellow for the visor. Tip: Use a lighter shade of green for the highlights on the armor to give it a metallic, reflective look.
More Tutorials


