How to Draw Martin Luther King Jr: Easy 10-Step Portrait
Celebrate history through art with this approachable portrait tutorial of Dr. Martin Luther King Jr. Designed for students and beginners, this guide uses basic geometric shapes to build a recognizable likeness. Grab a pencil and eraser, and let’s honor his legacy by creating a meaningful piece of art.
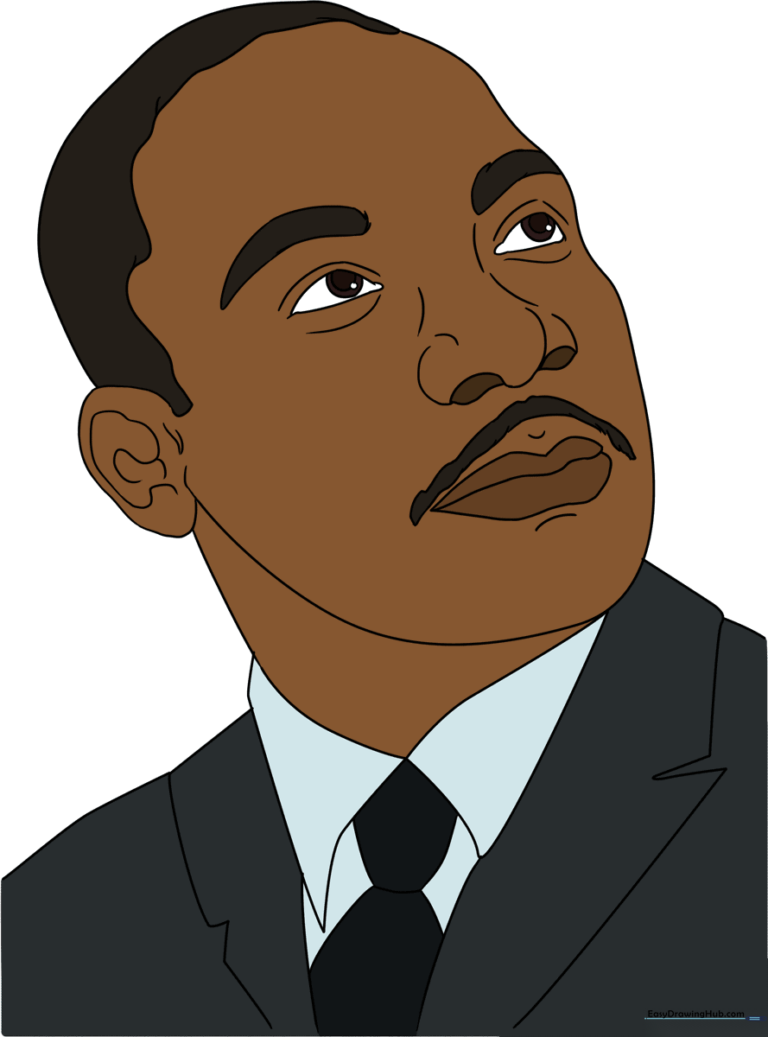
🎯 Final Result
Step-by-Step Instructions
Sketching the Head Shape

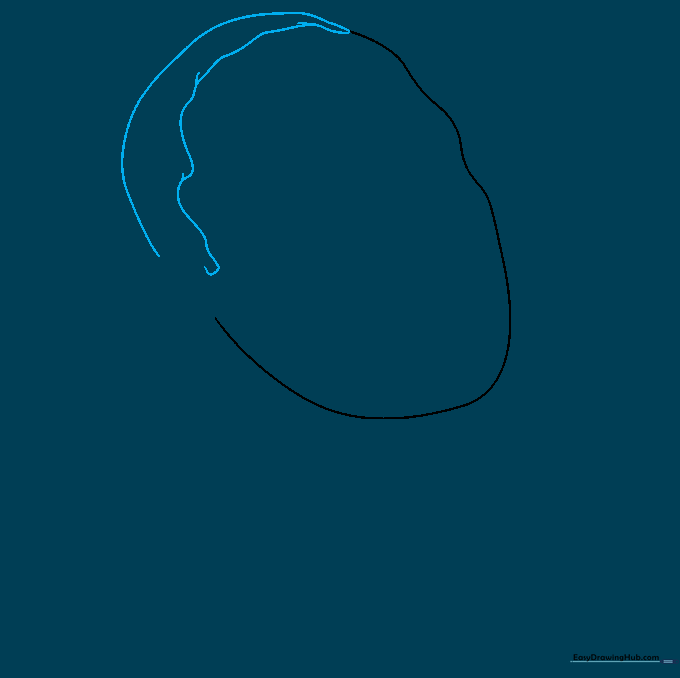
Start by lightly sketching an inverted egg shape to serve as the base for the face. Teacher's Tip: Keep your pencil pressure very light here so you can easily erase the guidelines later.
Defining Facial Contours

Add a long, gentle curved line to define the brow and cheekbone area. This helps give the face its unique structure. Tip: Focus on the subtle curve of the cheek to make the face look more three-dimensional.
Adding the Hairline
Clean up your sketch by erasing the original egg-shaped guideline. Use overlapping, short curved lines to draw the hair. Tip: Don't worry about perfect symmetry; natural hair has a soft, organic texture.
Drawing the Ear

Draw a curved shape on the side of the head for the ear, adding small inner lines for detail. Tip: The top of the ear usually aligns with the eyebrow, while the bottom aligns with the nose.
Sketching Eyes and Brows
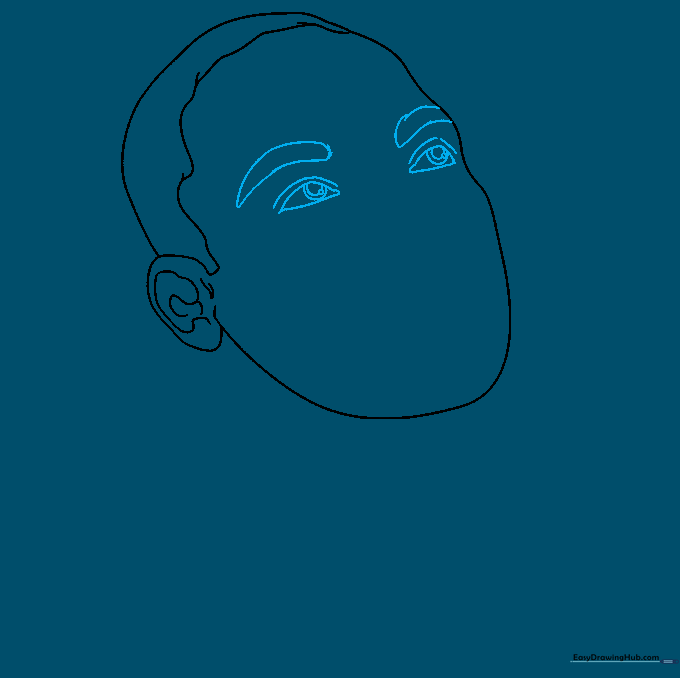
Outline the eyes with pointed corners and add smaller circles inside for the pupils. Add curved lines above for eyelids and brows. Tip: Keep the pupils centered to give the portrait a focused, thoughtful expression.
Adding the Nose
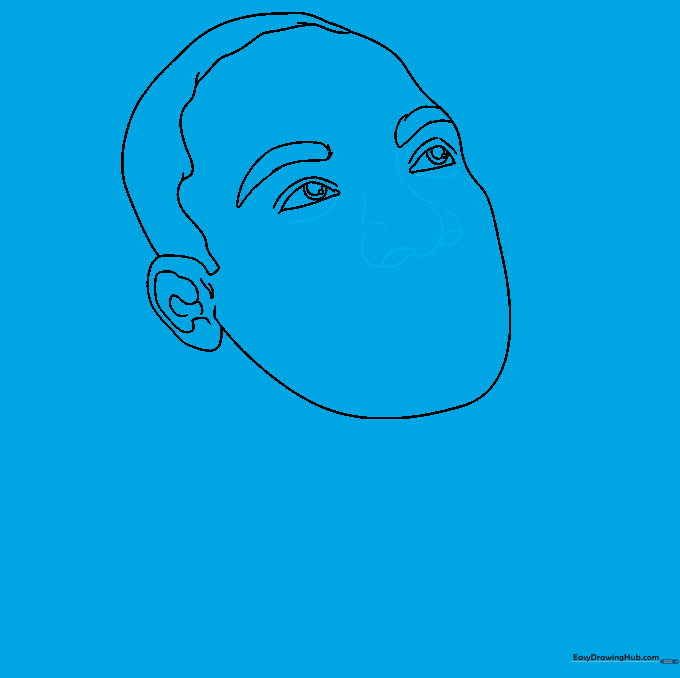
Trace the bridge of the nose and the nostrils using soft, curved lines. Tip: Use very light strokes for the nose to avoid making it look too heavy on the face.
Adding Lips and Mustache
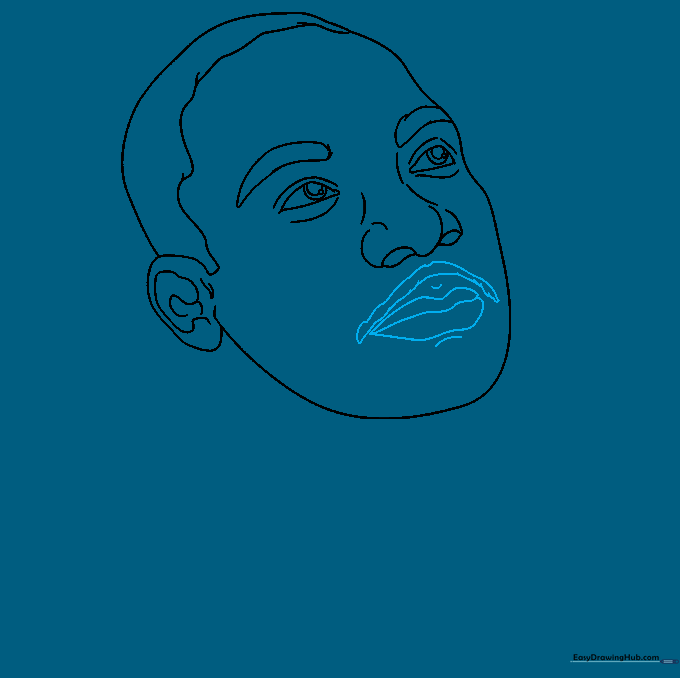
Draw the lips with gentle curves and add a small line for the chin. Finish with a narrow mustache using overlapping strokes. Tip: A mustache adds character; keep the lines short to mimic hair growth.
Drawing the Collar
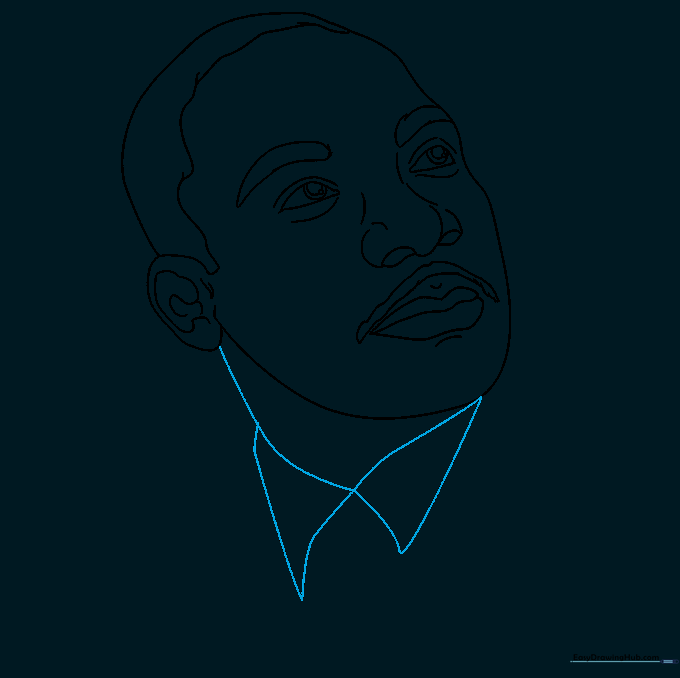
Add the triangular sides of the shirt collar and connect them to the earlobe with a neck line. Tip: Ensure the collar looks symmetrical to give the portrait a professional, formal look.
Completing the Suit
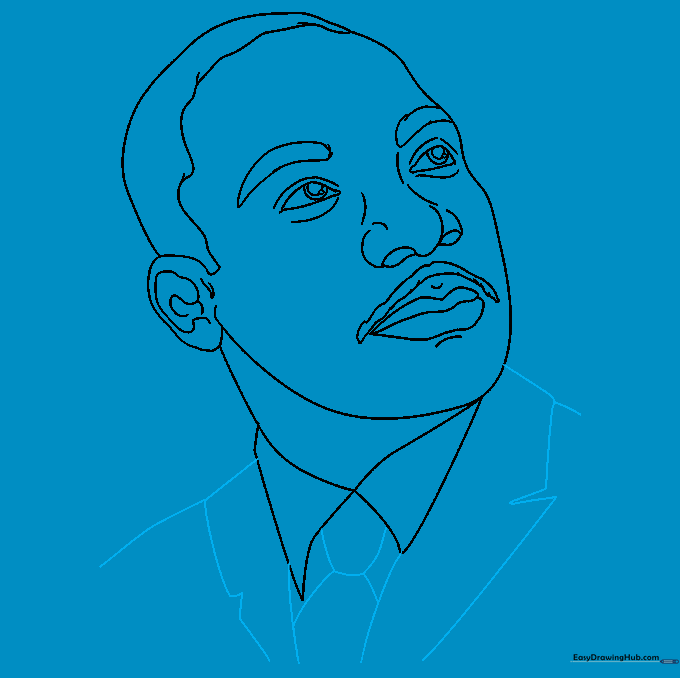
Extend lines from the collar to form shoulders, then add the lapels and a necktie. Tip: Use straight lines for the lapels to contrast with the curved lines of the face.
Adding Color
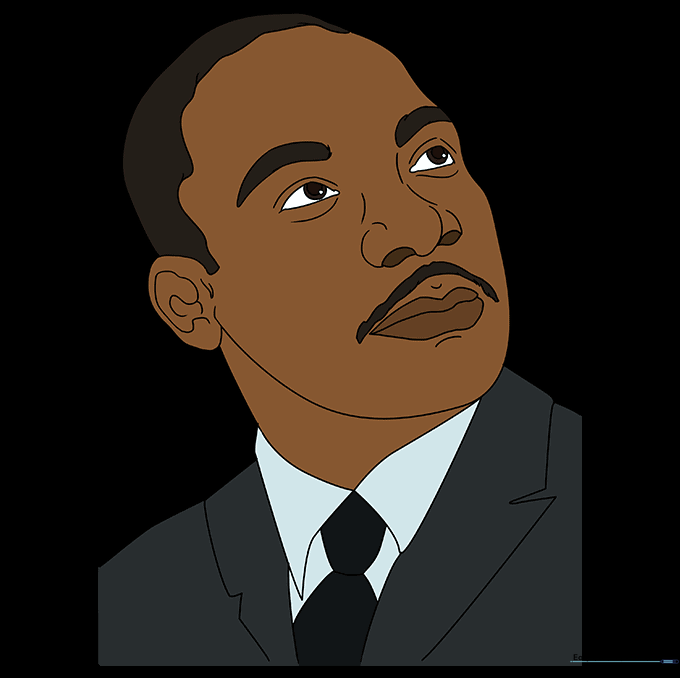
Bring your portrait to life with color! Use warm skin tones and classic suit colors. Tip: Try adding a light shadow under the chin to give your drawing more depth.
More Tutorials


