How to Draw Marshmello: Easy Step-by-Step Fortnite Guide
Bring your favorite Fortnite DJ to life with this beginner-friendly drawing tutorial. Designed for artists ages 6 and up, this guide uses basic shapes to build the character from the ground up. Grab a pencil, an eraser, and a piece of paper to start creating your own Marshmello masterpiece today.
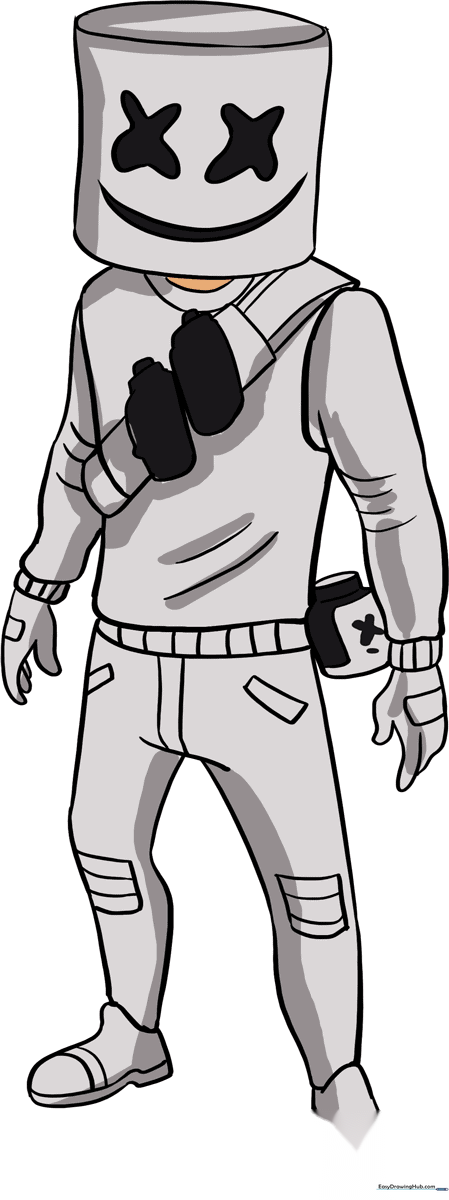
🎯 Final Result
Step-by-Step Instructions
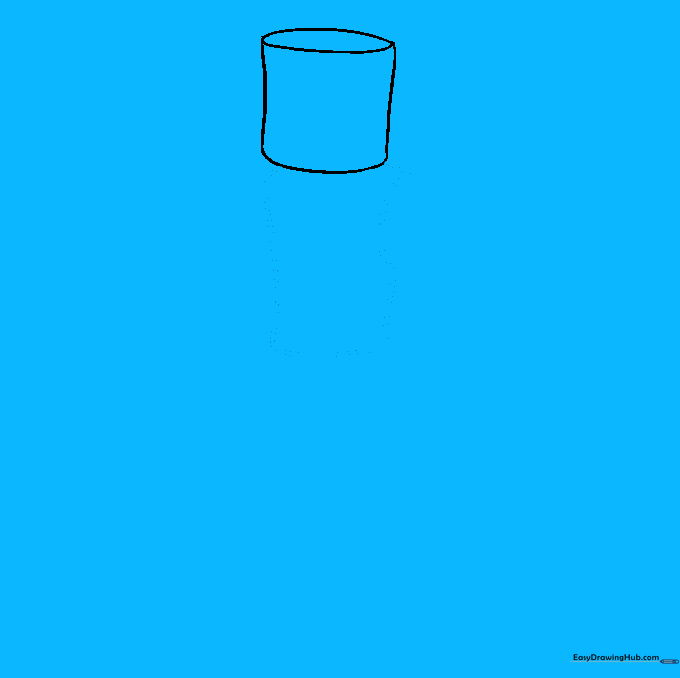
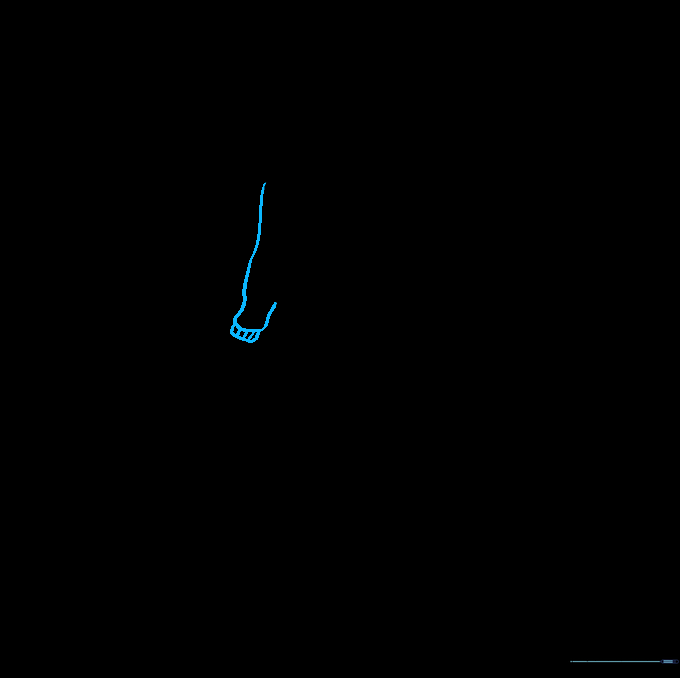
Step 1: Sketching the Iconic Head
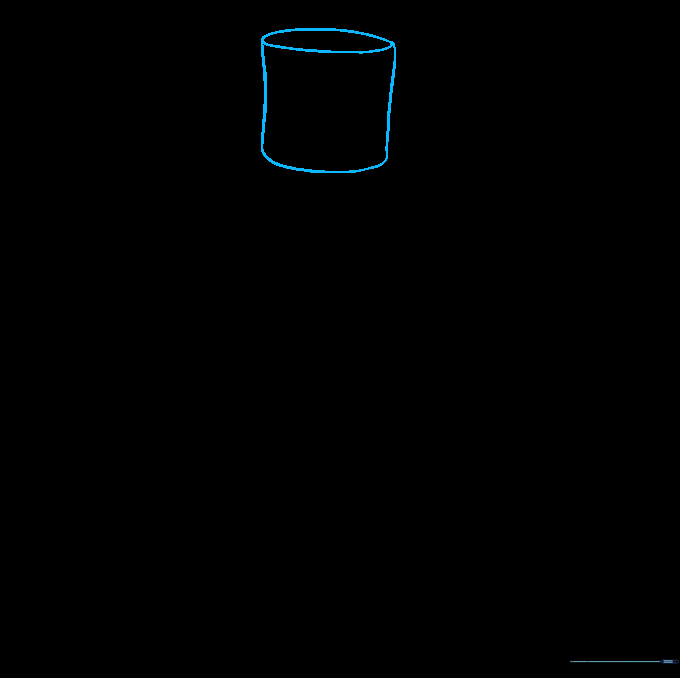
Draw a narrow horizontal oval, then place a curved square with rounded corners directly beneath it. Teacher's Tip: Keep the shapes light and loose; this forms the signature marshmallow silhouette.
Step 2: Outlining the Torso
Use soft, curved lines to outline the rectangular shape of the torso. Pay attention to the 'C' shaped curve at the shoulder, which helps define the jacket's posture.
Step 3: Forming the First Arm
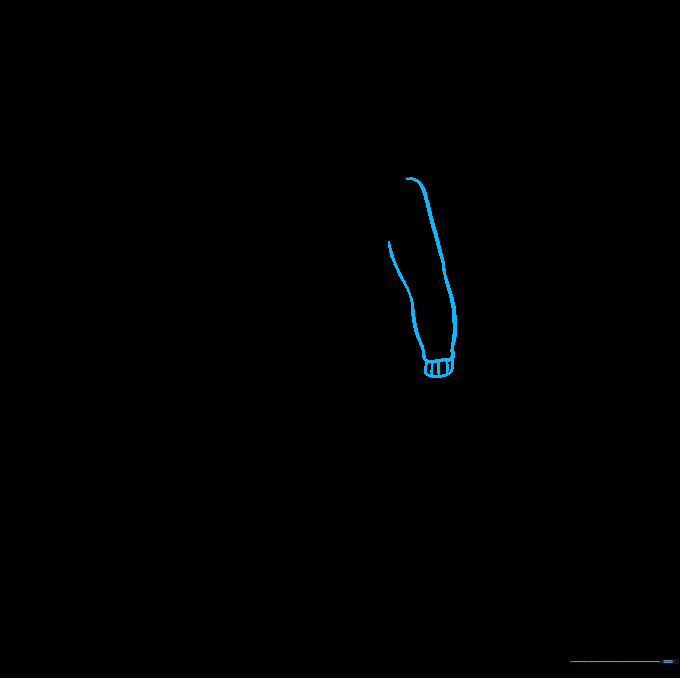
Extend two curved lines from the shoulder to create the arm. Close it with a rounded shape at the bottom and add short horizontal lines for the ribbed cuff. Tip: Keep the arm slightly bent for a natural look.
Step 4: Adding the Second Arm
Repeat the process on the opposite side to draw the second arm. Ensure the length matches the first arm to keep the character balanced.
Step 5: Drawing the Hands
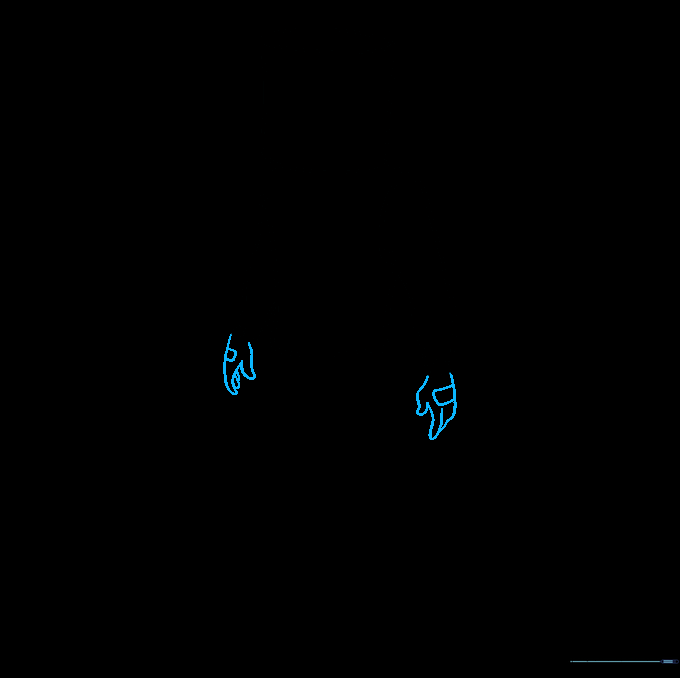
Use small curved lines to form the fingers, giving them gentle points. Add a curved rectangle on the back of each hand to represent the gloves. Tip: Take your time here; hands are the trickiest part!
Step 6: Sketching the Bandolier
Draw two parallel lines from the shoulder for the strap. Add small rectangles and irregular shapes along the chest to represent the gear. Erase any overlapping guide lines to keep your drawing clean.
Step 7: Outlining the Legs
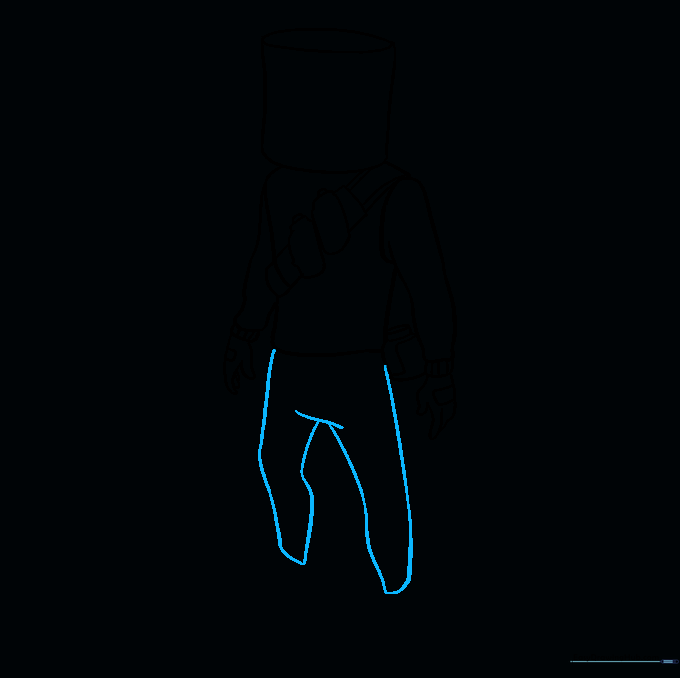
Use long, sweeping curved lines to define the shape of the legs. Keep the lines fluid to suggest the fabric of the pants.
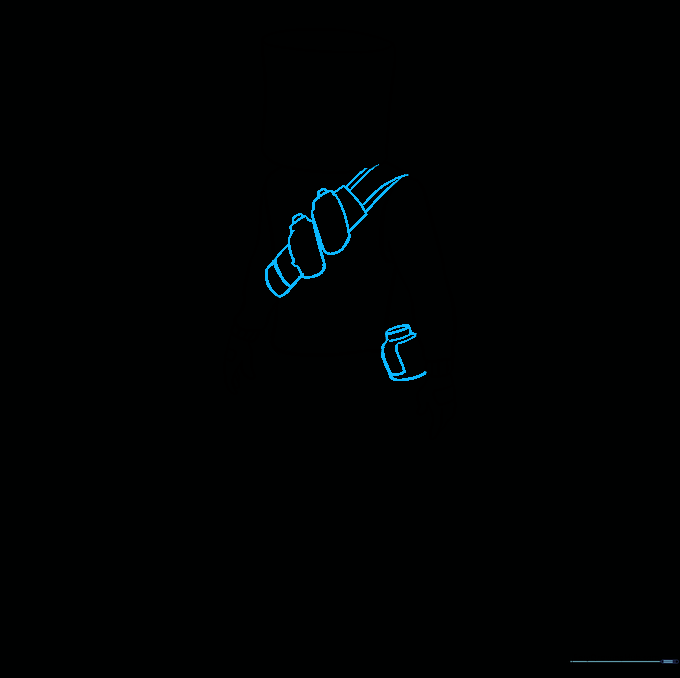
Step 8: Adding the Shoes

Draw the shoes by creating irregular shapes that show the heel and tongue. Add a parallel line at the bottom for the sole. Tip: Think of these as chunky sneakers.
Step 9: Finalizing Face and Clothing Details
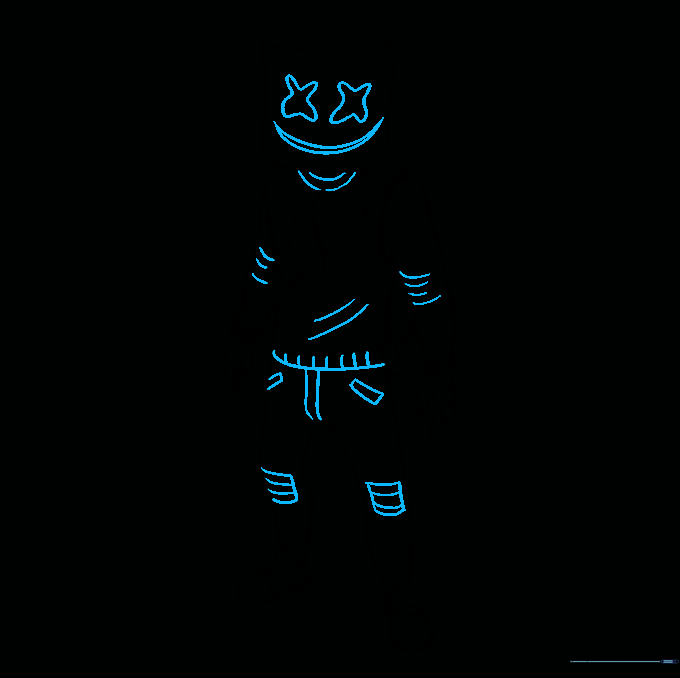
Draw the 'X' eyes and crescent mouth on the mask. Add creases to the elbows, knees, and pockets to give the clothing texture. This is where your character really comes to life!
Step 10: Adding Color
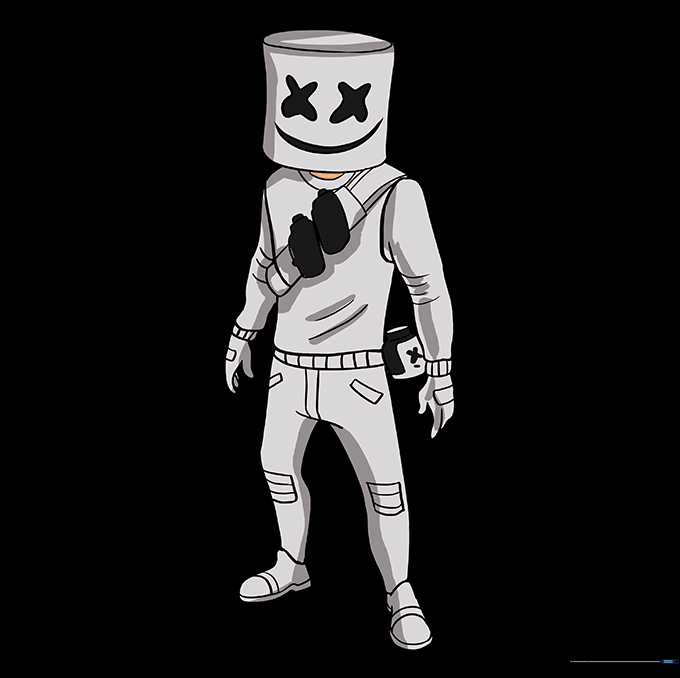
Time to color! Use white for the mask and clothing, with bold black accents for the eyes, mouth, and gear. Add a touch of flesh-tone for any skin visible. Great job!
More Tutorials


