How to Draw a Magnolia Flower: Easy 10-Step Guide
Capture the elegance of spring with this magnolia drawing tutorial, designed for artists ages 5 and up. You will need a pencil, an eraser, and your favorite coloring supplies to bring these delicate blooms to life. Follow along to practice organic shapes and natural textures in your artwork.
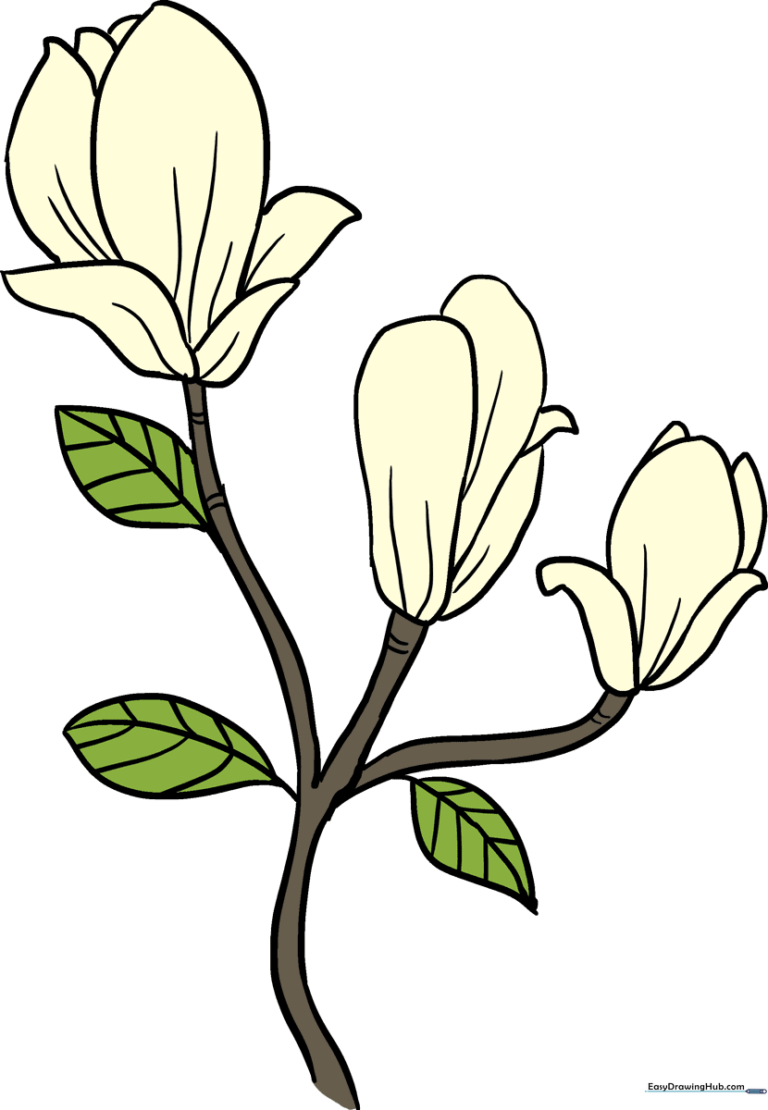
🎯 Final Result
Step-by-Step Instructions
Step 1: Sketching the Branch Base

Draw a pair of curved lines that form a 'V' shape to start your branch. Teacher's Tip: Keep your pencil pressure light so you can easily adjust the branch angle later if you want a more natural, flowing look.
Step 2: Forming the Flower Base
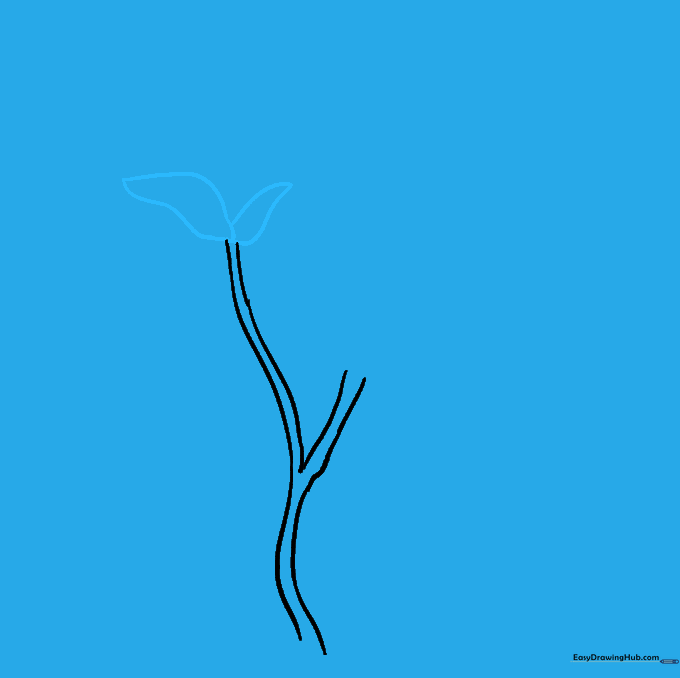
At the tip of your branch, draw two irregular curved shapes to represent the base of the bud. Teacher's Tip: Magnolias have thick, waxy petals, so don't worry about making these shapes perfectly symmetrical; organic, slightly uneven lines look more realistic.
Step 3: Sketching the First Petals
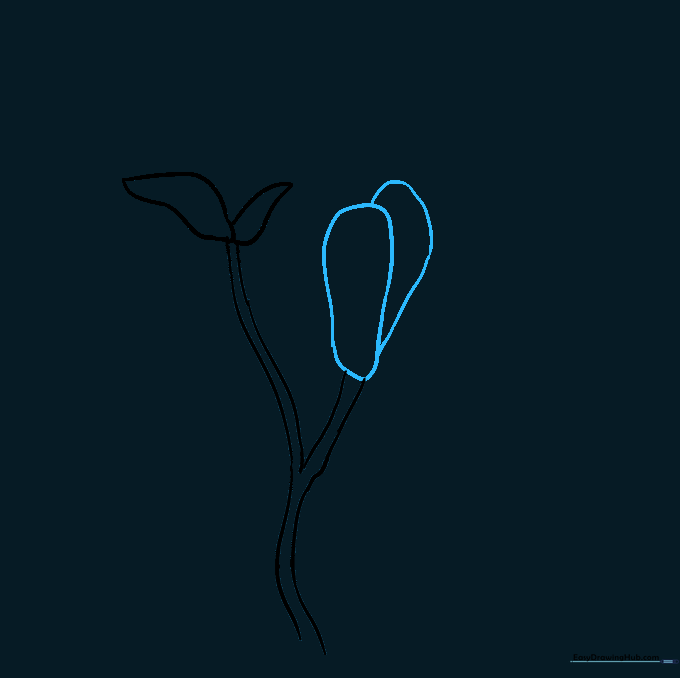
Draw a large, elongated shape on the second branch, then add a smaller curved line overlapping it. Teacher's Tip: Think of these as 'teardrop' shapes—they should be rounded at the top and slightly tapered toward the base.
Step 4: Adding Side Petals
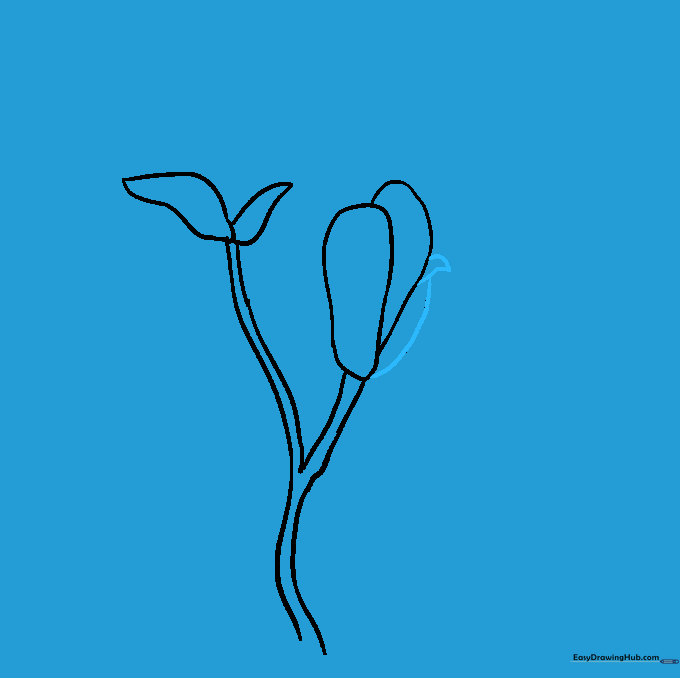
Add a small, pointed petal and an elongated one to the side of your flower. Teacher's Tip: Varying the size of your petals creates depth and makes the flower look like it is opening up toward the sun.
Step 5: Filling Out the Bloom
Draw large, pointed petals for the first flower, then tuck smaller petals in between them. Teacher's Tip: Use a 'layering' technique—draw the petals in the front first, then add the ones behind them to create a 3D effect.
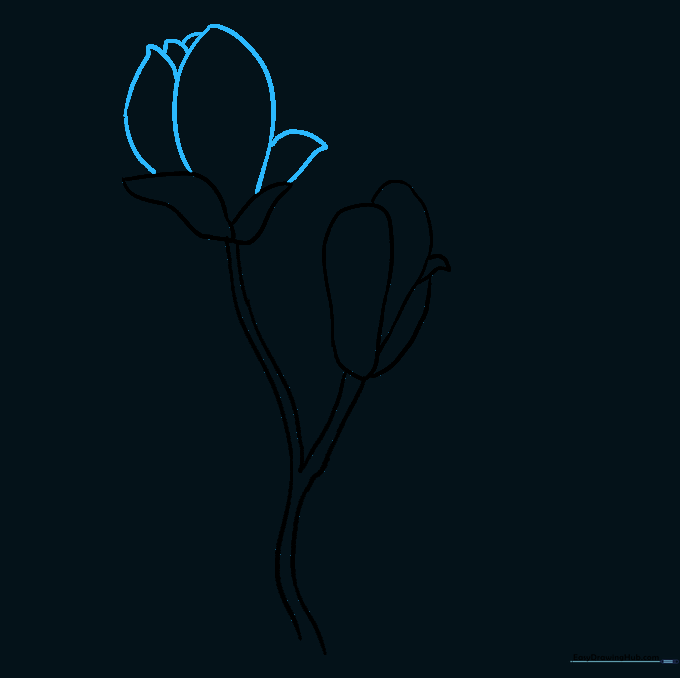
Step 6: Extending the Branch
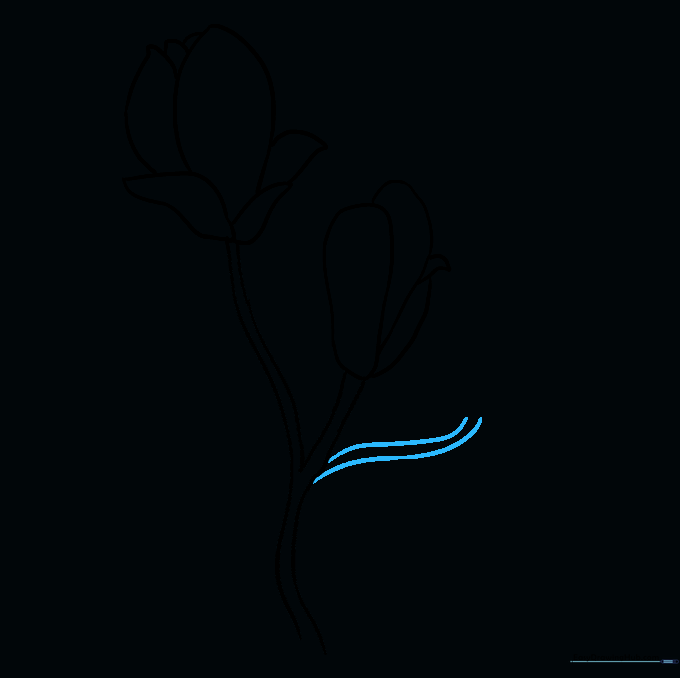
Extend your branch with two more parallel lines. Teacher's Tip: Branches in nature are rarely perfectly straight; give yours a slight curve or 'wiggle' to make it look more organic.
Step 7: Adding the Final Bud
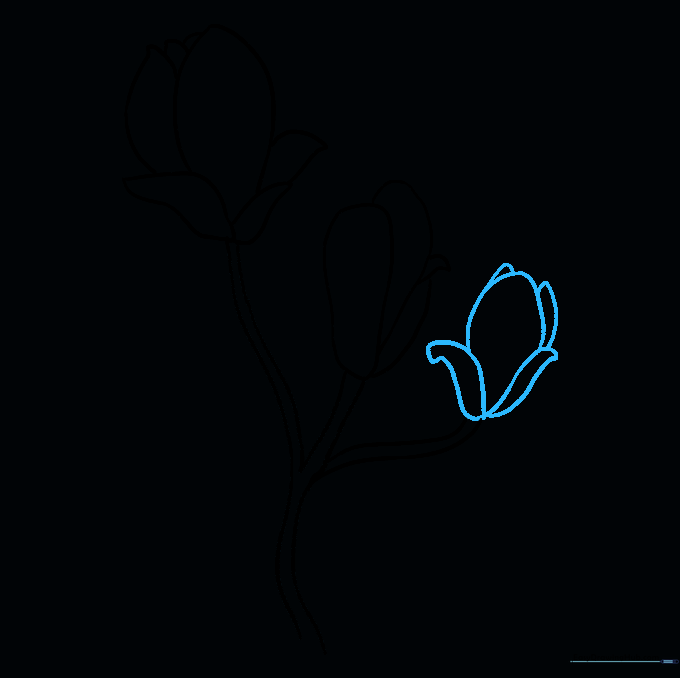
Draw two narrow petals at the tip of the new branch with a larger one in the center. Teacher's Tip: Add a few tiny, curved lines at the base of these petals to suggest they are still tightly wrapped.
Step 8: Drawing the Leaves
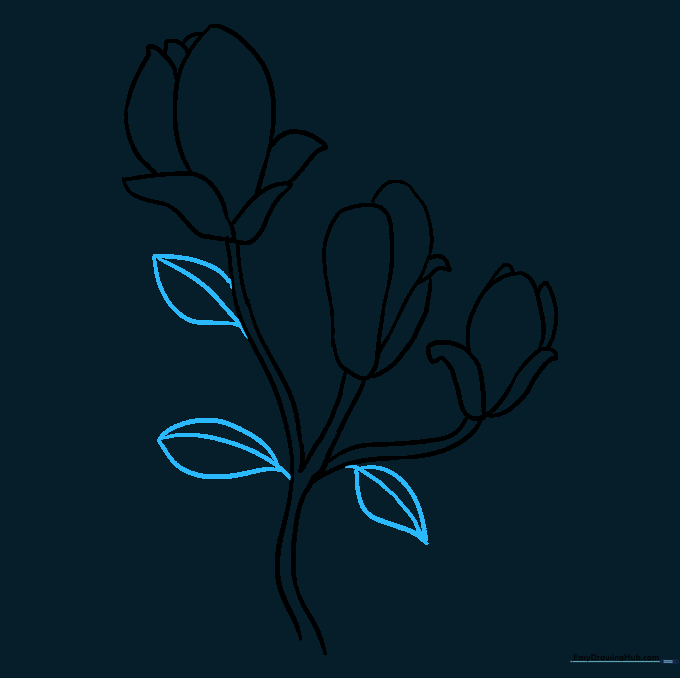
Sketch leaves along the stem by drawing a central vein first, then enclosing it with a pointed oval shape. Teacher's Tip: Magnolia leaves are thick and glossy; draw them slightly wider than standard leaves to capture their unique shape.
Step 9: Adding Texture and Detail
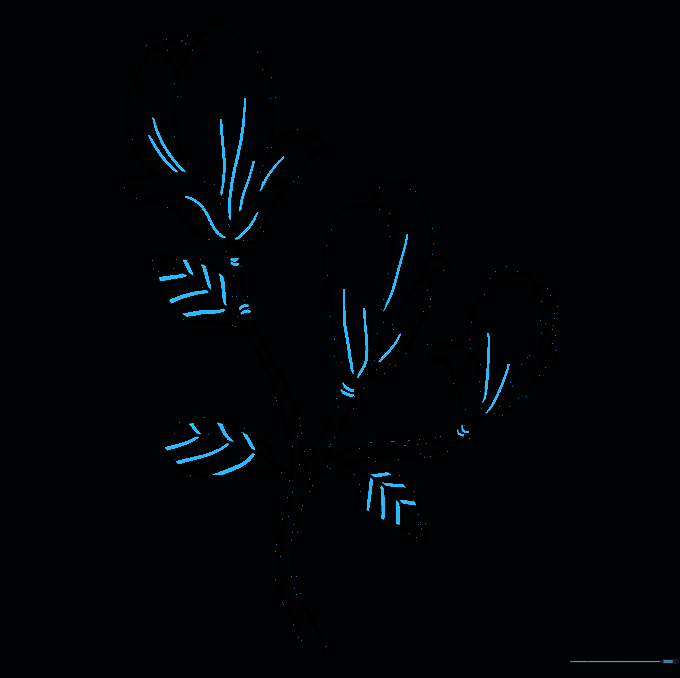
Add small lines along the petals and leaves to show texture. Teacher's Tip: Keep these lines very thin and delicate. They represent the natural veins of the plant, so less is more!
Step 10: Bringing It to Life with Color
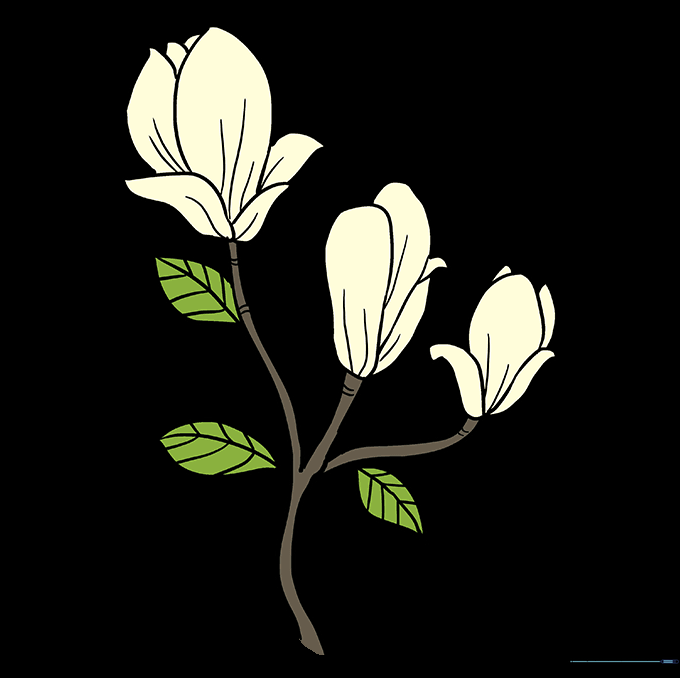
Color your magnolia! Use deep, glossy greens for the leaves and soft creams, whites, or pinks for the petals. Teacher's Tip: If using colored pencils, use a light touch to blend your colors, leaving a small white space on the petals to mimic sunlight hitting the waxy surface.
More Tutorials


